How to Make a Slip Knot in 4 Easy Steps for Crochet Beginners!
Get that yarn on your crochet hook!
Get that yarn on your crochet hook!
The slip knot is the foundation of many crochet projects. You need to make slip knots to attach your yarn to your crochet hook. It’s easy and quick to make. But beginners sometimes have a bit of a hard time making them.
I’ve been there! So I’m here to show you the method I used to learn how to make a slip knot.

I have to mention that this method is on the “longer” side. That’s just because I was so new to crochet that I had to dissect each technique I came across. Things got so much easier the more practice I had. So just use this tutorial as a stepping stone!
You only need the bare necessities of crochet to make a slip knot. So check out this list!
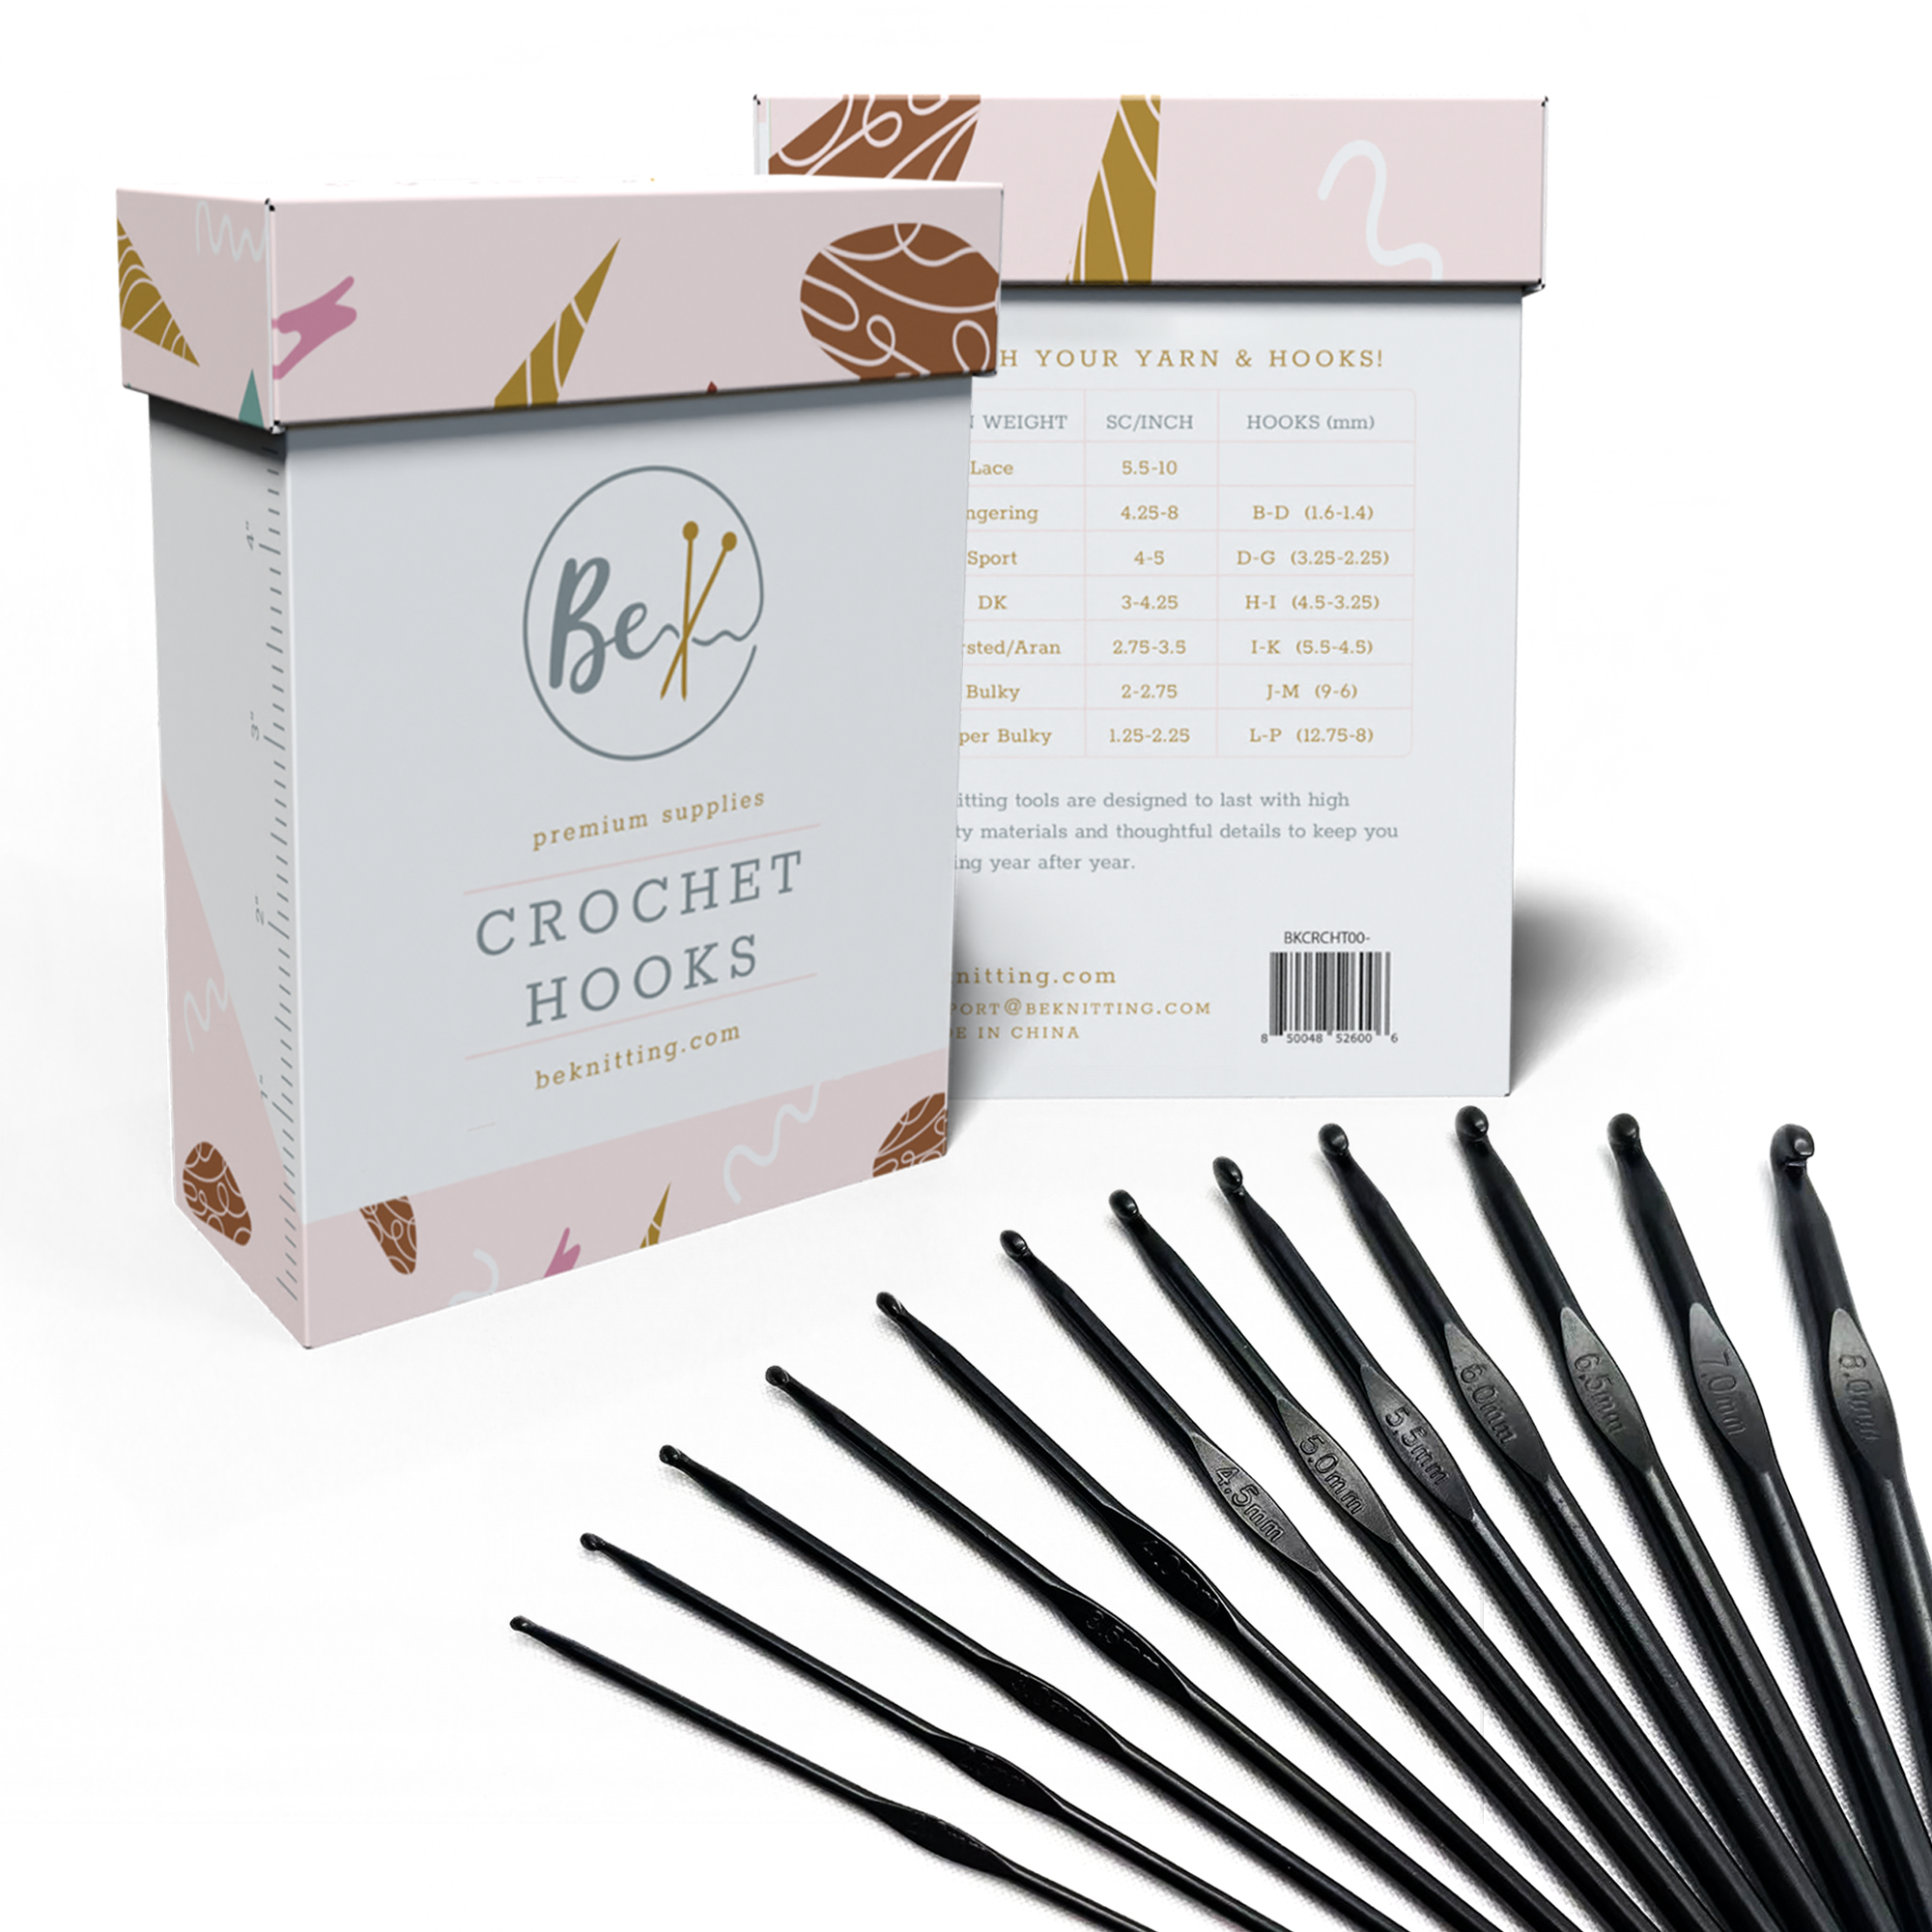
Learning how to crochet? Perhaps you’re looking for the perfect gift for a crocheter?
This ultra-sleek set of 12 crochet hooks is all you need to stitch up all sorts of fun patterns. Get all the essential hook sizes plus a handy container to store them in!
Available on Amazon now!
The very first step to learning crochet is making the slip knot. This nifty little knot is used for starting almost all of your crochet projects. It’s super easy and quick to make. But does need some time to get used to.
Here’s how I broke down the steps to making a slip knot:

Make an “S” shape with your yarn and twist the middle to form a loop.

Make sure you are draping the loop over the strand that is still connected to your yarn ball/skein!

You will find a strand of yarn running through the middle of your loop. Pinch that and pull!
I’m referring to the yarn my right ring finger is tugging on in the image to the right. Tugging this will tighten the small knot in the middle of your loop.


Keep tugging until you have a tiny noose-like loop. Tada! Now you know how to make a slip knot in crochet.

Of course not! There are other ways to learn how to make a slip knot. In fact, we have one for knitting! Both slip knots look and work the same way. The only difference is that it’s attached to a knitting needle instead of a crochet hook!
See if this methods works better for you:
Your slip knot should look like this once you attach it on your crochet hook. Now all you have to do is tug on the working yarn to tighten the knot!

Learning how to make a slip knot will feel a bit awkward to work with at first. But I promise you that it gets easier as you go along! This tutorial added some extra steps that seem unnecessary. However, I found that taking a crochet technique and breaking it into bit-sized pieces make it feel a little less intimidating.


