Magic Loop Knitting
Knit any circumference project!
Knit any circumference project!
Learning how to do the magic loop technique makes it possible to use a single circular needle to knit a huge range of circumferences! At first glance, the magic loop knitting method looks complicated and confusing but we promise it’s a technique that will have you knitting happily in just a few minutes.
Circular knitting needles are one of the MOST useful tools in knitting. Rather than just knitting back and forth on straight needles, circular knitting needles allow you to work around in a tube, or “in the round”.
While they come in a huge range of sizes, you might find yourself missing a size, or with a project that’s just an awkward too-small size (hello, baby socks!). Hats are another great example of a project that starts at a certain size and gets smaller as you work your way to the top. With the magic loop method you can use a single circular needle to knit the whole project from start to finish.
If you’ve cast on the number of stitches you need for a project and they don’t reach all the way around your circular needles comfortably then it’s time to use the magic loop!
Here’s the gist, you’ll be pulling a loop of cable out between two stitches, essentially creating a shortcut across your needles. That’s it! You’ll be “skipping” the excess cable as you work around your project. A little confusing? Yeah, we’ve been there too. Make sure to watch the magic loop tutorial video for some extra help!
Before you begin, you’ll need to cast on some stitches. Try practicing with a small circumference project, we like to cast on enough for about 1/3-1/2 the length of your circular needle. Once you have the hang of the magic loop technique you’ll be able to tackle just about any circumference but to start, let’s keep it nice and easy with fewer stitches and plenty of cable to work with.
Once you’re ready to join in the round and start knitting, you’ll be ready to follow this tutorial!
Note: This tutorial was written for right-handed knitters. If you’re a left-handed knitter you can follow the same instructions, however, you’ll need to replace “right needle/hand” with “left needle/hand” for all steps.
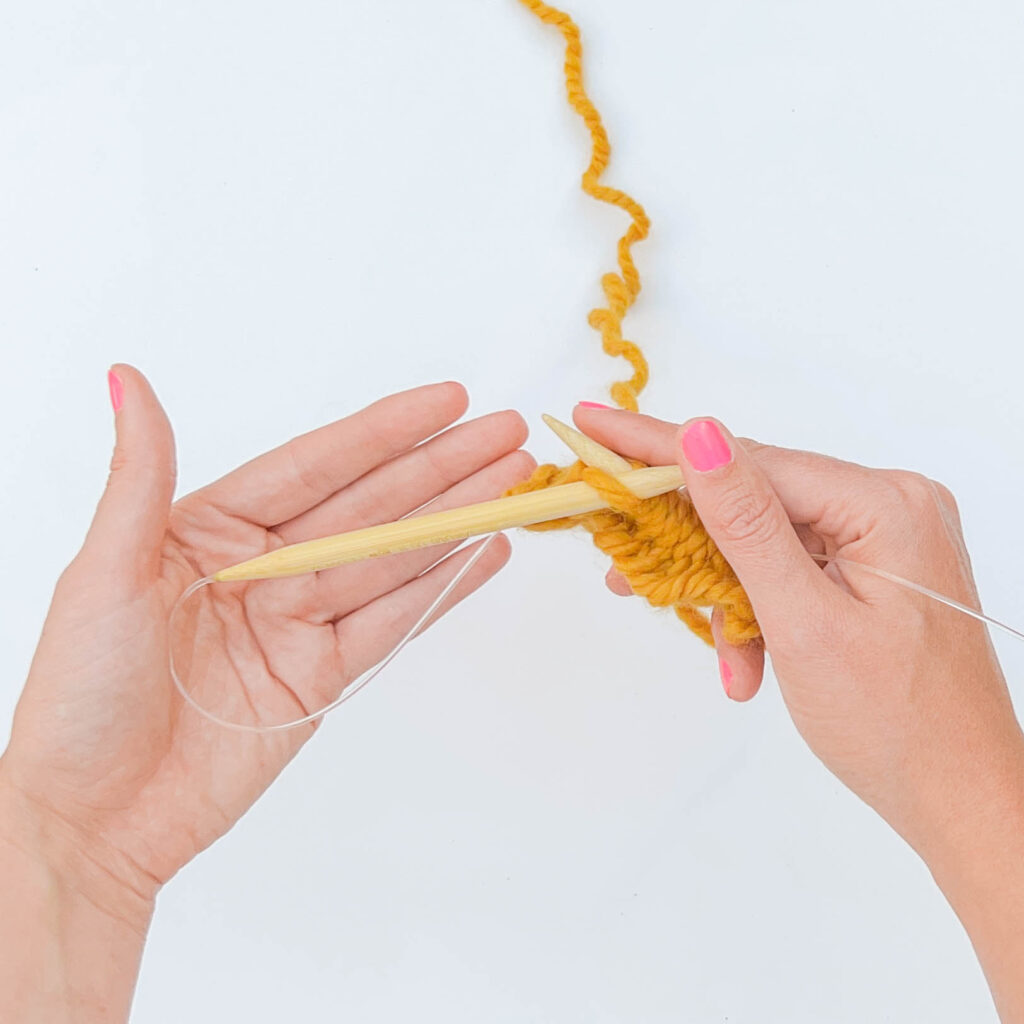
Step 1:
Slide your cast on stitches onto the cable portion of your needles. Hold both knitting needles in one hand so that the stitches sit in two parallel rows on the cable in your left hand.
Note: Make sure that your cast on row isn’t twisted during this and the following steps.
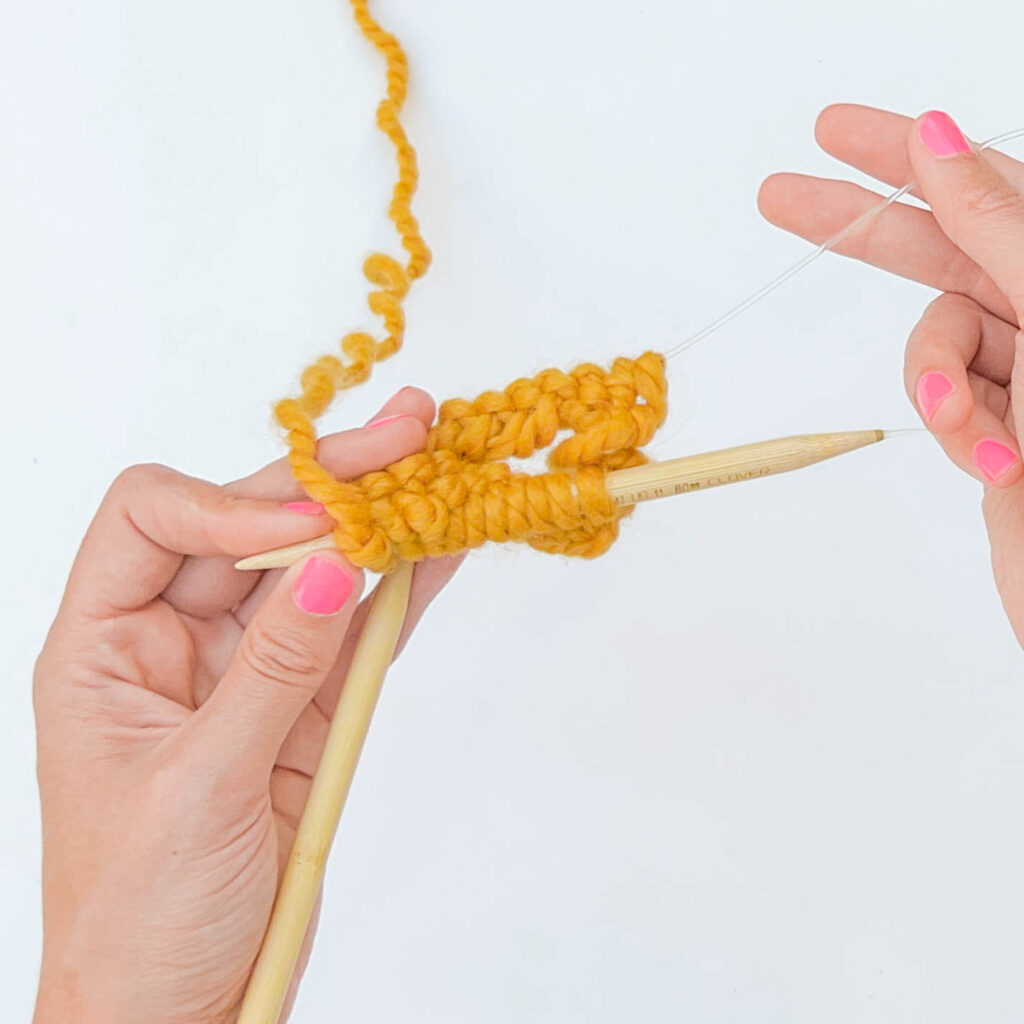
Step 2:
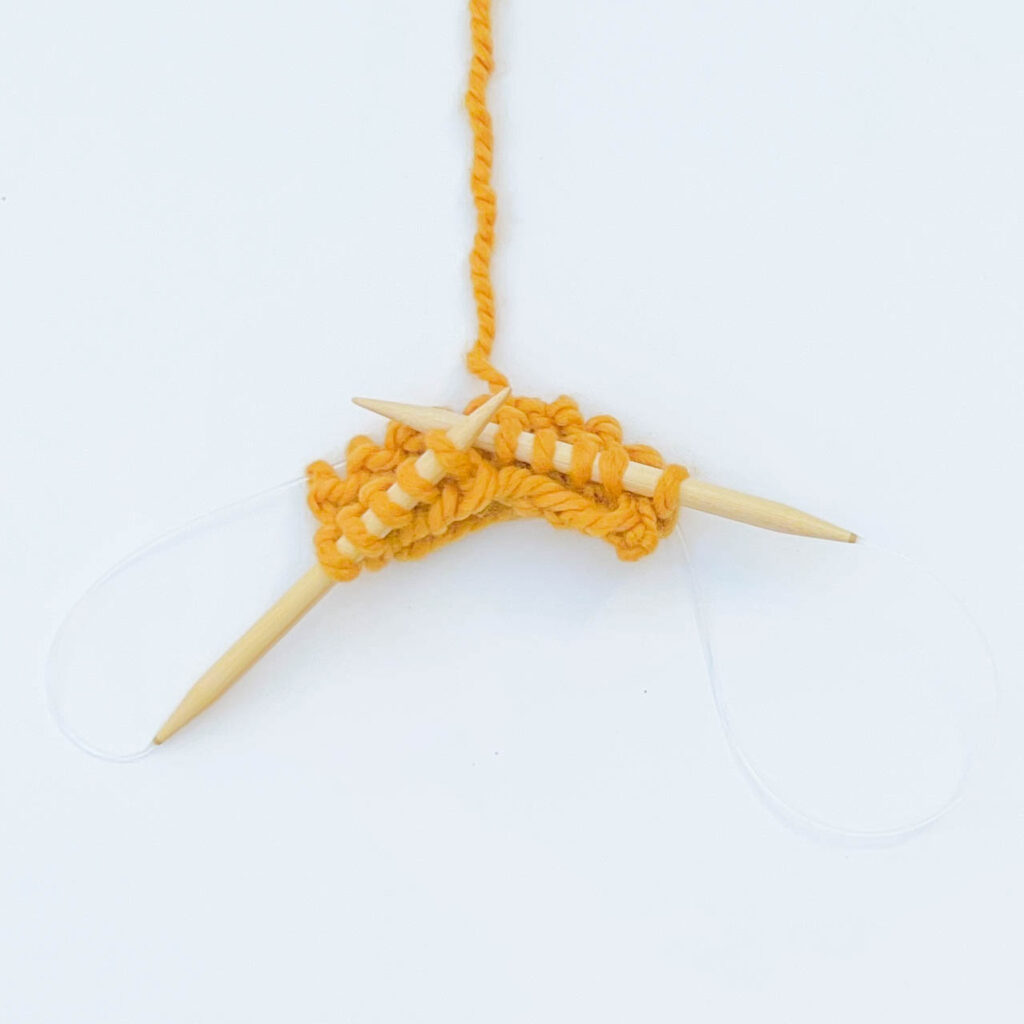
Find the two stitches at the approximate center of your cast on row (it doesn’t have to be exact) and pull the cable out between them.
hint: the cable will naturally curve at the midpoint of your row.
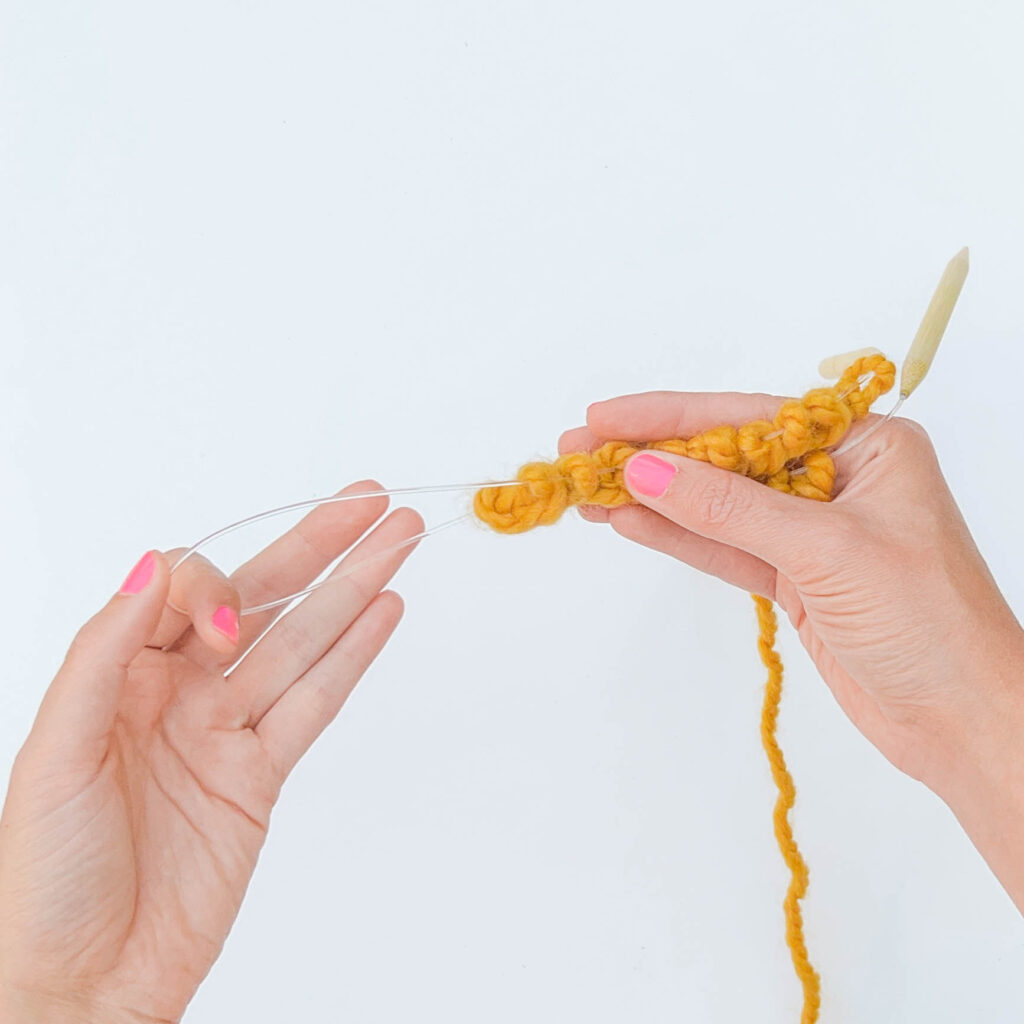
Step 3:
Gently pull the cable out between the stitches, creating a loop.
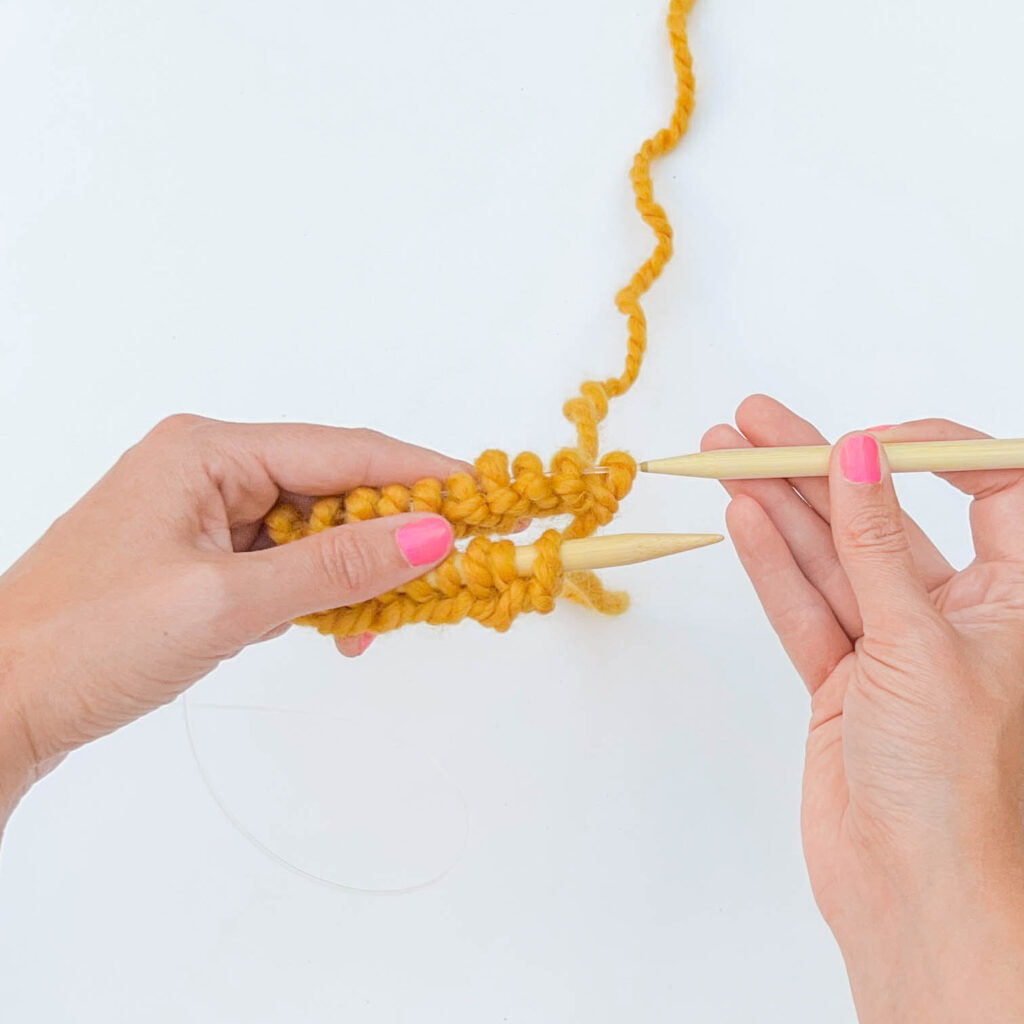
Step 4:
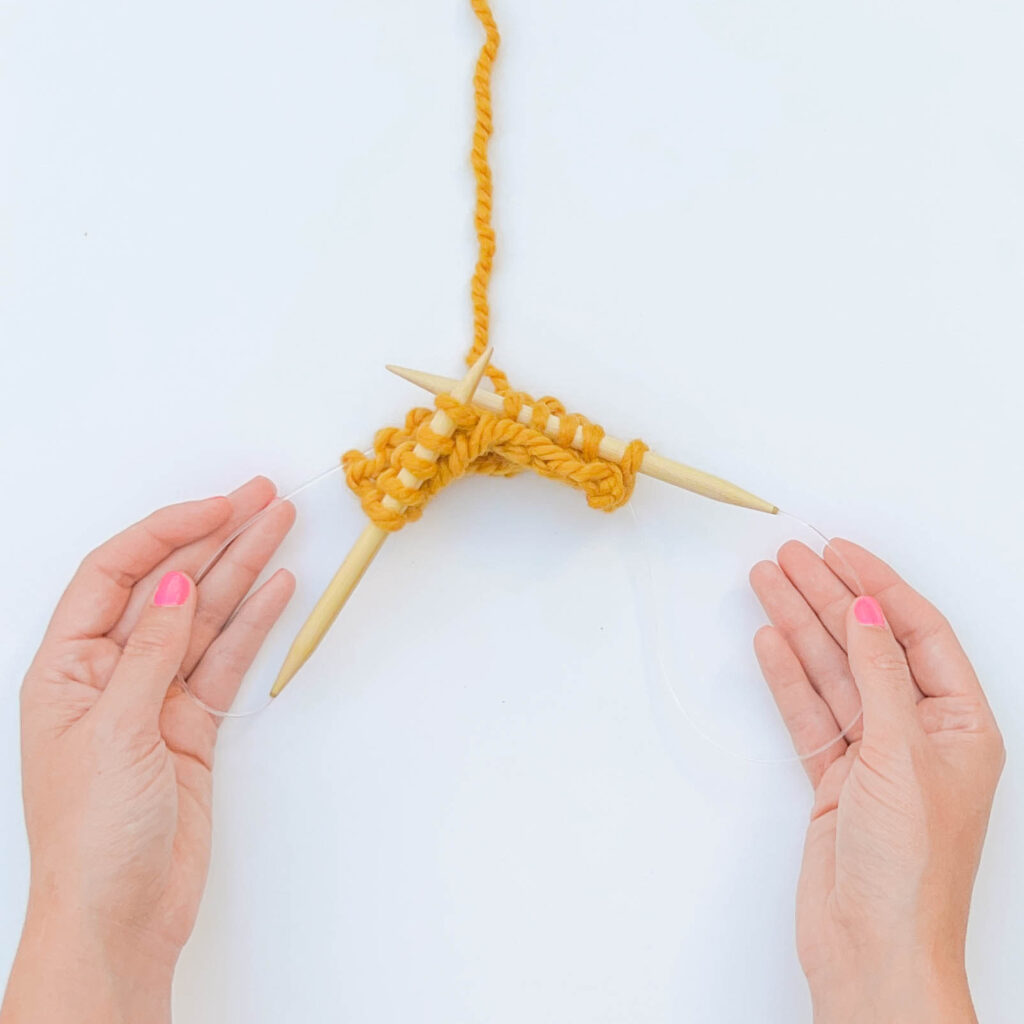
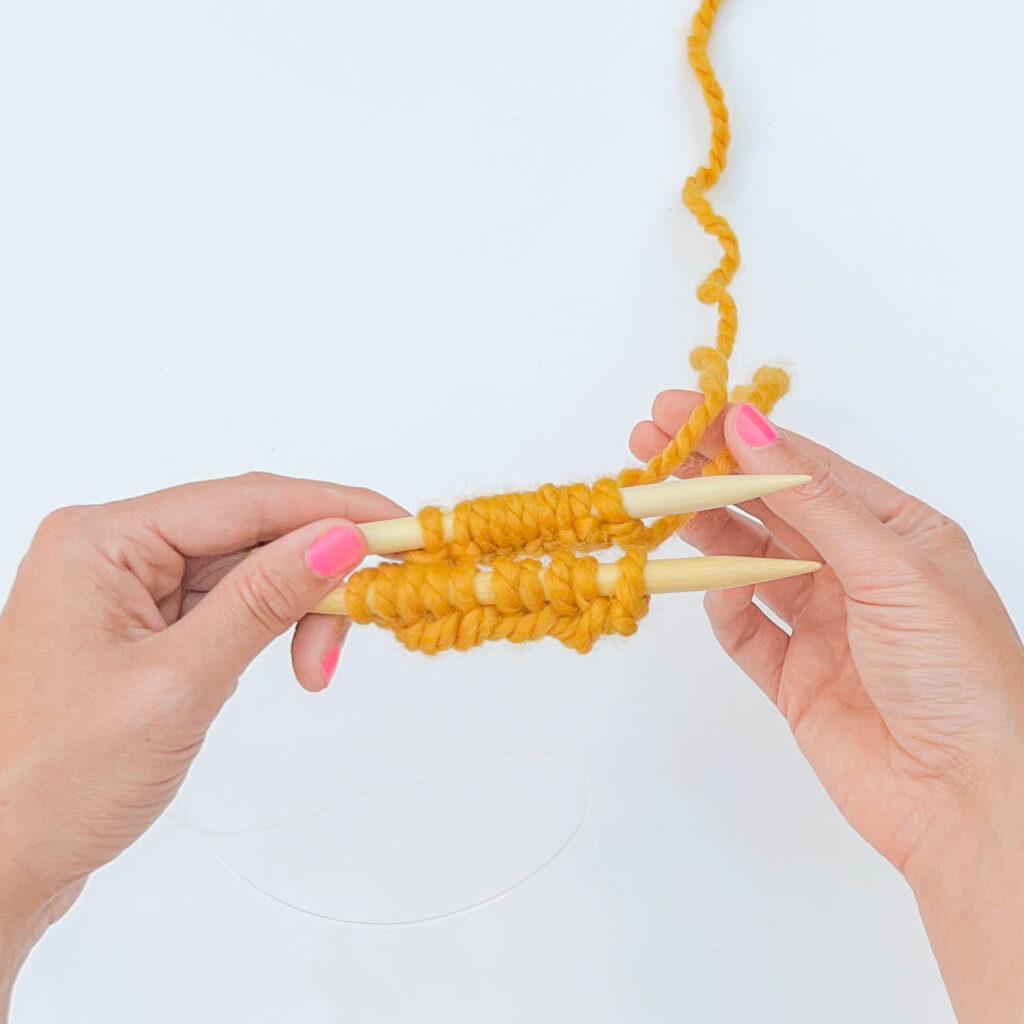
Continue pulling the cable out the middle of the cast on row so that you you can slide both onto the needles.
Make sure that your knitting needle tips are both pointing the same way.
The yarn strand should be coming off the needle held toward the back.

Step 5:
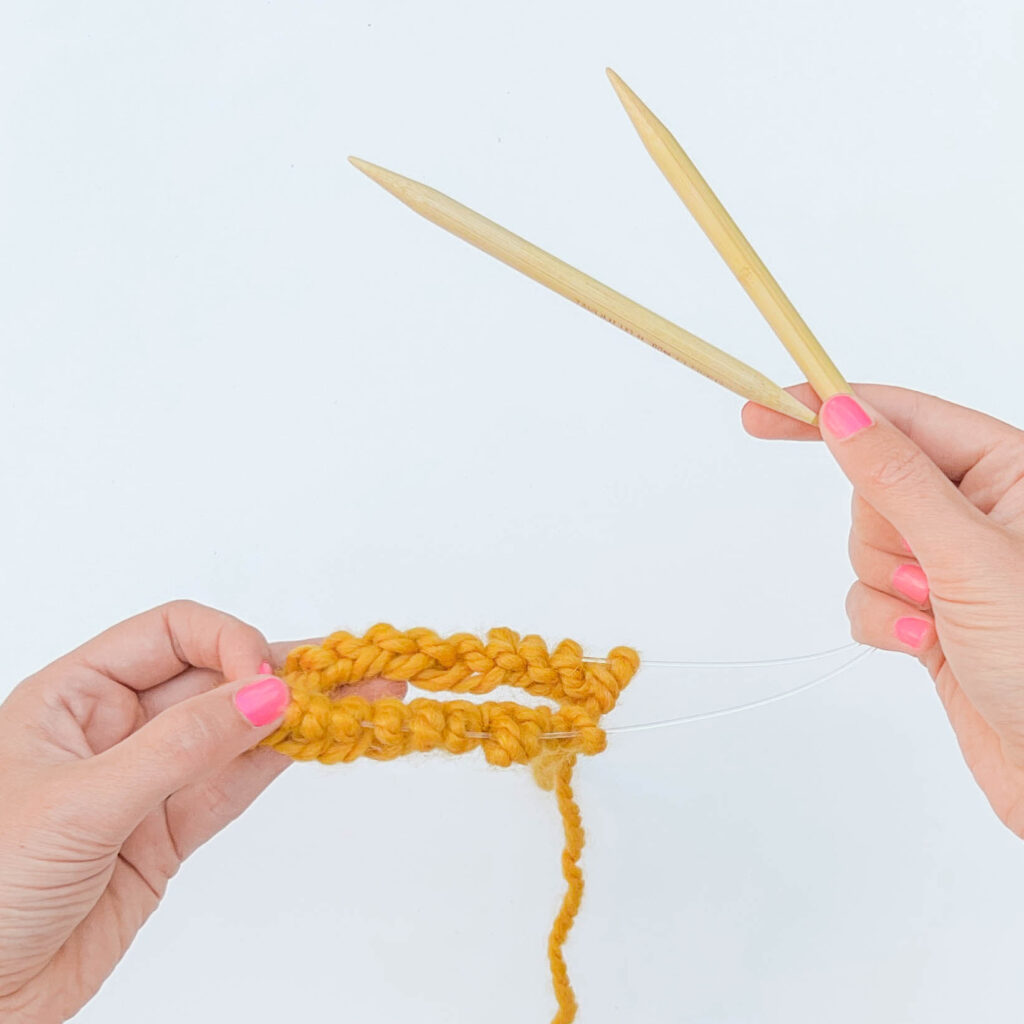
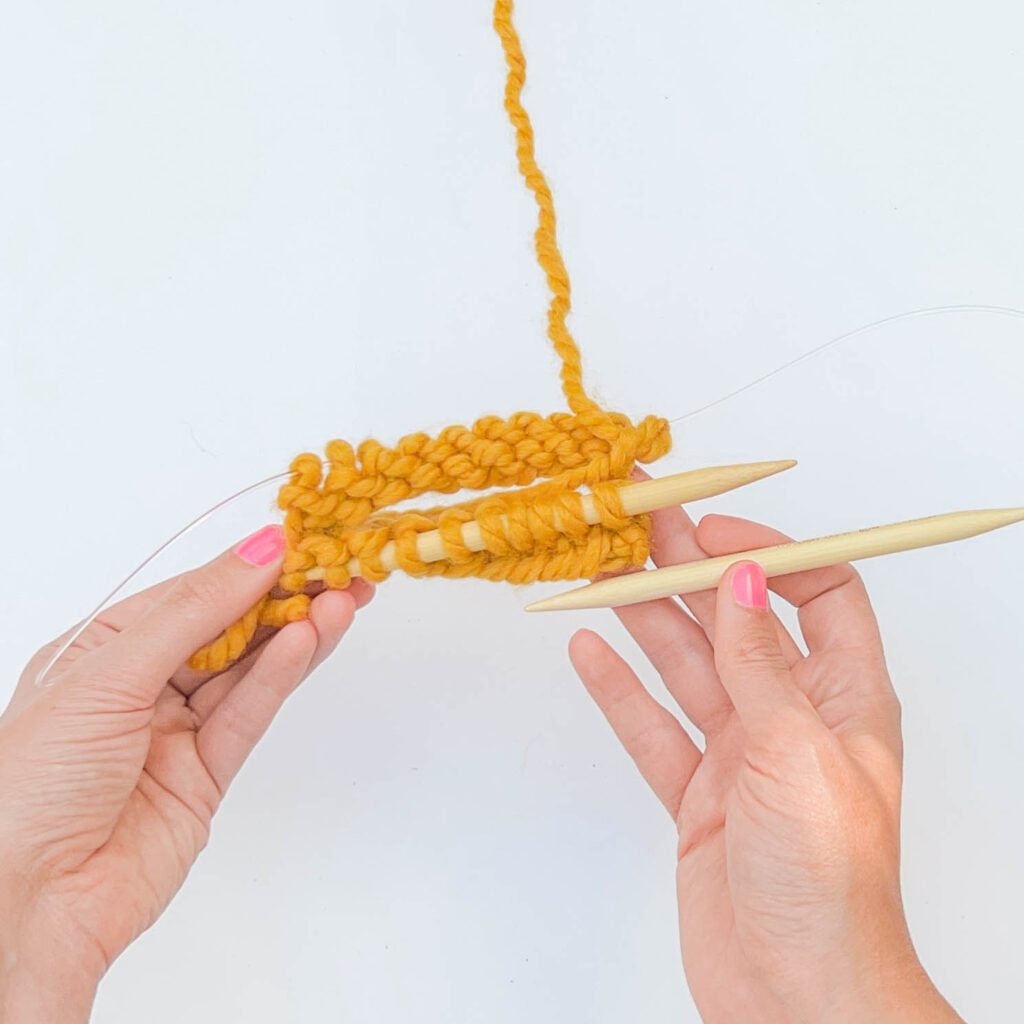
Pull your working needle (the one with the yarn attached to the ball) out far enough that you can angle it back toward the left needle. You should now see two loops of cable, one on the left side and one on the right side with two rows of cast on stitches in the middle.
Note: Now would be a good time to place a stitch marker on your right needle to mark the beginning/end of the round.
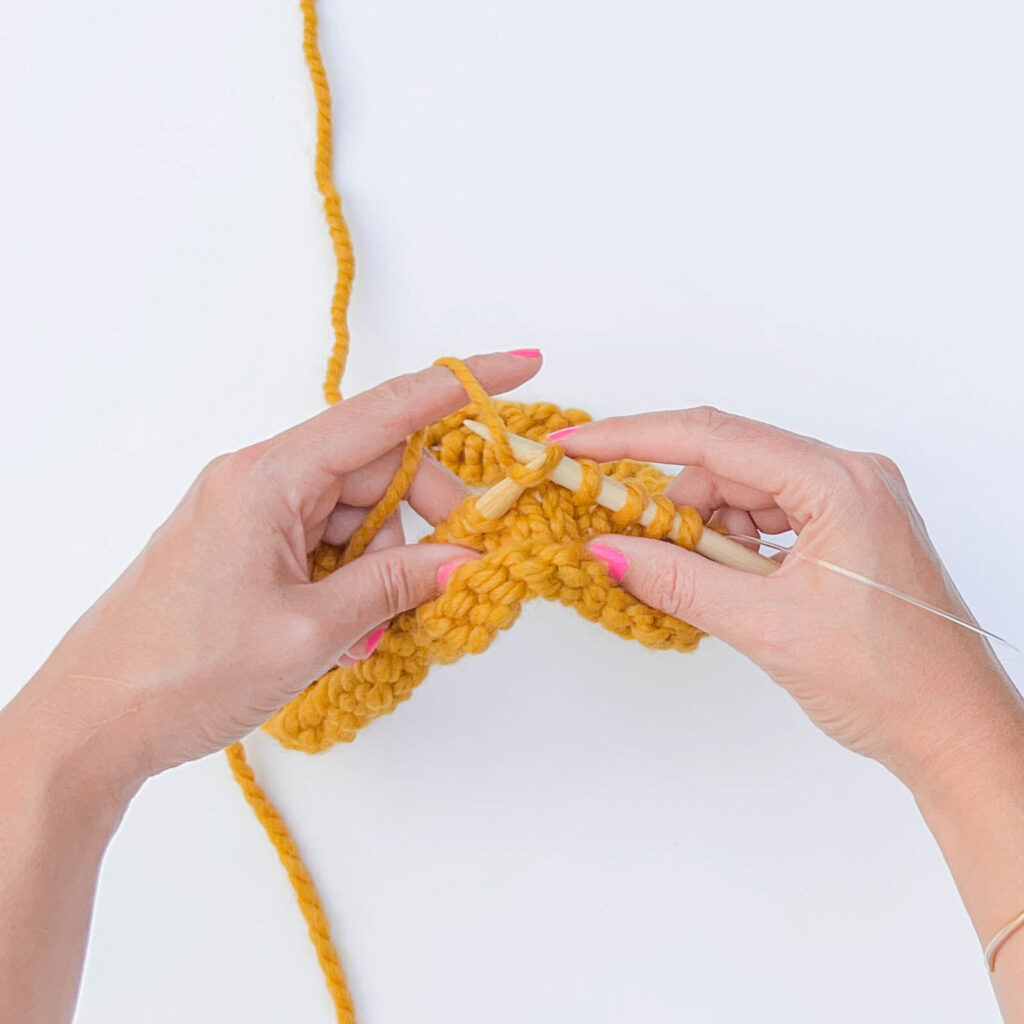
Step 6:
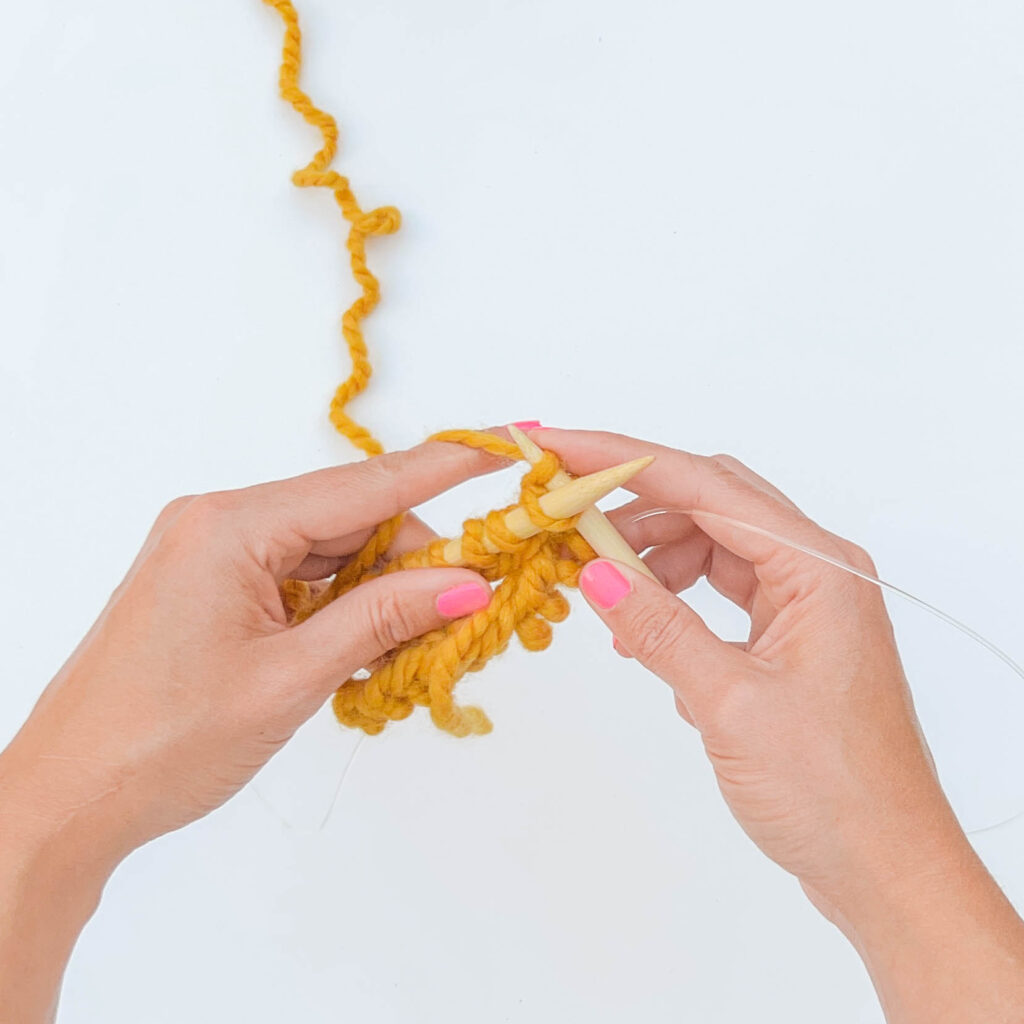
Knit the first stitch as you usually would using the working yarn attached to the the right-hand needle. This joins your work in the round.
Step 7:
Knit across the remaining stitches on the left needle normally until you reach the cable looped on the left side.
Step 8:
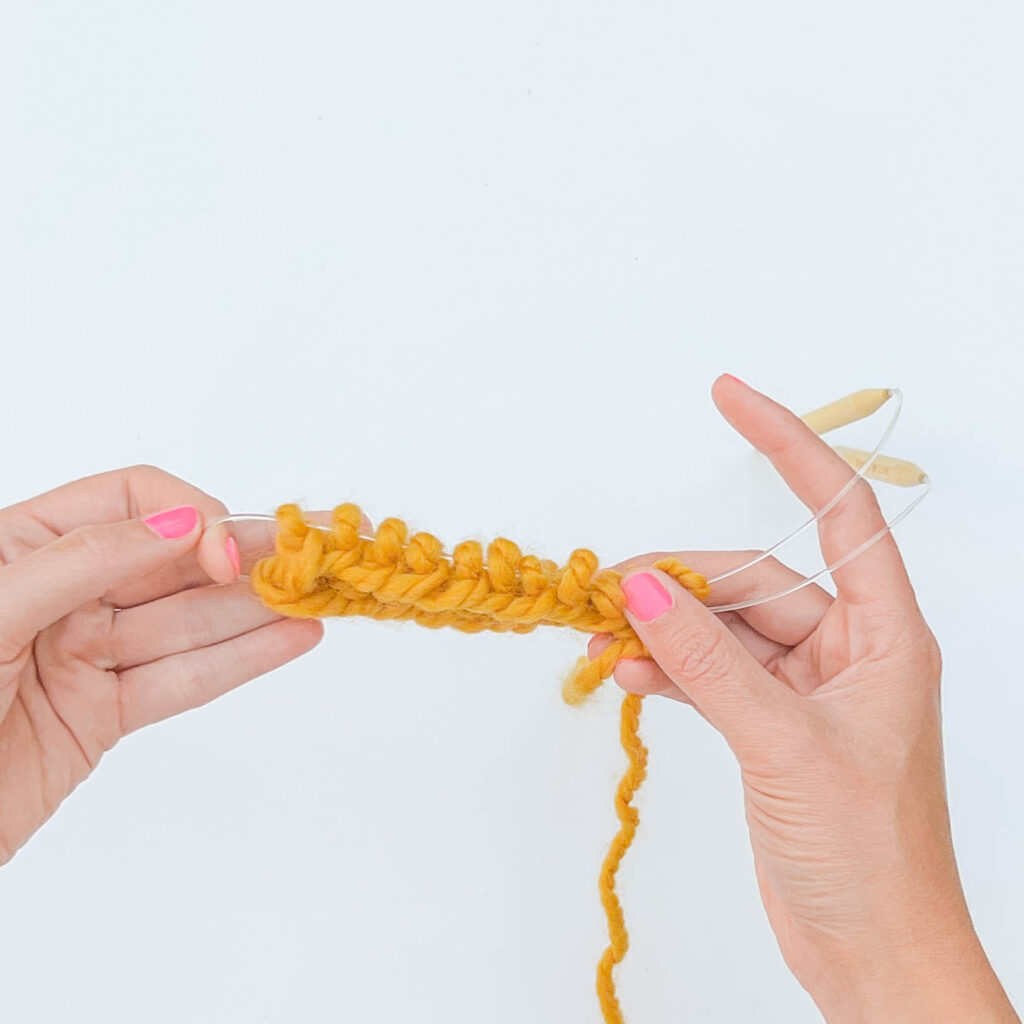
Before turning to knit the second half, pull out the cable loop on the right side to remove the extra cable length. Then slide the stitches for the second half onto the knitting needle.
Step 9:
Turn your work counterclockwise. All of the stitches are now on the needle tips again, the half you just knit is on the back/right needle, and the stitches you’ll knit next are on the front/left needle.
Step 10:
Pull your working needle (the one in back/right) out far enough that you can angle it back toward the left needle.
You now have two cord loops again, one on the right side and one on the left side with two rows of stitches in the middle.
Knit across the second half of your stitches as in steps 6 & 7.
Repeat
Repeat steps 6-10 until your work is the right length.
That’s it!
One of the best tips for the magic loop method is to use a longer circular needle, especially when you’re just starting to practice working with it. The longer your cable, the more space your cable will have to flex comfortably. You’ll also be less likely to stretch your knits where the magic loop is pulled through your fabric.
The second trick is to use needles that have a flexible cable. Some circular needles come with a cable that is fairly stiff making it difficult to pull the extra cable length out to form the magic loop. Find a set of interchangeable or fixed circular needles with a cable that easily twists and coils.
A helpful way to remember which needle is which: you will always be using the same needle tip (the one in your right hand) to create new stitches while the other tip (the one in your left) will always hold the unworked stitches. If you can, try using two different colored needles on each side while you’re learning!
Because the magic loop involves keeping a length of cable pulled out between two stitches the fabric in that area might be a little loose with holes or ladders showing in the fabric as you work. We’ve got some quick tips to help with holes in your magic loop knits!
When you turn your work and reposition your needles, give the yarn a gentle tug when you knit into the first stitch on the second needle. This helps close a hole and helps offset the stress your looped cable is putting on that area.
Magic loop doesn’t need to be in the same spot every time! You can always hook the cable through in a slightly different spot on your knits. By moving the loop over a few stitches every couple of rounds you’re moving where the slightly looser stitches are so that they don’t stack up in a way that’s obvious in your finished fabric. Just make sure you’re using a stitch marker to mark the beginning of your round.
Blocking your knits is a pretty magical way to smooth your stitches and fix any tension issues. Give your knits a bath and drying them flat gives you an opportunity to gently massage fabric so that areas like loose magic loop stitches even out. However, this only works in a fabric where there needs to be a little bit of adjustment. Knits with big problem areas might not be fixable with blocking and might require other troubleshooting.
As always, practice makes perfect and it’s worth learning a new technique with a low-stakes swatch rather than a big new project.


