
Knitting decreases and increases make it possible to get a finished project that fits perfectly every time! Adjusting the number of stitches in a row changes the shape of the finished knit. Adding stitches creates more fabric, removing stitches takes away fabric in a finished piece.
Some projects use increases or decreases to change the size of a project. For example, decreases can be used to shape the top of a hat to make it fit snuggly. Increases can be used to add fabric across the shoulders of a sweater. Other projects use both knitting decreases and increases in the same row to change how the fabric lies in different areas.
Deciding which technique to use is an important step in any project! How visible/invisible the stitches are in the finished fabric, or how fiddly the technique is are all great factors to consider. Some techniques are designed to work in a specific kind of fabric as well!
Learning how to increase stitches in knitting is important for projects that need to change circumference (hats or mittens) or bend to follow curves (socks and sweaters). By adding stitches you can make a piece of knitting wider or create a curved edge.
Look at the guide below to get an idea of the differences between different techniques.
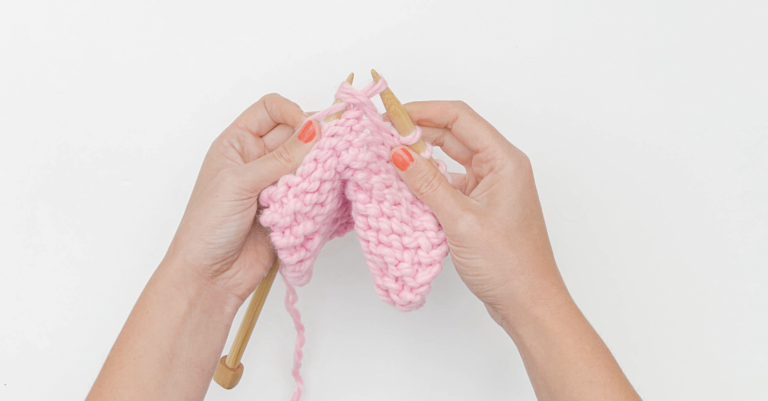
Make One Left (M1L) and Make One Right (M1R) methods add stitches by twisting the “bar” of yarn between two stitches.
The stitches slant either left or right depending upon which one is used and are fairly invisible in the finished fabric!
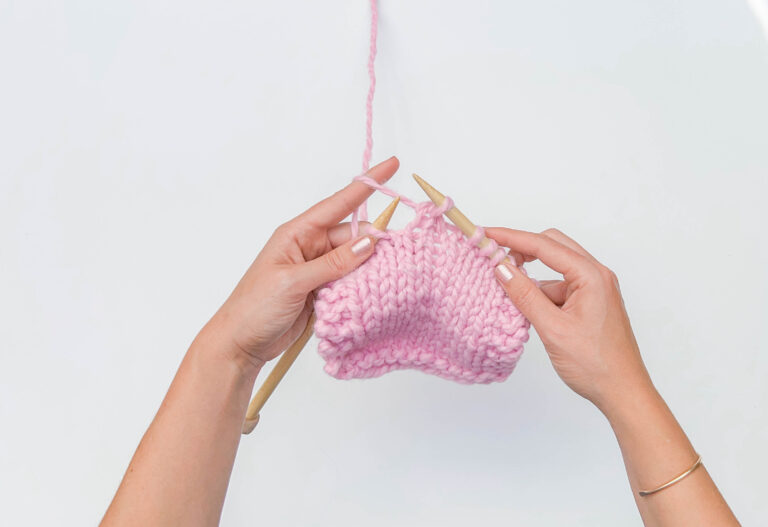
KFB (knit front and back) and PFB (purl front and back) add stitches by working one stitch twice.
These techniques create a knit and purl stitch at once and are ideal for ribbed or texture projects.
If used in a smooth or stockinette stitch fabric this technique will be visible in the finished fabric.
Learning how to decrease stitches in knitting is important! Many types of projects need to change circumference (hats and mittens) or bend to follow curves (socks and sweaters). By taking away stitches you can create a curved edge or make a project narrower/smaller.
There are different ways to take away stitches in knitting that range in difficulty and how obvious they are in the finished fabric. Check out the guide below to get an idea of the differences between different knitting decreases.
These P2tog (purl two together) and SSP (slip, slip, purl) stitches take away stitches in a row of fabric.
These decreases are designed to work best in purl fabric. Both methods remove stitches from a row with a stitch that angles either left or right depending upon which stitch is used.
P2tog and SSP decreases also designed to be worked in the same row to create angled stitches that work together to create shaping in the finished fabric.
Both of these methods are fairly invisible in the finished fabric.
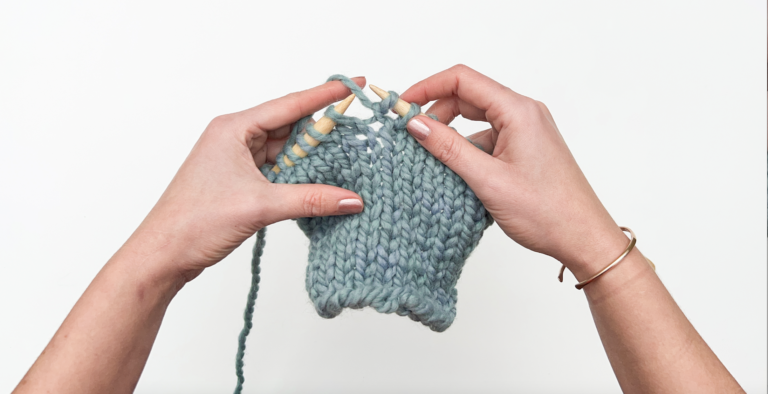
These K2tog (knit two together) and SSK (slip, slip, knit) stitches take away stitches in a row of fabric.
Both of these decreases are designed to work best in knit fabric. Both methods remove stitches from a row with a stitch that angles either left or right depending upon which stitch is used.
K2tog and SSK decreases also designed to be worked in the same row to create angled stitches that work together to create shaping in the finished fabric.
Both of these methods are fairly invisible in the finished fabric.
All of these methods are used to decrease TWO stitches at once and are useful in projects where you need to remove a bunch of stitches in a quick amount of time.
Center Double Decrease (CDD)
A center double decrease is similar to the SSK decrease stitch listed above. In this case, two stitches are slipped, before passing them both over a third stitch, leaving one stitch on the needles. See a tutorial here!
K3TOG and P3TOG
Knit-three-together and purl-three-together are very similar to K2tog and P2tog above. However, instead of decreasing one stitch you knit or purl three stitches at once, removing two stitches and leaving you with a single stitch on the needles. Read more about both techniques here: K3tog tutorial and P3tog tutorial!
How do I know which increase or decrease to use?
The technique you use will depend on the pattern you are following and the effect you want to achieve. Some patterns may specify a specific method, while others may leave it up to the knitter’s preference. It can be helpful to practice different types of increases and decreases to see which ones you prefer!
Can I use different types of increases and decreases in the same project?
Yes! You can combine different methods in the same project. This can be especially useful if you want to create a specific shape or effect.