

Casting on for Knitting
9 Videos
You’ve got your yarn and knitting needles, let’s start making something!
Learning how to cast on knitting stitches is the very first skill to learn as a beginner knitter. Casting on creates the foundation row of a project and gets the yarn onto the knitting needles.
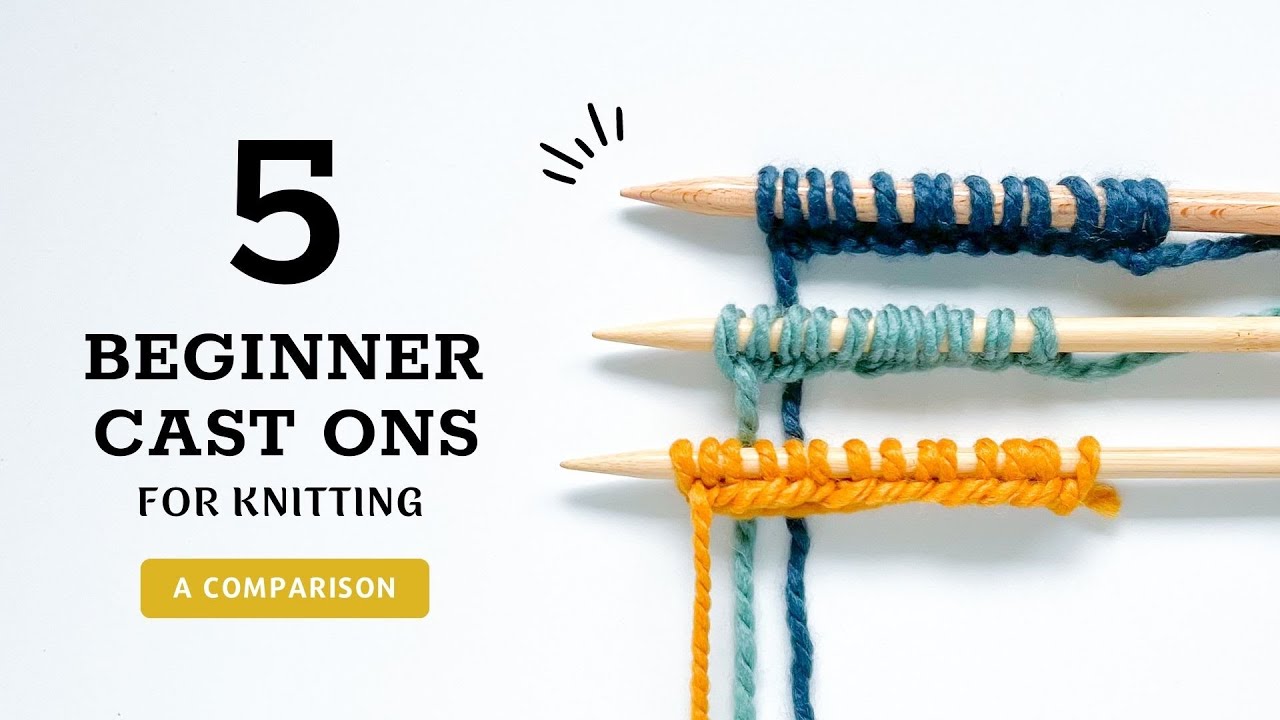
There are so many different ways to cast on for knitting. Each technique was designed with a specific purpose in mind.
Some cast ons create a stretchy and elastic edge, others are beginner-friendly, while a few specialty methods create a decorative edge.
Learning how to work a variety of different cast on methods guarantees that you’ll have a perfect edge on for every project.
Whether you’re doing a simple project like a dishcloth or trying a complicated stitch pattern we’re sharing the cast on techniques you need to get started!
Looking for something simple and easy to memorize? Want to add maximum stretch to your edges? You’ll find just what you’re looking for in the cast on techniques outlined below! We’ve got you covered.
It doesn’t get easier or more simple than these cast on techniques. We recommend trying all of these before you start your first project. Practice casting on over and over again to get the hang of the motions, slipping the stitches off the needles to reuse the yarn until you’re ready!
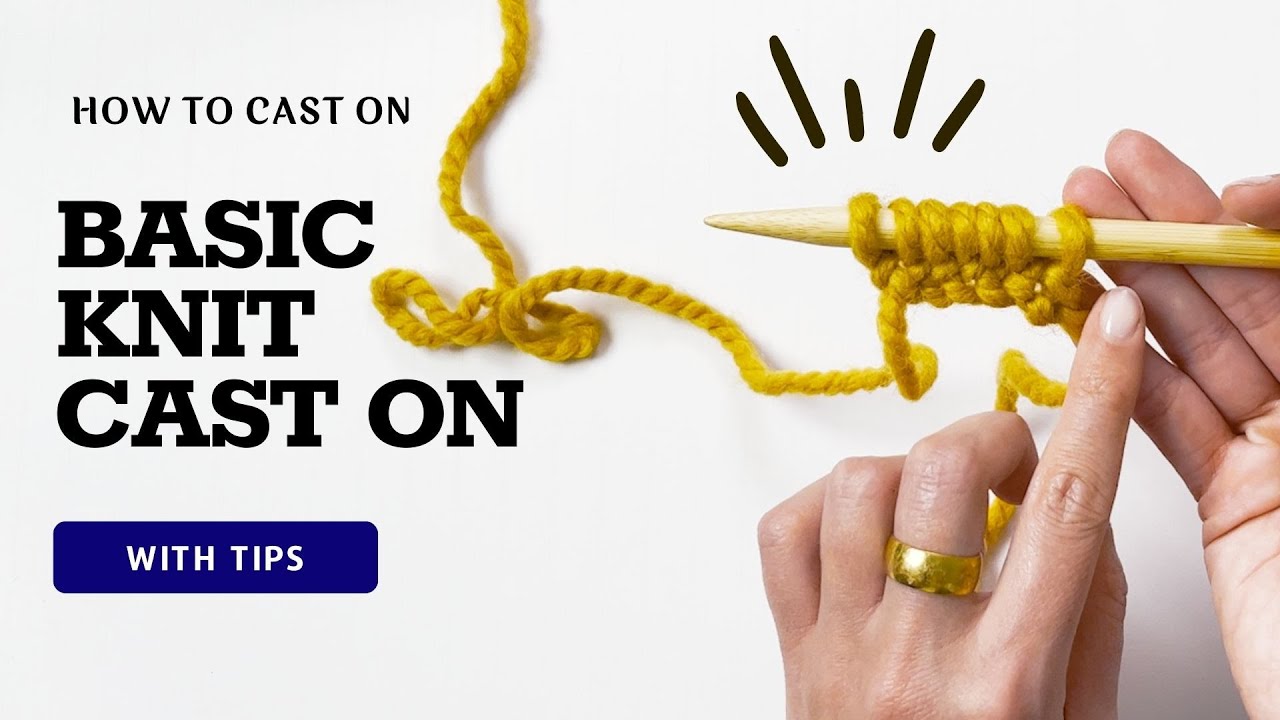
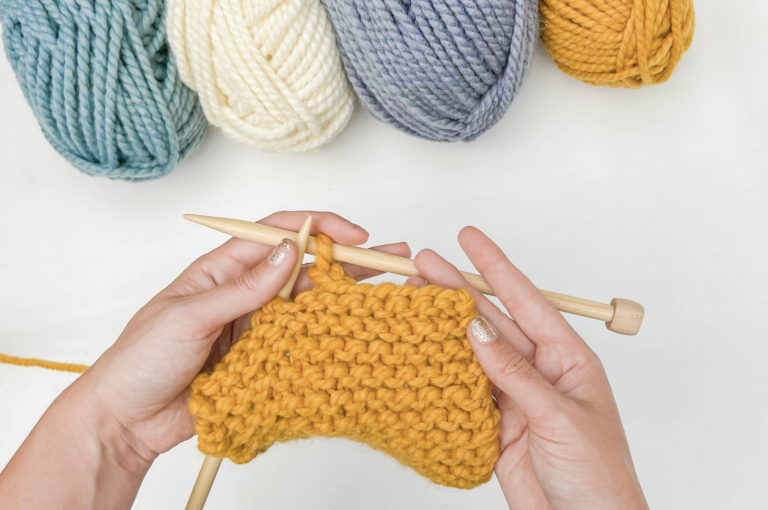
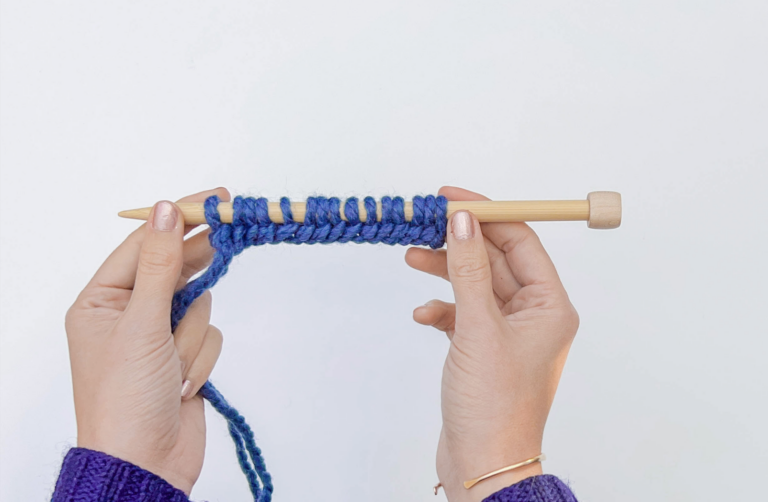
This technique is easy to memorize and creates a nice, sturdy edge for any knit project. Whether you’re already familiar with the knit stitch or just getting started, this cast on is a great time to practice.
The basic knitted cast on is especially good for simple projects like dishcloths, afghans, or scarves with edges that don’t need to flex or stretch to fit.
Learning how to cast on stitches doesn’t have to be complicated!
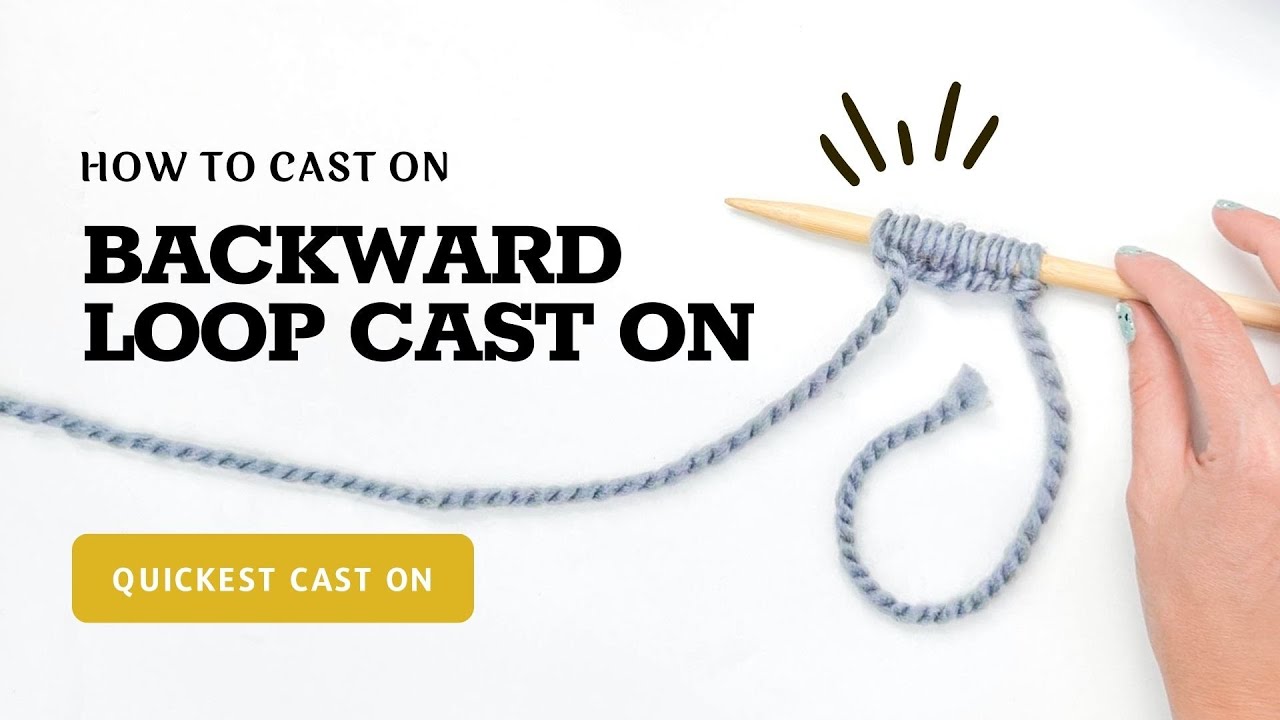
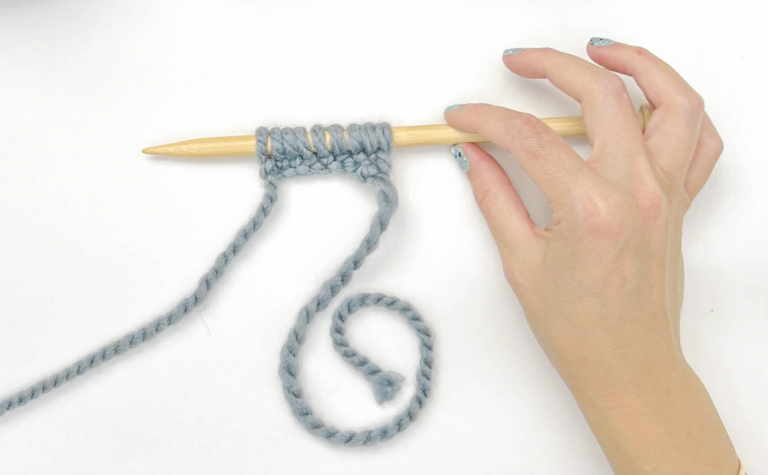
The backward loop technique is designed to be both fast and easy. Each time you use the backward loop cast on you’ll get a simple and fairly sturdy edge. This is a great cast on for projects like dishcloths, scarves, and afghans!
The backward loop cast on also makes it easy to add stitches in the middle of a project. You can read more about casting on mid-row in our tutorial.
Does your project have ribbing at the cuffs, brim, or hems? That’s a great sign that you might need a cast on that will create an edge that can stretch for a snug fit.
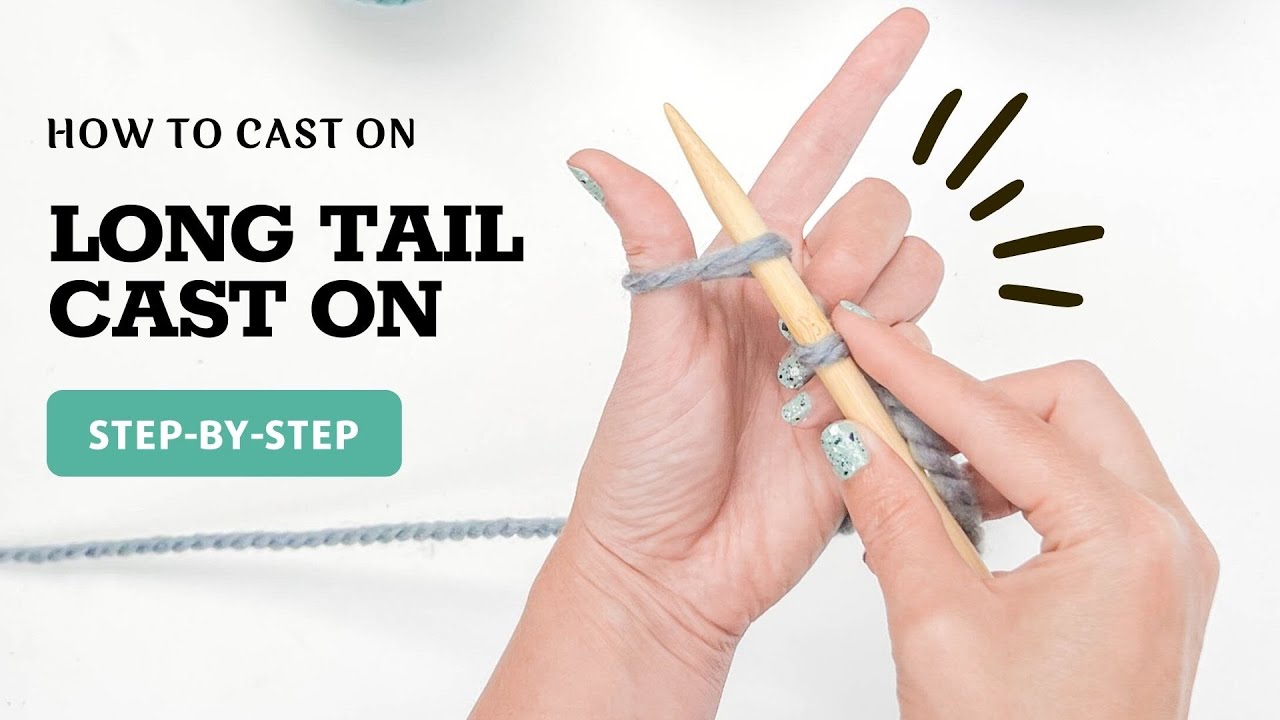
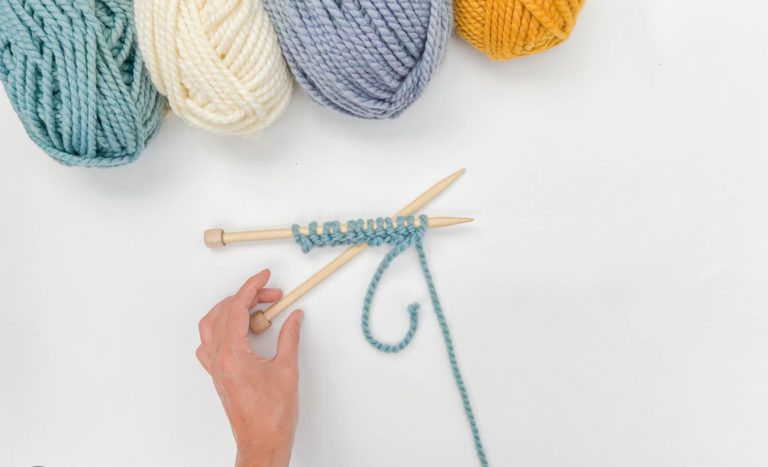
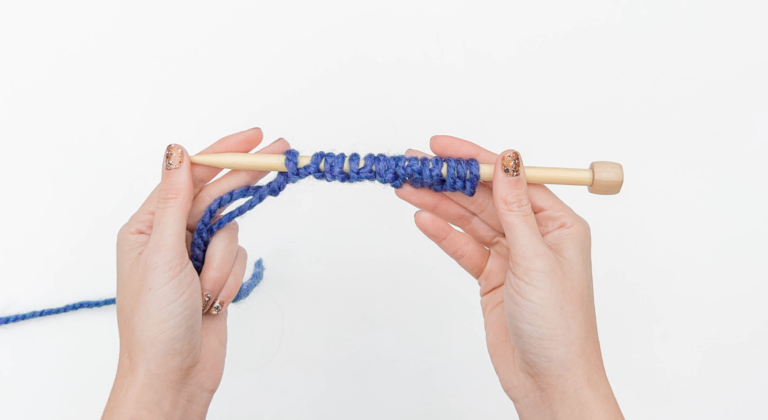
The long tail cast on is slightly more advanced than our beginner-friendly methods but it creates a perfectly stretchy edge that you’ll need for a variety of projects. It’s also one of the most popular methods, we highly recommend learning this one as a great all-purpose way to start any project.
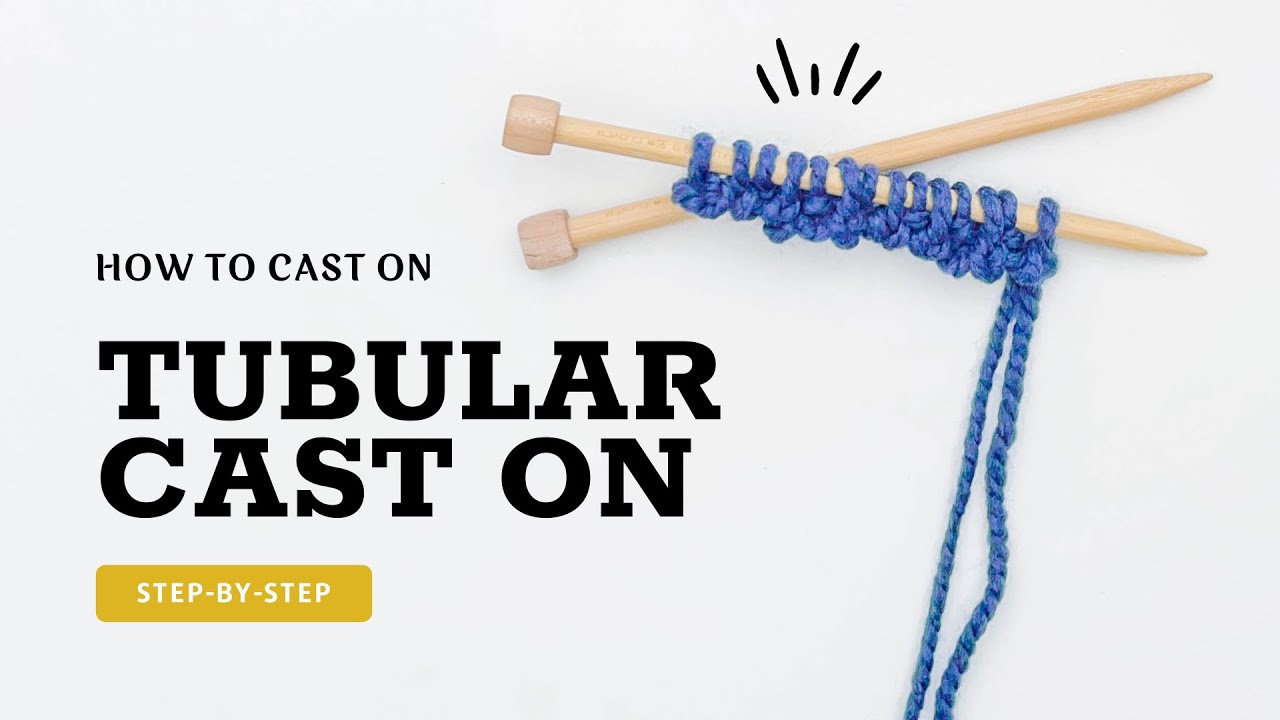
Also known at the long tail tubular cast on or the Italian cast on, this is a great three-row technique that will give you a stretchy edge. The best part about this technique is that it transitions seamlessly into 1×1 ribbing!
The german twisted cast on is the stretchiest way to start a project! A few tweaks to the typical long tail cast on creates a super elastic edging, perfect for projects that need to stretch to fit comfortably.
Over the years knitters have come up with a cast on for every scenario. Learning how to cast on for knitting should include these unusual techniques… you never know when they’ll come in handy!
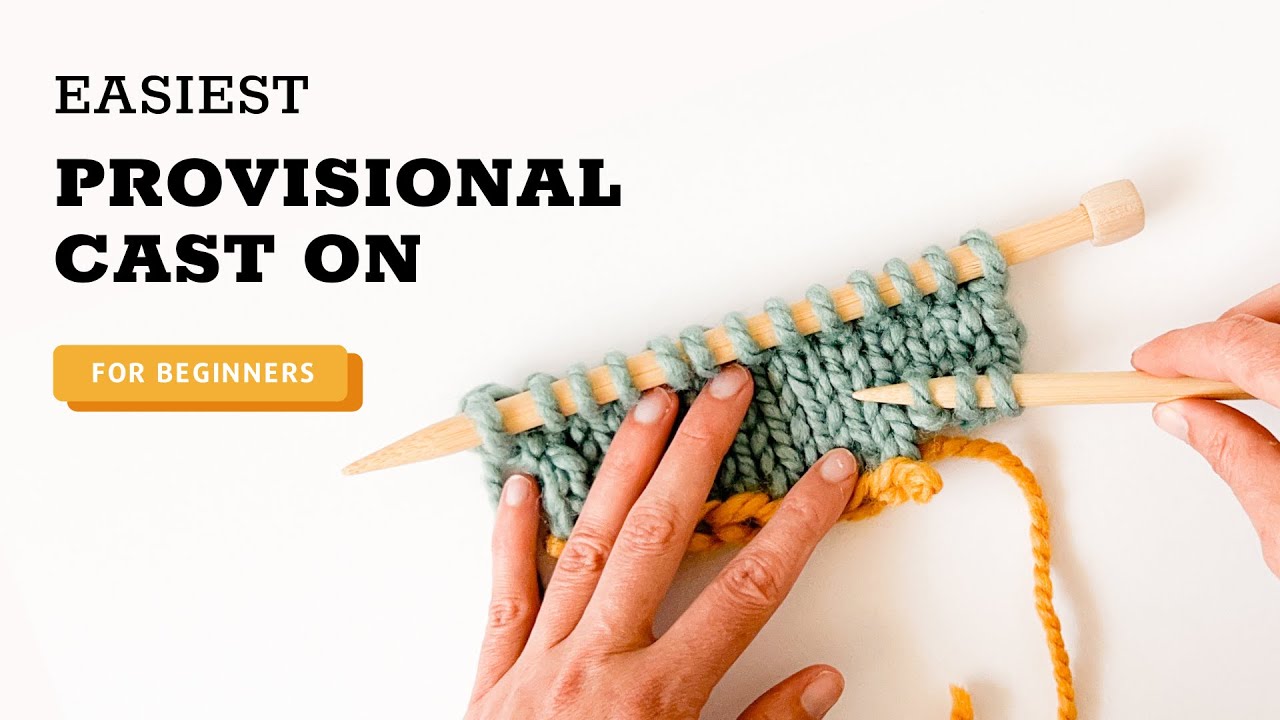
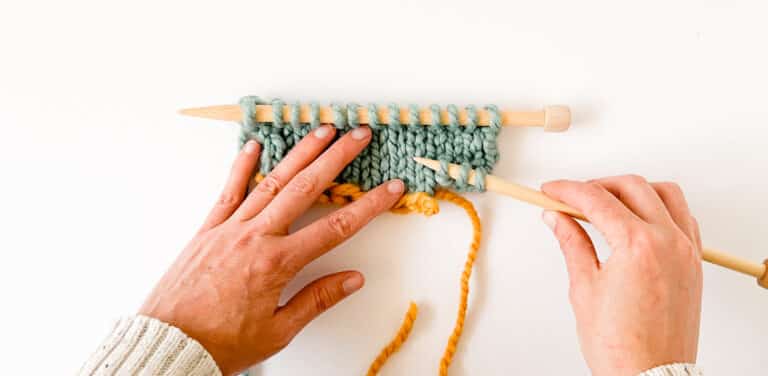
Seamlessly pick up your cast on row stitches to knit later!
This special cast on creates a temporary row makes it possible to knit into both sides of your cast on stitches. This means you can knit in two opposite directions at once!
The best part? You can either do it right away or come back later.
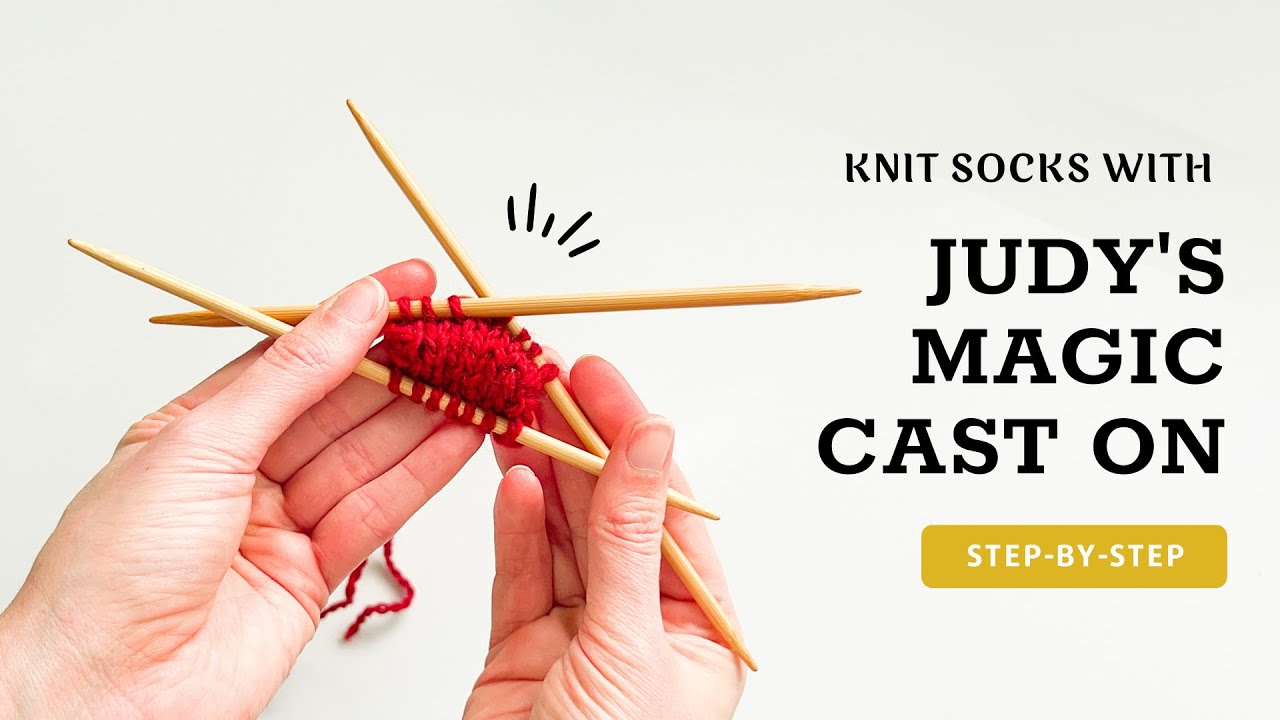
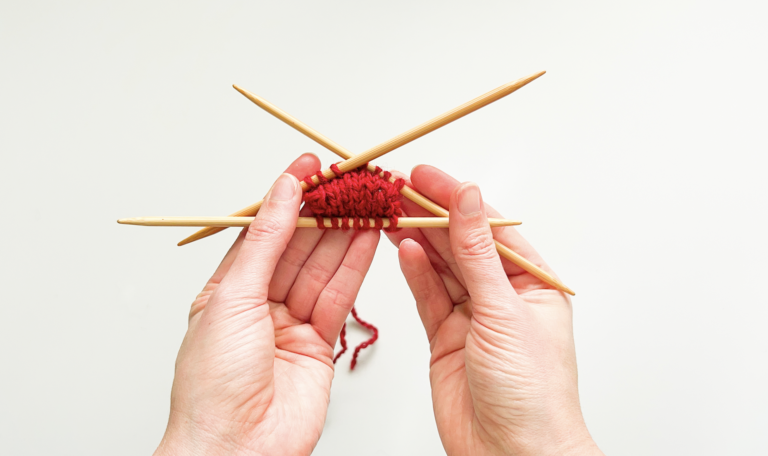
Create a totally invisible seam for projects knit in the round.
A cast on doesn’t need to be used every day to be an important method to learn for beginner knitters! This technique is advanced-yet-useful for a ton of projects. It creates a seamless start to in-the-round knit projects like toe-up socks and top-down hats or mittens.
Time to stretch your skills and give this cast on a try!
Learning different cast on for knitting doesn’t have to be confusing, sometimes you just need to see the motions in action. Our video series includes beginner basic cast on techniques as well as useful specialty cast on methods. Try them all to see what works for your next knitting project.
While all cast on methods can be learned as a beginner, there are two methods that are fast, easy, and can be done in just a few steps. The backward loop cast on uses yarn and a single needle, and the basic knit cast on uses the same motions as the knit stitch! Both are excellent beginner-friendly cast on techniques.
Tension describes the how taught the yarn strand is as you knit. To adjust your yarn tension take some time to try a variety of ways of wrapping the strand around your fingers.
Also, whether you knit continental or english style will effect your yarn tension as well. As always, work slowly and focus on how you’re forming each stitch in order to create a consistent, even cast on edge.
Ah! Mistakes are no fun but they happen all the time to knitters of every skill level. Each of our tutorials includes some common problems and solutions for each cast on technique.
Since the cast on row is the very first step in every project, it’s usually easiest to slide the stitches off of your needles and simply redo the row if you’ve made a mistake.
Always stop to count your stitches before working the first row of your pattern! You’ll avoid so many headaches if you take the time to double check your stitch count. If you’re casting on a large number of stitches, try placing a stitch marker or piece of scrap yarn at regular intervals (aka: every 20 stitches).
Remember, your slip knot counts as a stitch too!
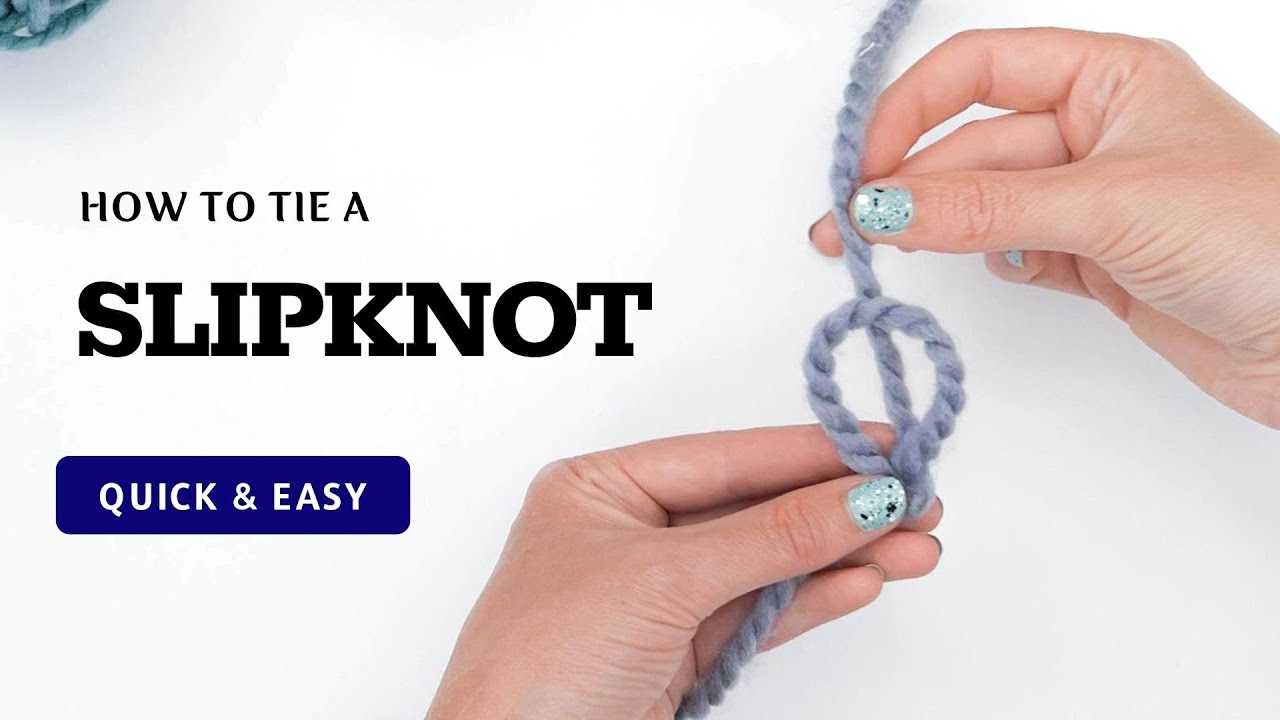
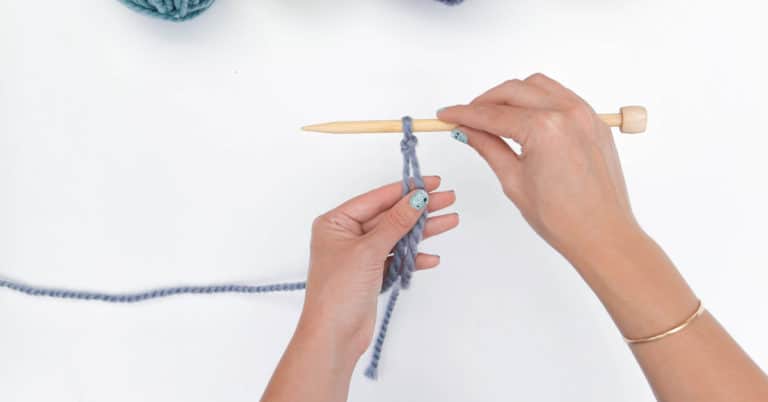
This simple knot is easy to learn and a great way to start most knitting projects. Not quite sure how to make a slip knot? This tutorial is a quick, simple refresher.
Every cast on starts with a slip knot!
This super simple slip knot is a great way to anchor your yarn to your needles before casting on the remaining stitches you need.
This handy step-by-step tutorial shows you how to tie a slip knot for knitting in just a few seconds.
The opposite of starting a project is… finishing one! Binding off knitting takes the stitches off your knitting needles that creates a finished edge with stitches that won’t unravel.
Binding Off Knitting for Beginners
Learn all the ways to take your project off the needles! These techniques range from ultra beginner-friendly, stretchy, or decorative.