How to Chain Stitch for Crochet Beginners: 3 Easy Steps!
The foundation of every crochet pattern!
The foundation of every crochet pattern!
Learning how to chain stitch is an important part in learning how to crochet. It’s often called the “foundation chain” as it is frequently used to start off all sorts of crochet projects.
Whether you’re crocheting a flat panel or a round ball, the chain stitch can help you through it all!

Ready to learn how to chain stitch crochet? Then check out the tutorial below.
You’ll only need 2 things to learn how to chain stitch. Take a look:
Yarn tip: Don’t like how thin worsted weight yarn is? Choose super bulky or chunky yarn. They are much easier to hold on to and stitches show up much clearer. Opt for more affordable yarn brands so you don’t feel too bad about scrapping your first few attempts.
Try to avoid fuzzy yarn like chenille and velvet yarn as stitches tend to become practically invisible once crocheted!
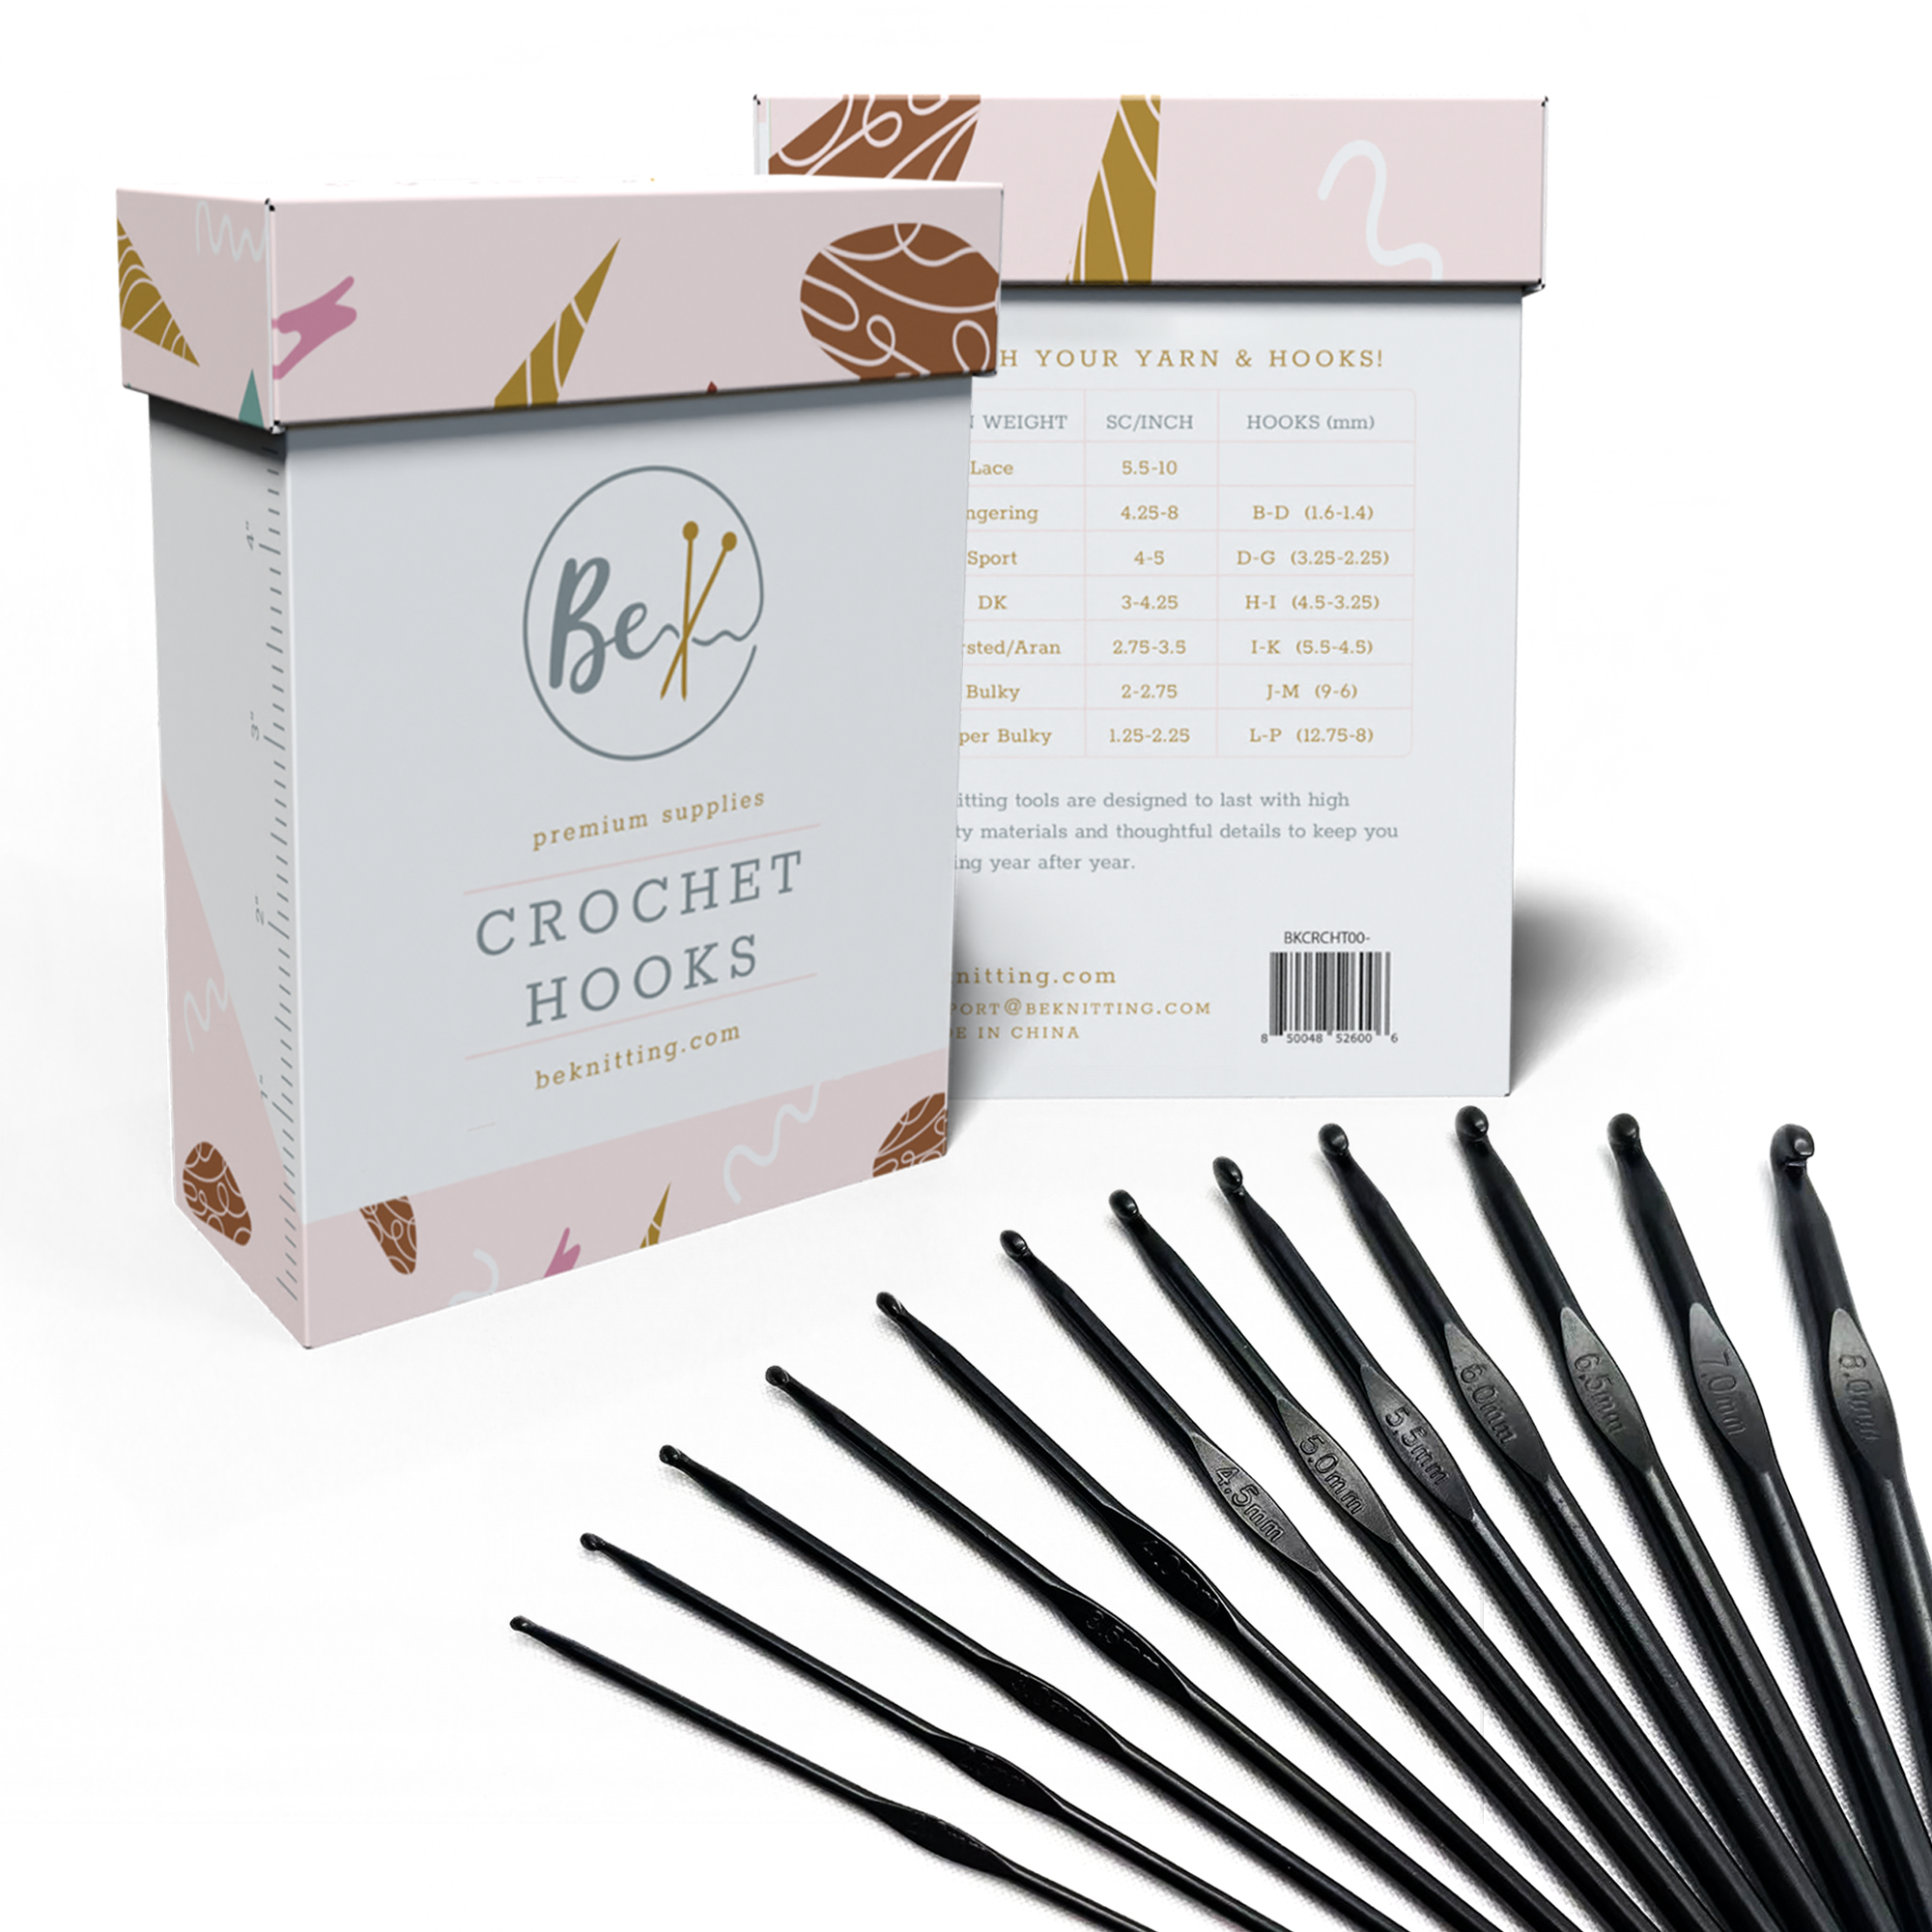
Learning how to crochet? Perhaps you’re looking for the perfect gift for a crocheter?
This ultra-sleek set of 12 crochet hooks is all you need to stitch up all sorts of fun patterns. Get all the essential hook sizes plus a handy container to store them in!
Available on Amazon now!
The chain stitch can be a bit fidgety to work with. But it’s super easy once you find your rhythm. Here’s how I learned how to chain stitch crochet:

The slip knot is essential for getting your yarn on your hook. Using this particular knot will allow you to adjust the size of the loop you are working with.
You can also tug on the yarn to change the tension if you feel like your loops are getting too tight or too loose.

Hold the knot between your middle finger and your thumb to keep it still.
Let’s face it, the chain stitch is flimsy and a bit awkward to work with.
Holding on to the middle of the stitch you are working with will make yarning over so much easier!

With your hook facing towards you, go under and over, grabbing the yarn like so!
(You’ll notice that the chain is already quite far along in the image. This is to avoid blocking the stitch that is being worked on.)

Once you grab your yarn, pull it through the loop.
If you’re having difficulty getting your hook through the loop, grab the bottom part of the stitch you are working on to keep everything still.
REPEAT STEPS 2 TO 3 until you reach the number of stitches you need for your project!

No, it can also be used to add embellishments and texture to your project. The crochet picot stitch is a great example of using crochet chain stitches as decoration!
Your chain stitch should look something like this. Don’t worry if your first chain stitch looks a bit wonky and uneven. We have ALL been there! Just keep practicing and you’ll be a pro in no time.

The chain stitch (a.k.a the “foundation chain”) is super important for many crochet projects. You use this to set up the starting row of flat crocheted projects or a stable ring for round patterns. This has saved me from tons of stress of crocheting round patterns when I was still getting used to the magic ring.


