Magic Circle Crochet Tutorial for Beginners: 4 Super Simple Steps
A must-learn skill for crocheters!
A must-learn skill for crocheters!
The magic ring, also called the magic circle and “mr or mc” in crochet patterns, is a cool little trick for crochet projects that need to be cinched shut. These projects include amigurumi, round dishcloths, granny squares, and beanies.
It’s very easy to make and even easier to use. Today, we’re talking all about the magic ring and how to make it. Ready to learn a new technique? Check out the tutorial below!
You’ll only need 2 things to make the magic ring. Take a look:
Yarn tip: Don’t like how thin worsted weight yarn is? Choose super bulky or chunky yarn. They are much easier to hold on to and stitches show up much clearer. Opt for more affordable yarn brands so you don’t feel too bad about scrapping your first few attempts.
Try to avoid fuzzy yarn like chenille and velvet yarn as stitches become hard to distinguish once crocheted!

Learning how to crochet? Perhaps you’re looking for the perfect gift for a crocheter?
This ultra-sleek set of 12 crochet hooks is all you need to stitch up all sorts of fun patterns. Get all the essential hook sizes plus a handy container to store them in!
Available on Amazon now!
Easy and magical, the magic ring is a must-have skill for every crocheter. It’s super easy to make. Let’s make it together!

Take your yarn and hold it down between your thumb and your palm.

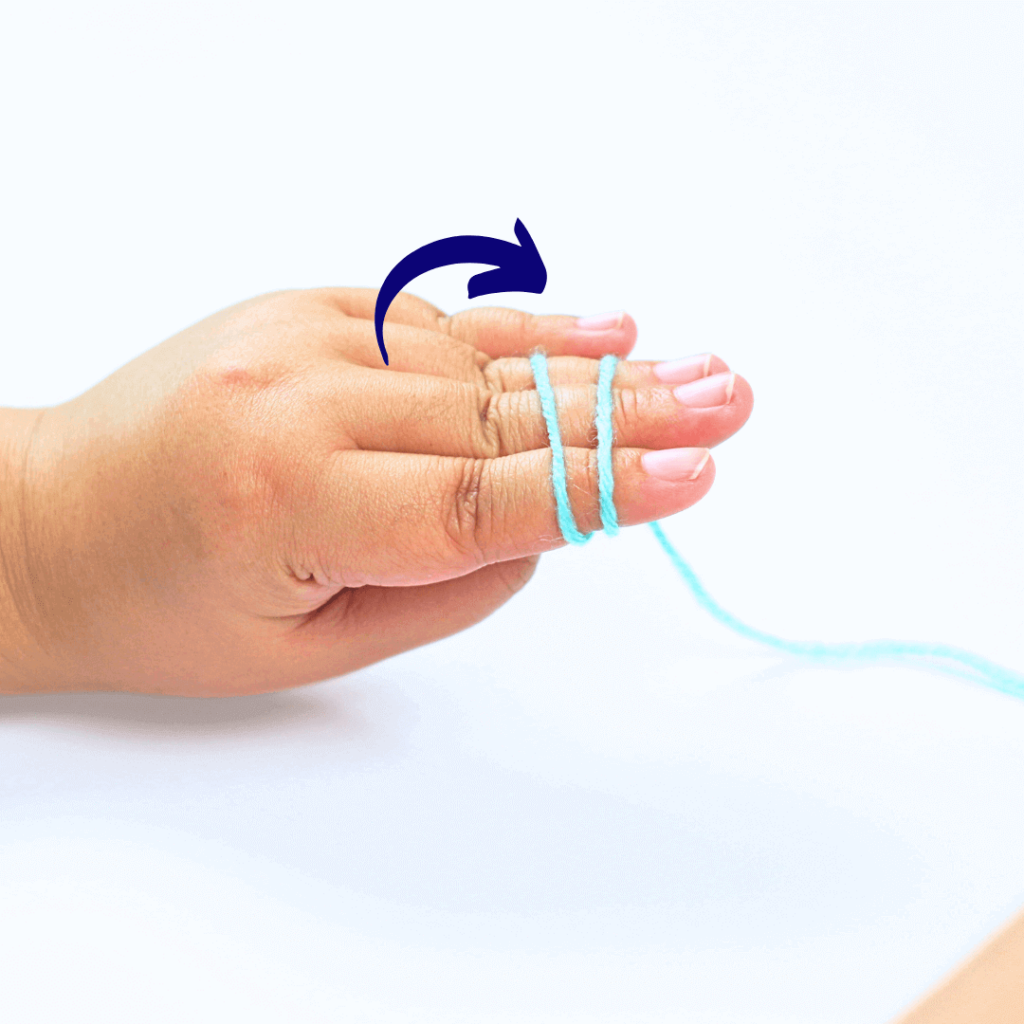
Drape your yarn over the top of your palm twice.
Make sure the second drape falls behind the first.
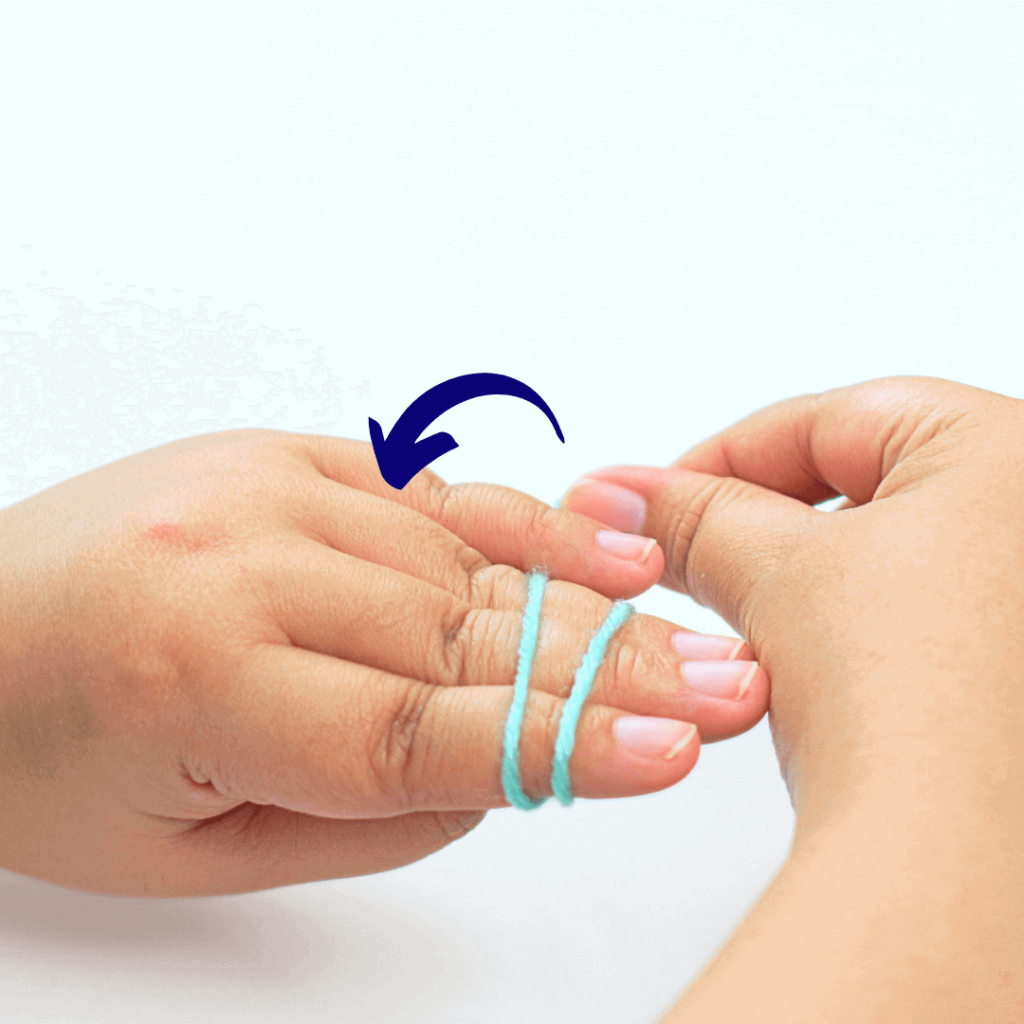

Take your working yarn tail (the yarn connected to your yarn ball) and drape it over your pinky, from the outside in.
It should look like the image below! Wrapping over your pinky once keeps your yarn from moving around as you make your magic circle.
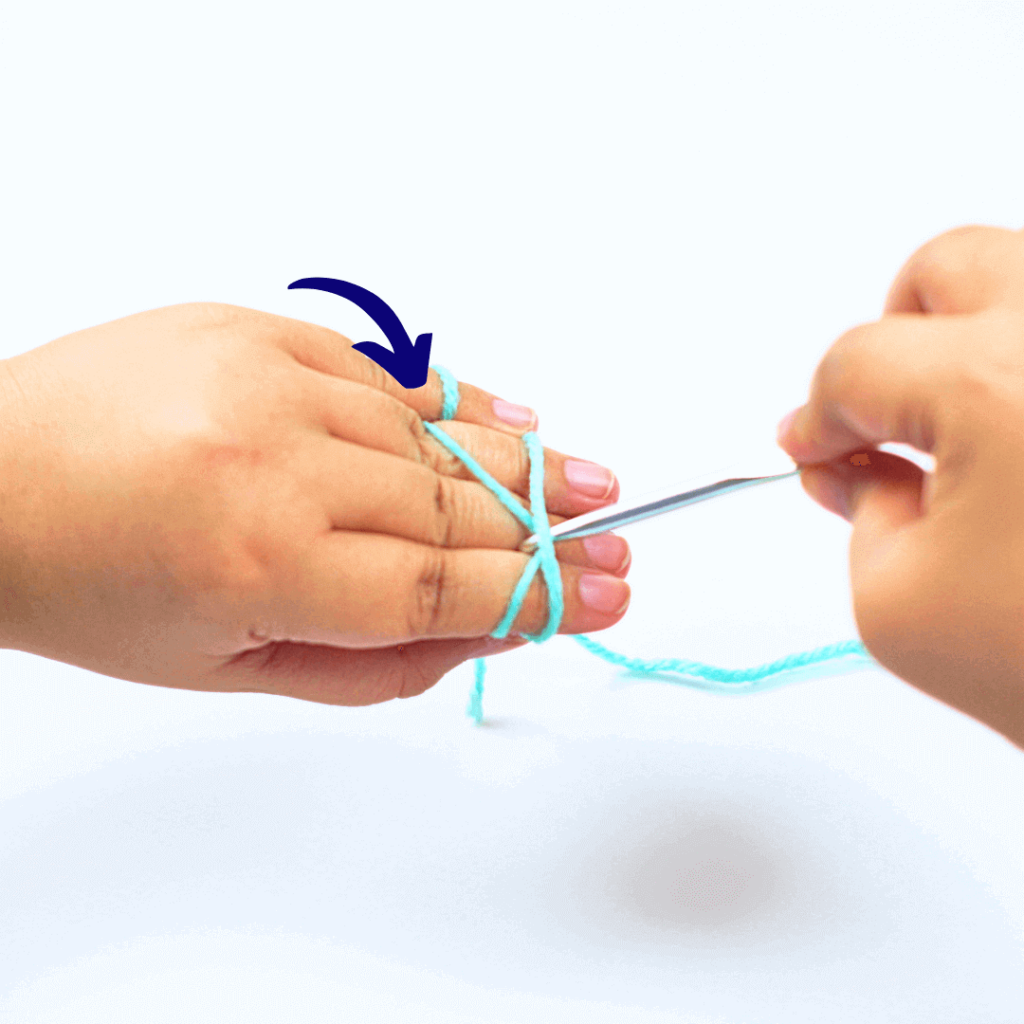
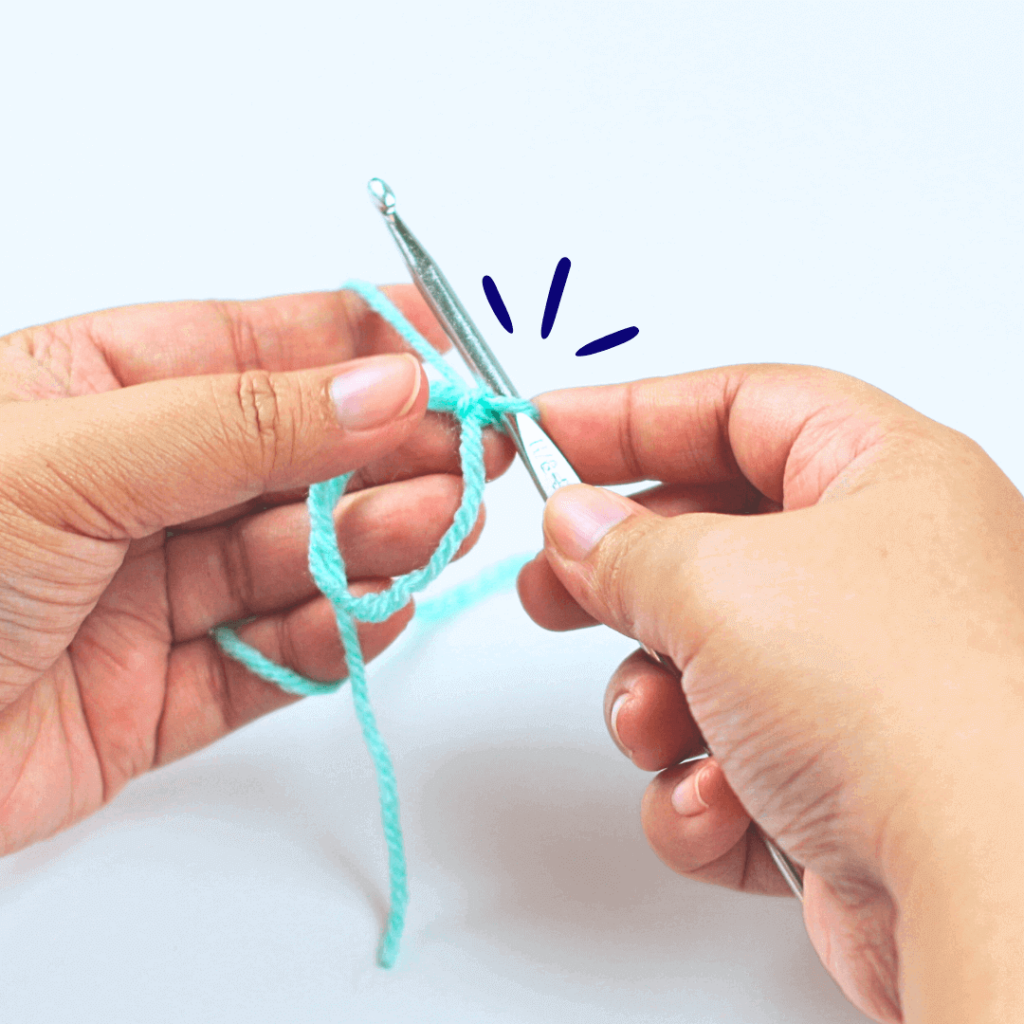
Take your crochet hook and grab the second loop from underneath.
Rotate your hook away from you. This will make a small twist, forming a loop.
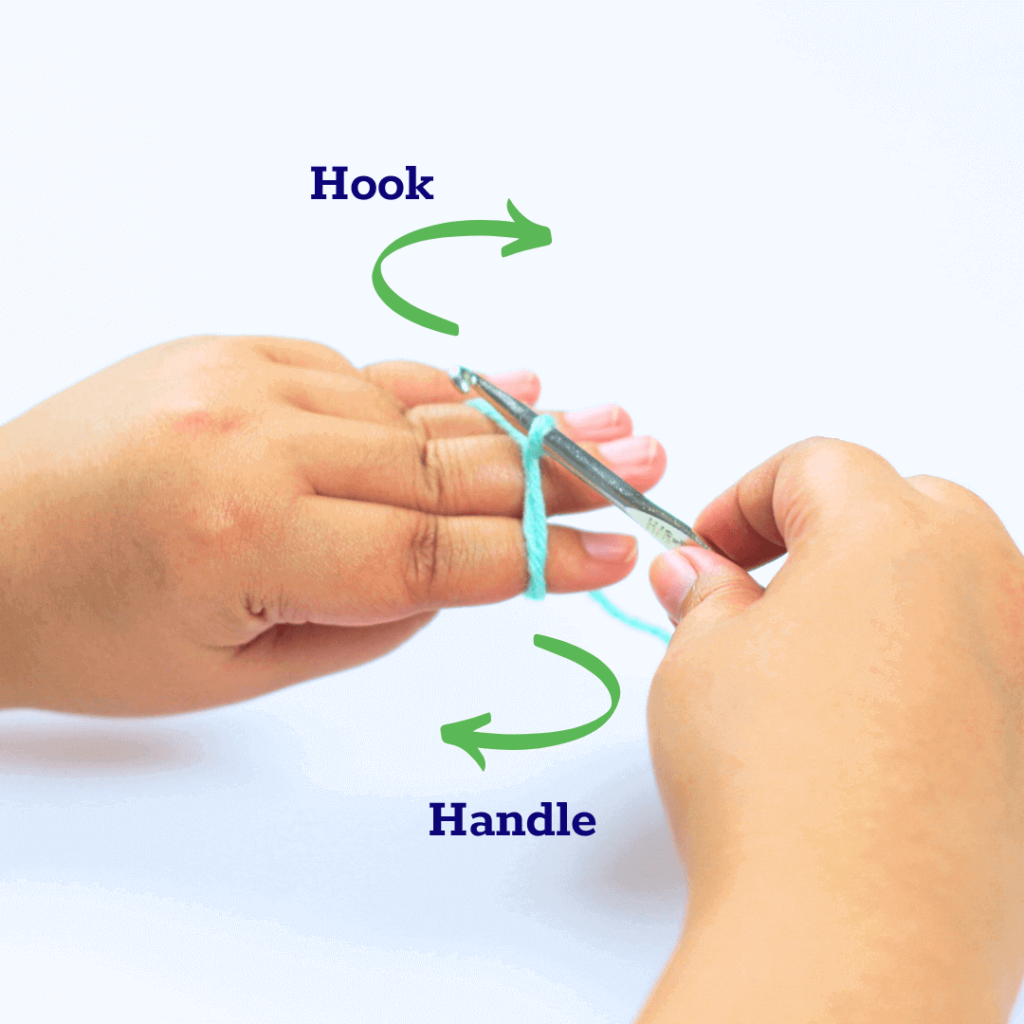
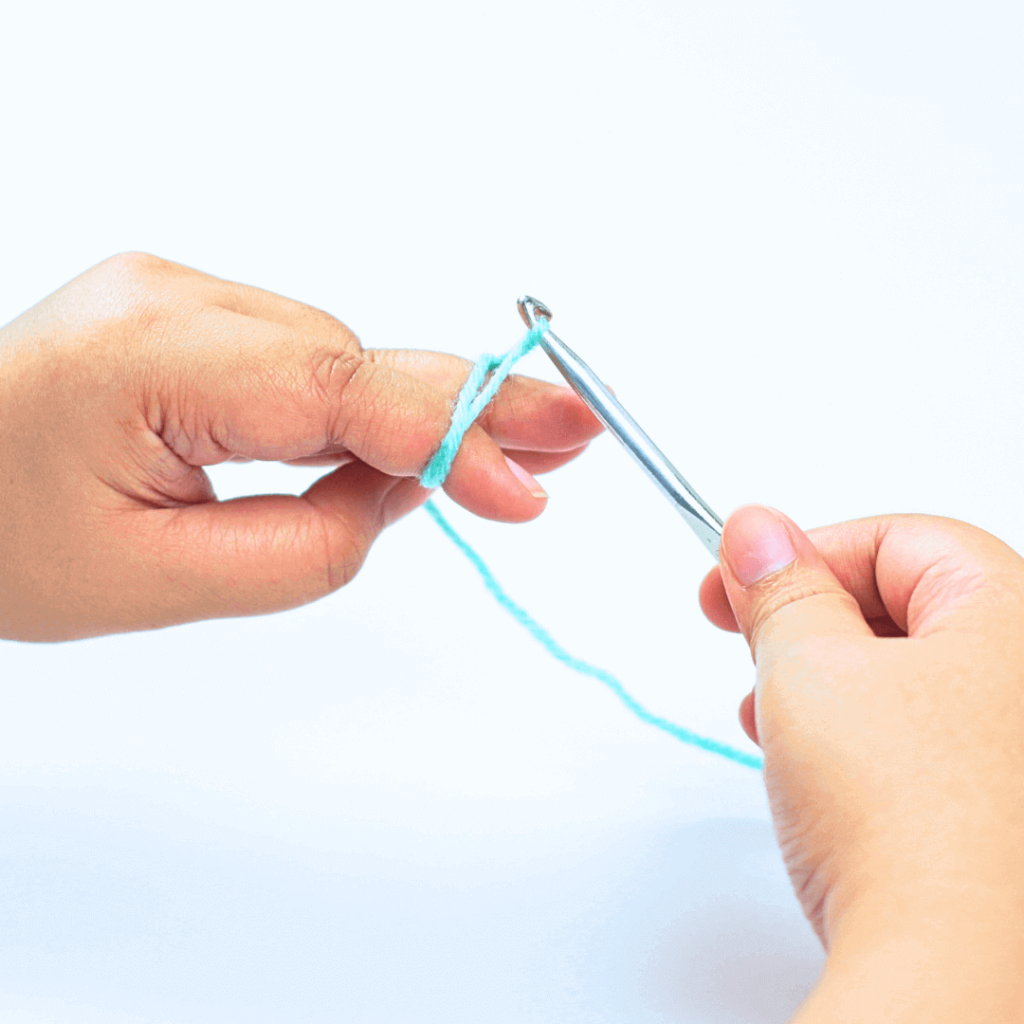
Yarn over on the same yarn strand as your small loop. Make sure your pinky is still holding your yarn to easily pull out a new loop.
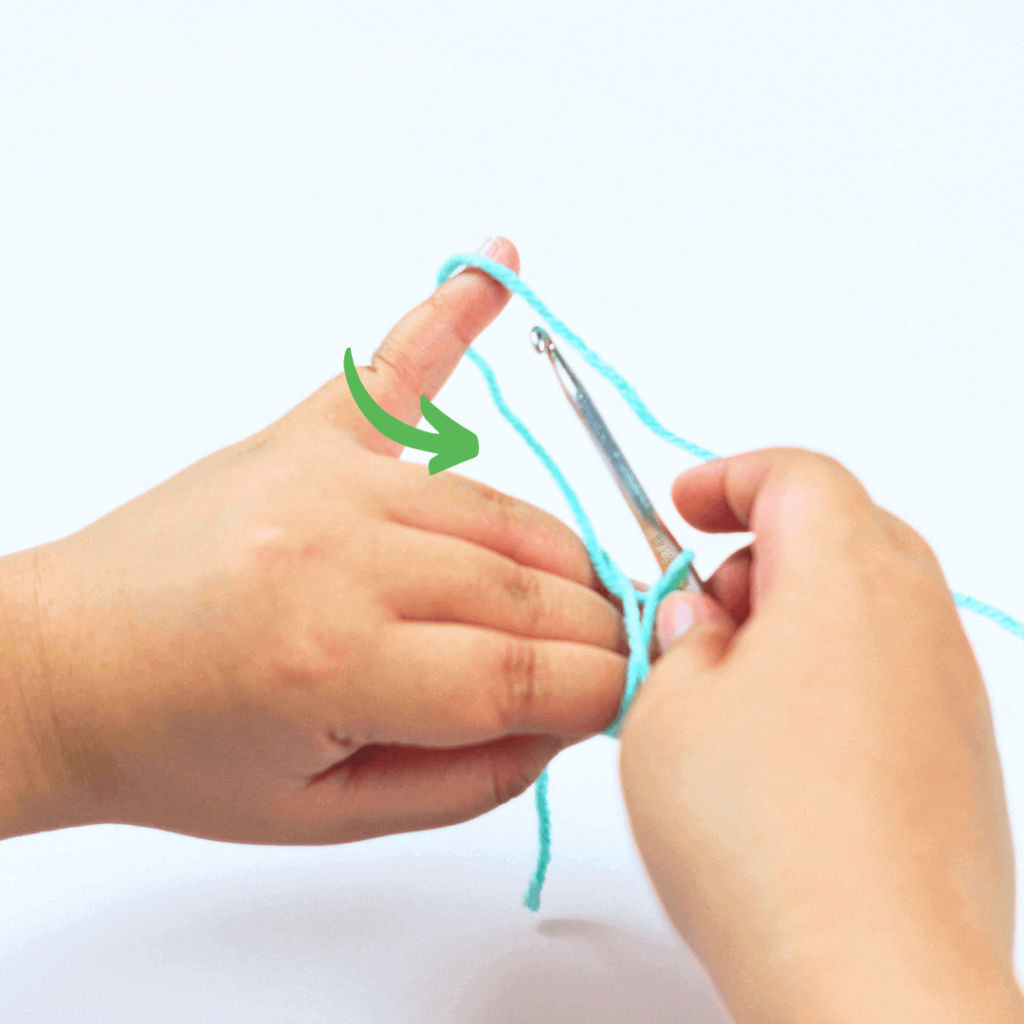
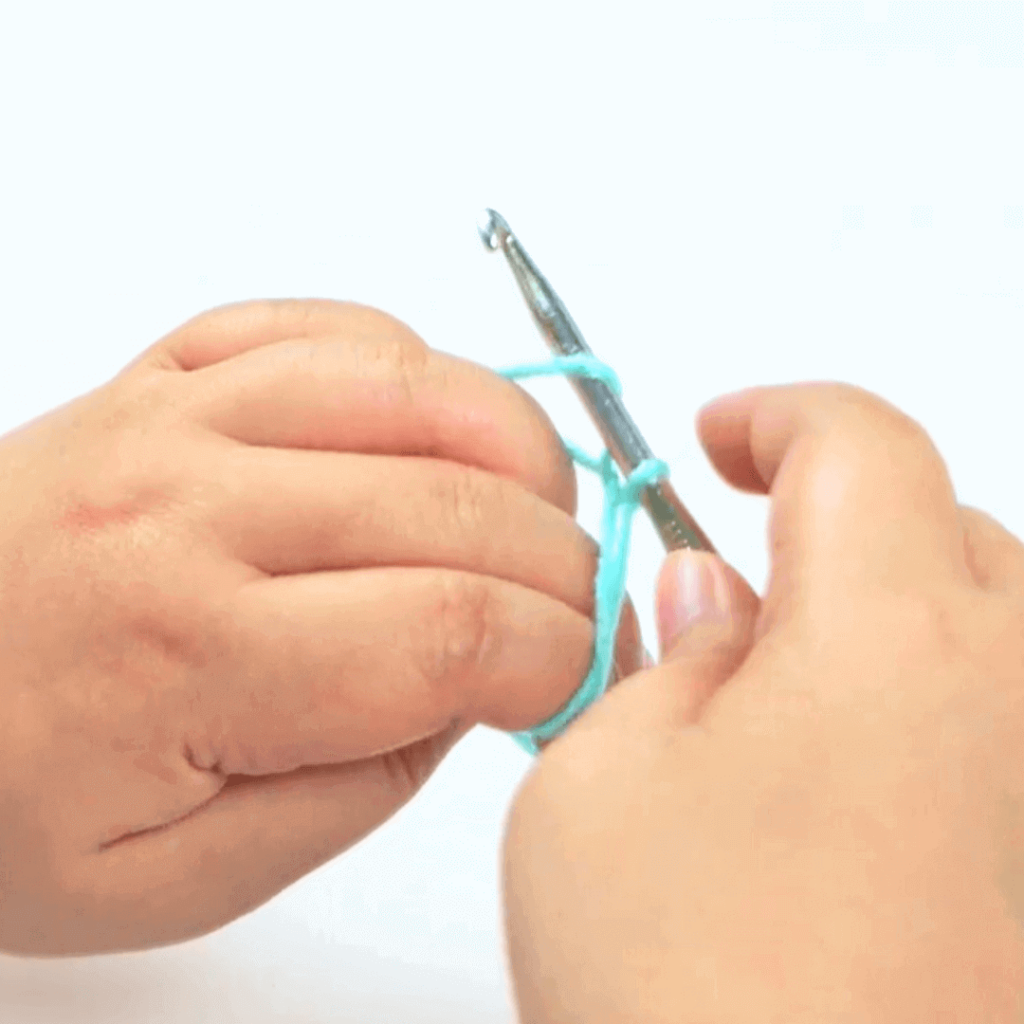
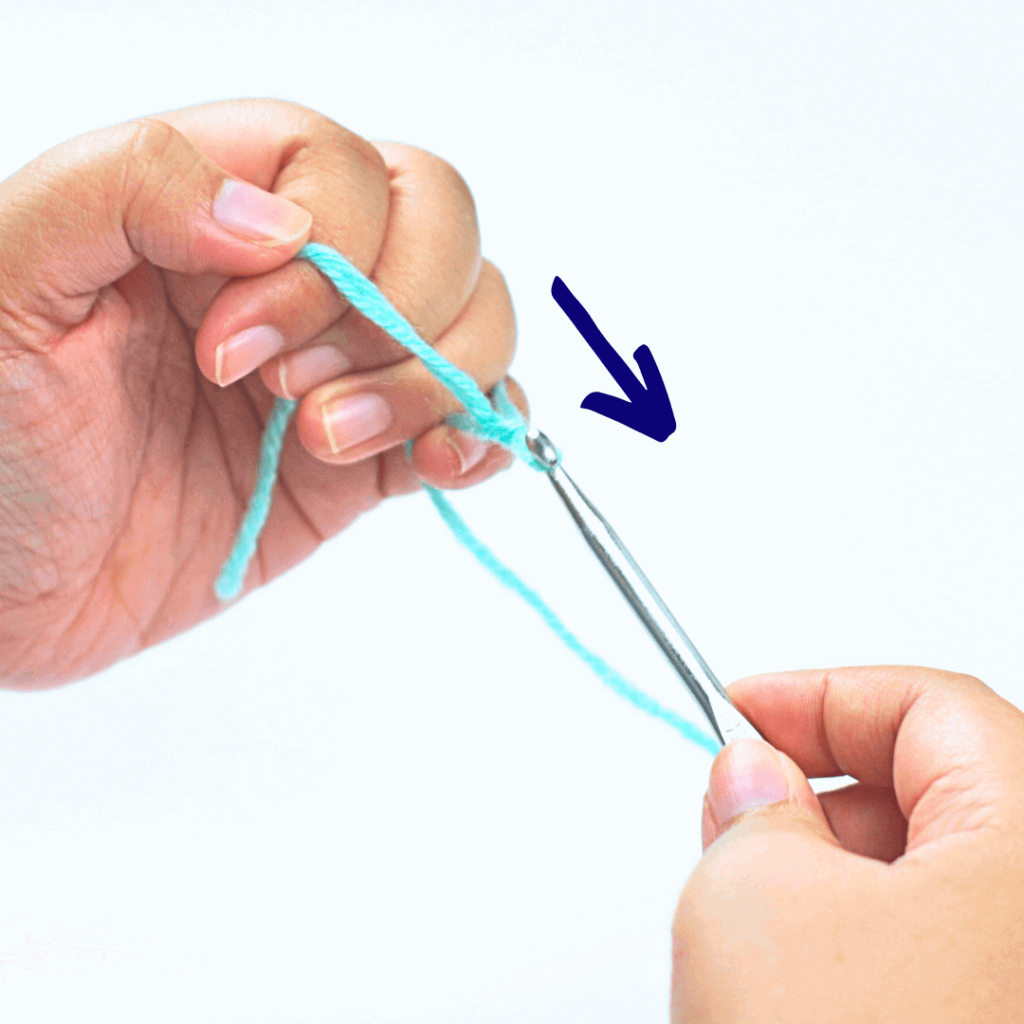
Finally, pull the yarn over through the loop.
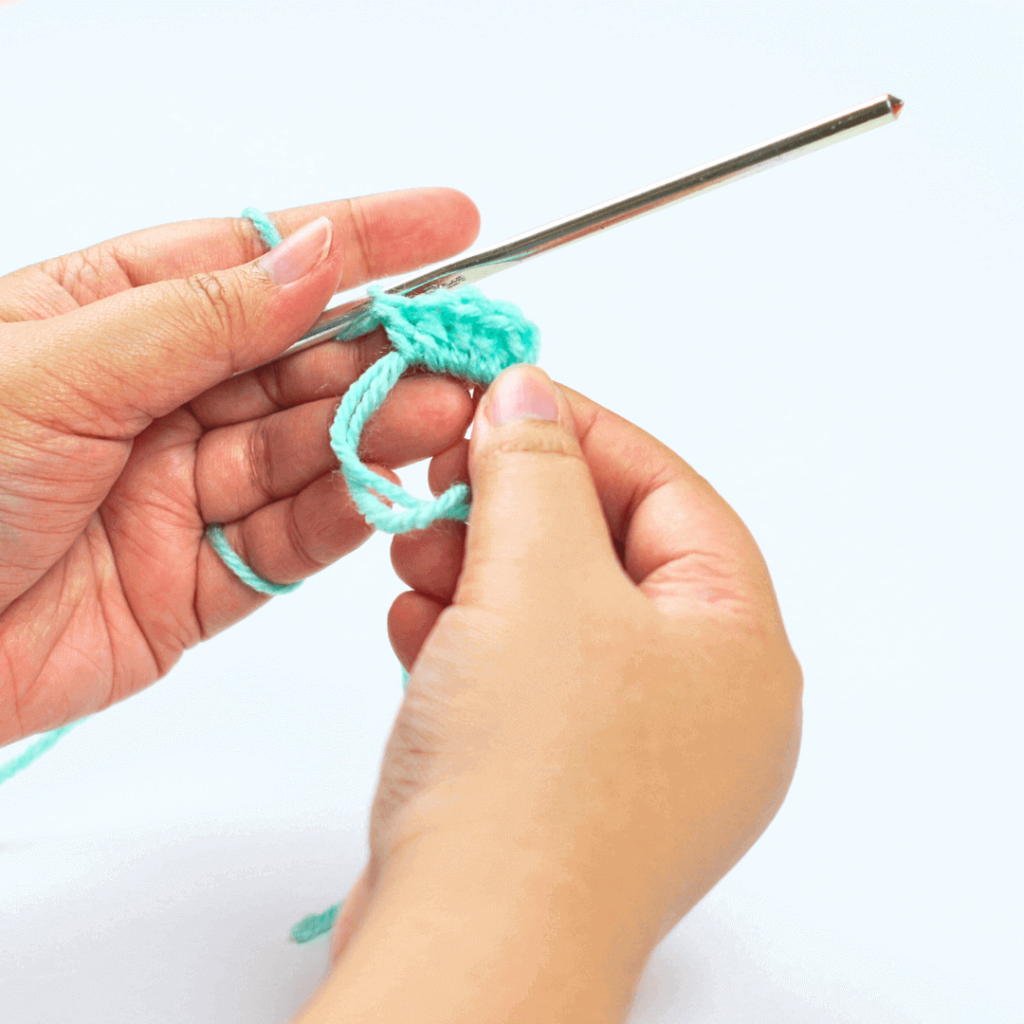
Grasp the loops on your palm for more stability as you pull through. Now you know how to make the magic ring!
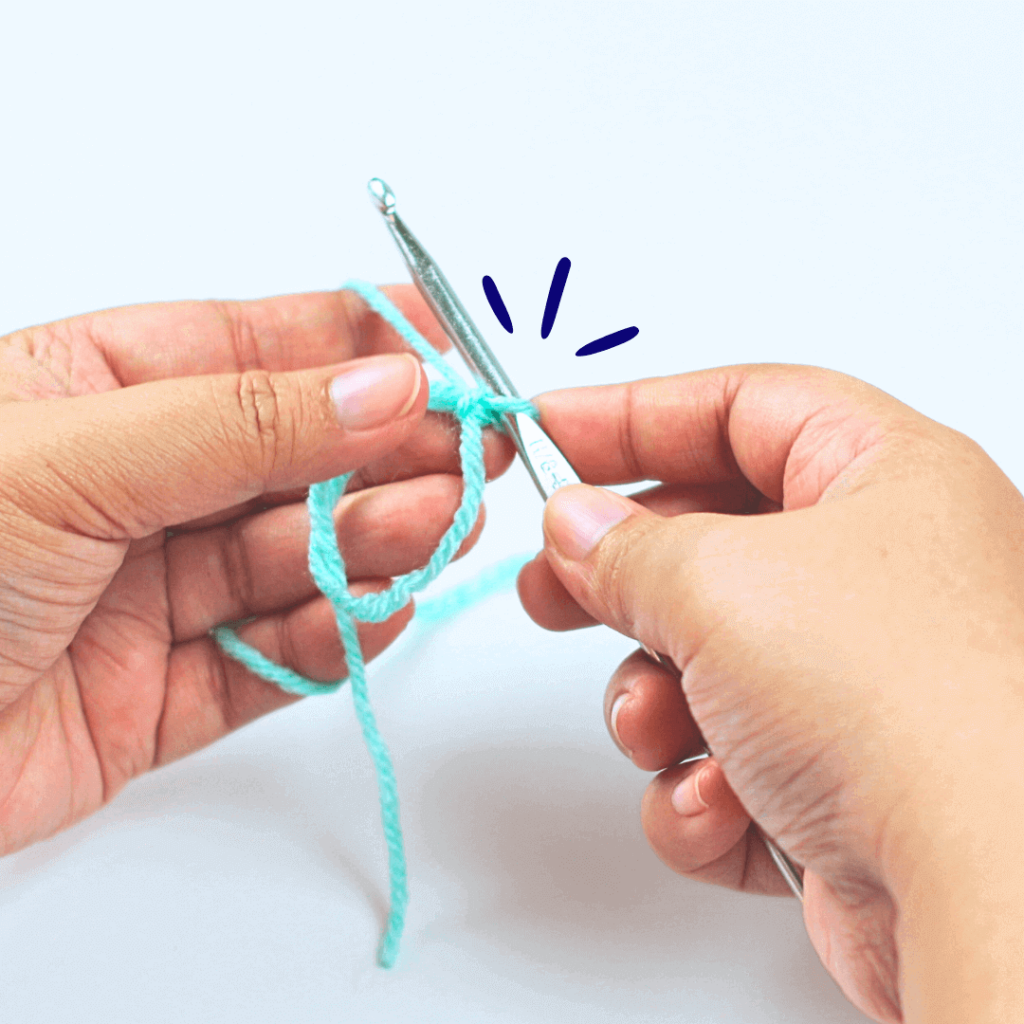
After following steps 1 to 4, your magic ring should look like this! You can cinch the circle shut by pulling on the yarn tail.
The magic ring will be a bit awkward to make and use for the first few times. But it definitely gets much easier the more you practice!
Yes, there is. This method involves making 4 or more chains and squeezing all of the stitches you need for your project inside. Now, I’m not dissing thing method. I used it for my first few amigurumi projects BUT it was bulky.
Unlike the magic circle where the ring is fully adjustable, the chain stitch technique caused the middle stitches to bunch up when cinched shut.
Once you have your magic ring, all you have to do is continue making the stitches inside. It’ll be a bit wonky to work with, so I recommend firmly holding onto the bottom of the stitch you are making.
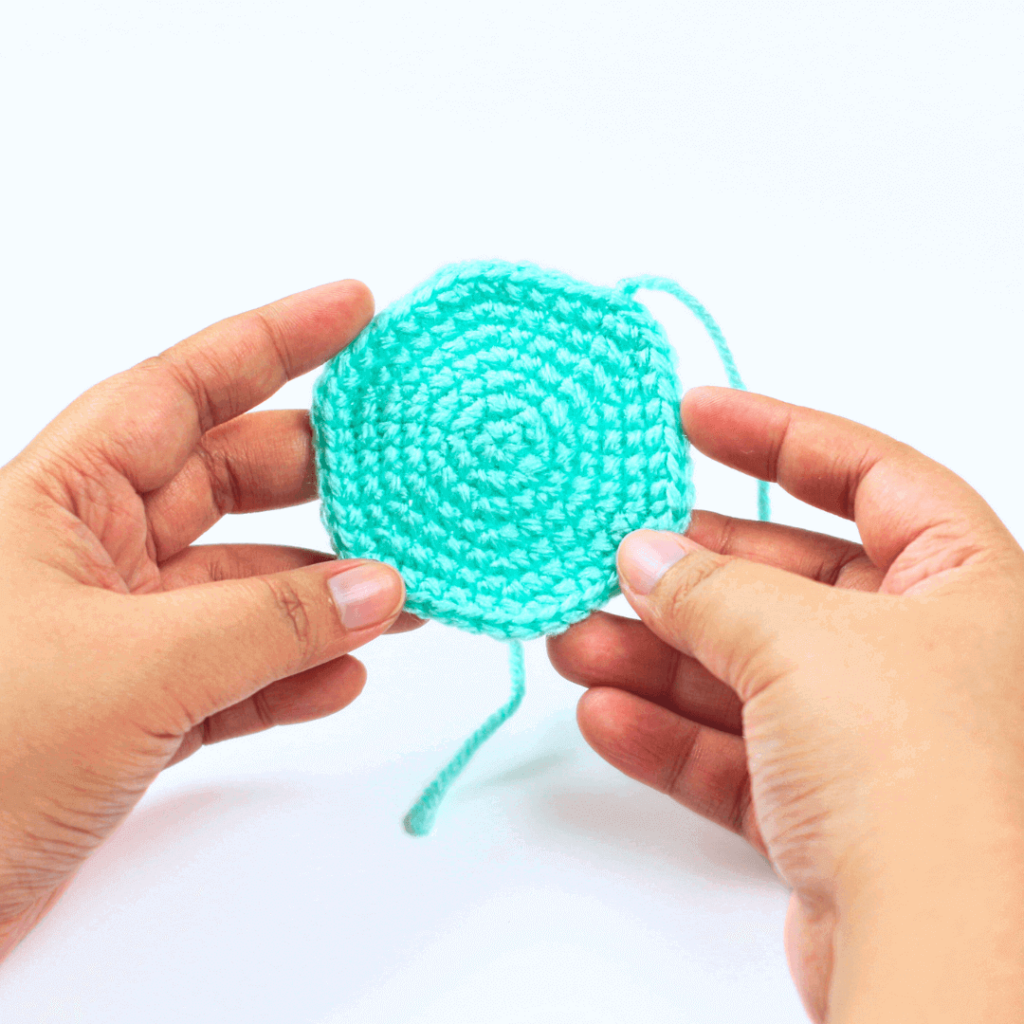
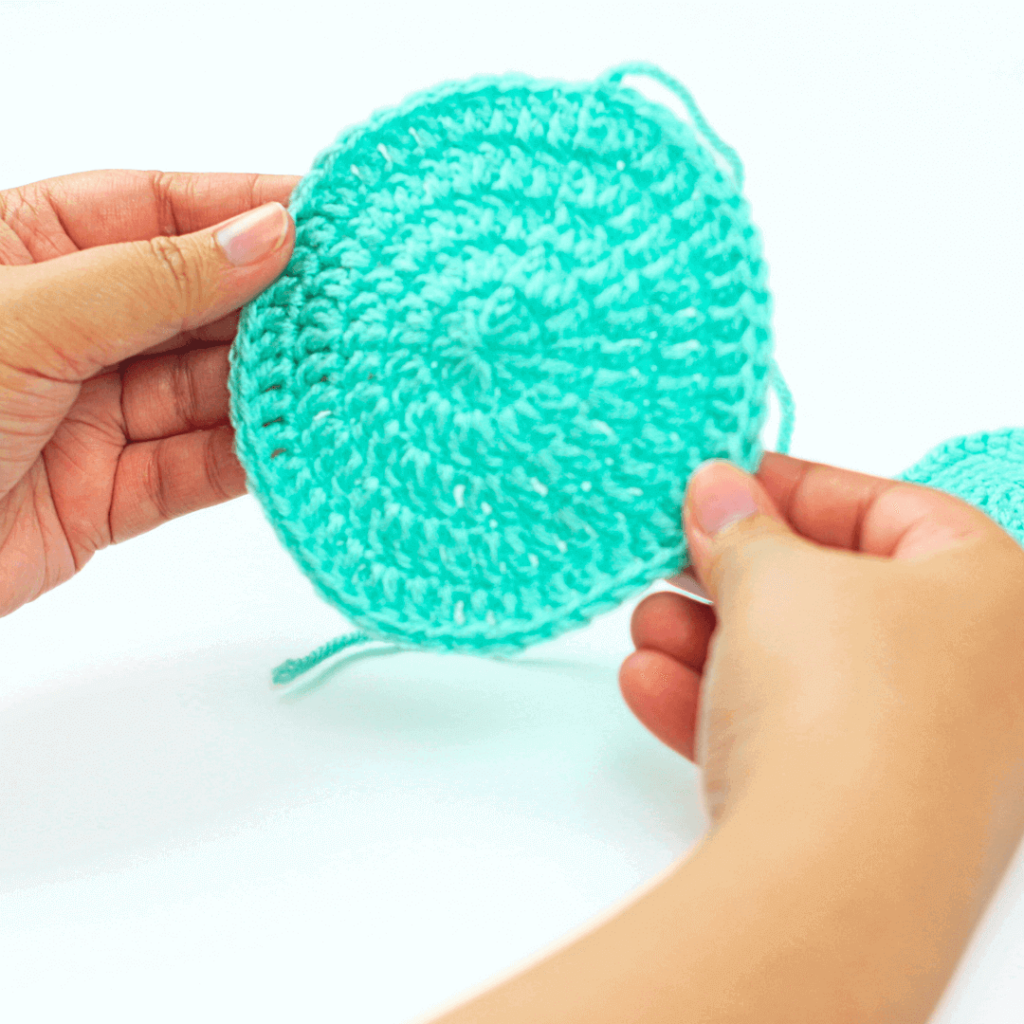
Below are images showing how to use the magic ring. It cinches in the middle, creating a seamless close. To the left shows it used with single crochet and double crochet for the image to the right.
