How to Crochet a Circle for Beginners: 3 Easy Steps and More!
Crochet a flat circle with me!
Crochet a flat circle with me!
Knowing how to crochet a circle opens you up to a whole new world of crochet patterns. There are so many amazing projects that use the basic crochet circles as the base.
Some common examples are cup coasters, rugs, hats, and even bags! In the last tutorial, we learned how to make the basic stitches, as well as the magic circle. Today, we’re going to use them together.
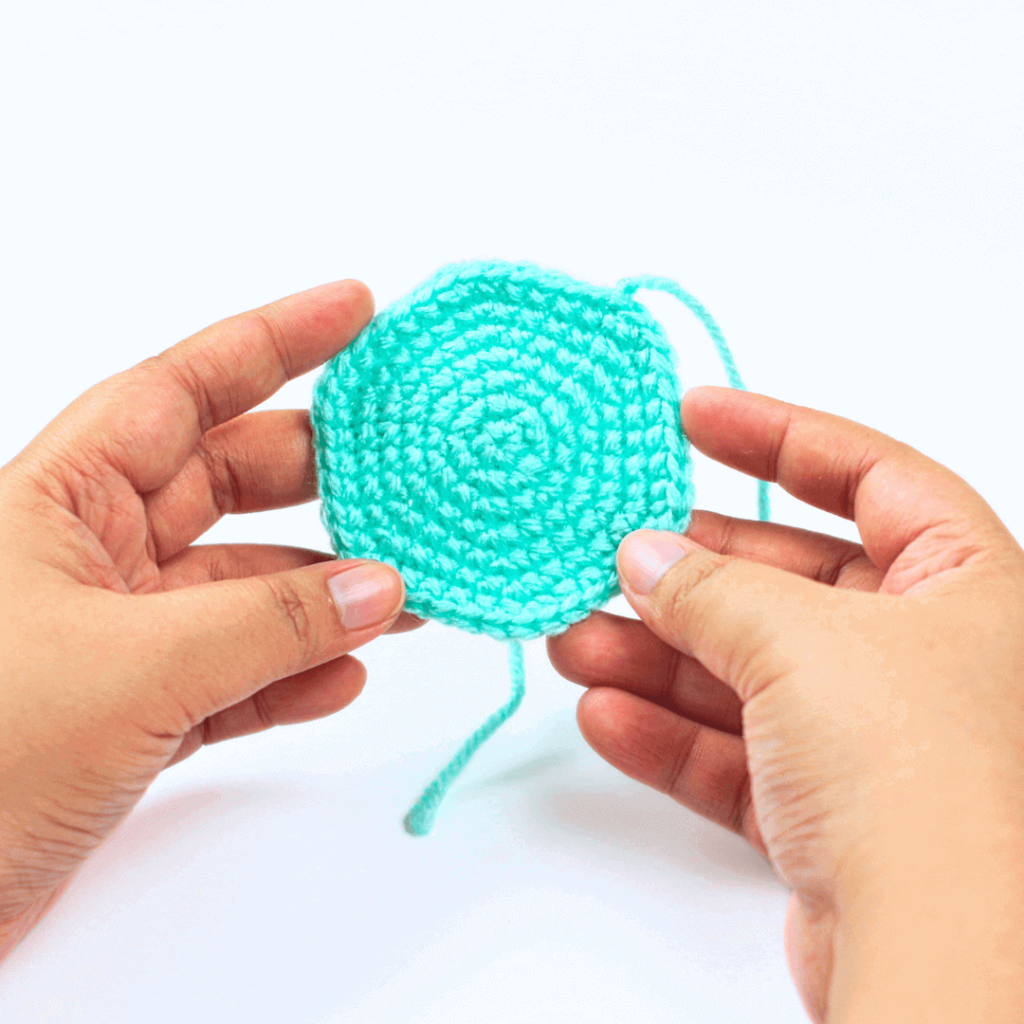
If you’re ready to learn how to crochet a circle and other helpful tidbits, then keep on reading!
You’ll only need 2 things to learn how to crochet a circle. Take a look:
Yarn tip: Don’t like how thin worsted weight yarn is? Choose super bulky or chunky yarn. They are much easier to hold on to and stitches show up much clearer. Opt for more affordable yarn brands so you don’t feel too bad about scrapping your first few attempts.
Try to avoid fuzzy yarn like chenille and velvet yarn as stitches tend to become practically invisible once crocheted!
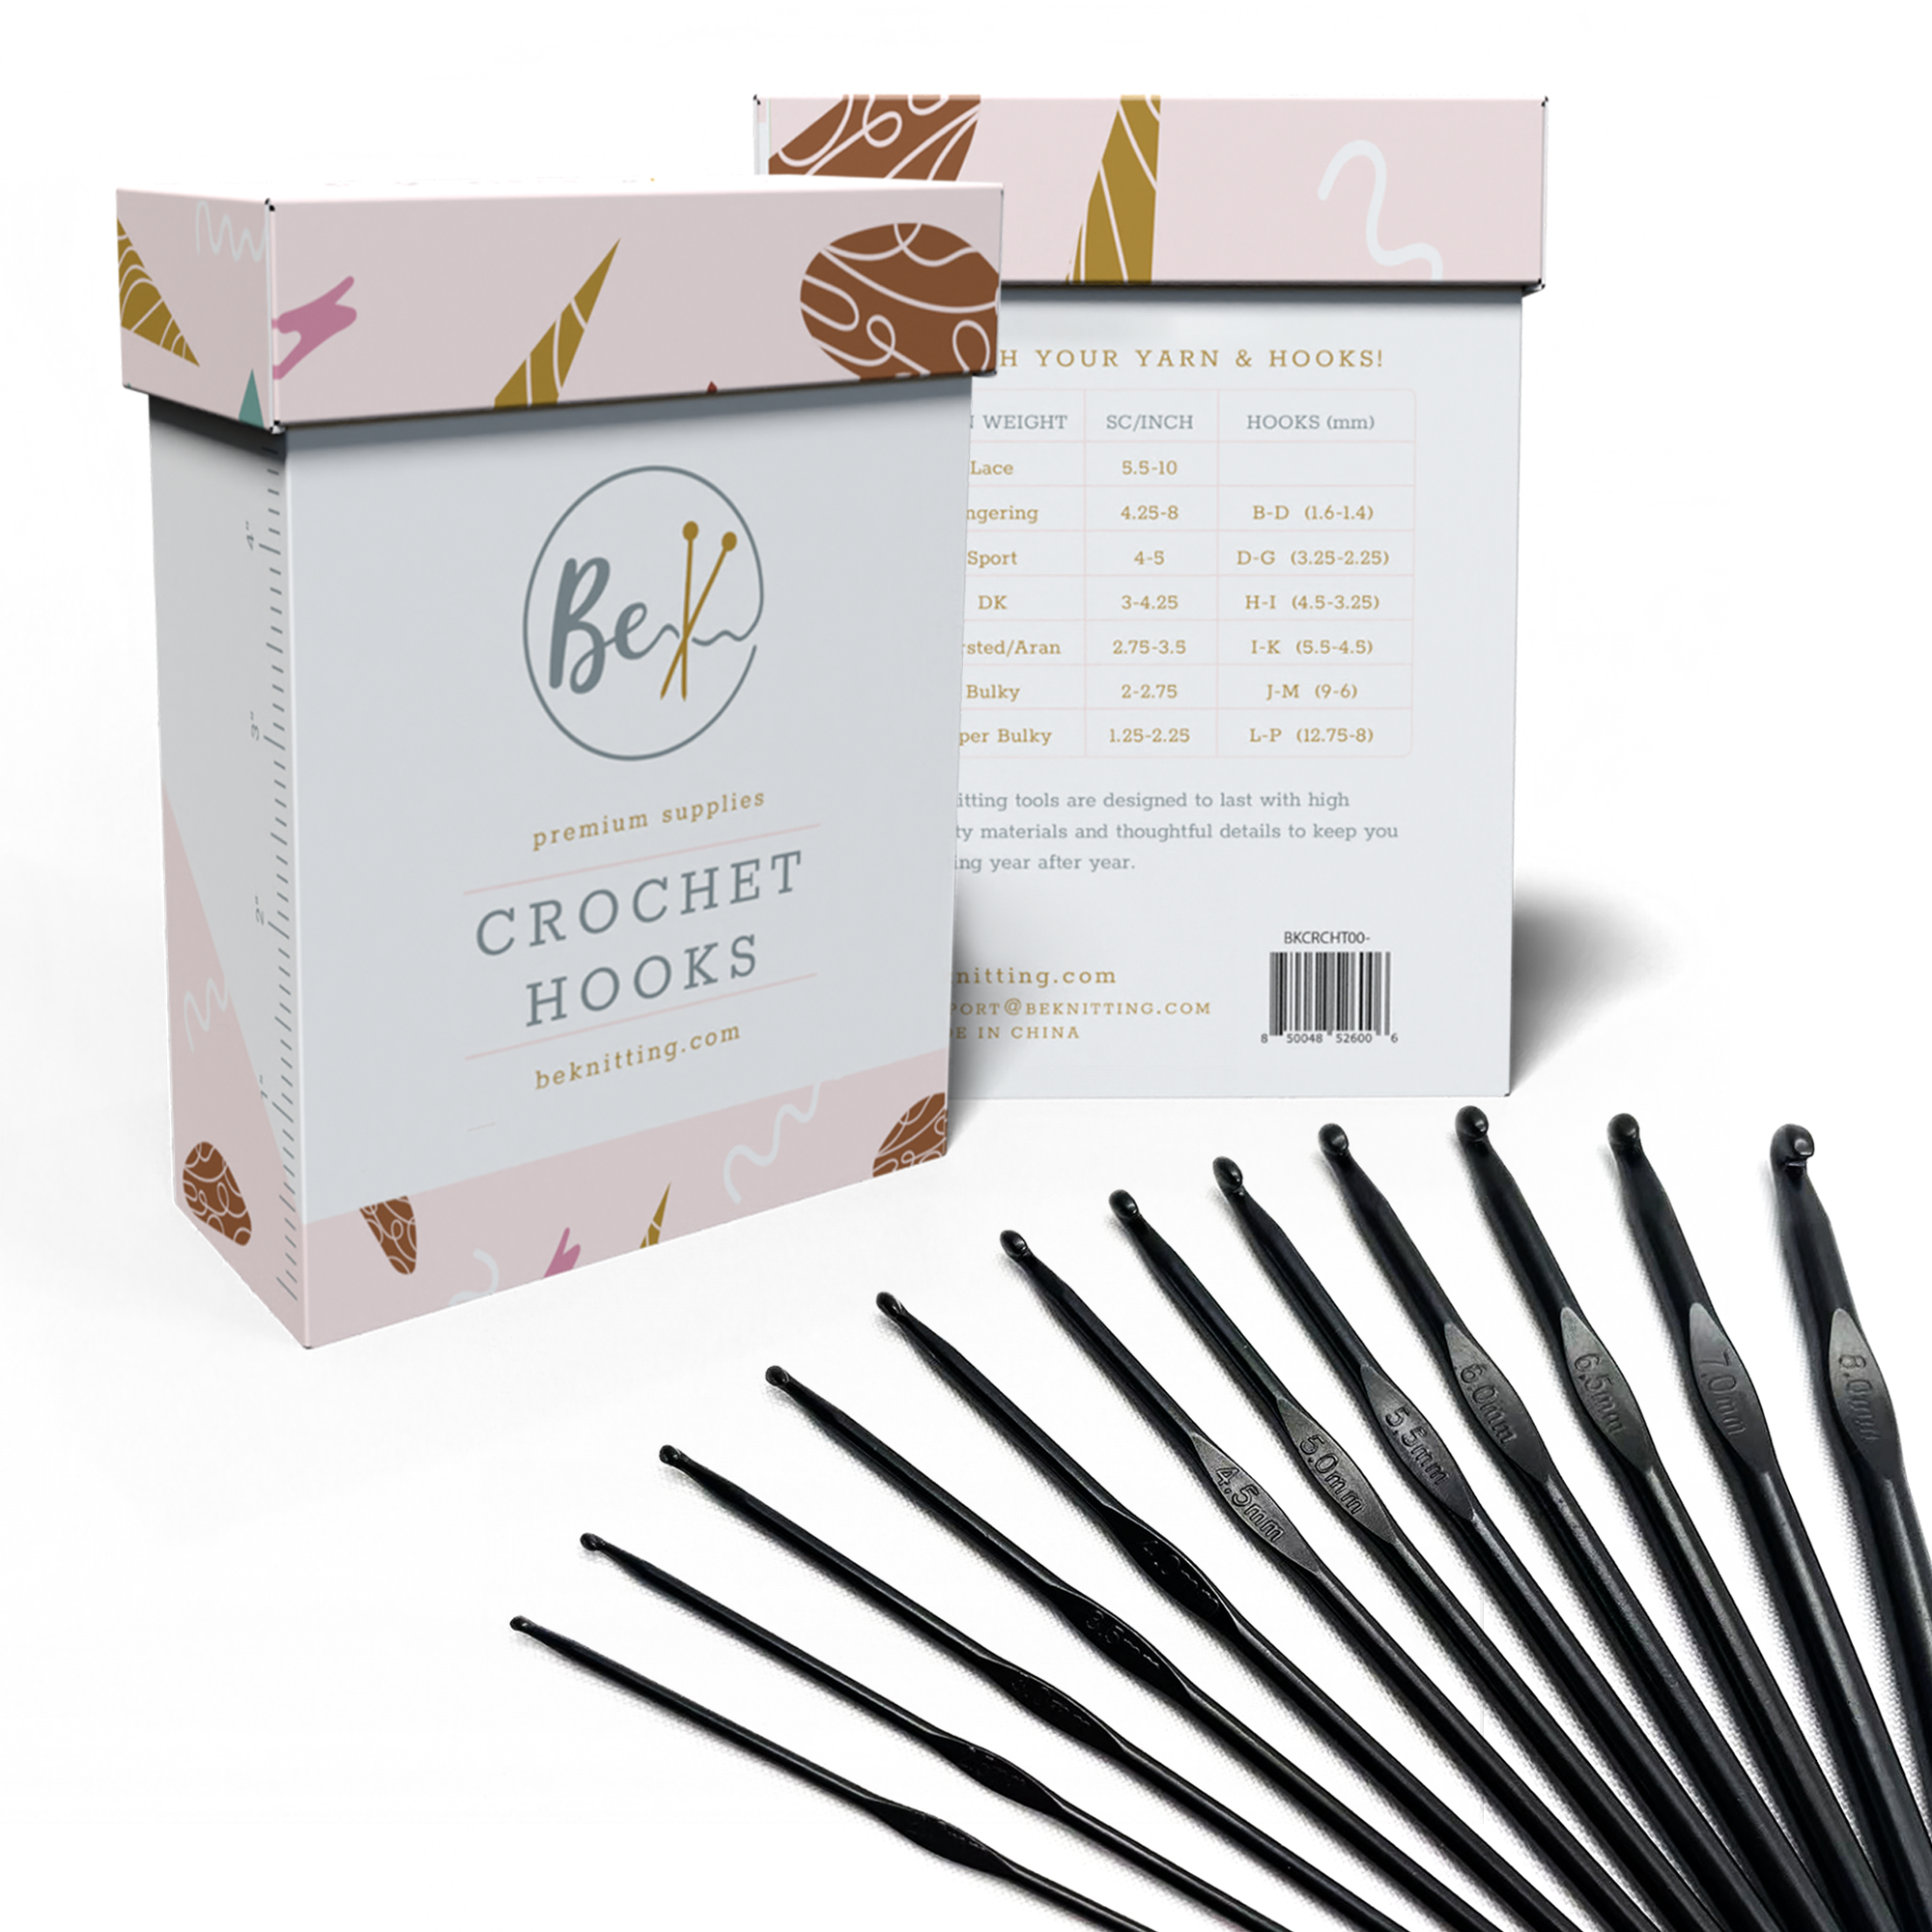
Learning how to crochet? Perhaps you’re looking for the perfect gift for a crocheter?
This ultra-sleek set of 12 crochet hooks is all you need to stitch up all sorts of fun patterns. Get all the essential hook sizes plus a handy container to store them in!
Available on Amazon now!
In our previous lesson, we learn all about how to crochet a magic circle. But making a magic circle is different from actually using it. So here’s a quick guide on how to crochet inside a magic circle:
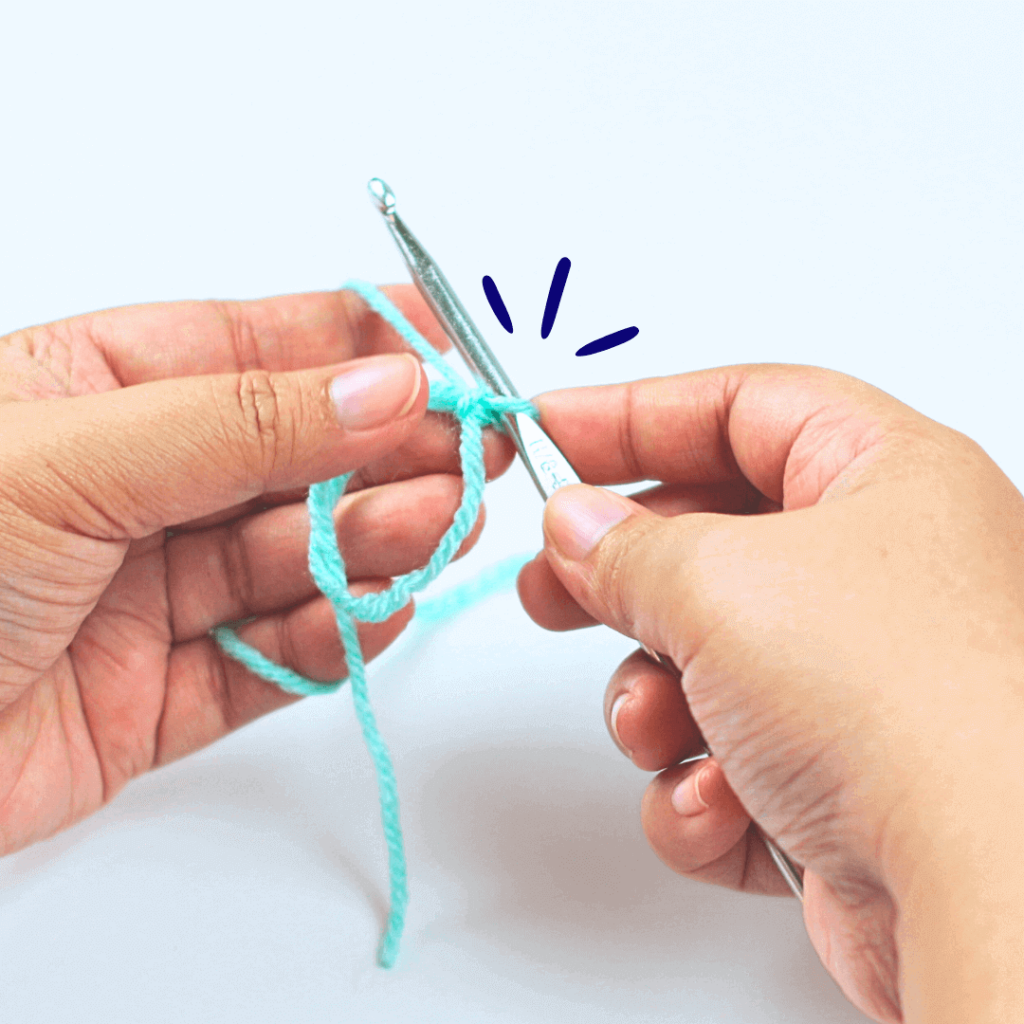
You can review how to crochet a magic circle from the link below:
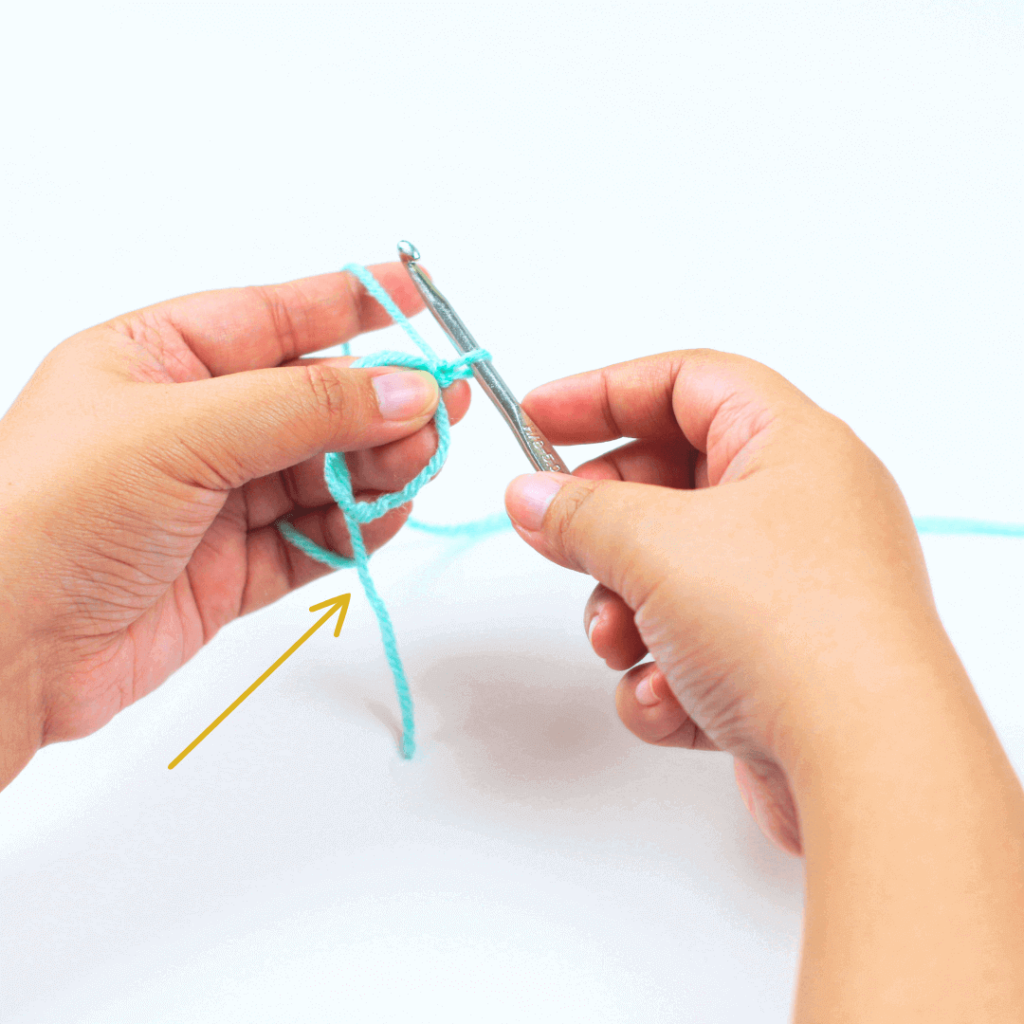
Make sure the yarn tail is positioned away from your hook, towards your non-dominant hand.
When you put your hook inside your magic circle, make sure that you art ALSO going underneath the yarn tail. Basically, it’s best if you are also able to crochet over your yarn tail.
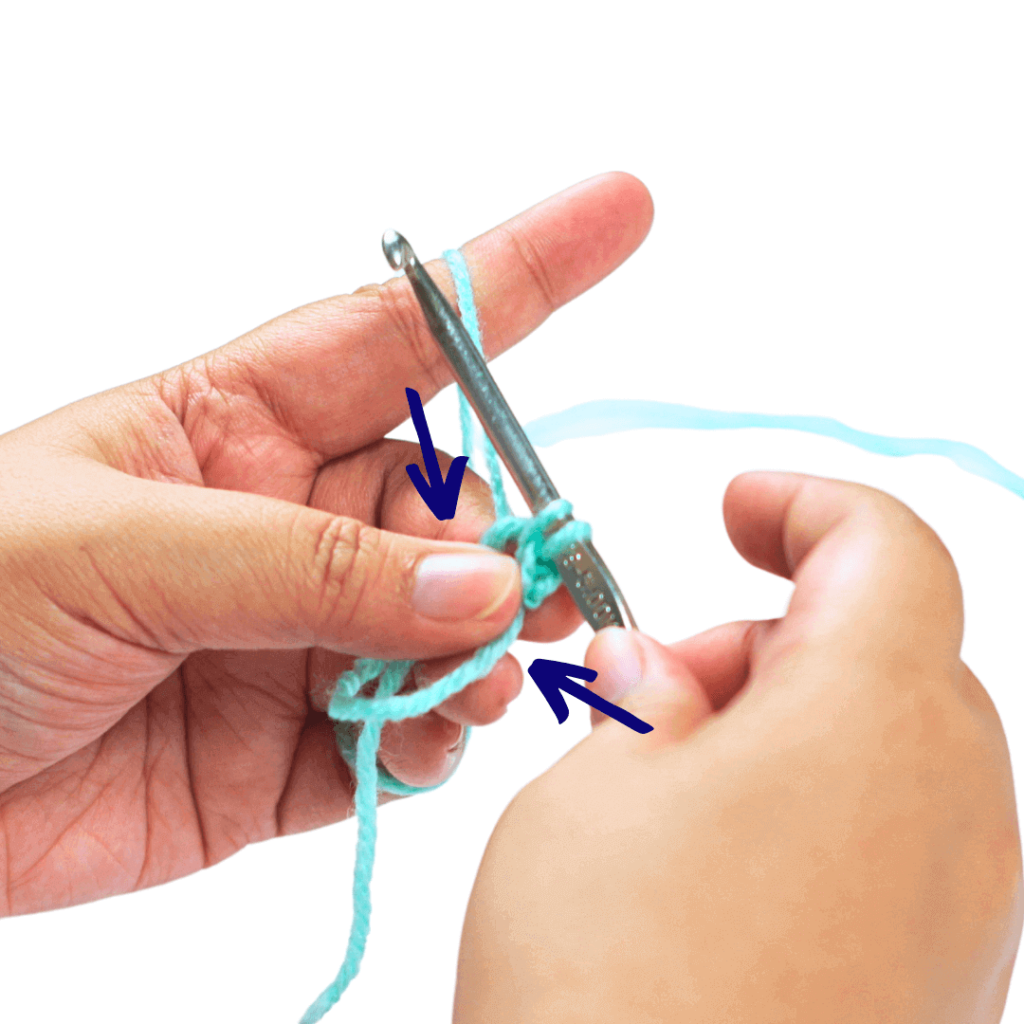
A stable base will be your best friend when learning how to crochet a magic circle. So be sure to grasp both corners of your magic ring as you make a stitch.
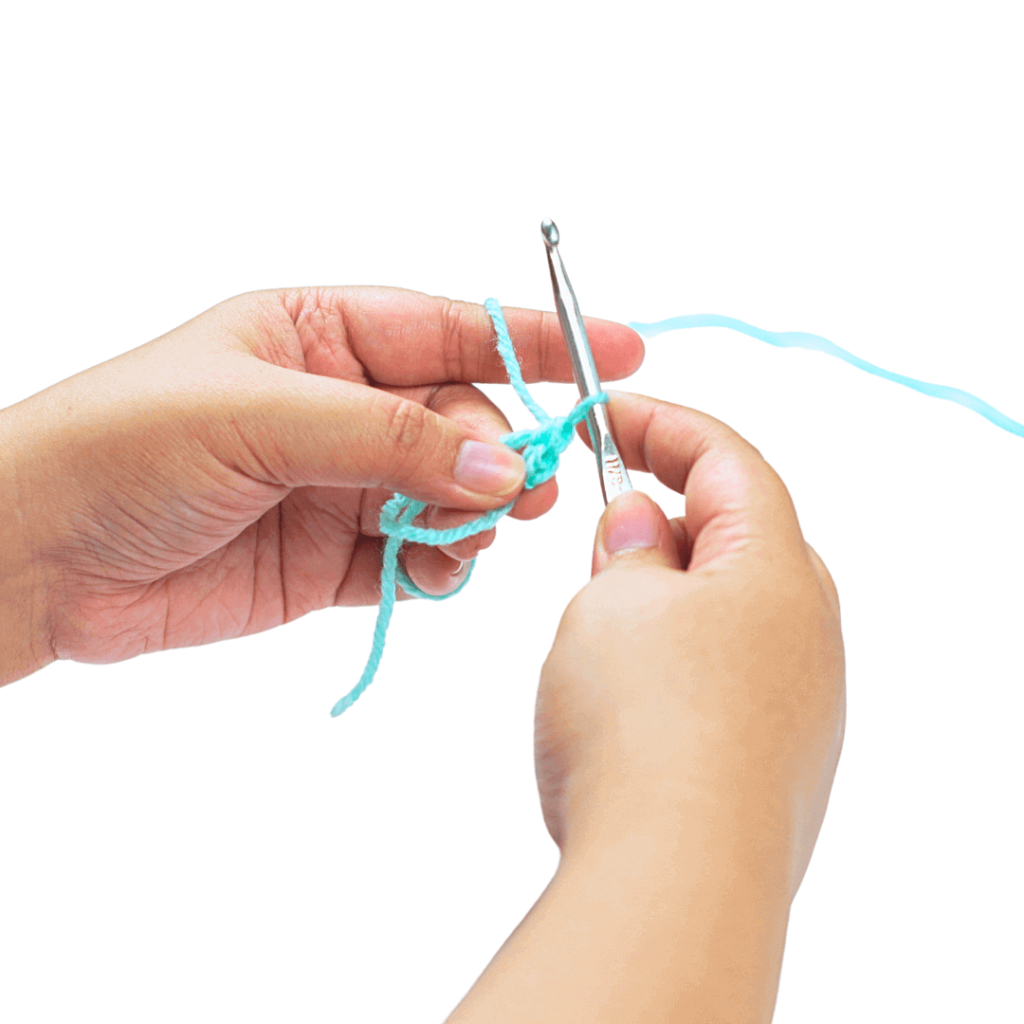
I’ll be using the single crochet stitch for this tutorial but you can use whatever stitch you prefer from our previous tutorials!
After making your first stitch, you can now hold onto the base of stitches as you work inside your magic ring.
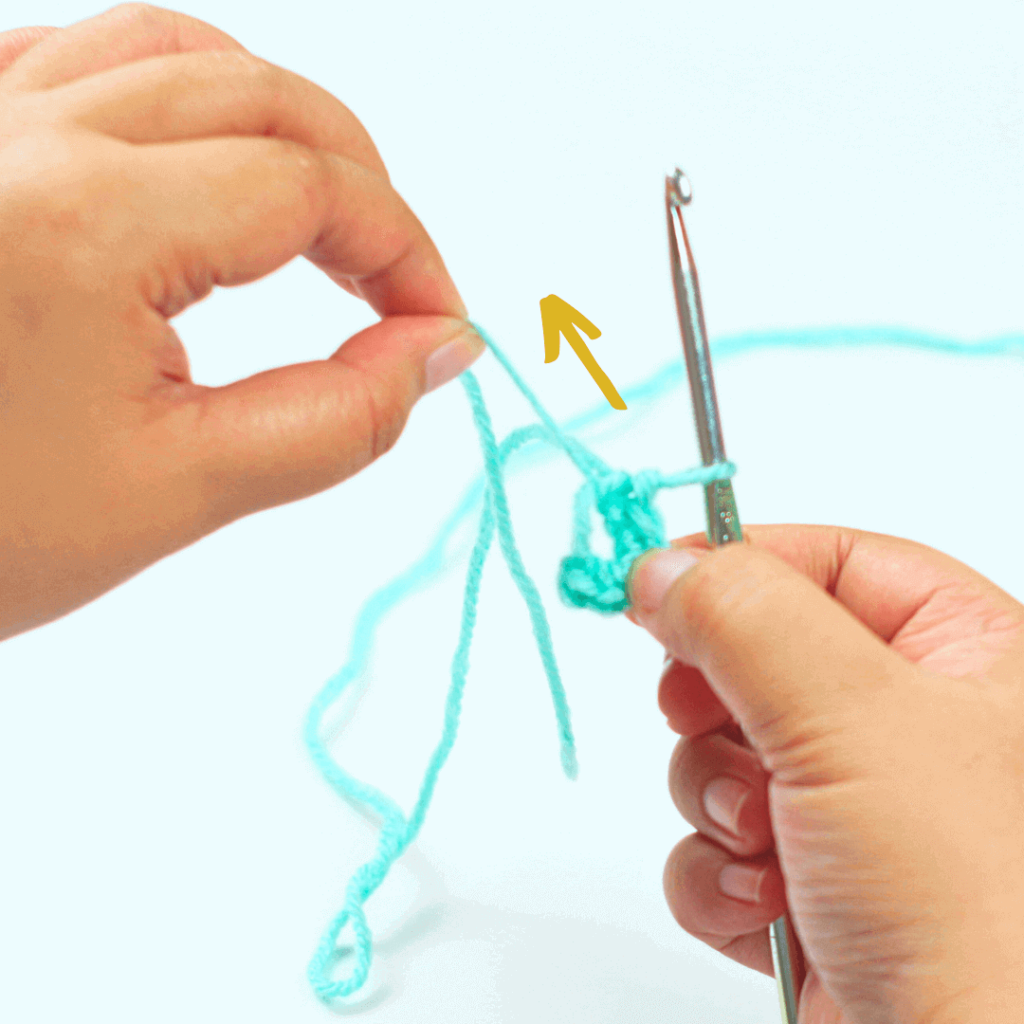
Once you’re done making the number of stitches needed for your project, pull on the yarn tail to cinch your circle shut.
Time to get stitching. For this part of the tutorial, we will learn how to crochet a flat circle and how to increase a stitch in crochet!
Flat circles are great for crochet cup coasters, placemats, and even beanies. Once you learn how to crochet a flat circle, you will have the foundation for tons of awesome crochet patterns.
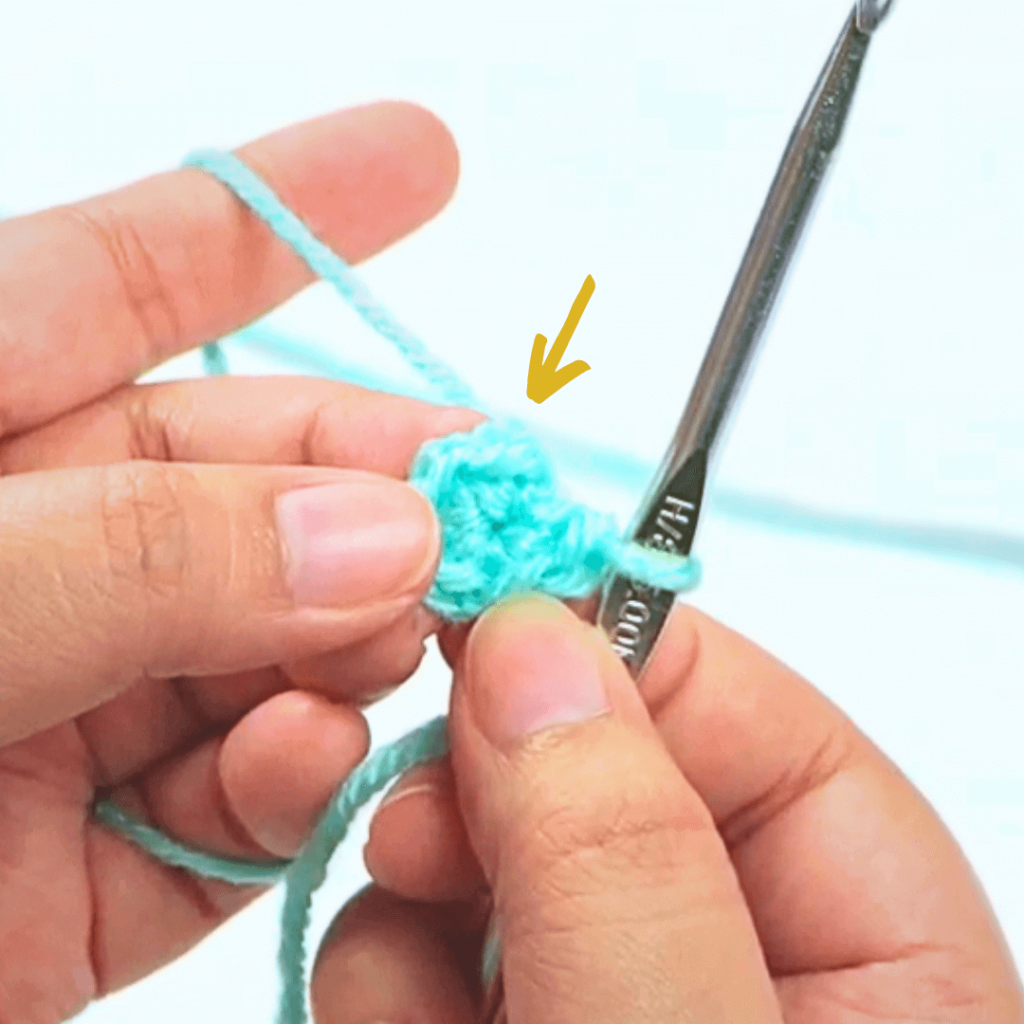
I’m using single crochets (sc) to illustrate how to make a flat circle. But feel free to use whichever stitch is the easiest for you to work with.
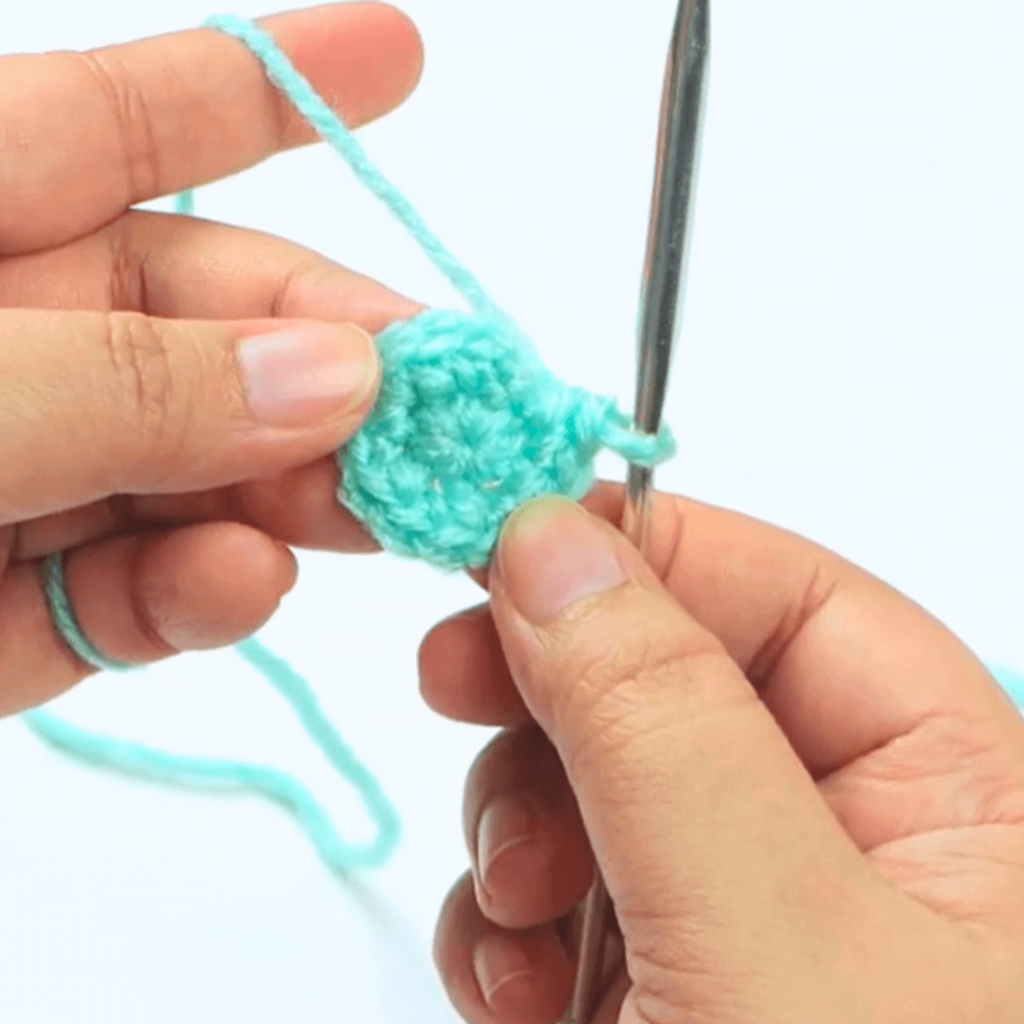
To make your circle bigger, you need to learn how to increase a stitch in crochet.
Don’t worry, it’s quite easy! Here’s how:
Make 2 single crochets in each stitch in your row. If you’re using double crochets or other stitches, make 2 of those in each stitch of the row.
In crochet patterns, this part will be written like this:
“2 sc each st”
Once you reach the end, make a slip stitch on top of the first stitch of your row.
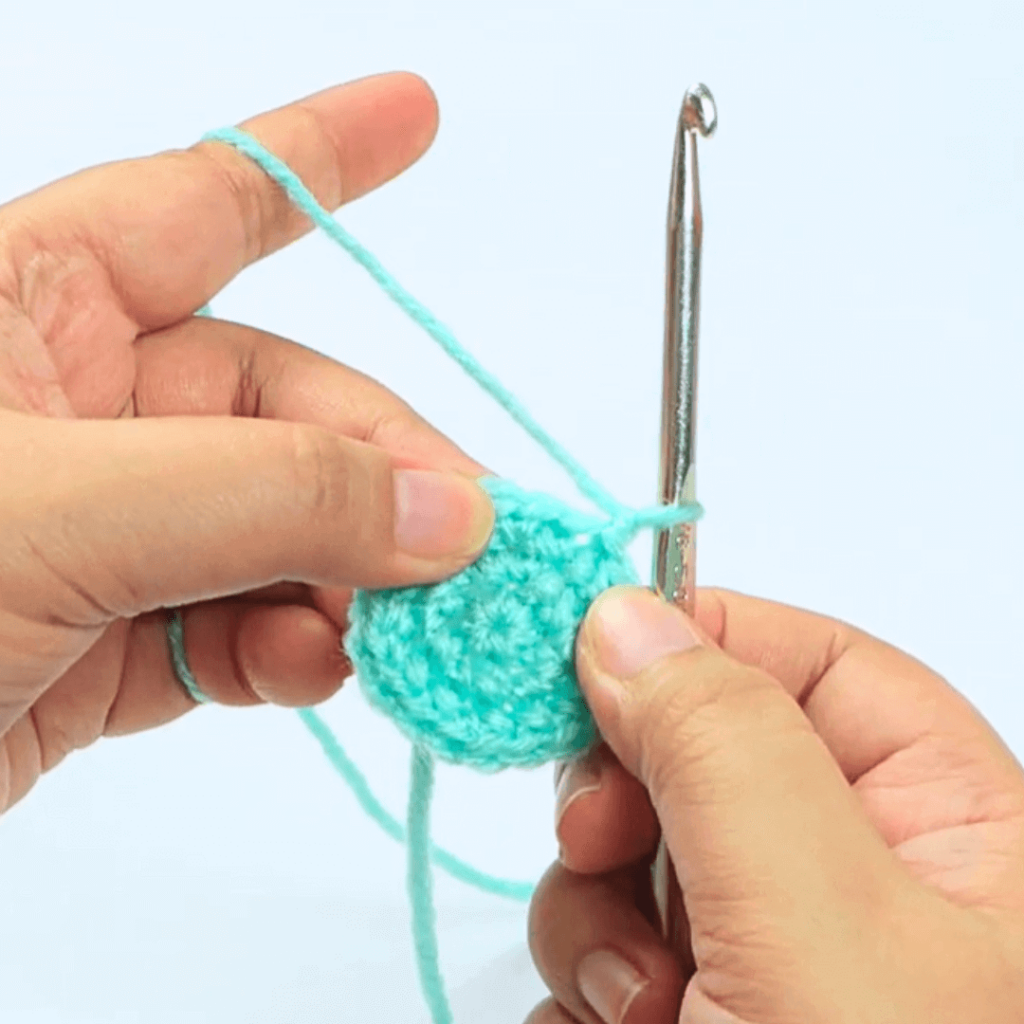
Chain 1 to start a new row. We’re still making increases here and the pattern will be:
1 single crochet in one stitch and 2 single crochets in the next stitch.
In crochet patterns, this part will be written like this:
“sc, 2sc”
Once you reach the end, make a slip stitch on top of the first stitch of your row.
Chain 1 to go up another row. This row’s increase goes:
“sc, sc, 2 sc”
This means that you put one single crochet in each of the next 2 rows and 2 single crochets in the third row.
By now you probably notice the pattern of increases. If you guessed that the next stitch sequence will be:
“sc, sc, sc, 2sc”
Then you’re correct! Just keep increasing until your circle is as large as you want it to be.
Now you know how to crochet a flat circle! My last row of increases is “sc, sc, sc, sc, sc, 2sc” but you can make more if you want a bigger circle than mine.
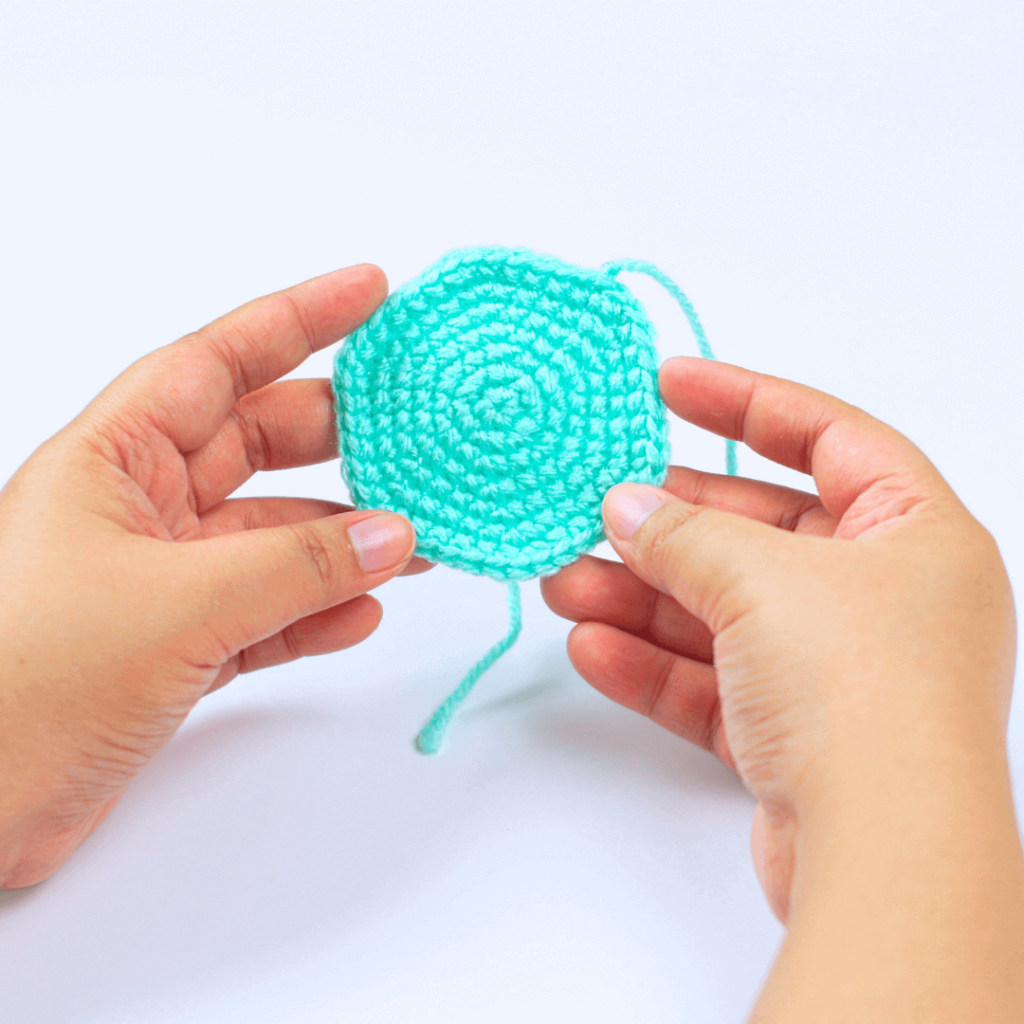
Wow! We learned three new things about crochet this time around. You saw a step-by-step guide on how to crochet a magic circle, how to crochet a circle, and how to increase a stitch in crochet!
By mastering these three things, you will be able to make amazing patterns like beanies, bags, and even rugs.
I used the single crochet (sc) for this tutorial, but I also wanted you to see what it could look like if you used a different stitch like the double crochet (dc). You can clearly see the differences in the photo below.
One of the important details to pay attention to is the number of rows each swatch has. The sc circle has more rows, but it’s still much smaller than the dc circle.
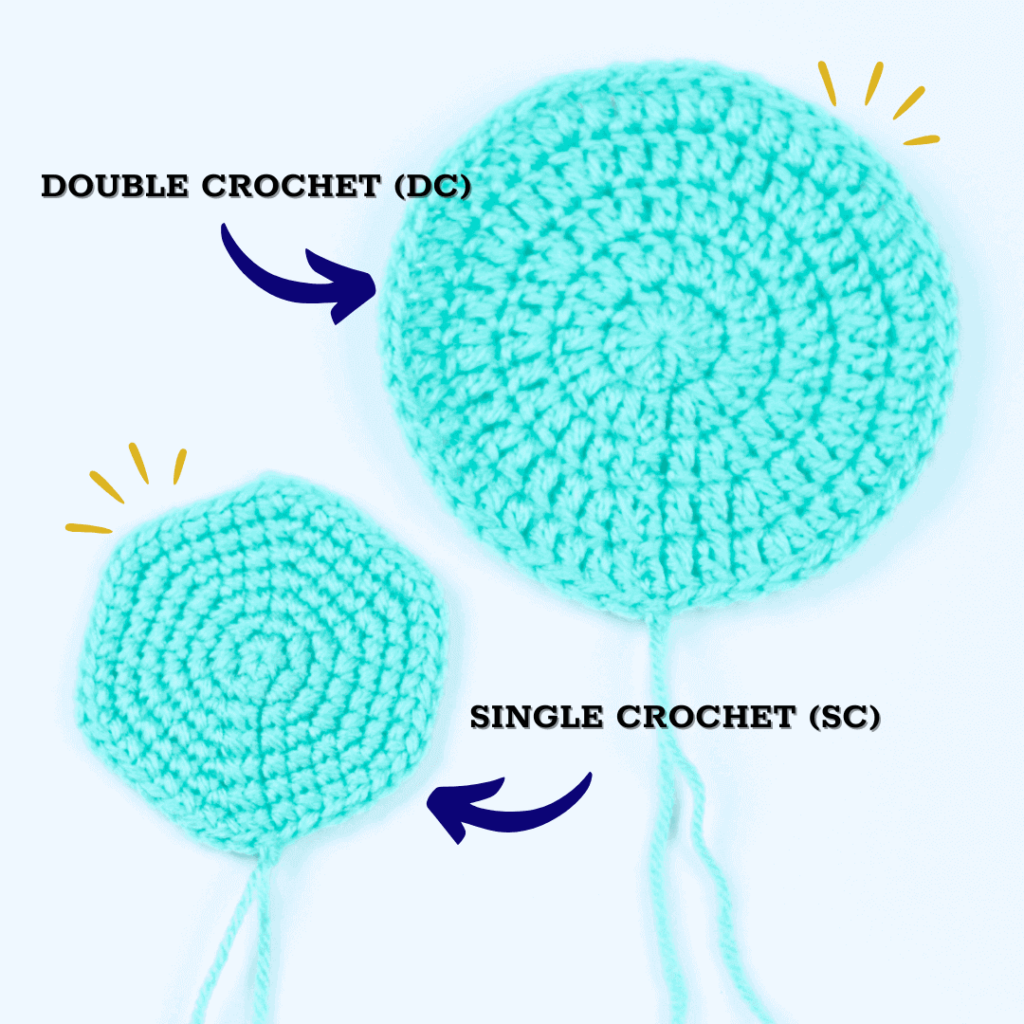
If you want a tight, sturdy fabric, then the sc circle is the way to go. If you don’t mind a more flowy fabric that works up quickly, go for the dc circle!


