How to Use a Yarn Winder: Easy 3-Step Yarn Cakes
No more yarn monsters!
No more yarn monsters!
A yarn winder is a handy tool for turning your skeins into yarn cakes. It’s quite affordable, with a ton of great deals to take advantage of on online shopping sites like Amazon.
Some beginner fiber artists hesitate to explore this oddly-shaped thingamajig, but honestly, it’s one of the easiest tools to use. I’ll show you how!
Yarn winders are super easy to work with. But they are shaped oddly and look really intimidating to use. So we’re going to demystify this tool by talking about each part!
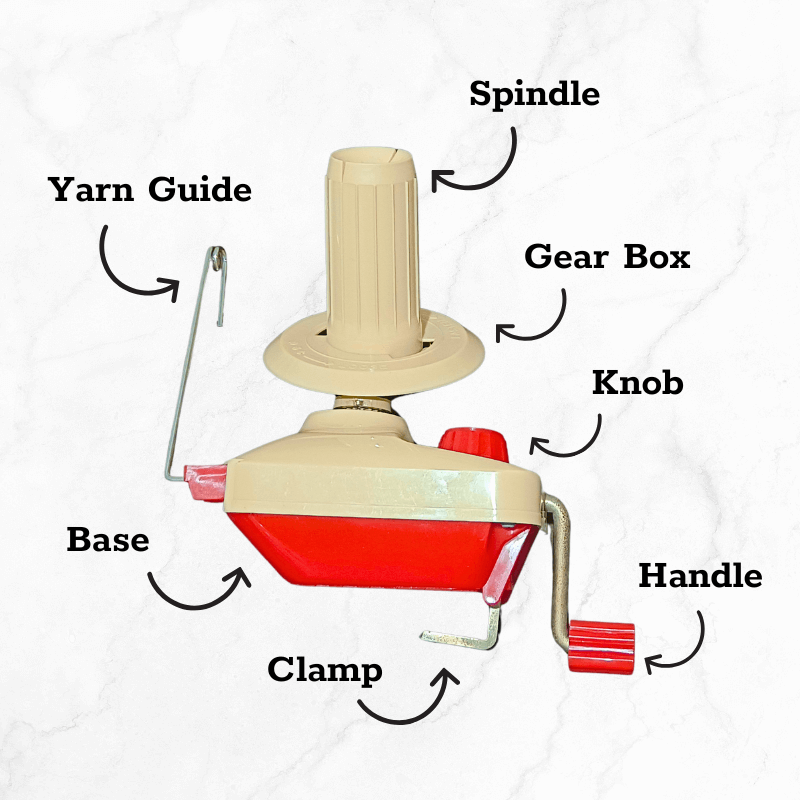
The yarn guide is the metal loop where you feed your yarn tail into. This is the very first step to winding your cake.
The spindle is the long, tube-like structure with a thin slit in the middle which will hold your yarn strand in place. This is the part in the yarn ball winder that spins and holds your cake.
The gear box connects the spindle to the body of the winder. It spins as you crank the handle, forming the yarn cake.
The knob is a small, round, well…knob that you use to tighten the clamp underneath your winder’s base to secure it to your table.
The handle is the mechanism that you crank with your hand to cause your gearbox to spin and form your cake.
The clamp is a small piece of metal at the bottom of your winder that tightens or loosens up as you spin the knob. This holds you winder still while you crank away!
The base is the body of your yarn winder where all the parts are connected to.
Now that you’re familiar with all the different parts of your winder, it’s time to learn how to use it. Here’s a super easy tutorial that you can follow along with:
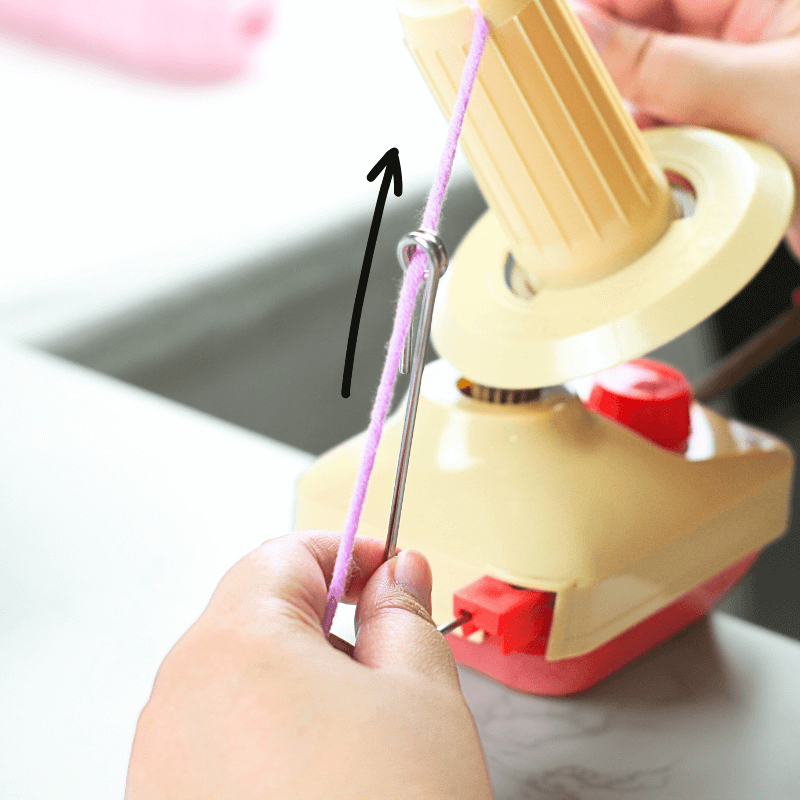
Fish out the yarn tail from the middle of your skein and feed it into the metal loop/yarn guide of the winder.
Squeeze the yarn in between the thin gaps in the middle of the spool/spindle.
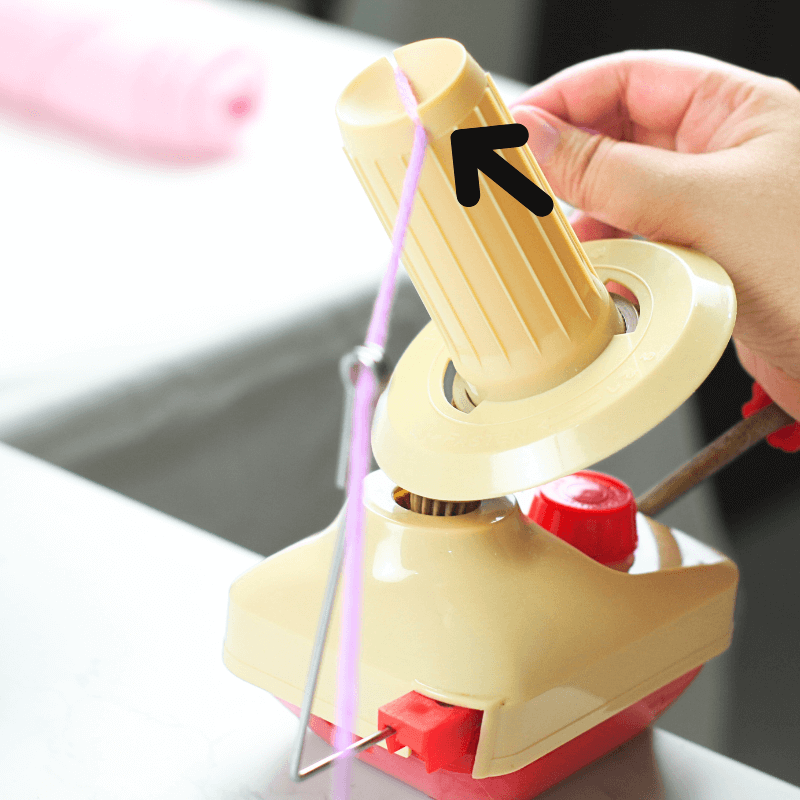
Crank the handle to start spinning your skein into a cake.
You can hold onto the working end of the yarn to even out the tension on your cake.
Keep cranking to spin the winder until your spindle is full or you run out of yarn to spin.
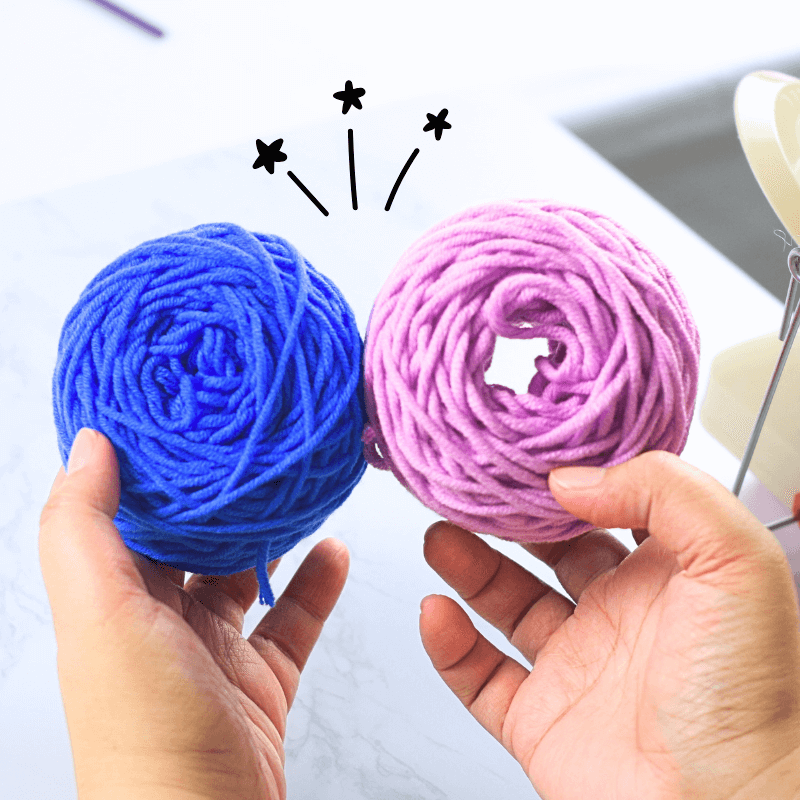
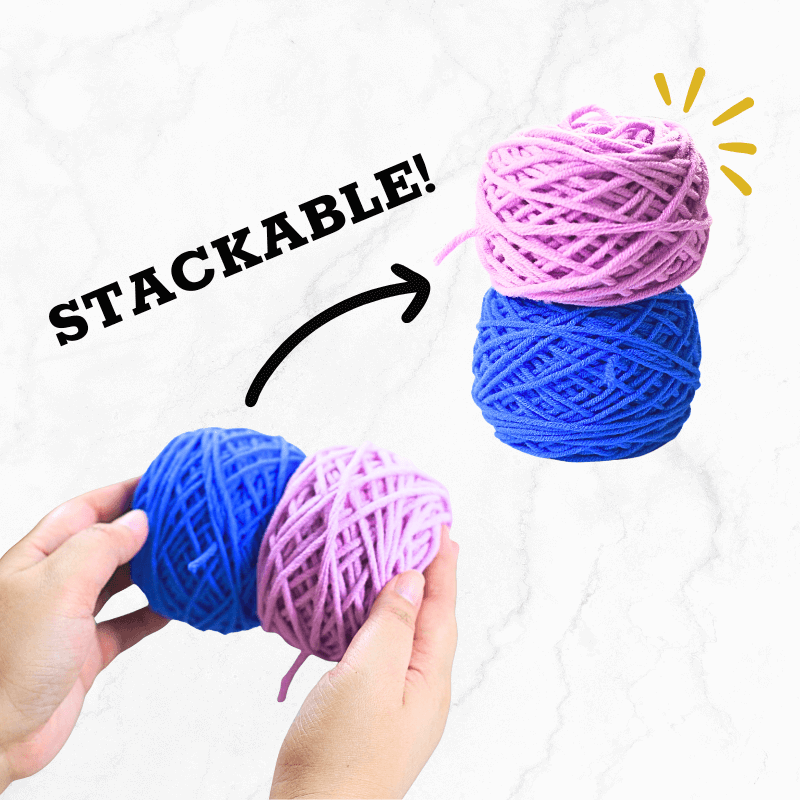
By the end, your yarn cakes should look like these below. Naturally, the more yarn you wind, the thicker the cake will be.
If you ever wonder why it you should bother caking your yarn skeins, here’s a perfect reason:
Imagine a cake that’s easy to make and doesn’t spike up your glucose levels. Ah, a dream! Luckily, it does exist in the form of yarn. Yeah, you can’t eat it, but hey, they’re super fun and easy to make!
I hope this tutorial helped you in learning how to cake your yarn. If you have questions or have topics that you want us to cover next time, make sure to leave a comment below.
Looking for other tips and tricks related to the crafting and fiber world? Check out these awesome blogs: