How to Knit the Linen Stitch in Just 2 Easy Rows
New knitting stitch unlocked!
New knitting stitch unlocked!
Want to learn how to knit the Linen Stitch? Well, what a coincidence! That’s exactly what we’re talking about today.
The linen stitch is one of my top favorite stitches to use. It is made by alternating knits, purls, and slip stitches. It has a subtle texture that is perfect for cozy knitwear.

Ready to learn your new favorite elegant stitch? Keep scrolling!
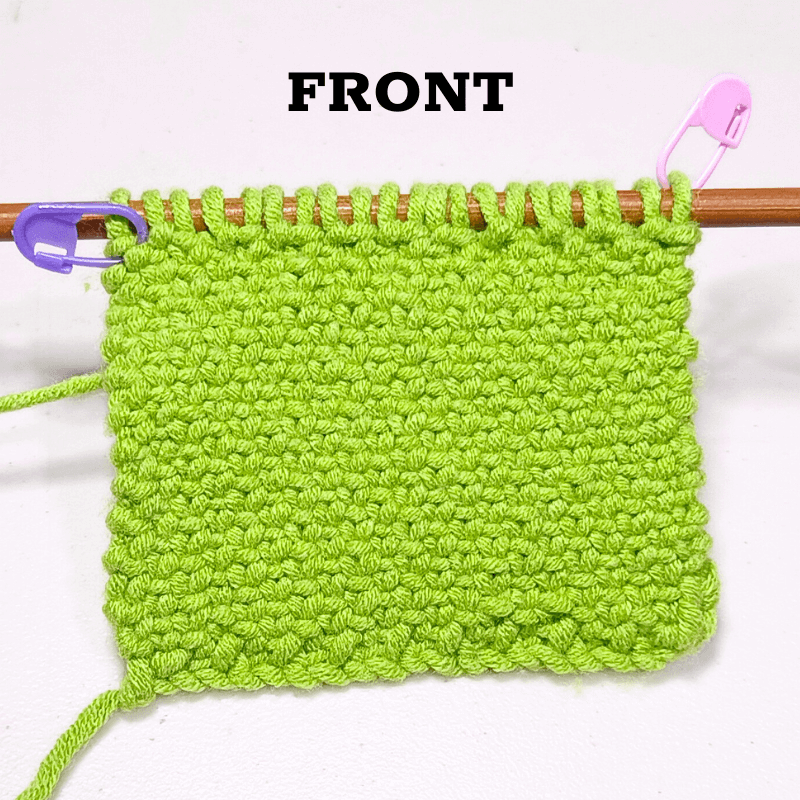
The linen stitch is super easy to make. It has an elegant finish with an interesting texture that’s really lovely to look at.
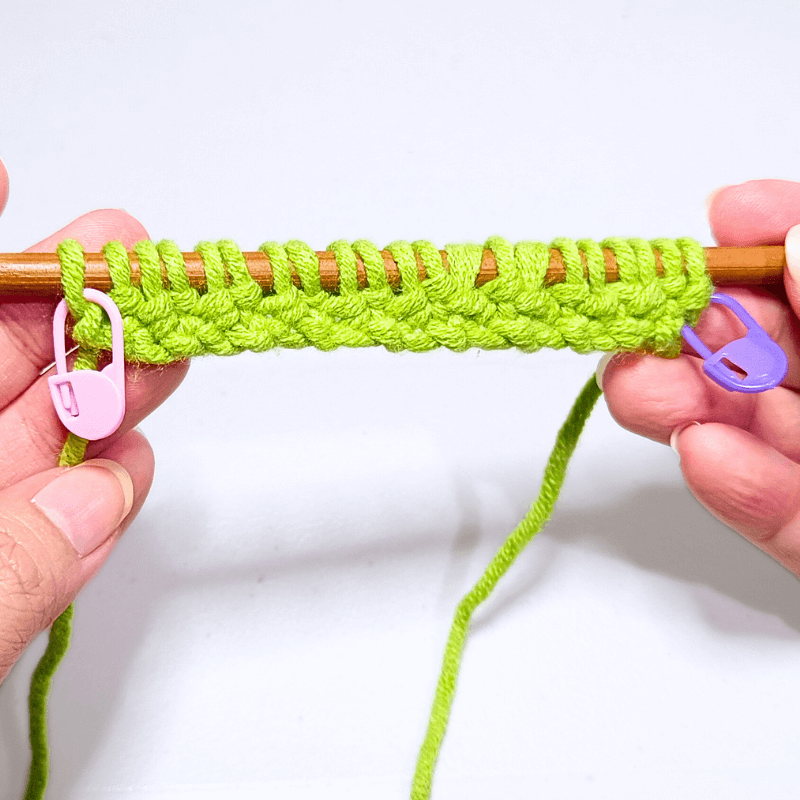
But despite its simplicity, the linen knit stitch can be confusing. So here’s a quick tip to help you keep track of all linen stitches you make:
Put a stitch marker after every linen knit stitch row! Make sure to assign a specific color for row 1 and row 2.
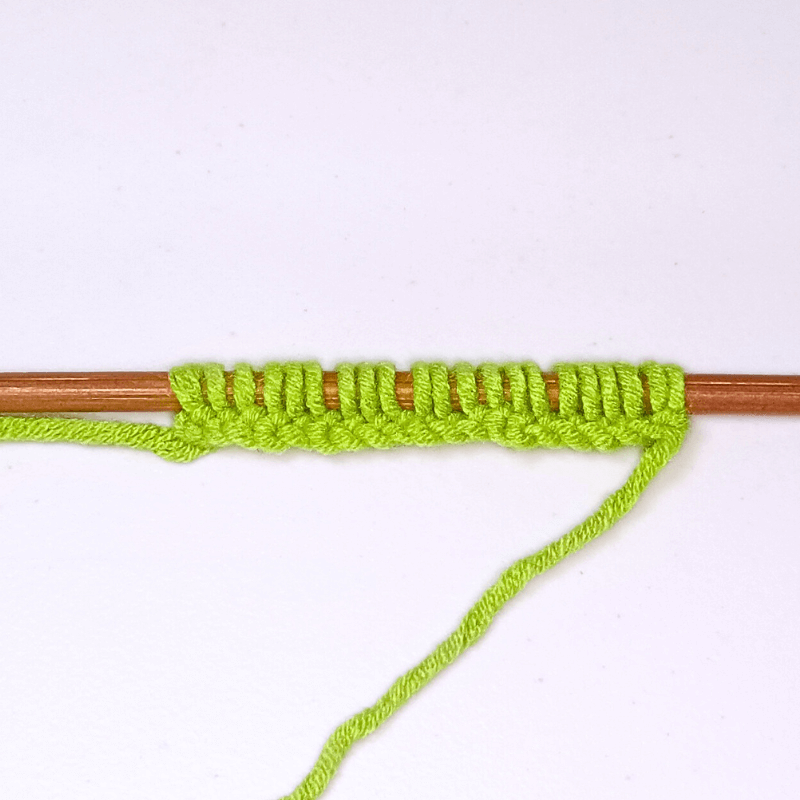
Cast on an odd number of stitches. I’m casting on 21 stitches using the Basic Knit Cast On.
Let’s dissect this pattern:
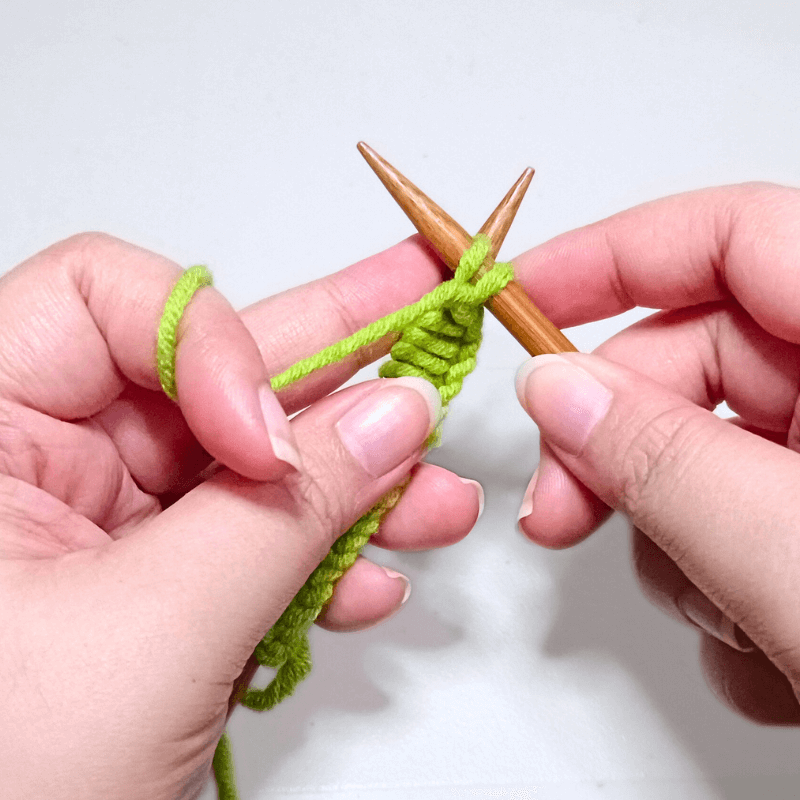
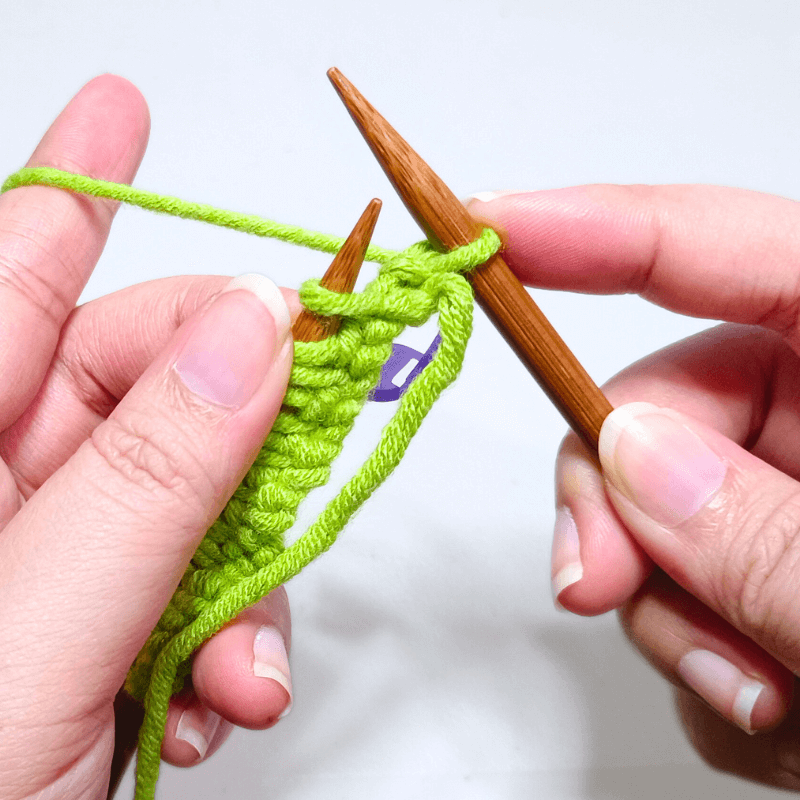
Knit 1 stitch
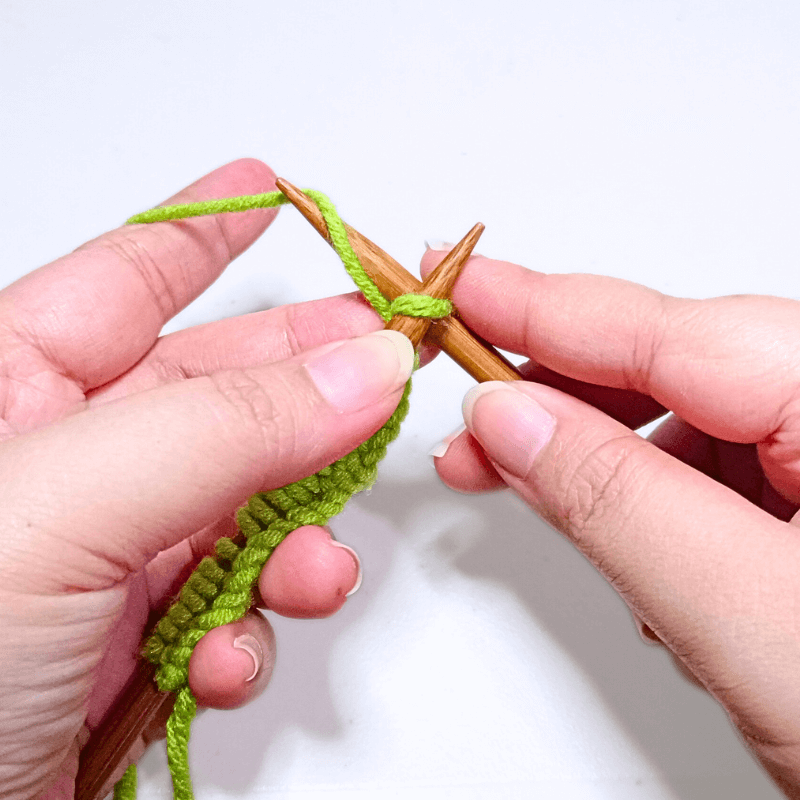
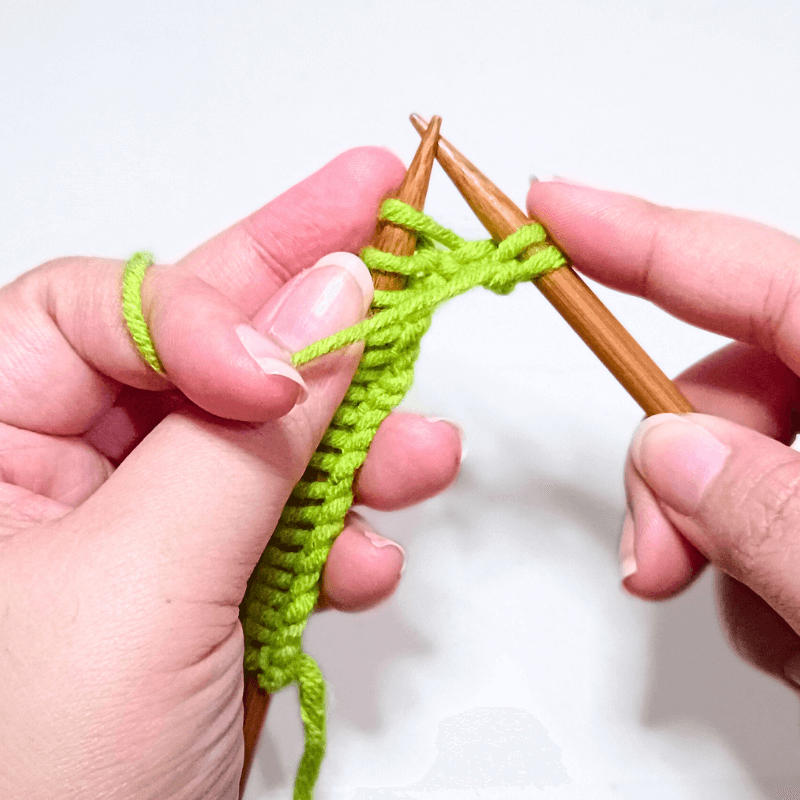
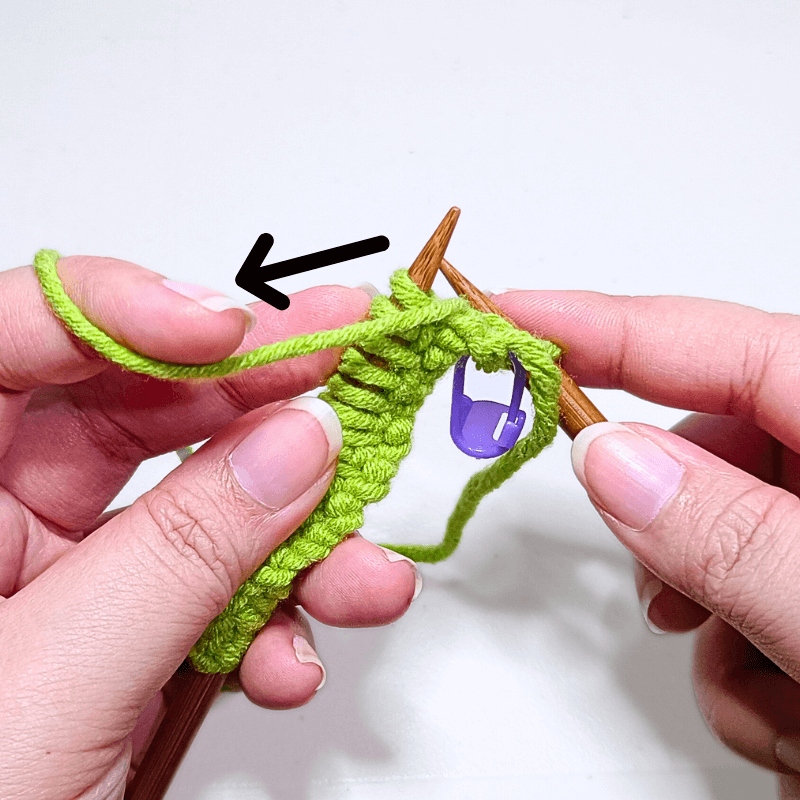
Bring your yarn to the front
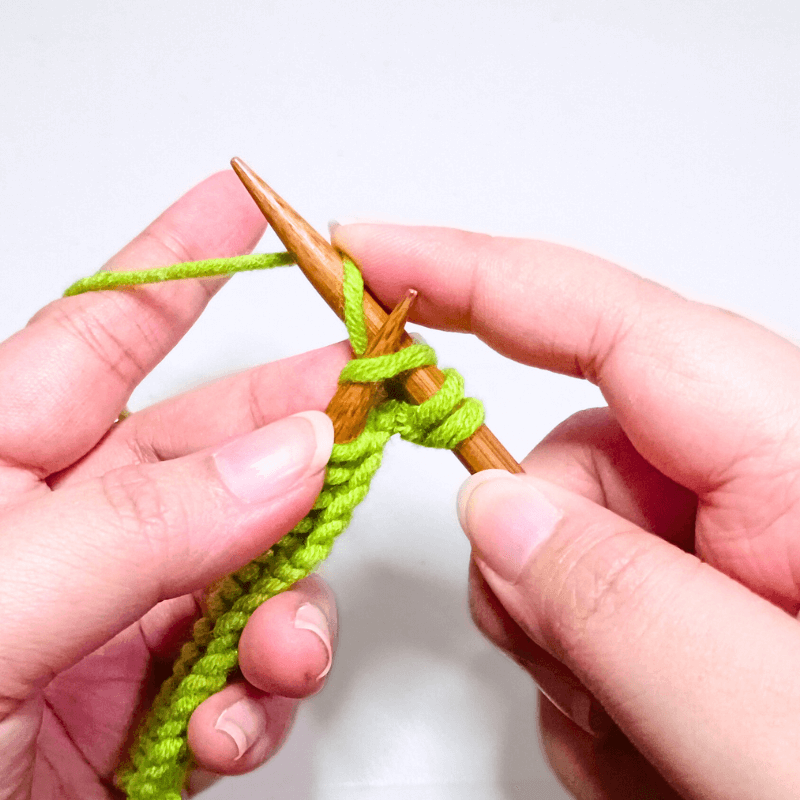
Slip 1 stitch (purl-wise)
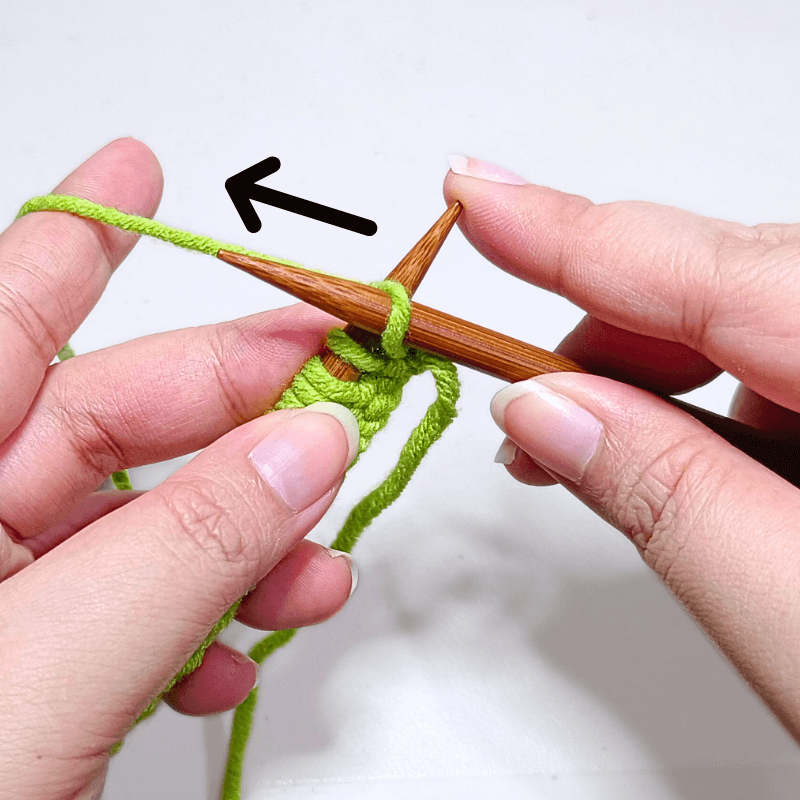
Bring your yarn to the back

Repeat all of these until the end of the row: *knit 1, bring yarn to front, slip 1 (purl-wise), bring yarn to the back* repeat this pattern until you reach the end. PM.
Place your stitch marker at the end (PM)

Let’s dissect this pattern:
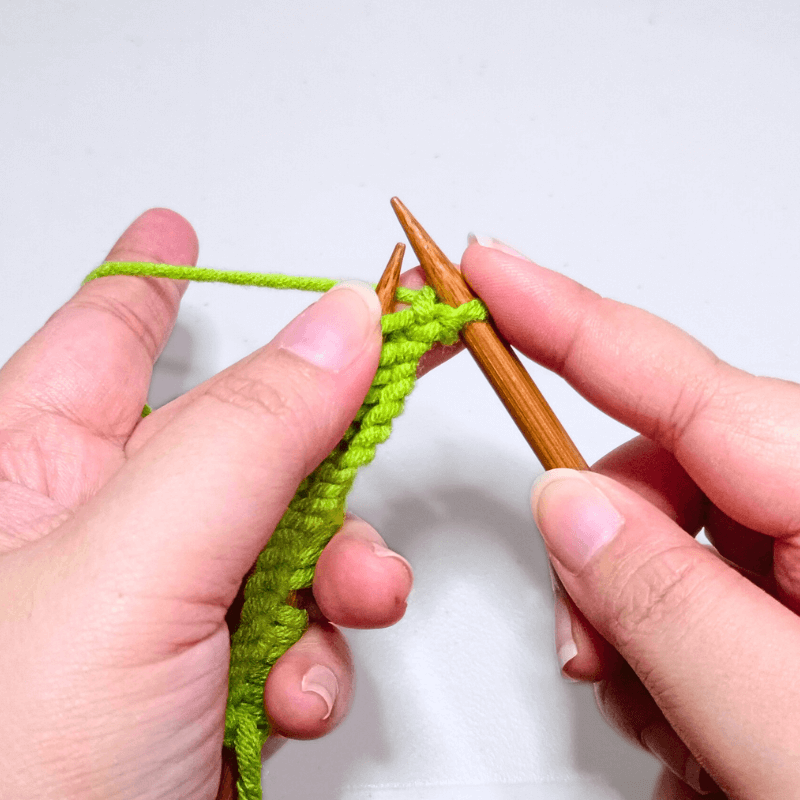
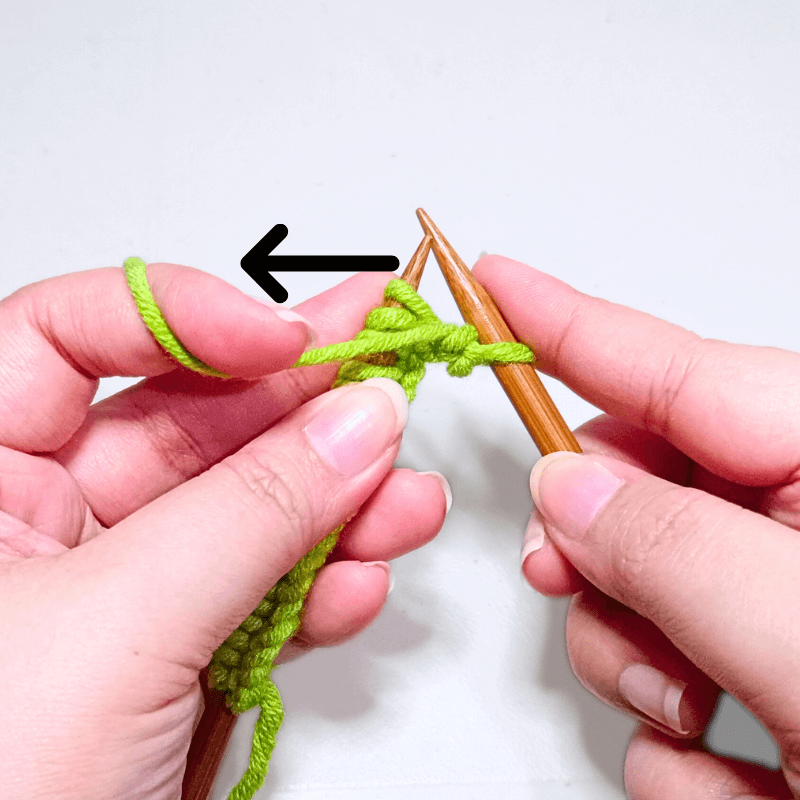
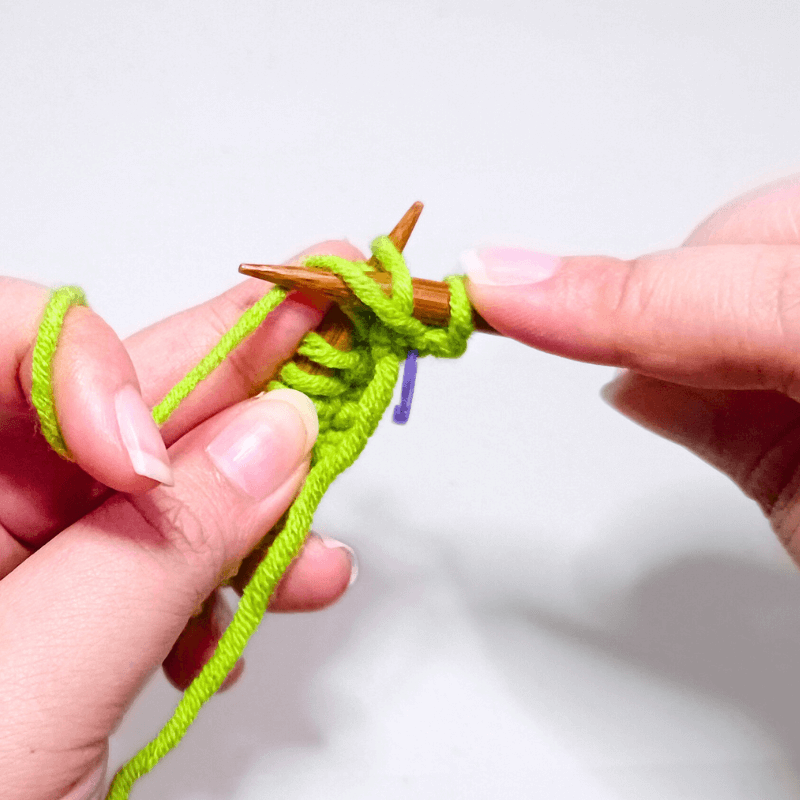
Hold the yarn towards the back
Slip 1 (purl-wise)
Bring the yarn to the front
Purl 1
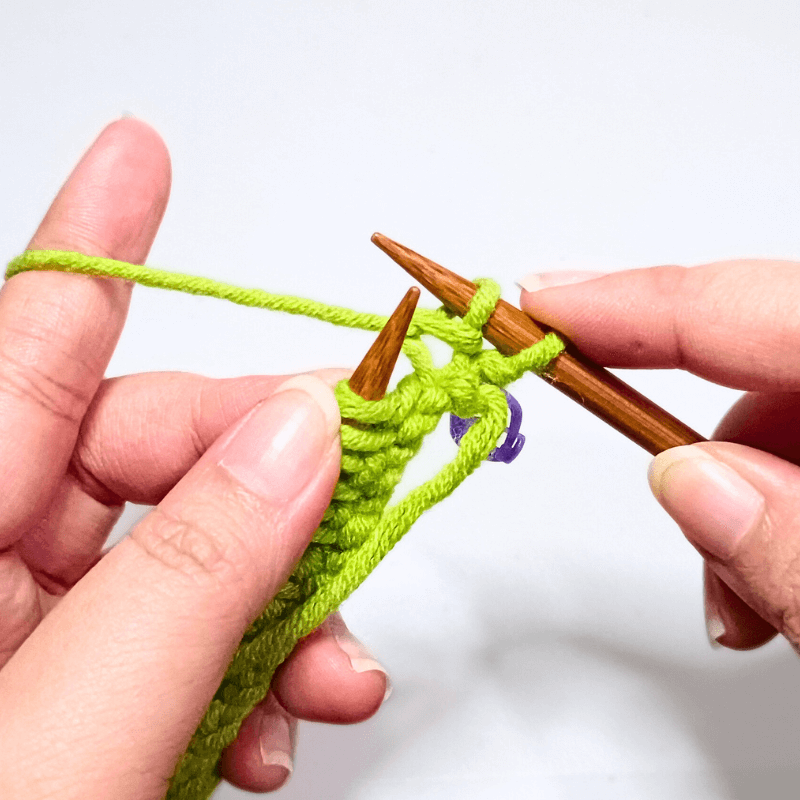
Place your stitch marker at the end (PM)
Repeat all of these until the end of the row: *With the yarn towards the back, slip 1 (purl-wise), bring the yarn to the front, purl 1* repeat this pattern until the last stitch. PM.
Keep alternating between Rows 1 and 2 until you reach your desired length.
Don’t forget to put a stitch marker at the very end to help you keep track of each row you make.
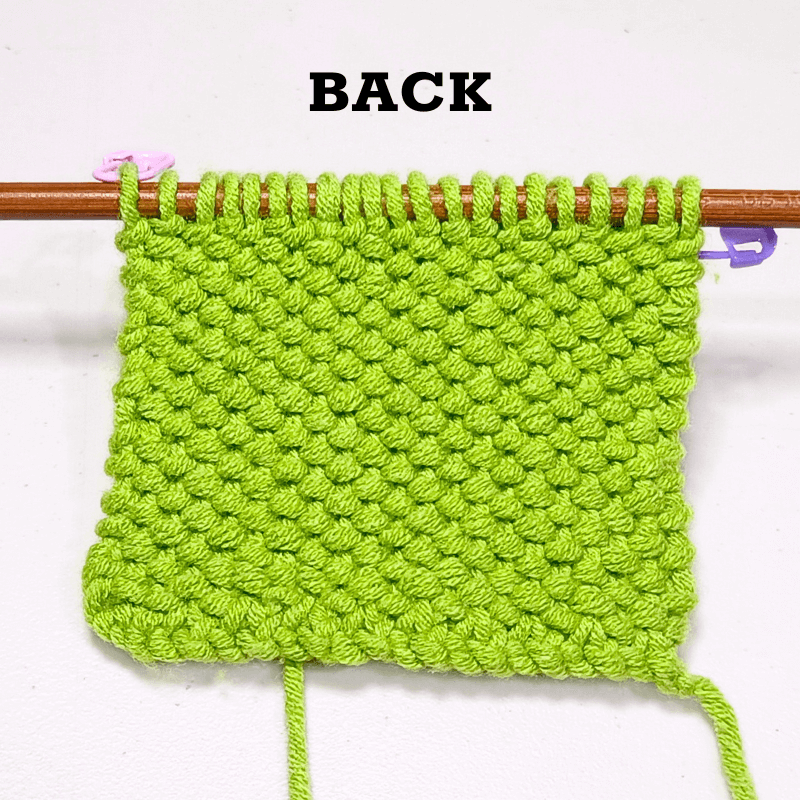
Here’s how your linen knit stitch swatch should look like after a few rows. The stitches are lovely and have little to no stretch.
Learning new knitting stitches is so fun. You never know when you’ll need to whip up a new gift or refresh your inventory for an upcoming craft market.
I hope you enjoyed this tutorial! Let us know below what other knitting stitches and topics you want us to cover next time. Happy knitting!


