8 Common Knitting Mistakes to Sidestep in 2025
So, you’ve picked up some needles and yarn, ready to create something epic. But wait, what’s this weird hole? Why is your scarf curling into a sad tube? Chill, we’ve all been there, and these little hiccups are totally part of the process.
Dropping a stitch isn’t a craft-ending disaster; it’s practically a rite of passage. Think of it as your official knitting initiation. Learning to spot and fix these common knitting mistakes is the ultimate glow-up for any knitter.
Before you get tangled in frustration, let’s dive in. We’ll walk you through the most frequent slip-ups and give you the real-talk fixes. You’ll be knitting with the confidences of a pro in no time.
1. The Vanishing Act: Dropping Stitches
You’re knitting along, totally in the zone, then glance down and… hold up. A single loop has staged a dramatic escape from your needle, leaving a “ladder” running down your work. This is the infamous dropped stitch, a classic knitting mistake, but fixing it is super easy.
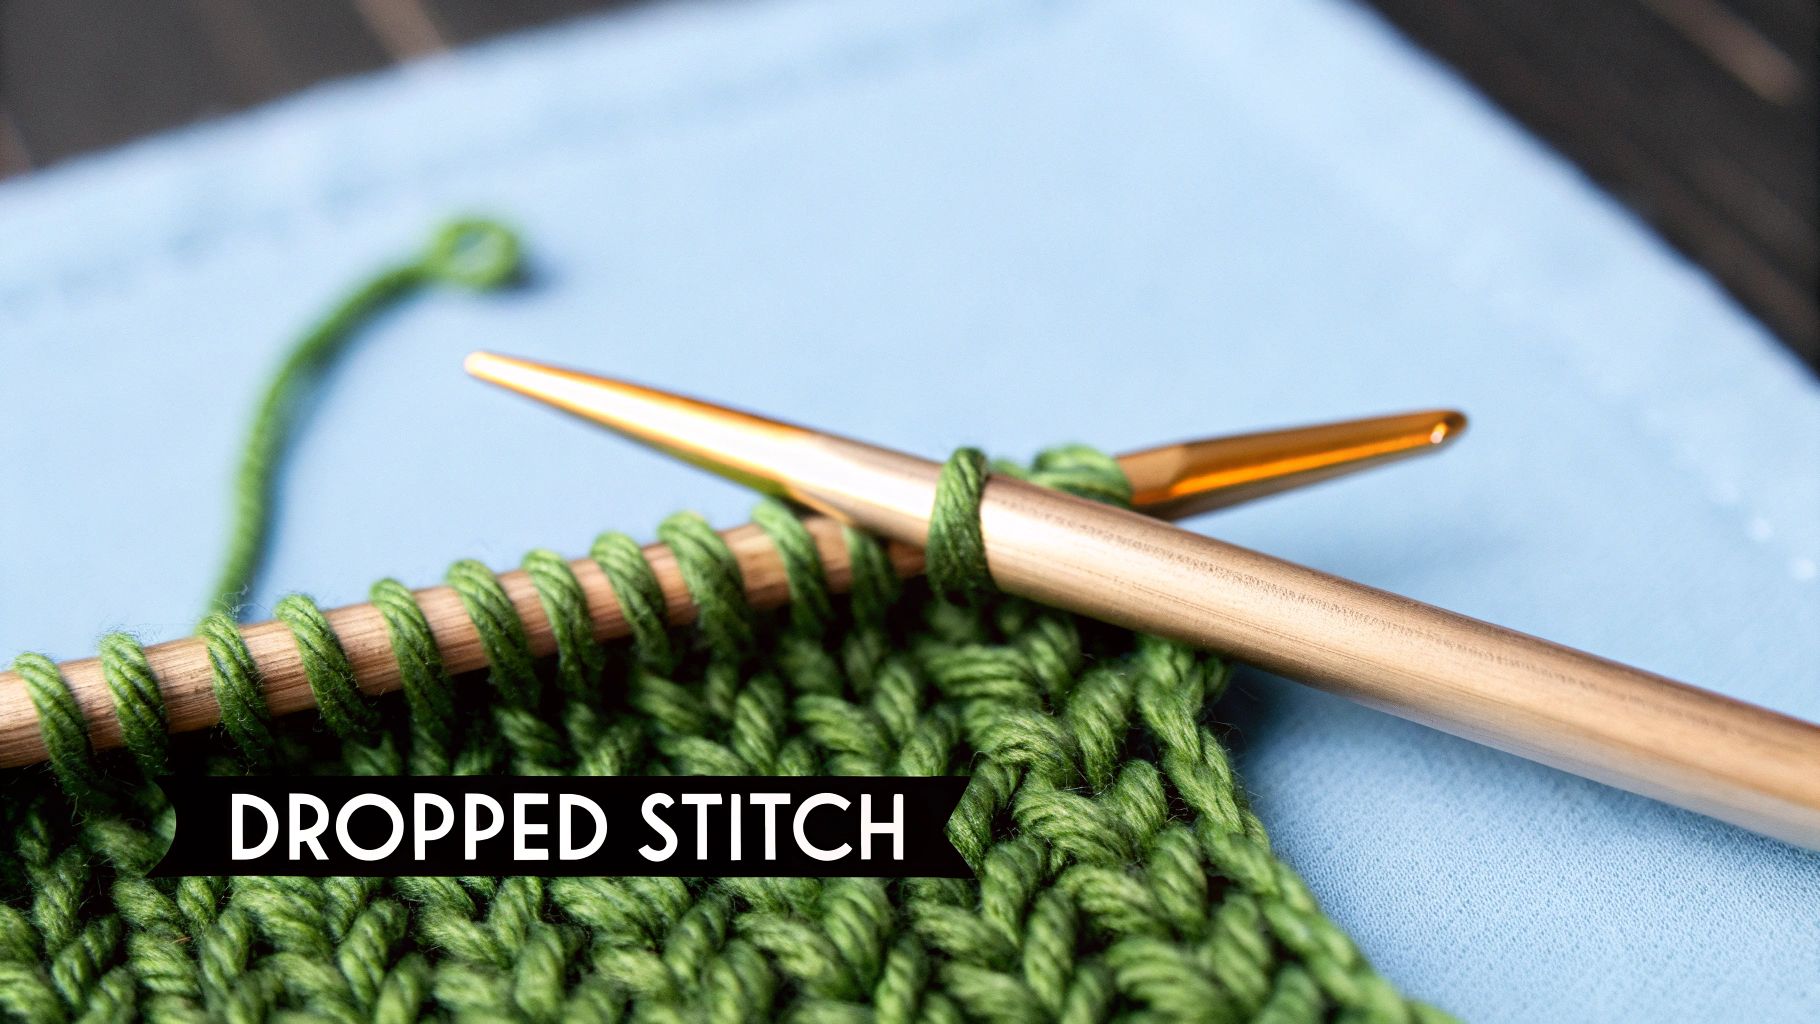
This little runaway can happen if your yarn is slick or your tension is loose. No matter the cause, that rogue loop can unravel multiple rows if left unchecked. It’s the ghost that haunts every new knitter’s projects.
Why It’s a Problem & How to Fix It
A dropped stitch isn’t just a vibe killer; it’s a structural flaw. It creates a vertical run that looks like a snag in your favorite tights. The good news is, you don’t have to rip out all your hard work!
Your secret weapon for this rescue mission is a small crochet hook. Just insert the hook into the dropped loop and catch the first “rung” of the ladder. Pull it through the loop, and repeat all the way up until you’re back on top.
Pro Tips to Prevent Dropped Stitches
- Count Your Stitches: At the end of every row, do a quick count. It’s the fastest way to catch a dropped stitch before it makes a run for it.
- Use Needle Stoppers: When you put your project down, pop some stoppers on the ends of your needles. This keeps your stitches from ghosting you while you’re away.
- Check Your Gauge: Make sure you’re using the right needle size for your yarn. Stitches that are too loose are way more likely to slip off.
2. The Mysterious Growth Spurt: Incorrect Stitch Count
You’ve been following your pattern, but suddenly your scarf has a weird wavy edge. Or the sleeve you’re making looks like it would fit a giant. This is the classic sign of an incorrect stitch count, a sneaky saboteur that can derail your project.
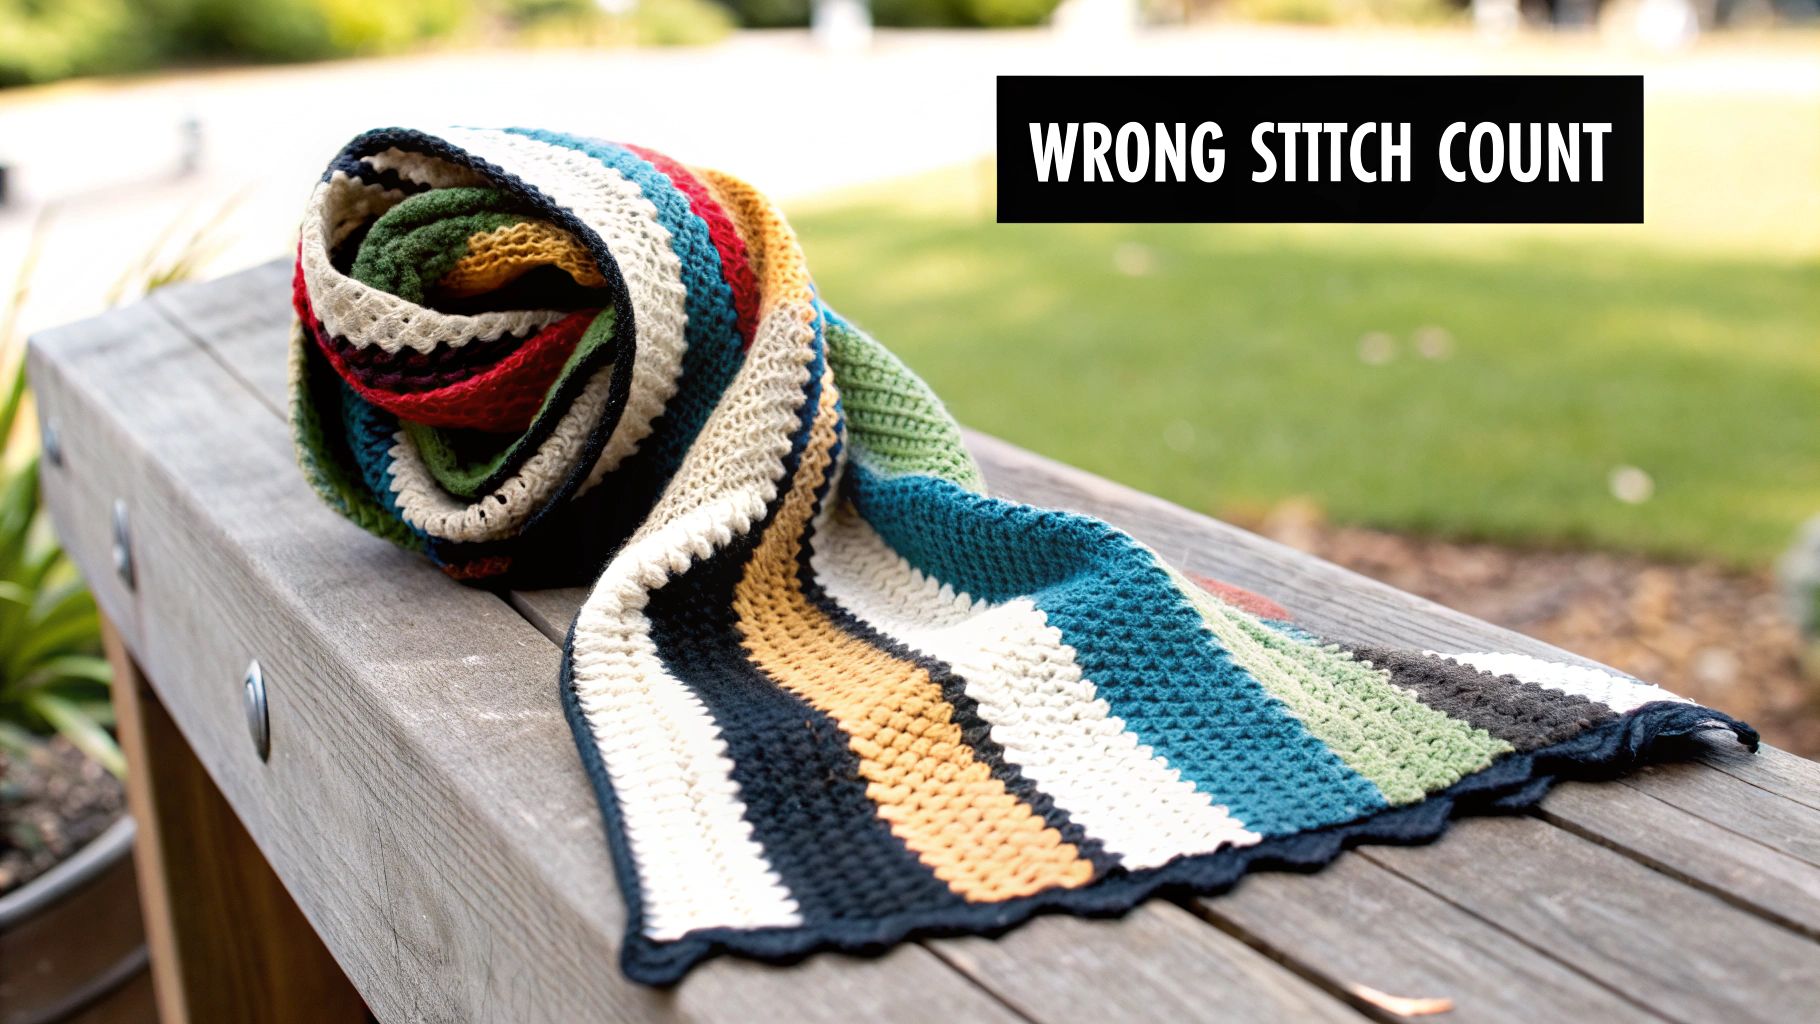
This error often happens through accidental yarn overs or by knitting two stitches together. It’s frustrating because it doesn’t just affect the look; it completely alters the size and shape. Your project basically gets a whole new, unwanted personality.
Why It’s a Problem & How to Fix It
An incorrect stitch count is a foundational error that throws off your project’s entire geometry. The fix often requires “tinking” (un-knitting) back to where the mistake happened. It feels like going backward, but it’s better than a wonky finished piece.
Tinking just means knitting in reverse. You insert your left needle into the stitch below the one on your right needle and gently unravel it. It’s a careful un-do that’s way less chaotic than ripping everything out.
Pro Tips to Prevent Stitch Count Errors
- Count Every Row: Yes, every single one, especially when you’re a beginner. It feels tedious, but it’s the number one way to catch a mistake immediately.
- Use Stitch Markers: Place a marker every 10 or 20 stitches. This breaks up the counting and helps you pinpoint exactly where an error occurred.
- Keep a Row Counter: A simple clicker or a notes app can help you track which row you’re on, which is clutch for patterns with shaping instructions.
3. The Tight Twist: Unintentionally Twisted Stitches
Ever notice your knitting looks a little… off? The stitches seem tight and constricted, not like the classic ‘V’ shape you see online. This is likely the work of twisted stitches, a super common mistake where your stitches get their legs crossed.
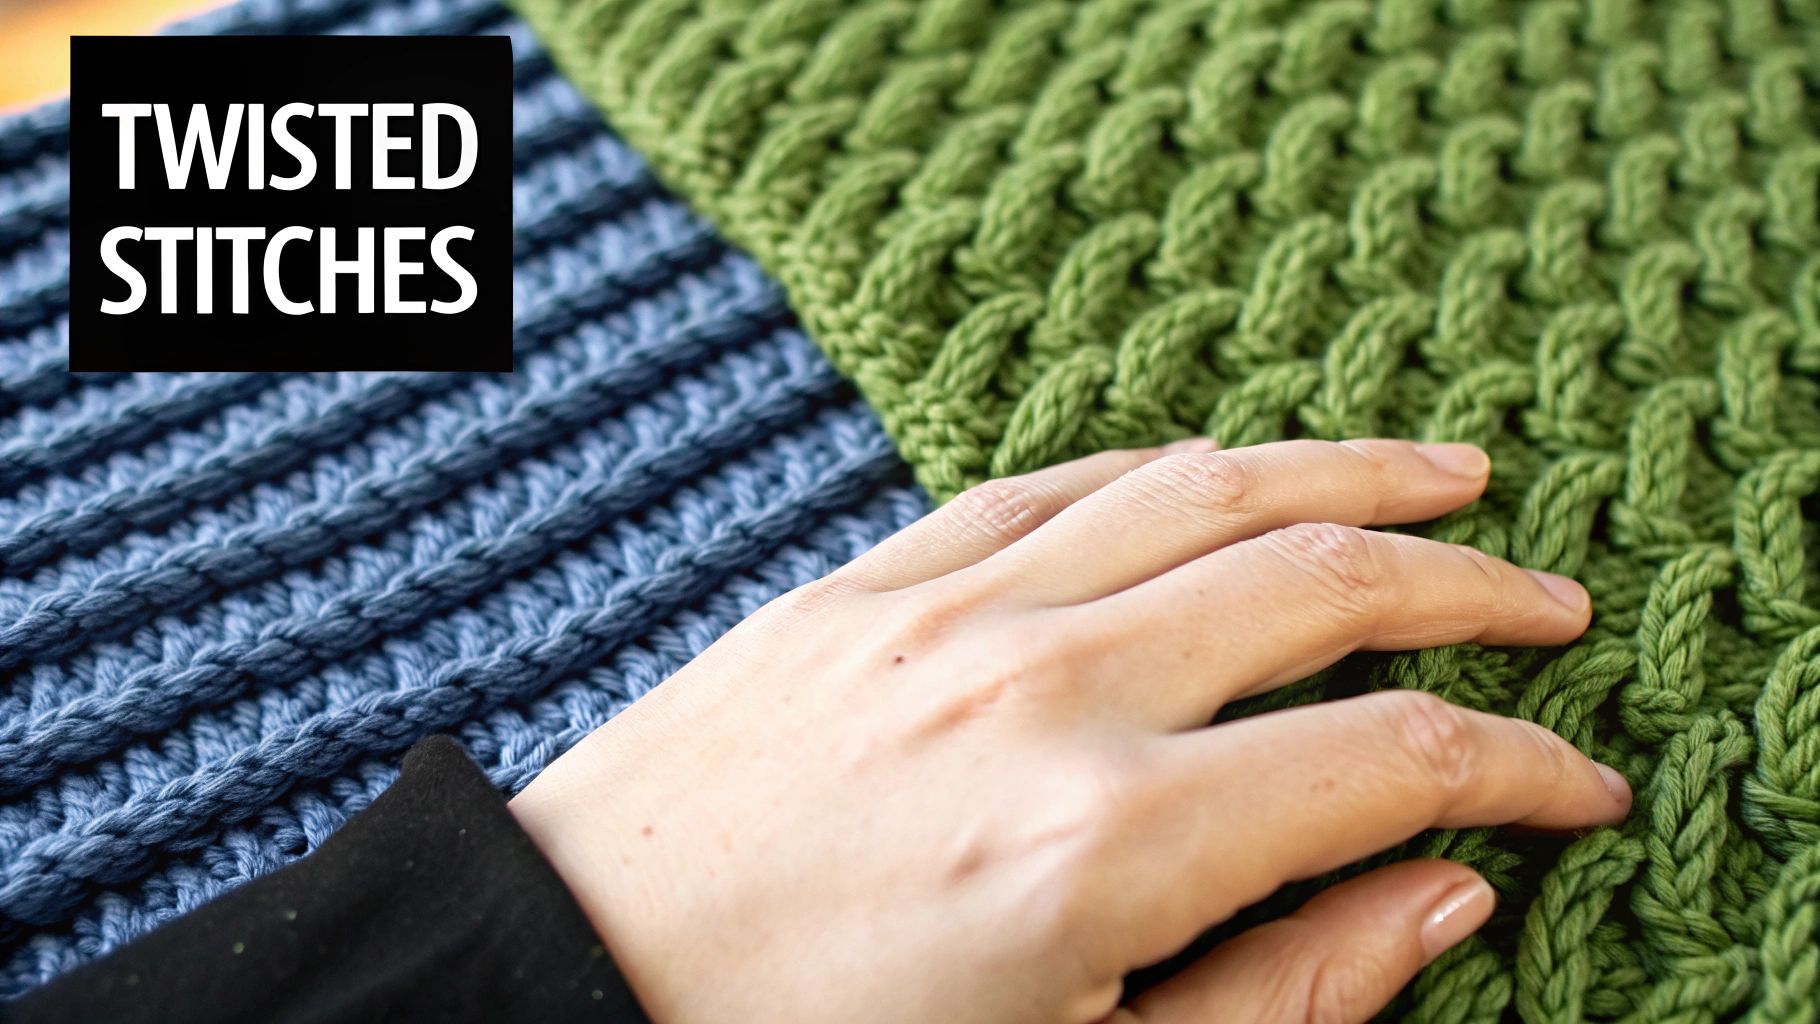
This usually happens if you knit into the back of the stitch instead of the front. Or you might be wrapping your yarn the wrong way around the needle. Doing it by accident can make your project stiff and puckered, killing the cozy vibe.
Why It’s a Problem & How to Fix It
A twisted stitch doesn’t just look different; it lacks natural stretch and drape. In a ribbed hat brim, this is a major issue because it won’t expand properly. The fabric loses its chill and becomes rigid.
Fixing it is all about recognizing it. A correct stitch sits on the needle with its right leg forward. If you spot a twisted one, just slip it to the other needle, untwist it so the right leg is in front, and slip it back.
Pro Tips to Prevent Twisted Stitches
- Mind Your Mount: Pay attention to how your stitches sit on the needle. Unless a pattern says otherwise, always knit into the front leg of the stitch.
- Check Your Wrap: For a standard knit stitch, wrap the yarn counter-clockwise. Wrapping it the other way is a frequent cause of twisted stitches on the next row.
- Practice Makes Progress: Knit a small swatch and just look at how the stitches form. The more you know what a “right” stitch looks like, the faster you’ll spot a wrong one.
4. Inconsistent Tension
You followed the pattern perfectly, but your finished fabric looks kinda wavy. Some rows are tight and others are loose, giving it a weird, unintentional striped look. This is the work of inconsistent tension, one of the most subtle but impactful common knitting mistakes.
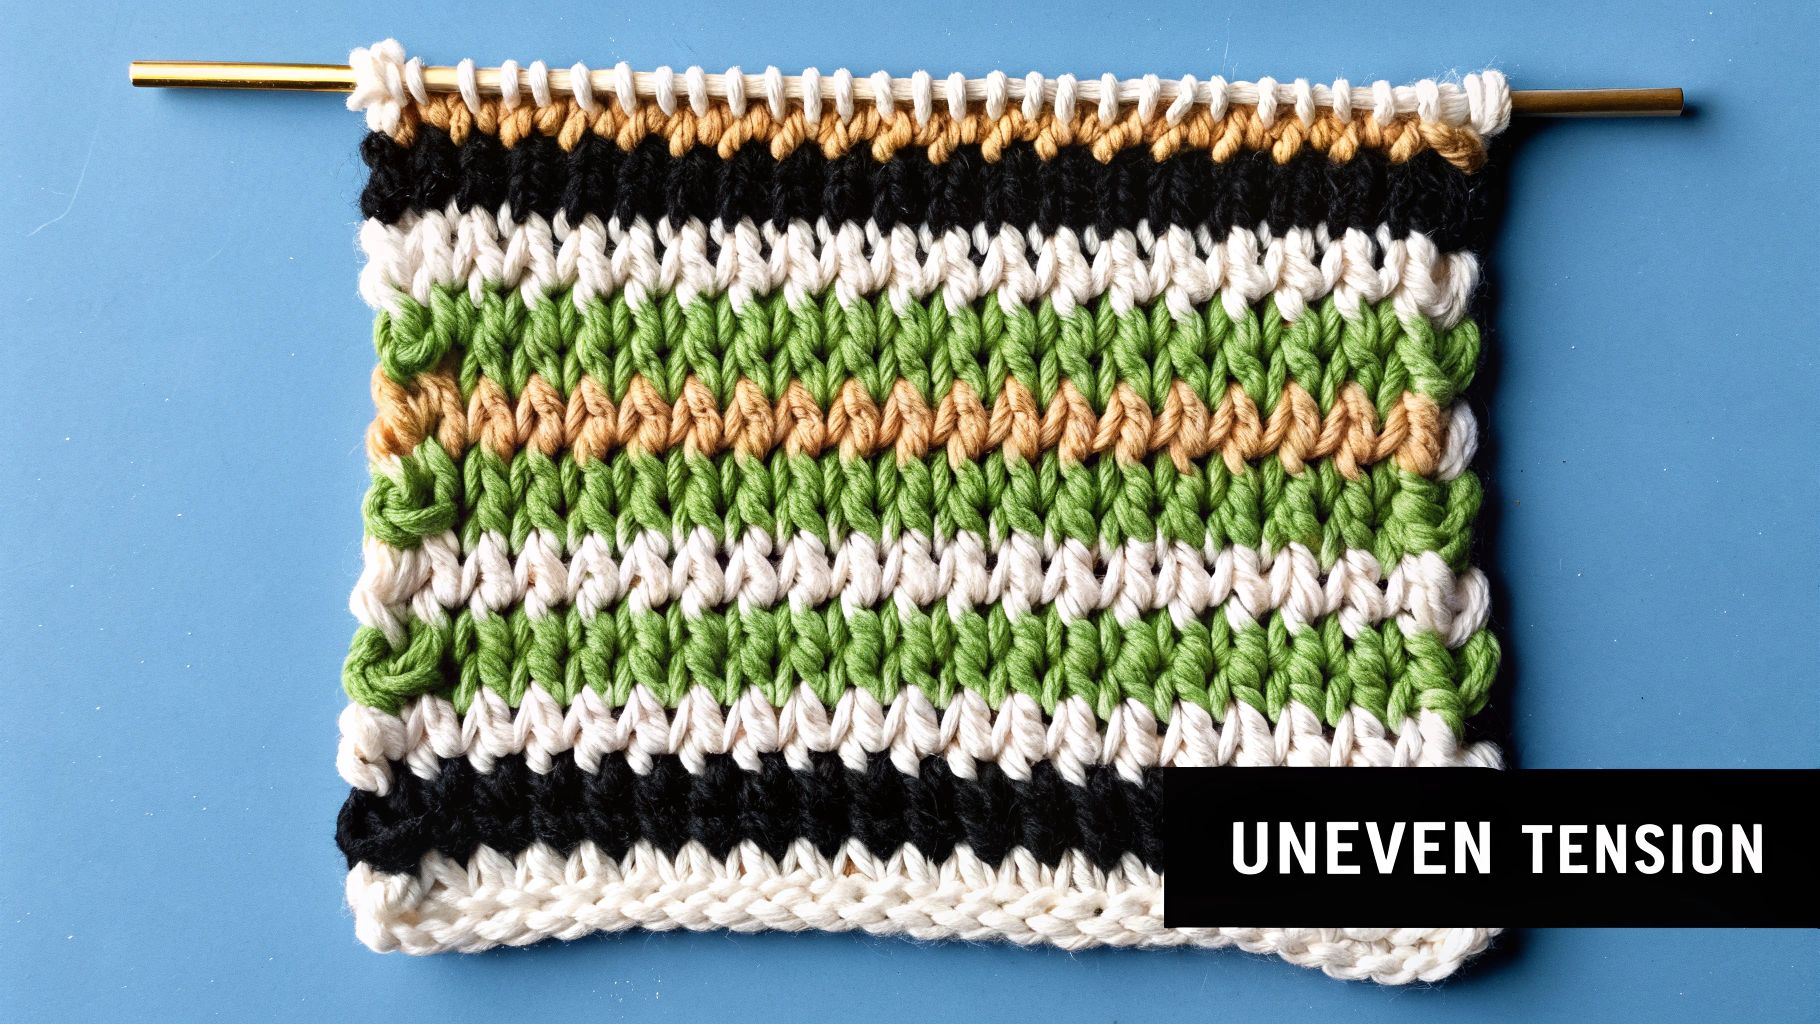
Tension is just how tightly or loosely you hold the yarn. It can be influenced by your mood, how you’re sitting, or even a long break. When it fluctuates, your stitch size changes, creating an uneven fabric.
Why It’s a Problem & How to Fix It
Inconsistent tension is a major buzzkill for projects where fit is key. A sweater might end up with one sleeve wider than the other. It can totally ruin the drape of a shawl or the clean lines of a simple scarf.
The fix is all about practice and muscle memory. You can’t really go back and correct uneven tension without ripping back (“frogging”). The best bet is to find a consistent way to hold your yarn that feels natural.
Pro Tips to Prevent Inconsistent Tension
- Find Your Grip: Experiment with different ways to hold your yarn (Continental vs. English style). See what gives you the most even and comfortable control.
- Practice on a Swatch: Before a big project, knit a practice square. This helps you check your gauge and settle into a rhythmic, consistent tension.
- Take Breaks: Knitting fatigue is real. If your hands get tired or cramped, your tension will suffer, so take a break and relax.
5. The Ghost Hole: Unintentional Yarn Overs
You’re cruising along on a simple scarf, feeling like a pro. Then you hold it up and see it: a mysterious, lacy hole you did not plan. This phantom hole is a classic sign of an unintentional yarn over, a mistake that leaves beginners scratching their heads.
This accidental lace usually happens when your working yarn takes a wrong turn. You might bring the yarn over the needle when moving from a knit to a purl stitch. This extra loop gets worked as a stitch in the next row, creating a hole where you wanted solid fabric.
Why It’s a Problem & How to Fix It
An unplanned yarn over adds an extra stitch, which can throw off your pattern’s dimensions. In a plain fabric, it creates a noticeable hole that disrupts the whole look. It totally breaks the rhythm of something like ribbing.
Luckily, if you catch it on the next row, the fix is super easy. When you get to the extra loop, just drop it off the left-hand needle. Give your work a gentle tug and watch the hole vanish.
Pro Tips to Prevent Unwanted Holes
- Mind Your Yarn Position: Make it a mantra: for a knit stitch, yarn stays in the back. For a purl stitch, yarn comes to the front.
- Transition Carefully: The danger zone is switching between knit and purl stitches. Always move the yarn between the needles to get it to the right side.
- Count, Count, Count: If you suddenly have an extra stitch, you’ve likely made an accidental yarn over. A quick count is your best friend.
6. The Deja Vu Disaster: Knitting into the Wrong Row
You set your project down mid-row to answer a text, then pick it back up. After a few inches, you notice something looks off, like purl bumps on your smooth knit side. This is the Deja Vu Disaster, a classic case of knitting into the wrong row.
This mistake happens when you’re interrupted and lose track of your pattern. You might accidentally turn your work and knit in the opposite direction. It’s an easy slip-up that can throw your entire fabric out of whack.
Why It’s a Problem & How to Fix It
Working the wrong stitch for the row creates an obvious texture flaw. For patterns like ribbing or seed stitch, it completely breaks the sequence. It’s a visual error that’s hard to ignore once you see it.
The fix, while a little annoying, is straightforward: you have to “tink” back. This means un-knitting each stitch one by one until you’re back where you went wrong. It’s better than having a glaring mistake in your finished project.
Pro Tips to Prevent Knitting into the Wrong Row
- Mark Your Right Side: Use a locking stitch marker to mark the “right side” (RS) of your work. This gives you an instant visual cue of which side should be facing you.
- “Read” Your Knitting: Learn to tell a knit stitch (a V) from a purl stitch (a bump). This way, you can see what the next stitch should be, even if you lose your place.
- Use a Row Counter: A simple click-style row counter is a lifesaver. Click it at the end of every row so you never have to guess where you are.
7. The Chokehold: Binding Off Too Tightly
You’ve finally knit the last row of your gorgeous sweater. You eagerly cast off, snip the yarn, and go to try it on… only the neck won’t fit over your head. This is the dreaded tight bind-off, a mistake that can put a literal stranglehold on your project.
This issue happens because the standard bind-off has very little stretch. When we’re excited to finish, we often pull the yarn extra tight, creating a rigid edge. This lack of flexibility causes the fabric to pucker and curl.
Why It’s a Problem & How to Fix It
A tight bind-off isn’t just uncomfortable; it can make your project unusable. It restricts movement and creates an unflattering, bunched-up look. Since you can’t really “fix” it after cutting the yarn, prevention is key.
You just need to give your stitches more room to breathe. The easiest trick is to switch to a needle one or two sizes larger for just the bind-off row. This simple change forces your loops to be bigger, adding instant stretch.
Pro Tips to Prevent a Tight Bind-Off
- Size Up Your Needle: Use a knitting needle one or two sizes larger for your bind-off row only. This is the simplest and most effective trick.
- Keep It Loose: Consciously work your bind-off stitches more loosely than you normally would. Give the yarn a little gentle tug to create space before making the next one.
- Try a Stretchy Bind-Off: Explore other methods like Jeny’s Surprisingly Stretchy Bind-Off. It’s a game-changer for sock cuffs and necklines.
8. The Size Surprise: Not Checking Gauge
You’ve spent weeks on a gorgeous new sweater, following the pattern perfectly. You try it on, only to find it could fit a giant or is comically small. This crushing moment is the result of ignoring your gauge swatch, one of the most-skipped mistakes.
Gauge is the “tension” of your knitting, measured in stitches and rows per inch. Skipping this first step is a huge gamble. Everyone knits differently, so you can’t assume you’ll match the designer’s tension.
Why It’s a Problem & How to Fix It
A gauge mismatch is a sizing disaster waiting to happen. If your gauge is tighter, your item will be smaller; if it’s looser, it will be larger. This is critical for fitted garments like sweaters, hats, and socks.
The only “fix” is prevention. Before you start, knit a small 4×4 inch gauge swatch with the same yarn and needles. Wash and block it, then measure if it matches the pattern’s gauge. If not, go up or down a needle size until you match it.
Pro Tips to Prevent Gauge Issues
- Swatch in Pattern: If your project uses lace or cables, your gauge swatch must use that same pattern, not just plain stockinette.
- Block Before Measuring: Yarn can change dramatically after washing. Always measure your gauge after your swatch has been washed and blocked.
- Don’t Be Afraid to Change Needles: Your goal is to match the gauge, not to use the exact needle size listed. The needle size is a suggestion; the gauge is a requirement.
Common Knitting Mistakes Comparison Guide
| Mistake | Implementation Complexity 🔄 | Resource Requirements ⚡ | Expected Outcomes 📊 | Ideal Use Cases 💡 | Key Advantages ⭐ |
|---|---|---|---|---|---|
| Dropping Stitches | Low – common and easy to fix | Basic tools (crochet hook) | Visible holes, runs; may unravel multiple rows | All knit projects, esp. slippery yarns | Easy to identify and repair |
| Incorrect Stitch Count | Moderate – requires careful tracking | Stitch markers, counting tools | Misshapen garments; disrupted patterns | Patterned garments needing precise shaping | Improves counting and pattern skills |
| Twisted Stitches | Moderate – stitch formation technique | None additional | Tighter, less stretchy fabric; rope-like look | Textural effects; stable fabrics | Can be used intentionally for texture |
| Inconsistent Tension | Moderate – practice needed | None additional | Irregular stitch sizes; uneven fabric | All knitting projects | Teaches yarn control and consistency |
| Holes and Yarn Overs | Low – easy to spot and fix | None additional | Unwanted holes; increased stitch count | Knit/purl switching patterns | Easy identification; teaches yarn positioning |
| Knitting into Wrong Row | Moderate – requires pattern attention | Row counter or markers | Pattern disruption; wrong texture placement | Complex stitch patterns | Develops pattern awareness and row tracking |
| Binding Off Too Tightly | Low – requires attention during bind-off | Larger needles recommended | Puckered edges; restricted stretch | Edges needing flexibility (necklines, cuffs) | Secure edge; emphasizes finishing quality |
| Not Checking Gauge | Low – requires swatching step | Yarn and needles for swatch | Poor fit; inconsistent sizing | All garment knitting | Prevents wasted time/yarn; improves fit |
Knit Happens: Embrace the Journey
So there you have it. We’ve untangled the most common knitting mistakes that trip up everyone. From the dreaded dropped stitch to wonky tension, each “oops” moment is really just a lesson in disguise. Think of them as knitting’s built-in tutorial system, not failures.
Every time you fix a mistake, you’re building muscle memory and sharpening your knitter’s intuition. That moment of panic when your stitch count is off teaches you to be more mindful. These experiences are the secret sauce to becoming a confident, capable maker.
Your Path from Novice to Knitter
Remembering these key takeaways will transform your projects:
- Count Your Stitches: Make stitch markers your new BFFs. Counting every few rows saves you from a massive headache later.
- Tension is Queen: Focus on how the yarn feels. Consistency, not a death grip, is the goal for that smooth, profesh-looking fabric.
- Gauge Swatches Aren’t Optional: Seriously, that 15-minute swatch is the ultimate project insurance. It’s the only way to guarantee your finished piece will actually fit.
- Embrace the “Undo”: Learning to tink or frog (rip it, rip it!) isn’t failure. It’s a superpower that gives you total control.
Learning to knit is a journey paved with these little challenges. As you embrace it, understanding the right way to improve in your craft can help you build a solid foundation. Don’t get discouraged by a few mistakes. The real goal isn’t perfection; it’s enjoying the magic of creating something with your own two hands.
Ready to put these lessons into practice on a project you’ll love? Knitting.com offers thousands of free patterns, step-by-step tutorials, and a supportive community to help you move past common knitting mistakes and create with confidence. Explore our resources at Knitting.com and find your next perfect project today.