Easy 3-Step Slip Stitch Crochet Tutorial for Beginners
Let's learn how to crochet the slip stitch!
Let's learn how to crochet the slip stitch!
One of the best stitches to learn in crochet is the slip stitch. It’s super versatile and easy to make. Also known as the “sl st crochet”, this tiny but powerful stitch is used to connect rows, lock stitches in place, and even to add ribbed details to a crochet fabric.
Crochet slip stitches can be really stretchy. So they make a great accent stitch for sleeves and cuffs. Ready to learn all about “sl st crochet“? Keep on reading!
You’ll only need 2 things crochet slip stitch tutorial. Take a look:
Yarn tip: Don’t like how thin worsted weight yarn is? Choose super bulky or chunky yarn. They are much easier to hold on to and stitches show up much clearer. Opt for more affordable yarn brands so you don’t feel too bad about scrapping your first few attempts.
Try to avoid fuzzy yarn like chenille and velvet yarn as stitches become hard to distinguish once crocheted!
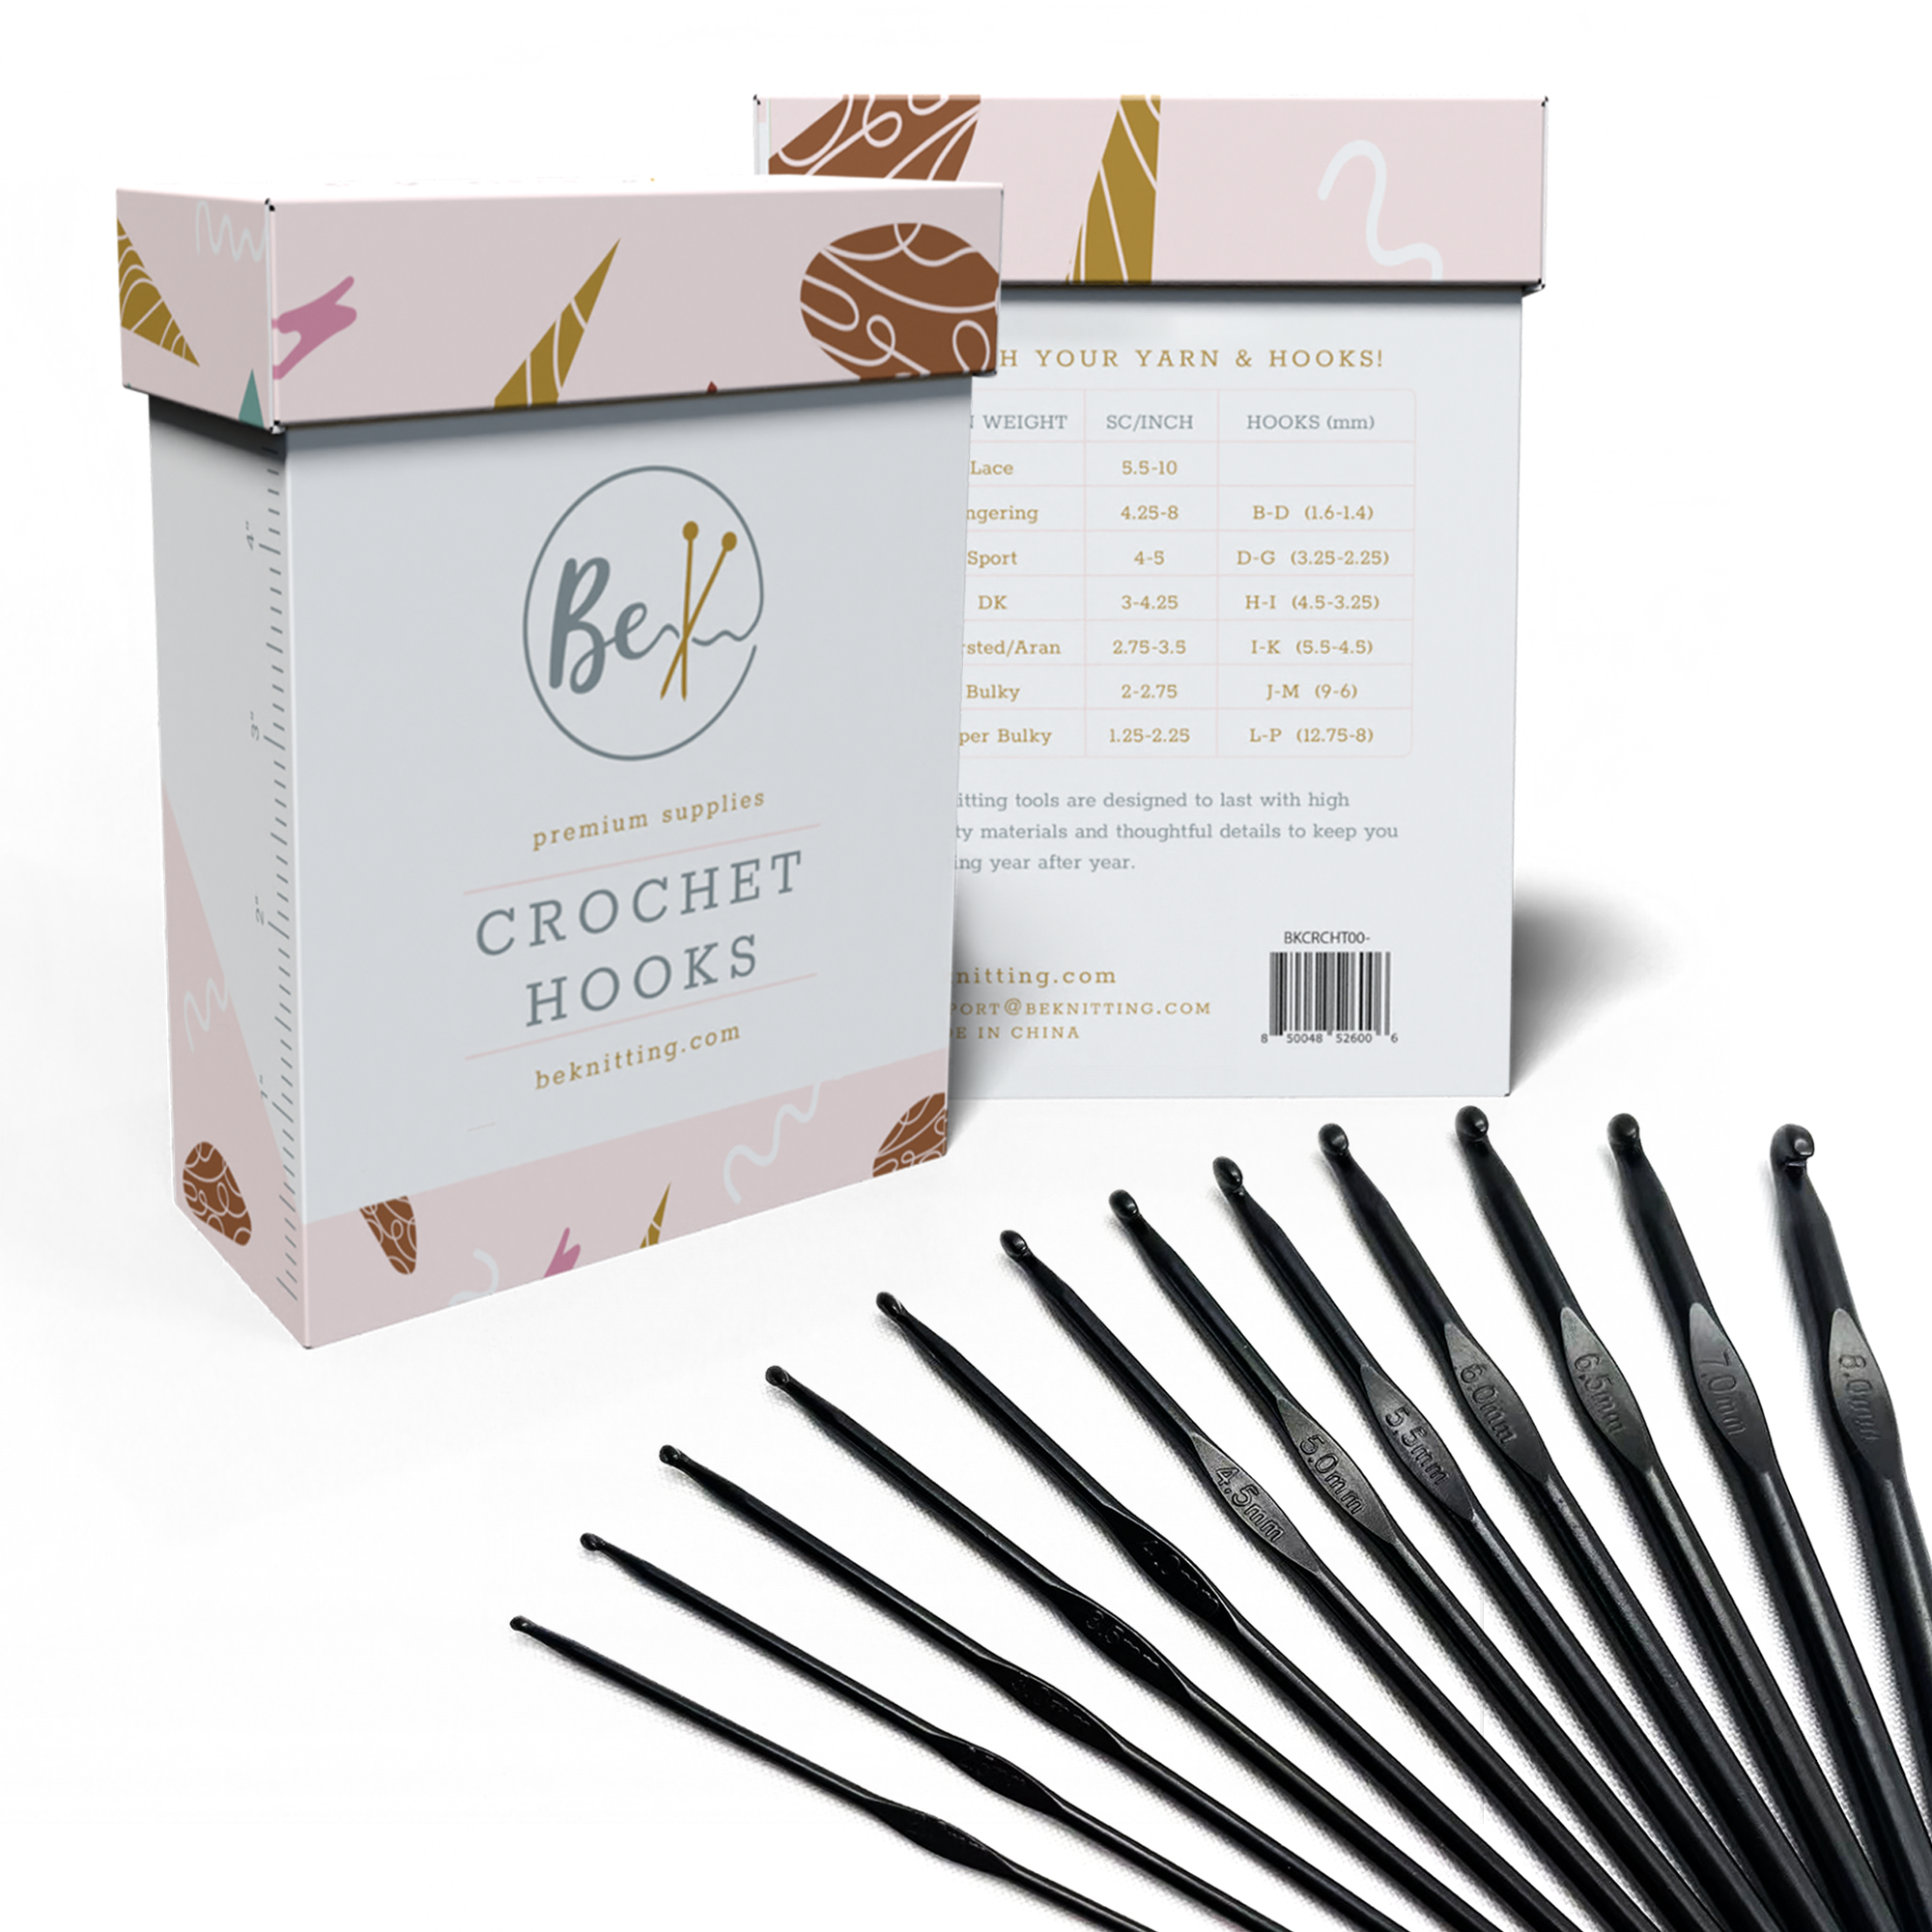
Learning how to crochet? Perhaps you’re looking for the perfect gift for a crocheter?
This ultra-sleek set of 12 crochet hooks is all you need to stitch up all sorts of fun patterns. Get all the essential hook sizes plus a handy container to store them in!
Available on Amazon now!
Often used to join the ends of crocheted rounds, the slip stitch is a must-have skill for every crocheter. There are plenty of awesome ways to use it and this quick little tutorial is just one example of it.
Ready to expand your crochet knowledge? Let’s get stitching!
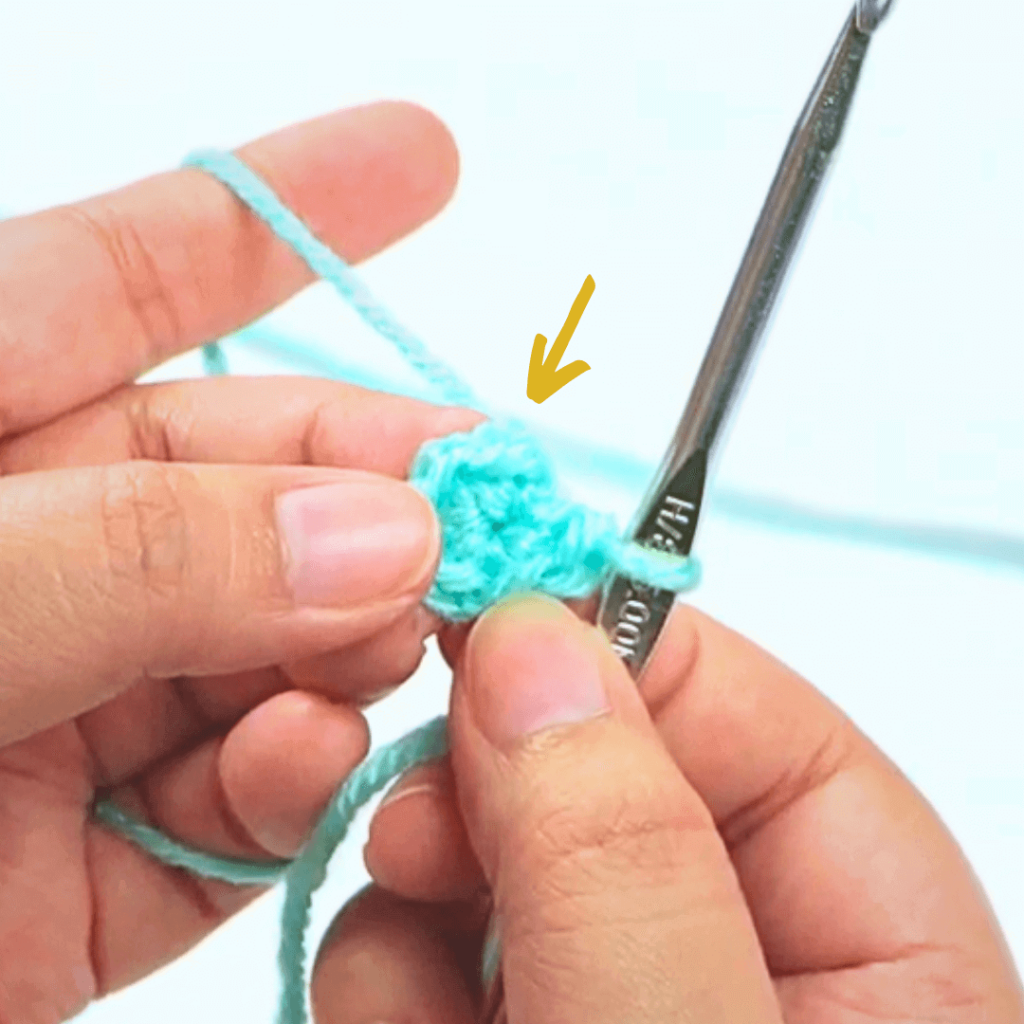
Crochet slip stitches can be worked flat and in rounds. This tutorial will focus on sl st crochets used in circular crochet patterns!
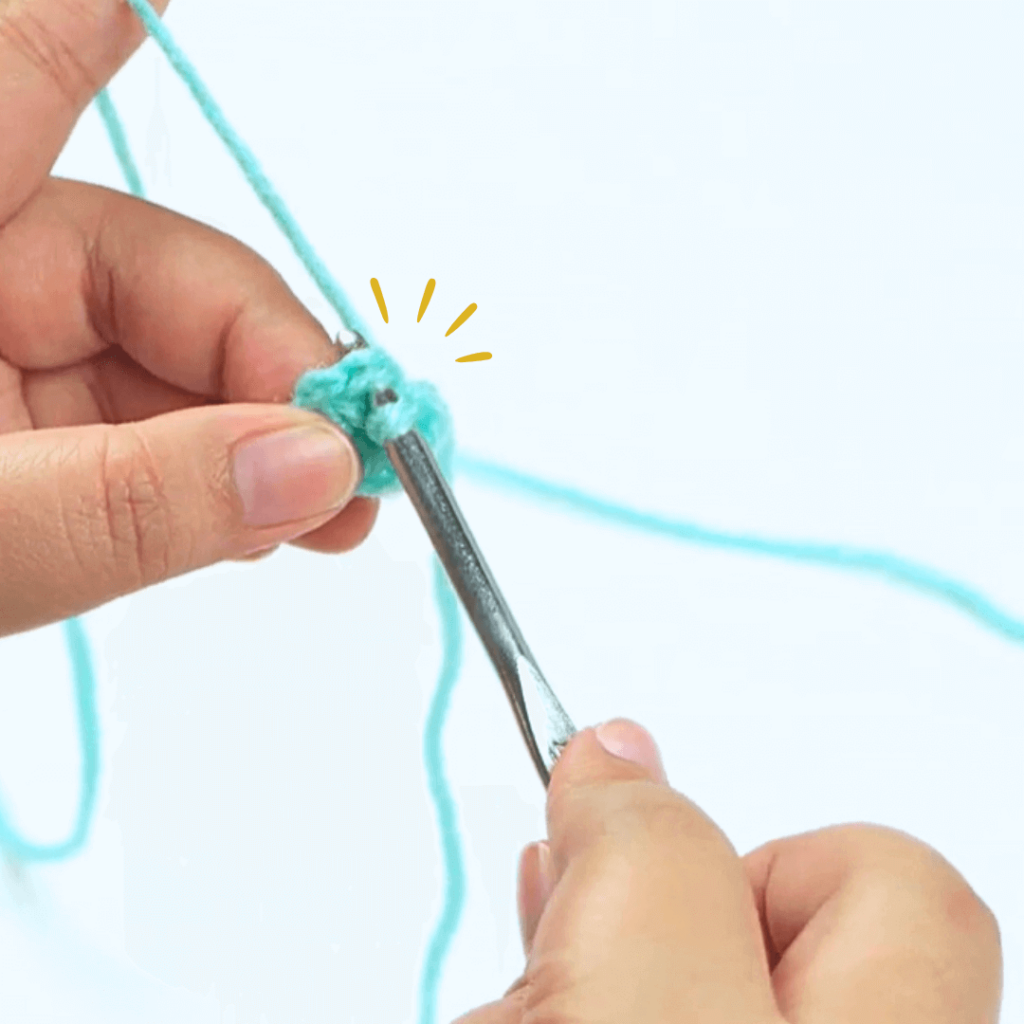
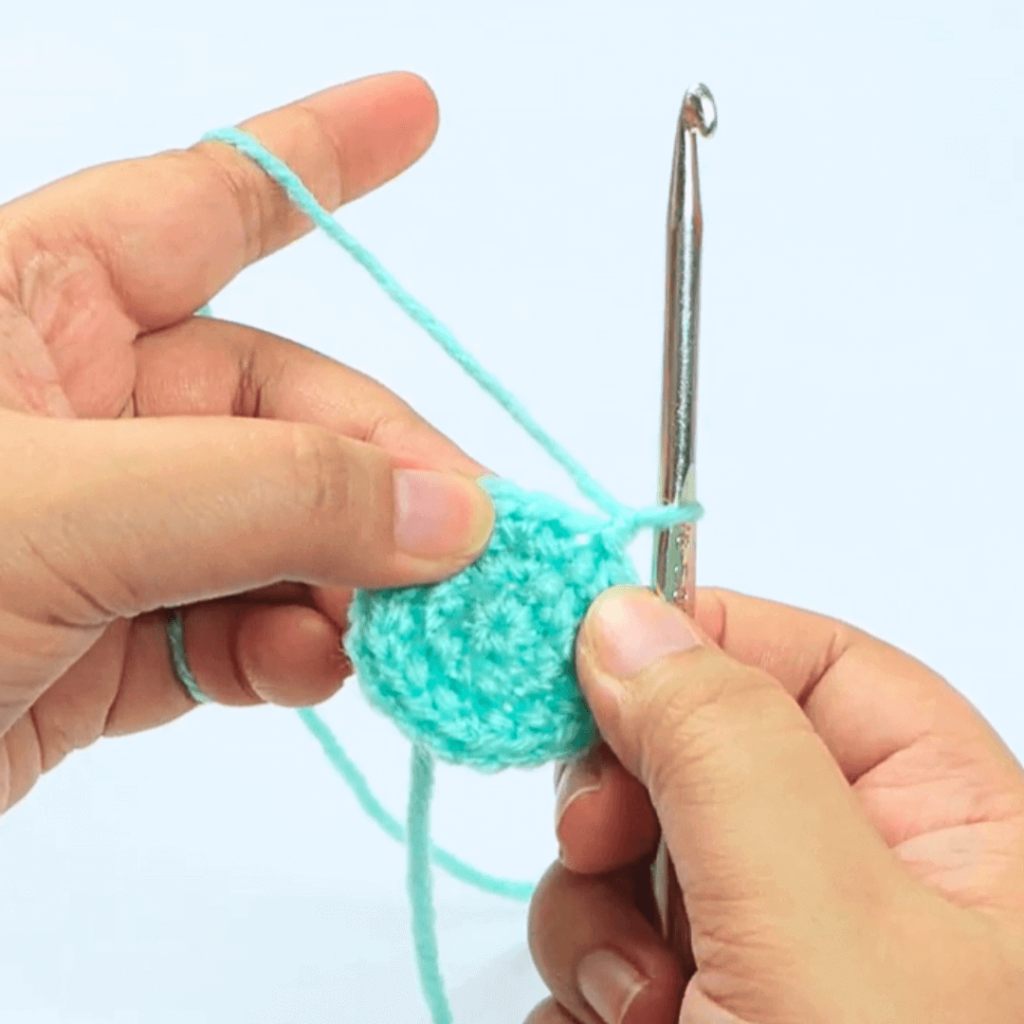
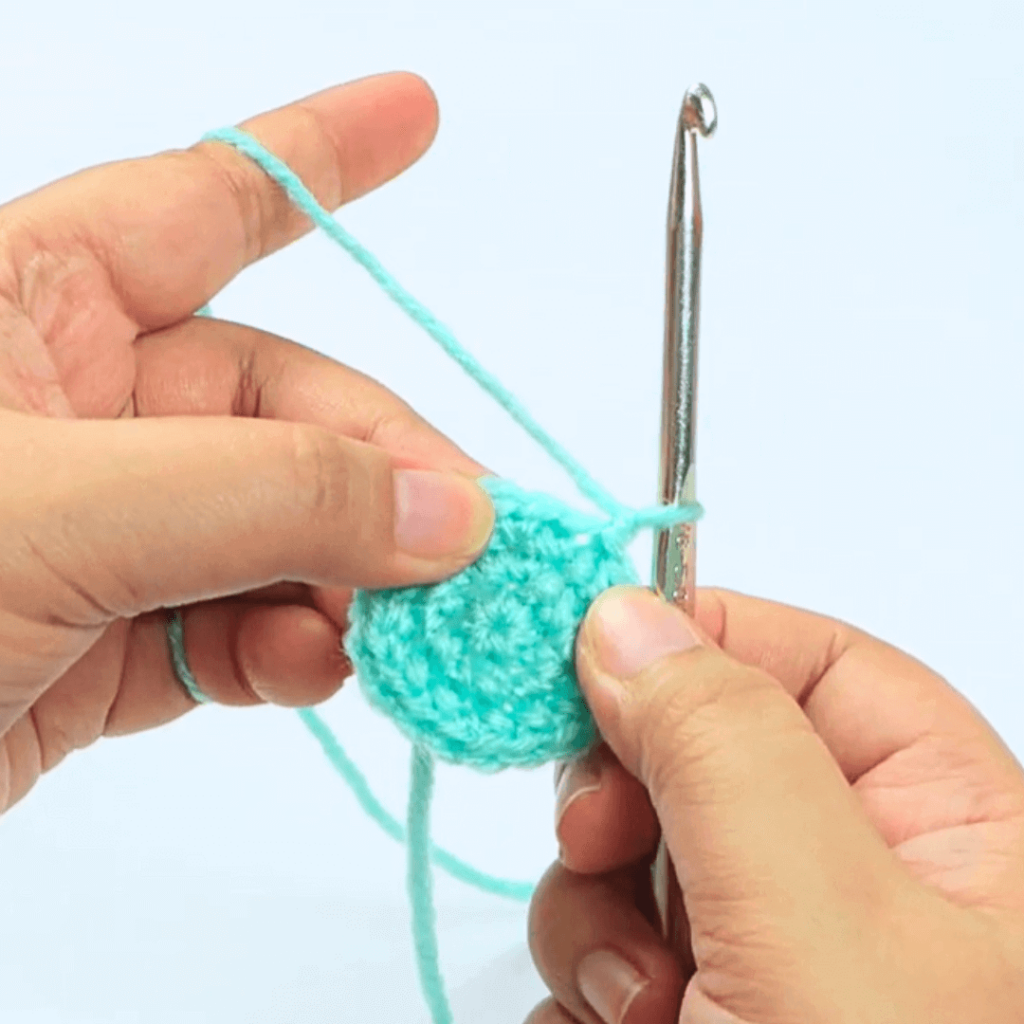
Find the top of the first stitch in your round. This should look like a small “v”.
Put your hook through both loops.
This part can be a bit tricky as the tops of the first stitches can be quite tight. So make sure to double check before proceeding to the next steps.
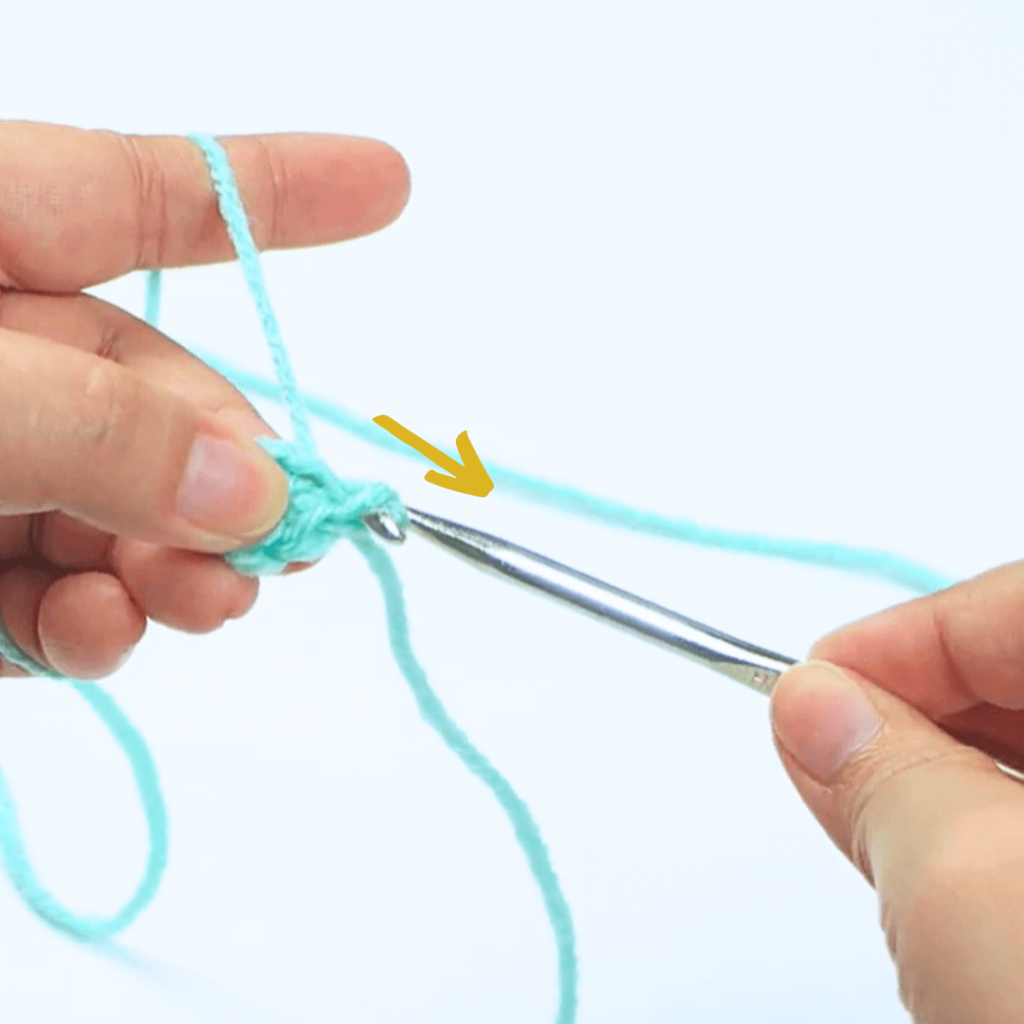
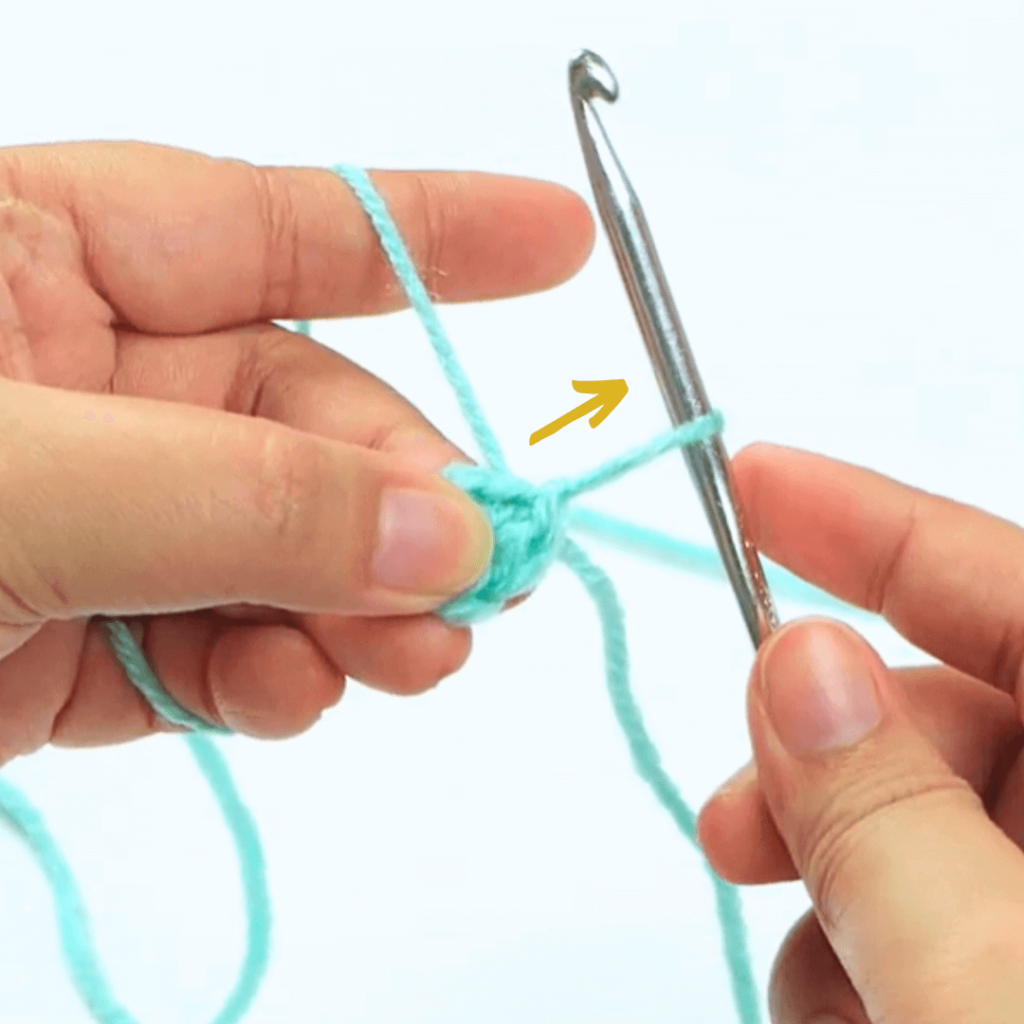
Grab a loop and pull it through the top of the stitch and through the loop on your hook.
Pro tip: Make sure your hook is facing towards you to have an easier time grabbing a loop.
Rotate your hook downward when pulling out a loop. This makes it so that you don’t accidentally grab at the fibers of the neighboring yarn strands.
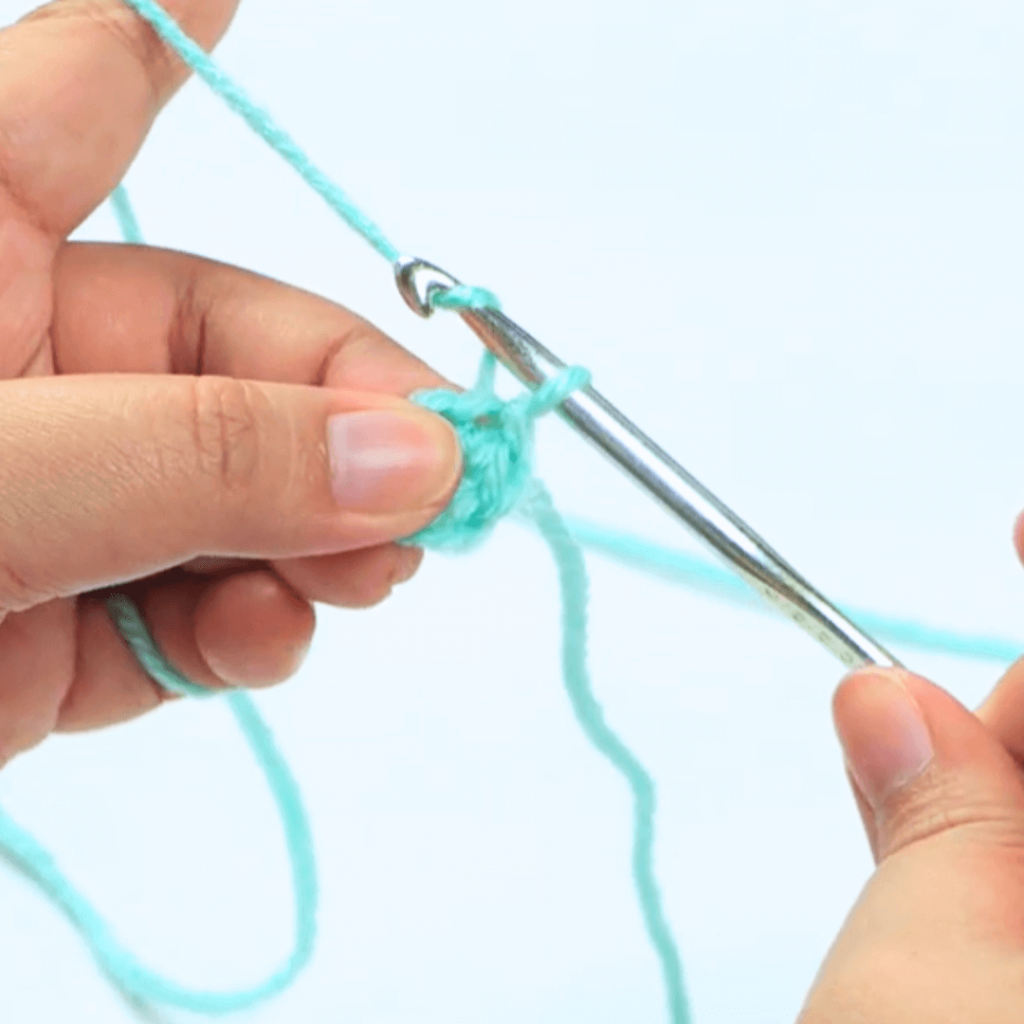
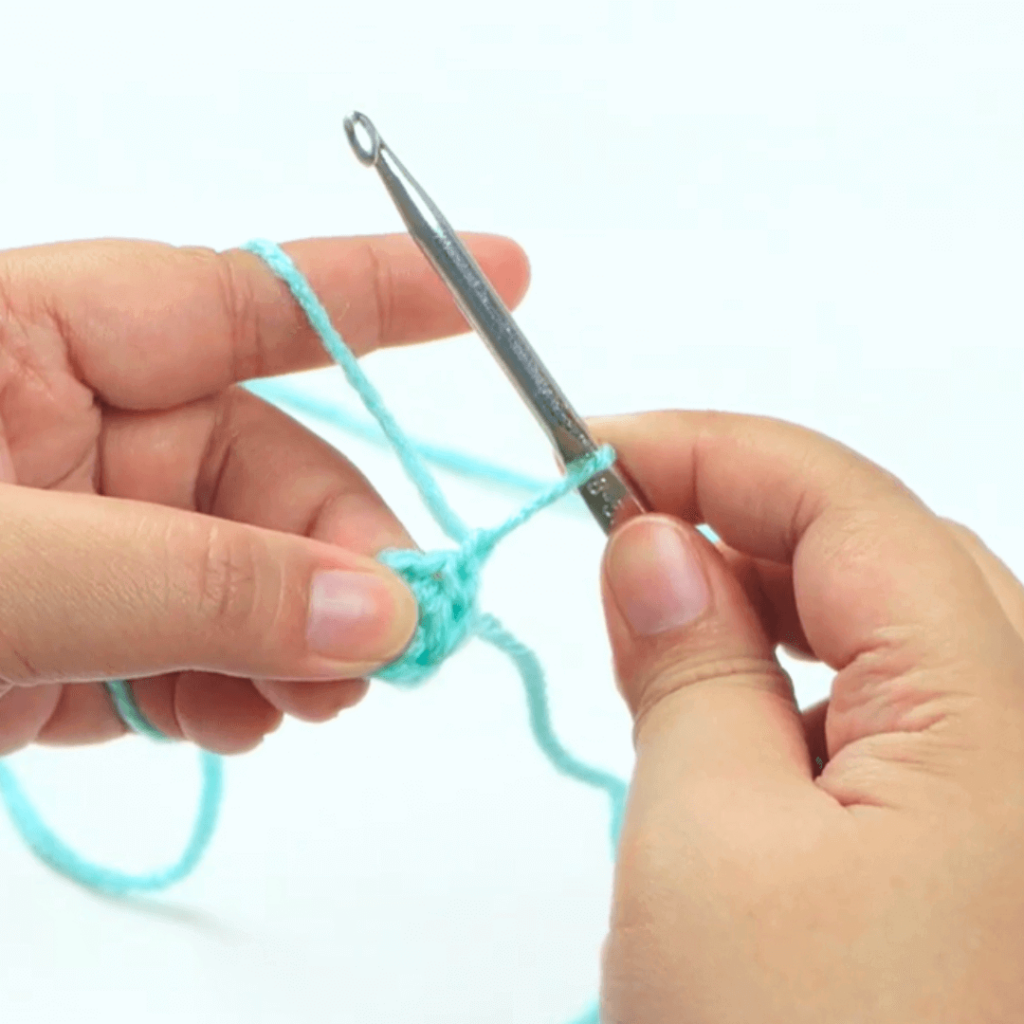
A chain 1 is usually made after your crochet slip stitches. This is done to go up a new row or to secure the stitch in place when binding off.
If you’re finishing off your work, simply cut the yarn and pull it through the loop. This will lock the stitch in place.
By the end, you should have a crochet slip stitch that looks like this! Now you can use it to connect the ends of your crocheted rows together.
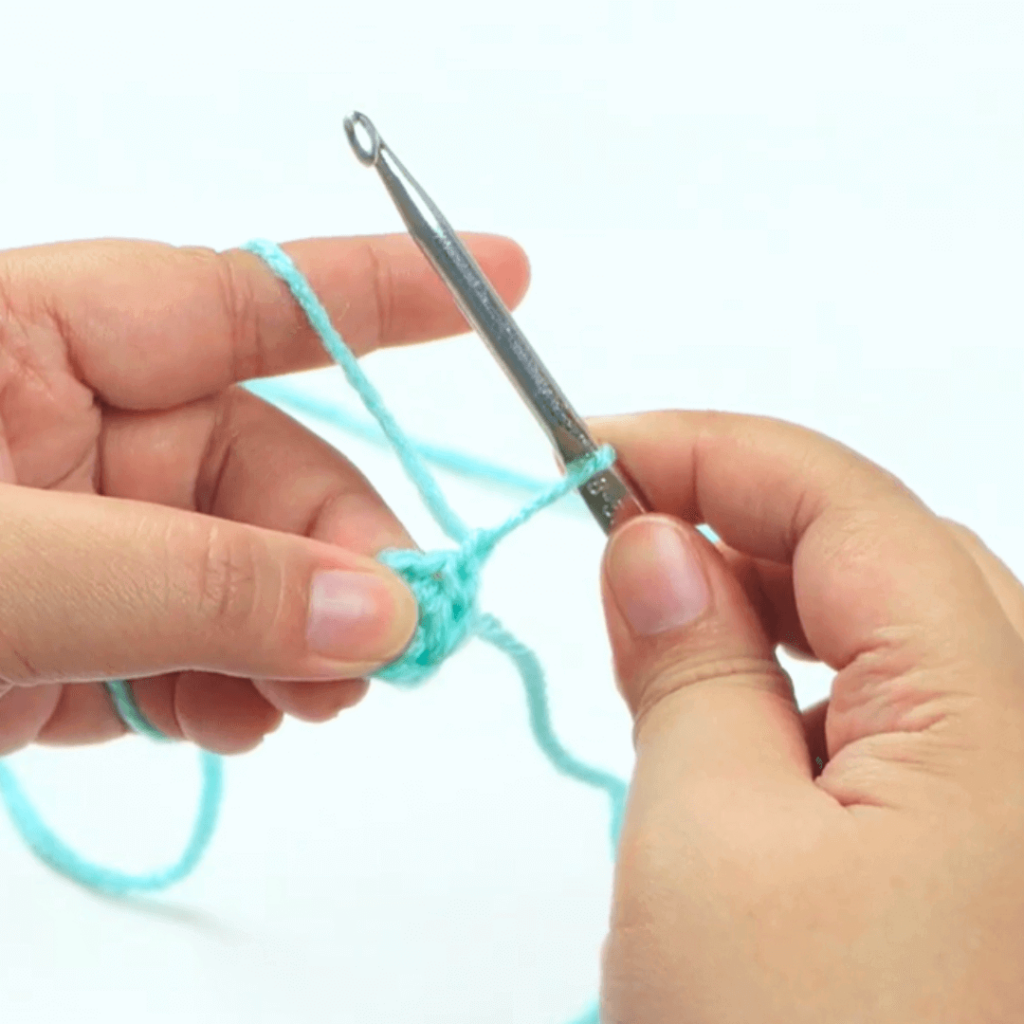
As you can see, the slip stitch is small and easy to make. But don’t underestimate it! In more advanced patterns, the slip stitch is used to add stretch, texture, and even designs. This is just one of the beginner-friendly ways to use it.
In the future, we’re going to explore others ways to spruce up crochet patterns using the slip stitch!
