How to Crochet a Granny Square for Beginners: Simplified 12 Step Guide!
Let's make your first crochet granny square pattern!
Let's make your first crochet granny square pattern!
The classic crochet granny square is used in many amazing patterns. They’re used to make hats, sweaters, blankets, bags, and so much more! Super easy to make and master, the crochet granny square is the perfect milestone project for every beginner.
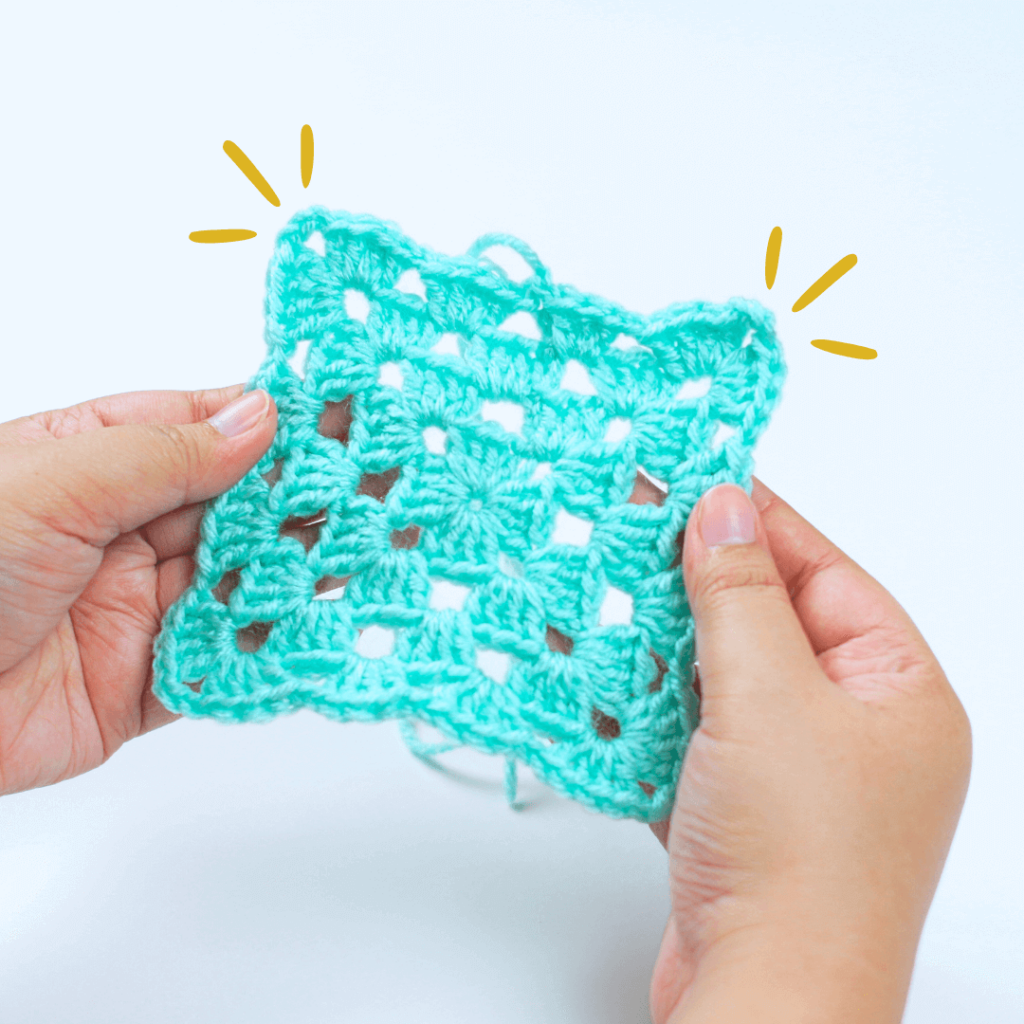
Today we’re exploring the classic granny square. We’re going to learn about how to start a granny square crochet pattern, how to increase the stitches, and all that jazz.
So join me in this fun little crochet adventure. Grab your hook, yarn, and let’s get stitching!
You’ll only need 2 things to crochet granny squares. Take a look:
Yarn tip: Don’t like how thin worsted weight yarn is? Choose super bulky or chunky yarn. They are much easier to hold on to and stitches show up much clearer. Opt for more affordable yarn brands so you don’t feel too bad about scrapping your first few attempts.
Try to avoid fuzzy yarn like chenille and velvet yarn as stitches become hard to distinguish once crocheted!
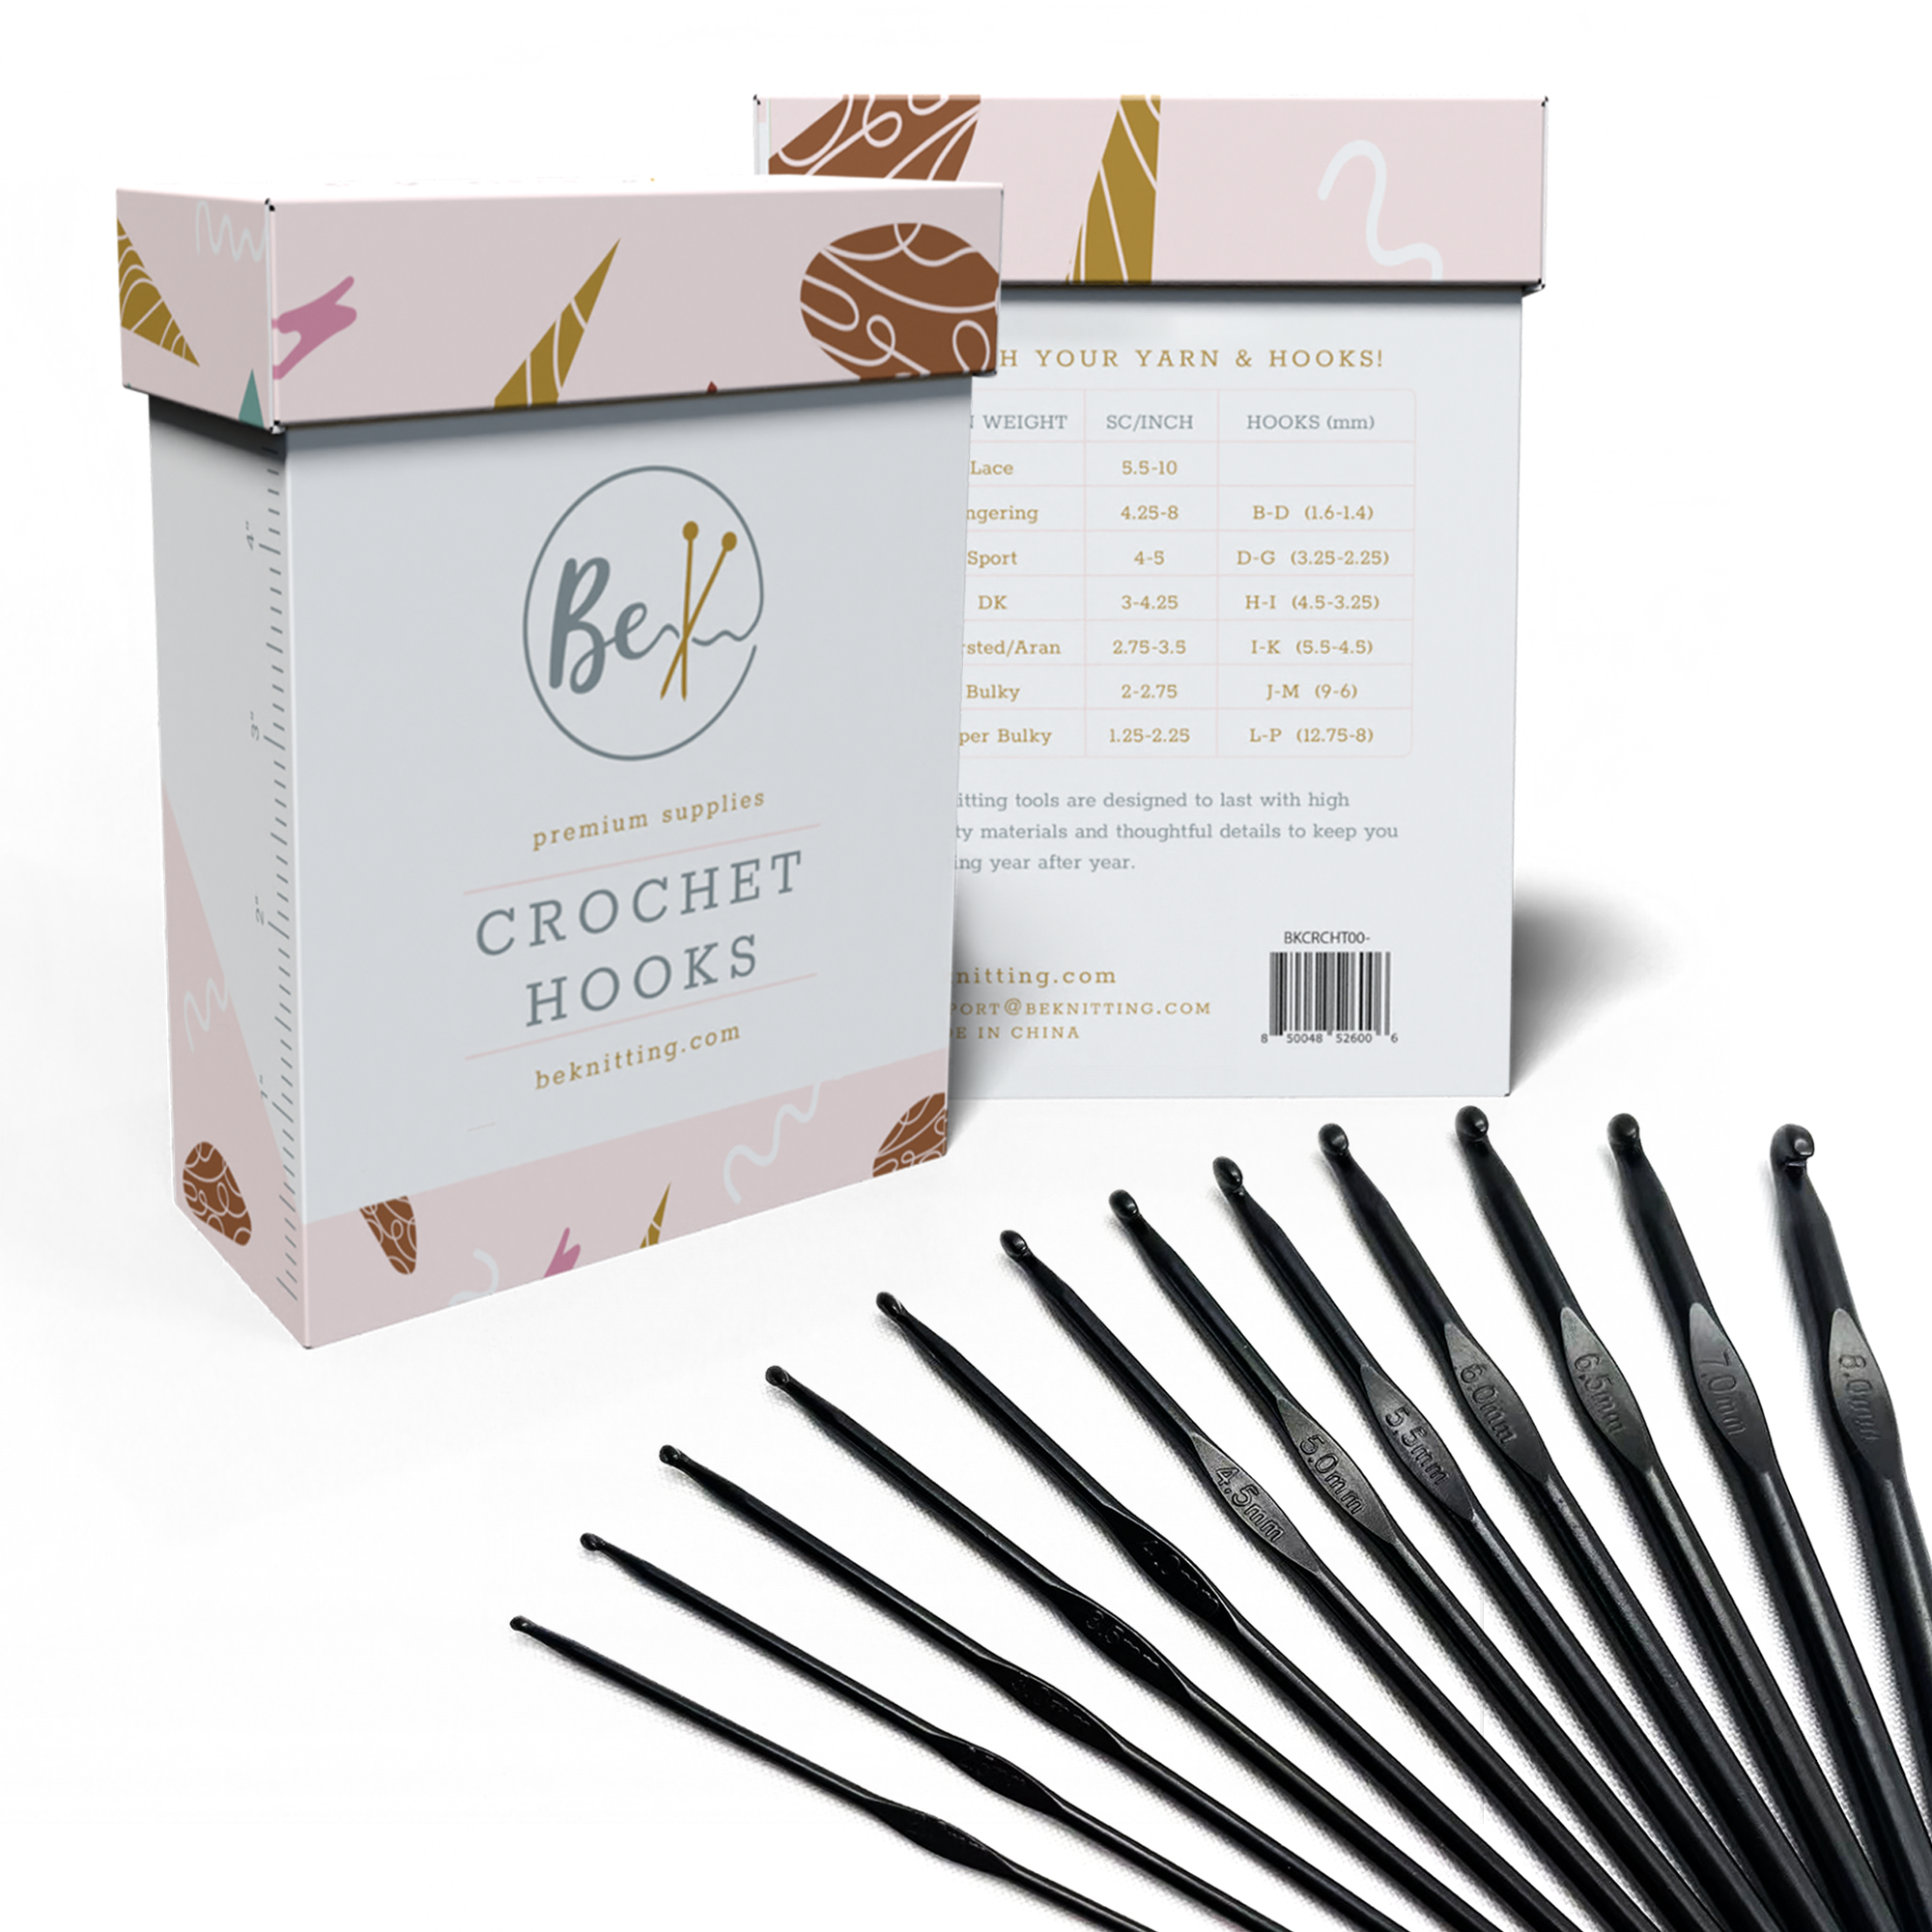
Learning how to crochet? Perhaps you’re looking for the perfect gift for a crocheter?
This ultra-sleek set of 12 crochet hooks is all you need to stitch up all sorts of fun patterns. Get all the essential hook sizes plus a handy container to store them in!
Available on Amazon now!
Ever wondered how to start a granny square crochet pattern? This beginner-friendly crochet granny square tutorial will take you from step noob to pro. By the end, you will be able to make your very own granny squares of all sizes!
Ready to get stitching? Grab your crochet hooks and check this pattern out:
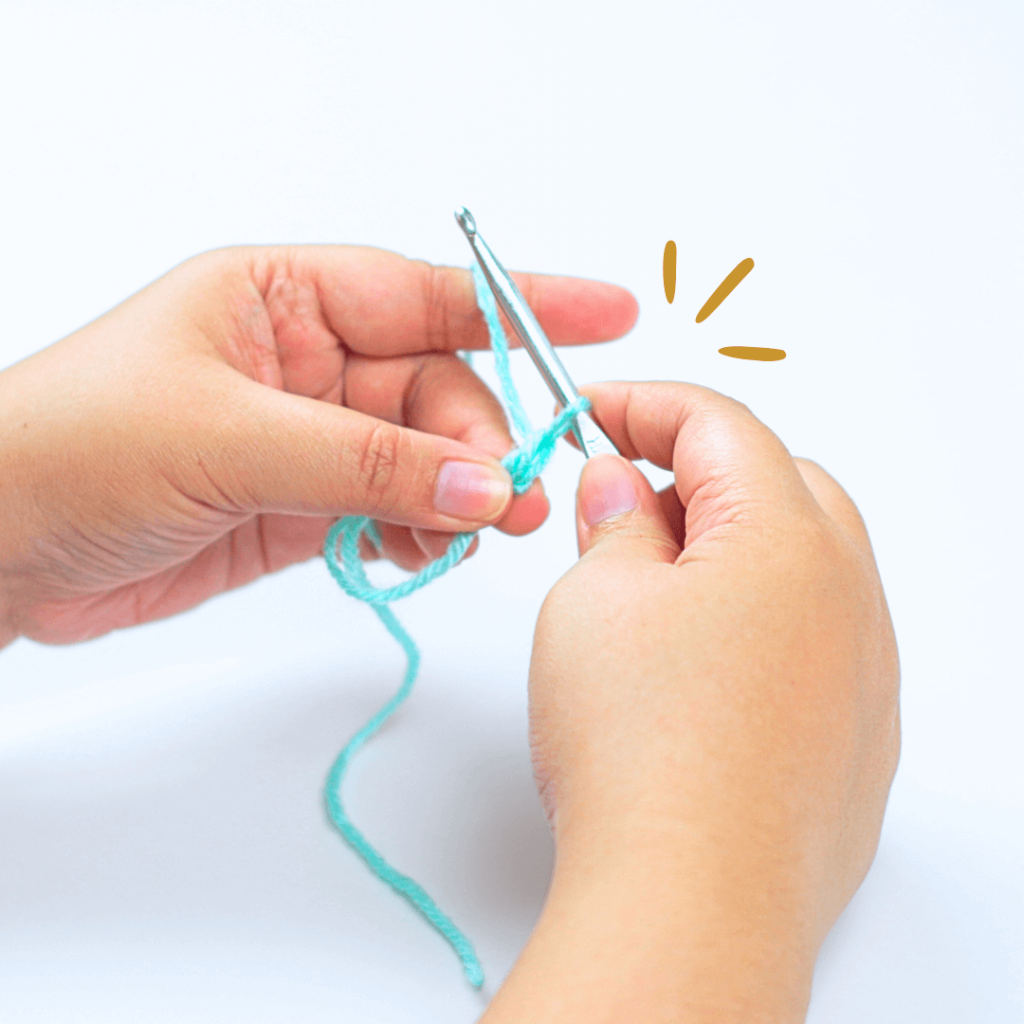
Make a magic circle.
This is where you will put all the stitches of the first row.
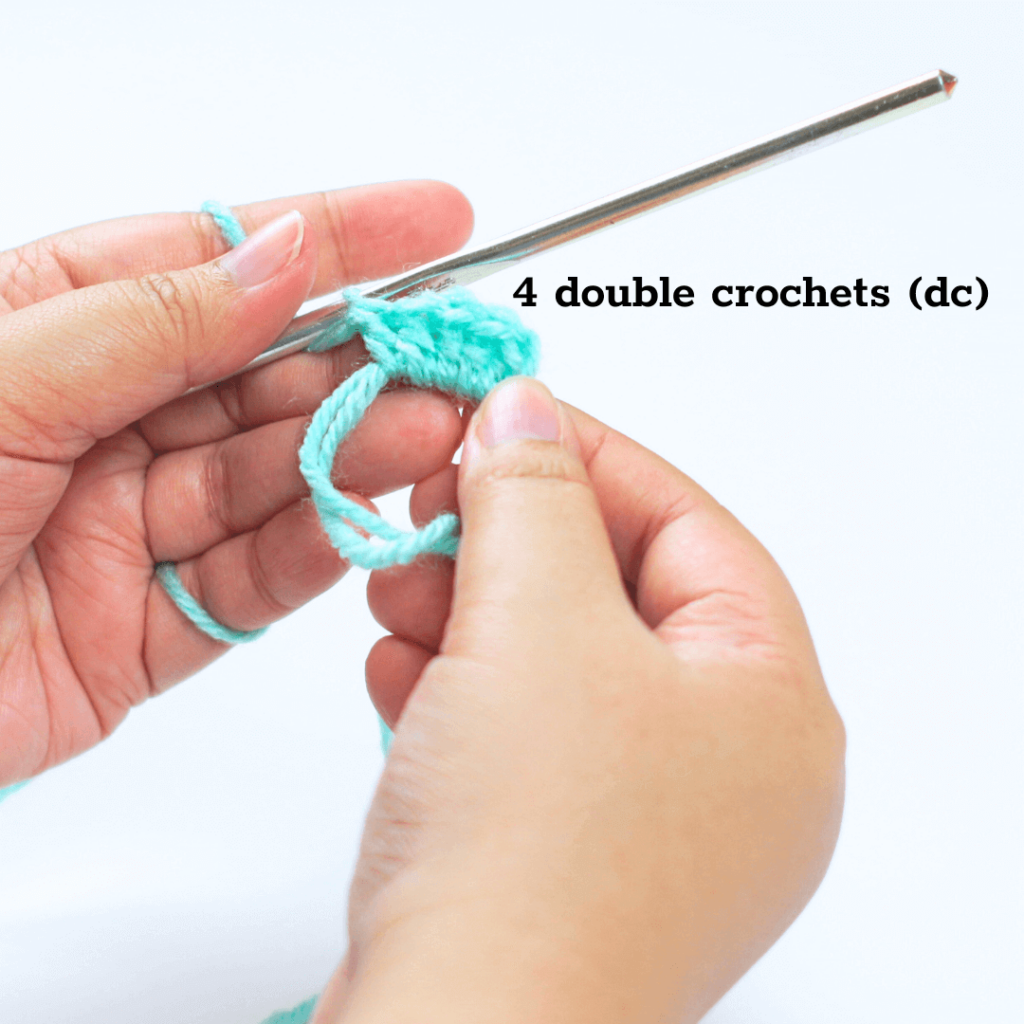
Make 4 double crochets (dc) inside the magic ring.
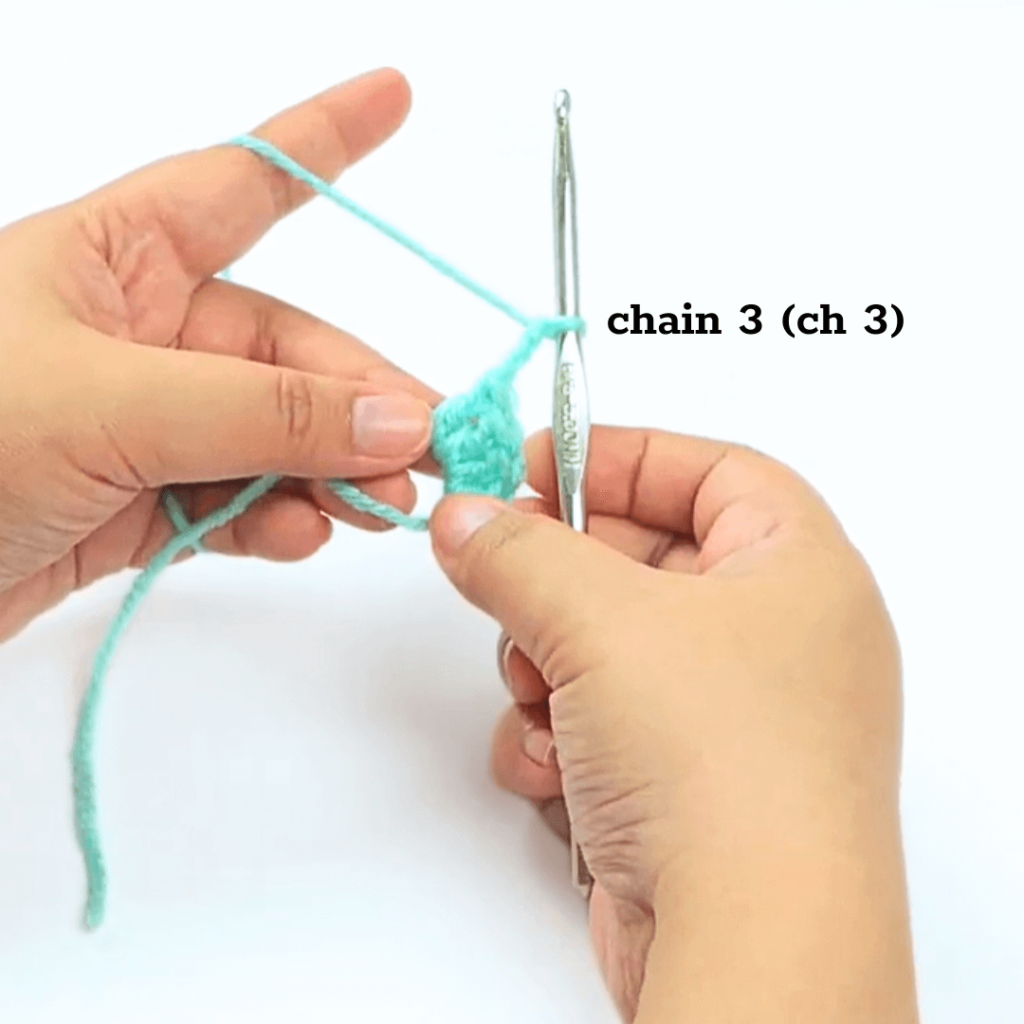
Make a chain 3 (ch) and go back into the magic circle and make 4 dc.
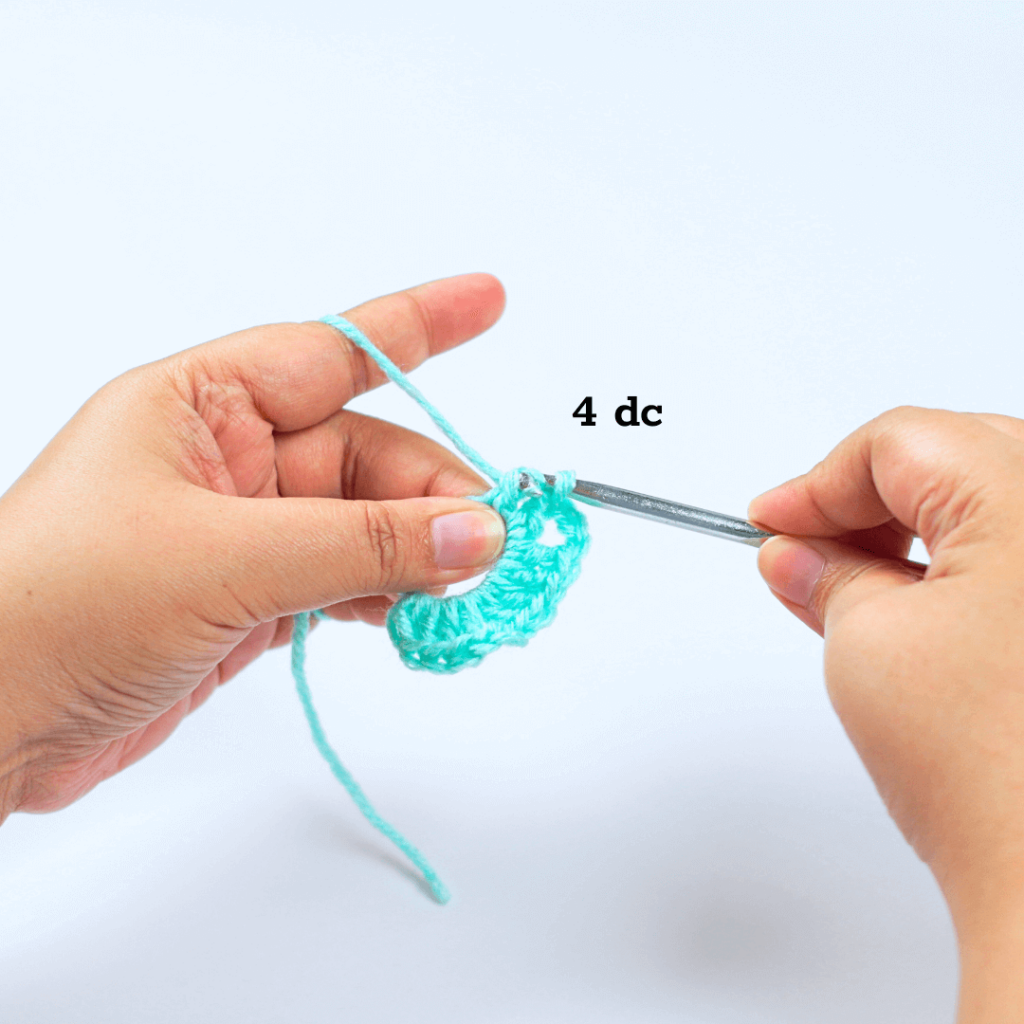
Make “4 dc, ch 3” 2 more times.
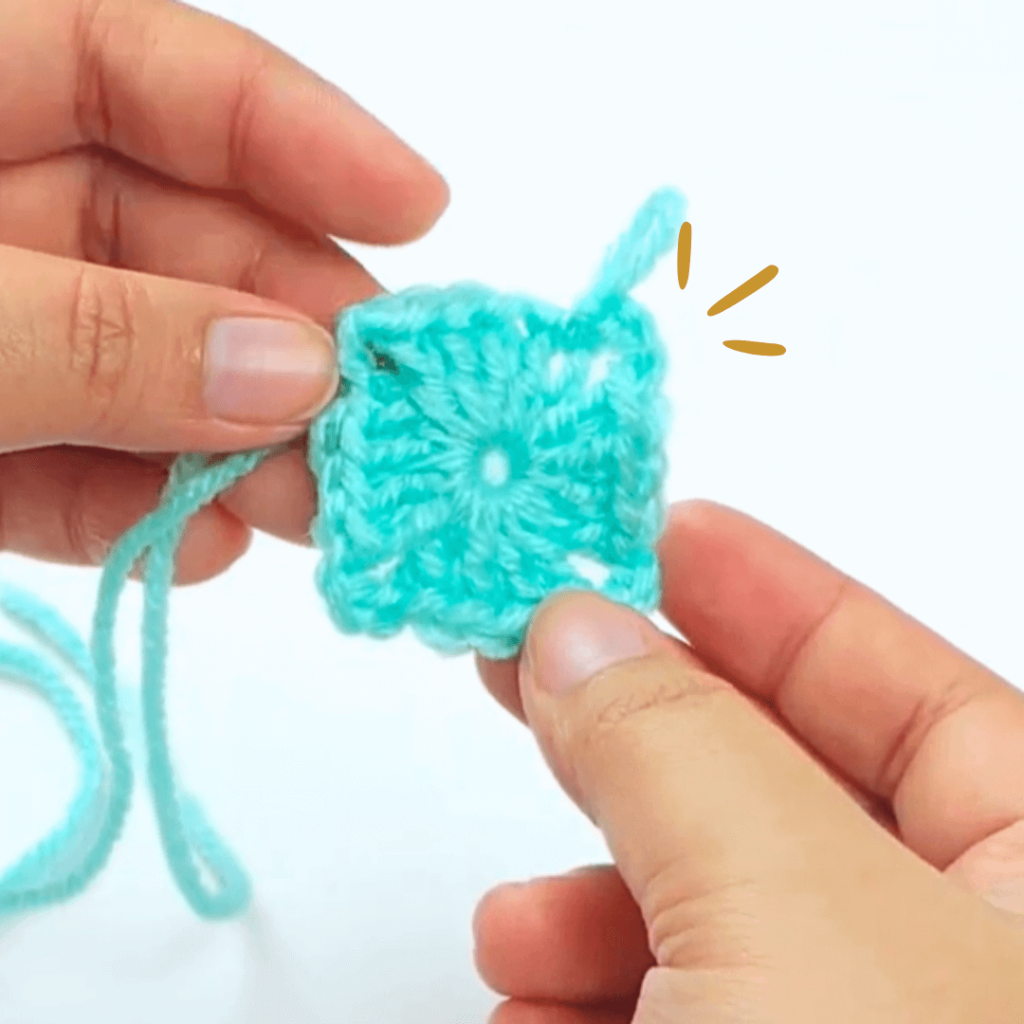
By now you should have 4 dc clusters with chain 3s in between. Go through the top of the first double crochet of the row and make a slip stitch. You should have a tiny square that looks like the image in the right!
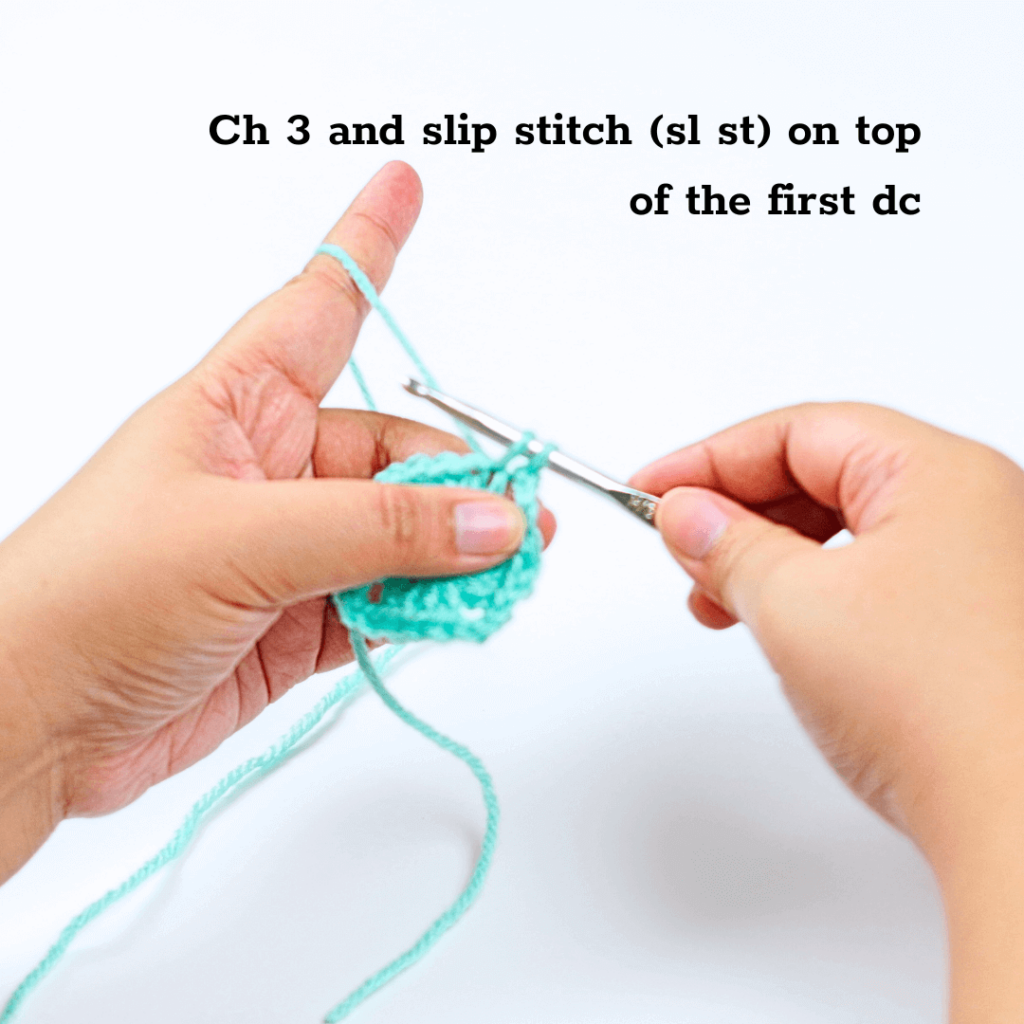
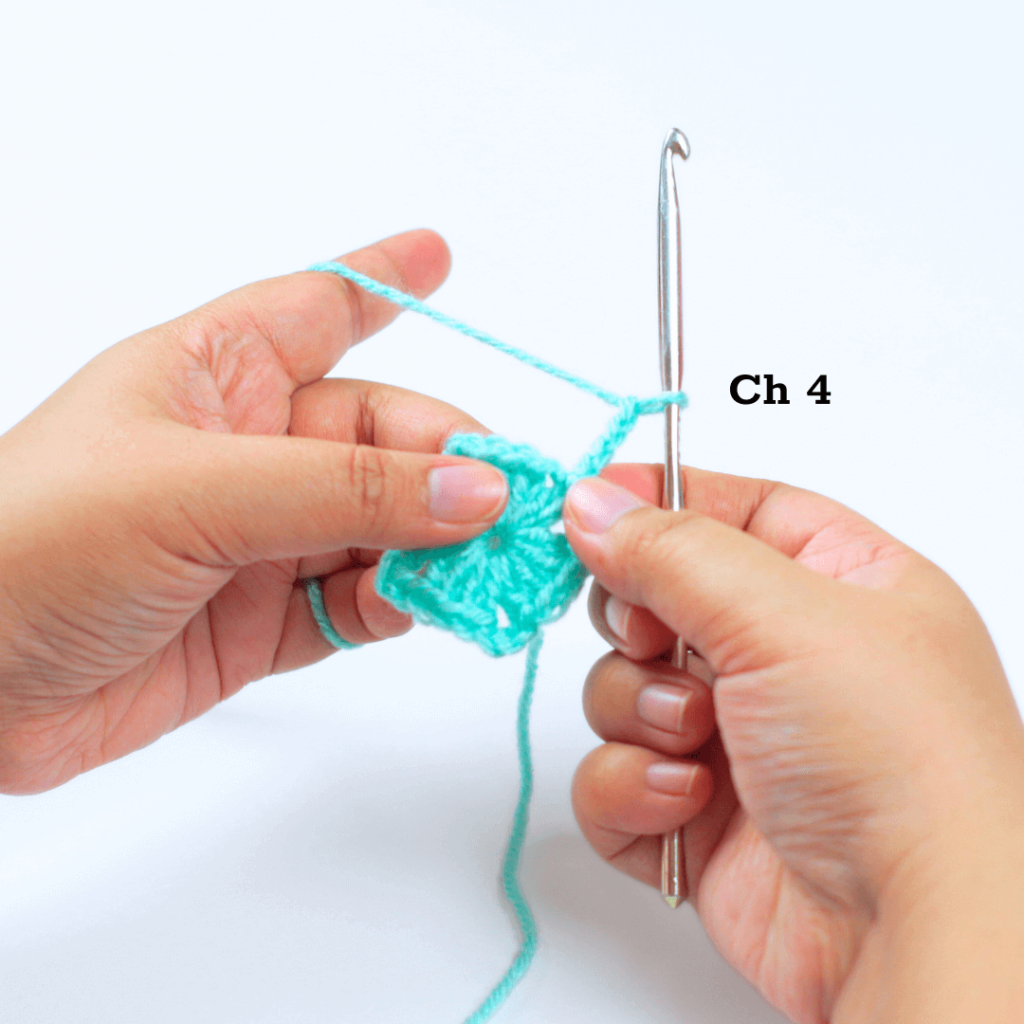
Make a chain 4 to start your row.
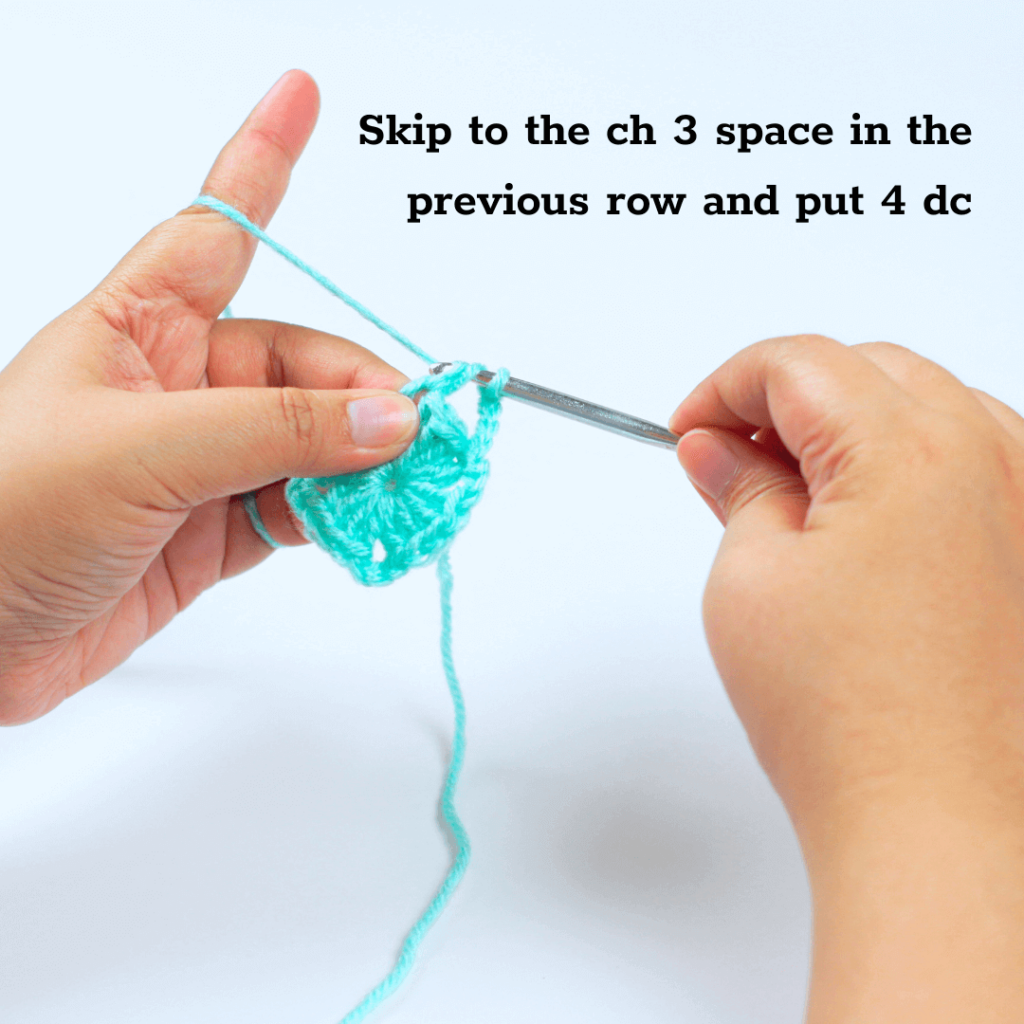
Skip over the 4 dc cluster from the previous row and go right into the chain 3 space.
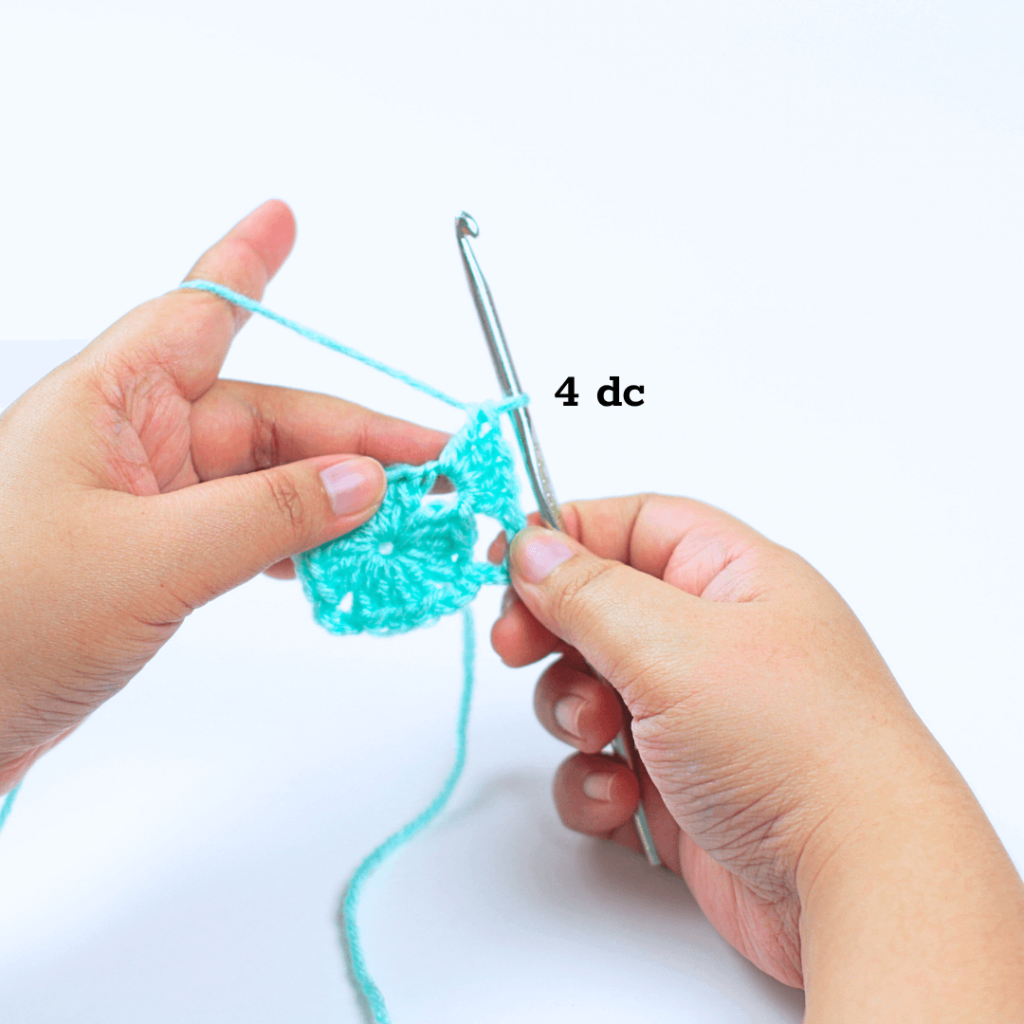
Make a 4 dc cluster in that chain 3 space.
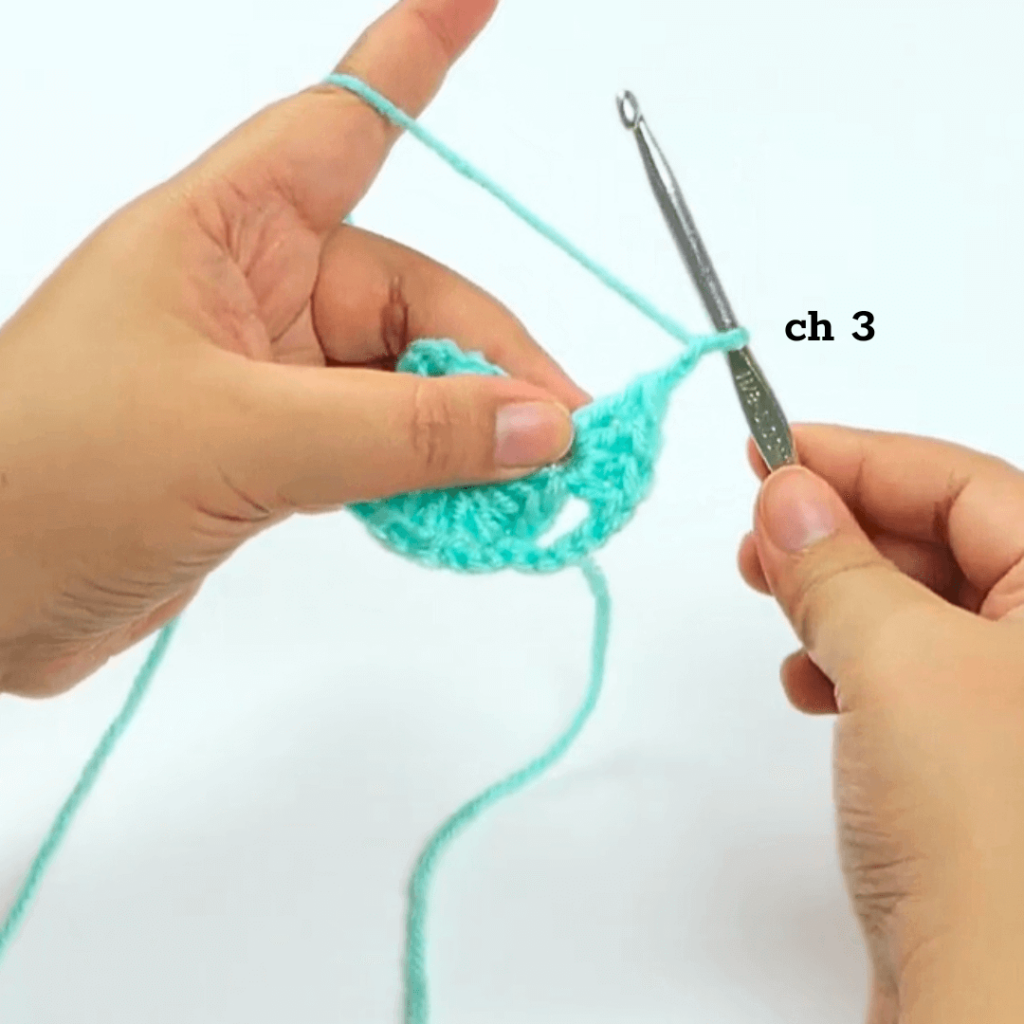
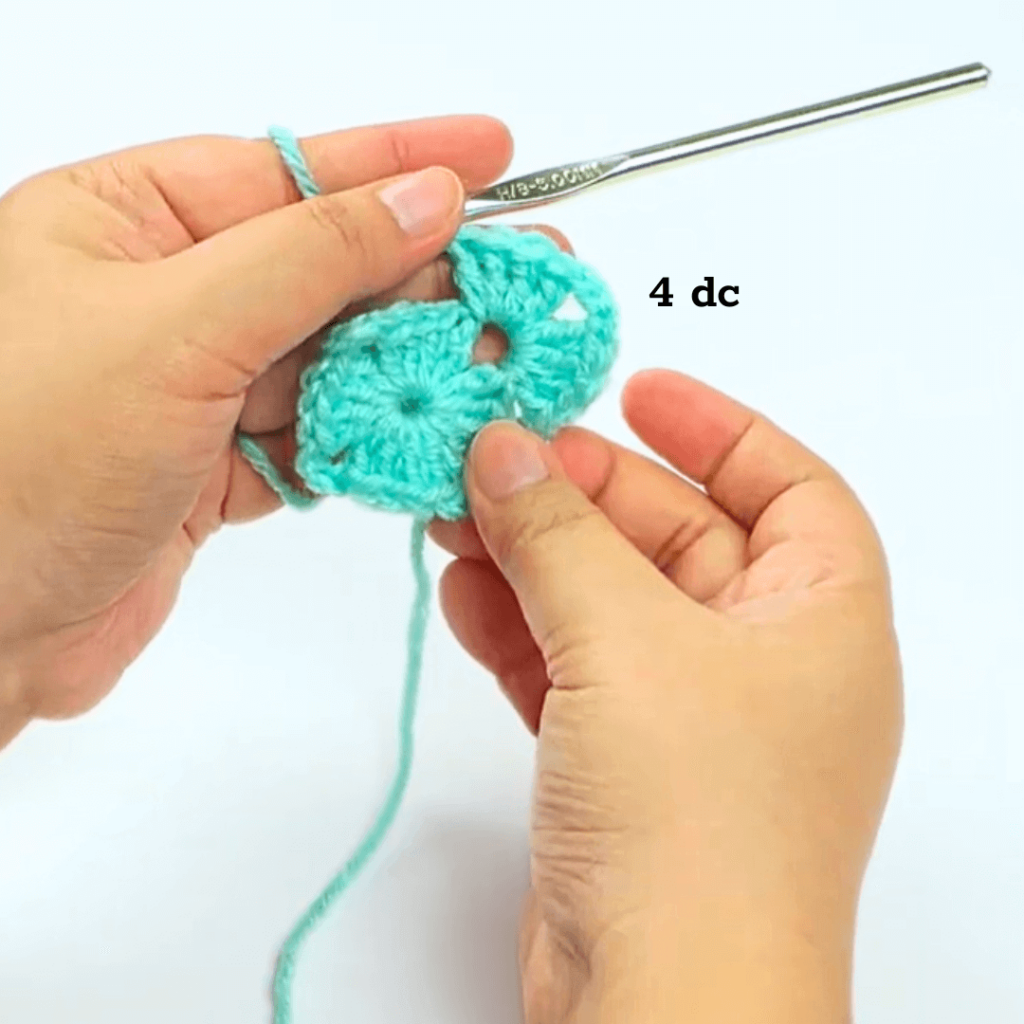
Chain 3 and put a 4 dc cluster in the same space.
Chain 1 and move into the next chain 3 space.
From this step onwards, we’ll refer the corners as “corner increases” as they add new chain 1 spaces each time you make them!
Repeat “4 dc, ch 3, 4 dc, ch 1” in the next two corner.
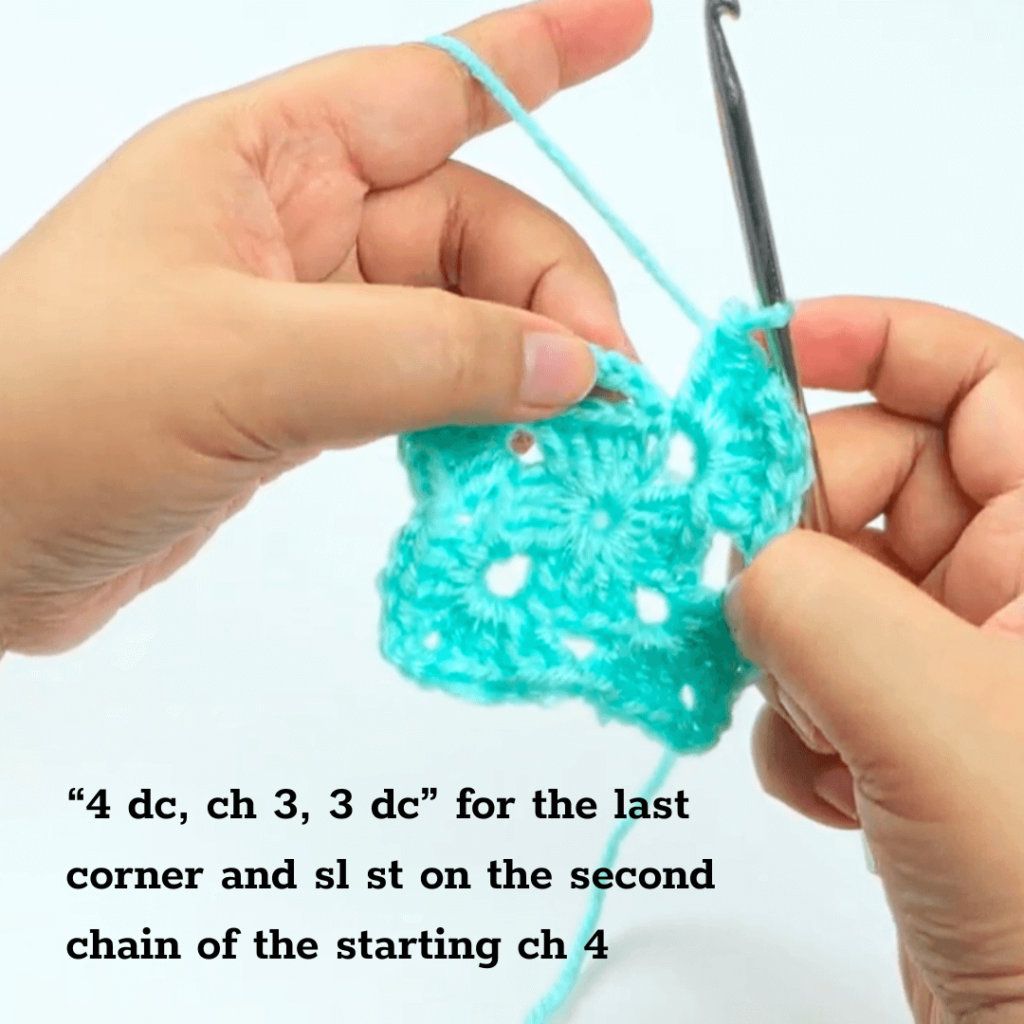
In the fourth corner (right photo), make 4 dc. ch 3, 3 dc. Then make a slip stitch into the second chain of the starting row.
From now on, every time we make a chain 4 start to the row, you will make 3 dc and a slip stitch into the second chain.
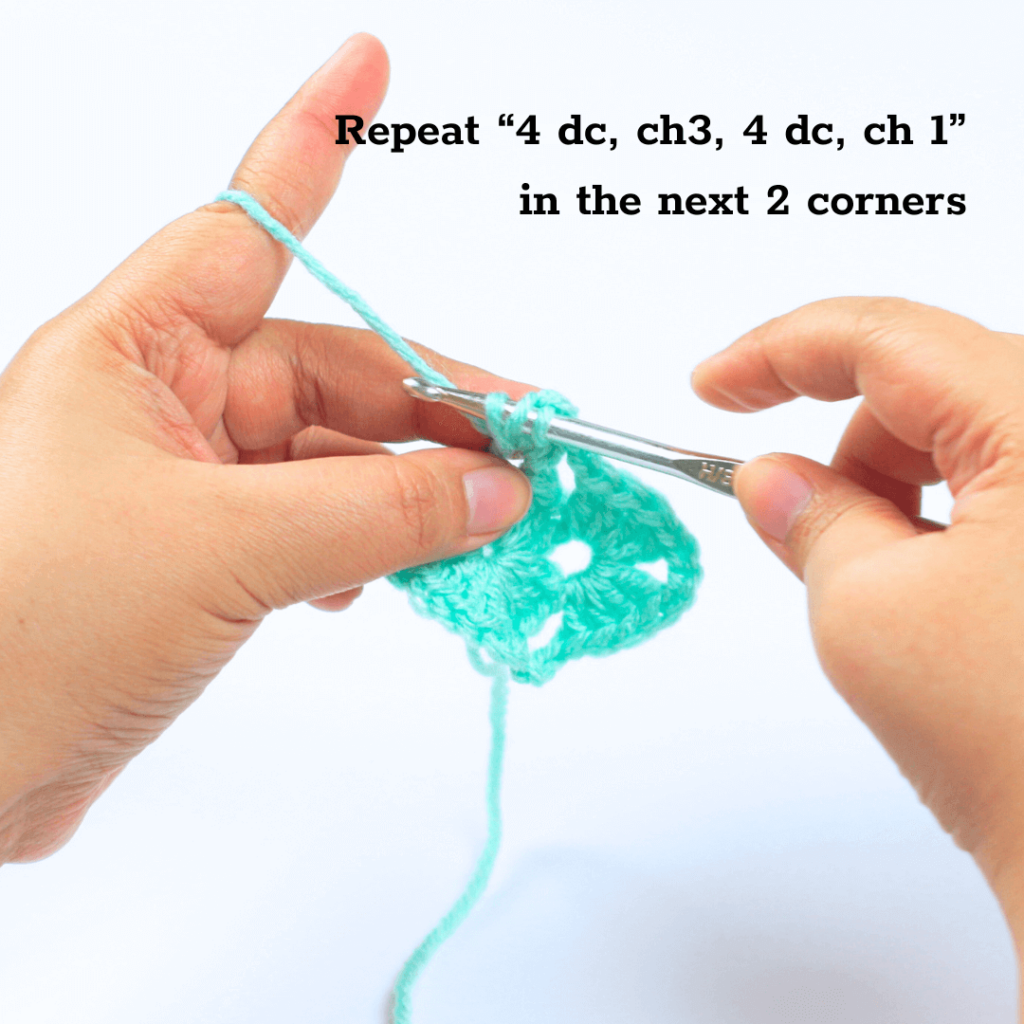
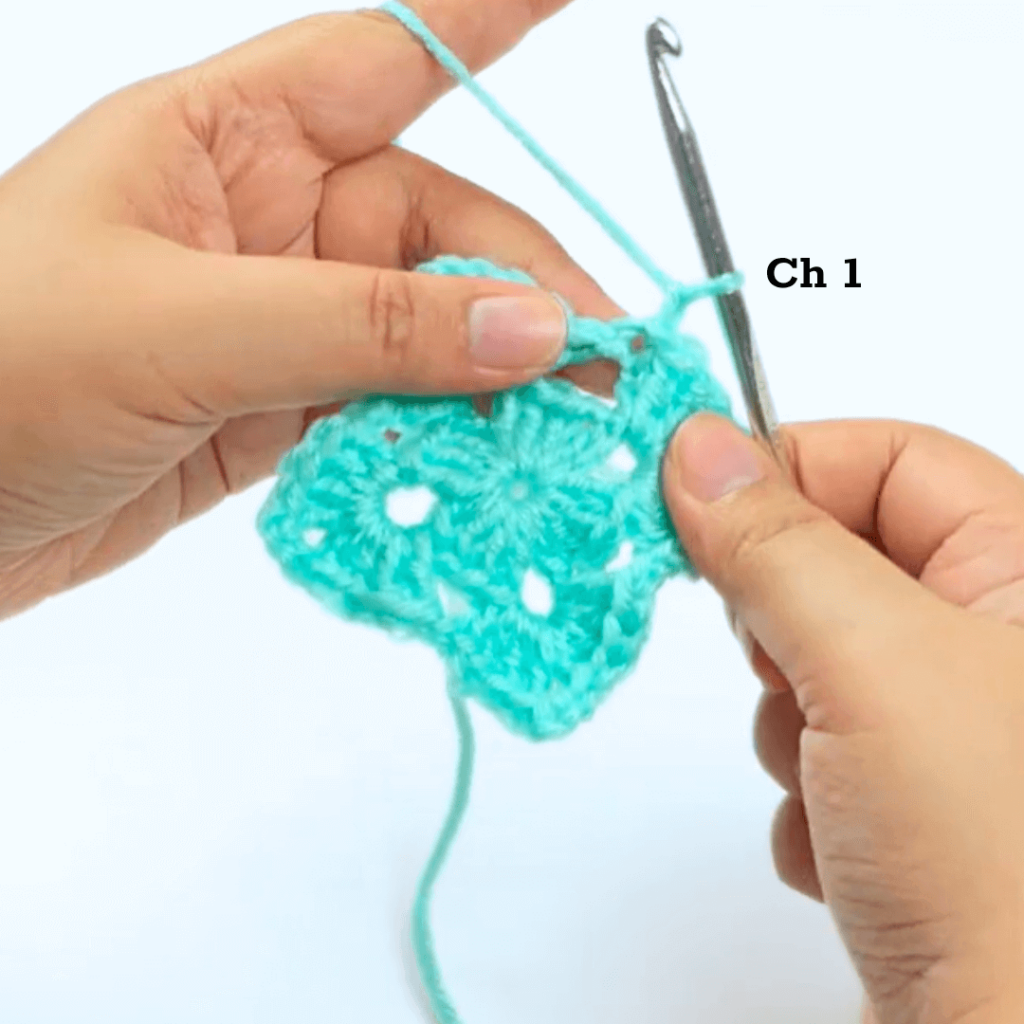
Chain 1 right on top of the previous row’s slip stitch (sl st).
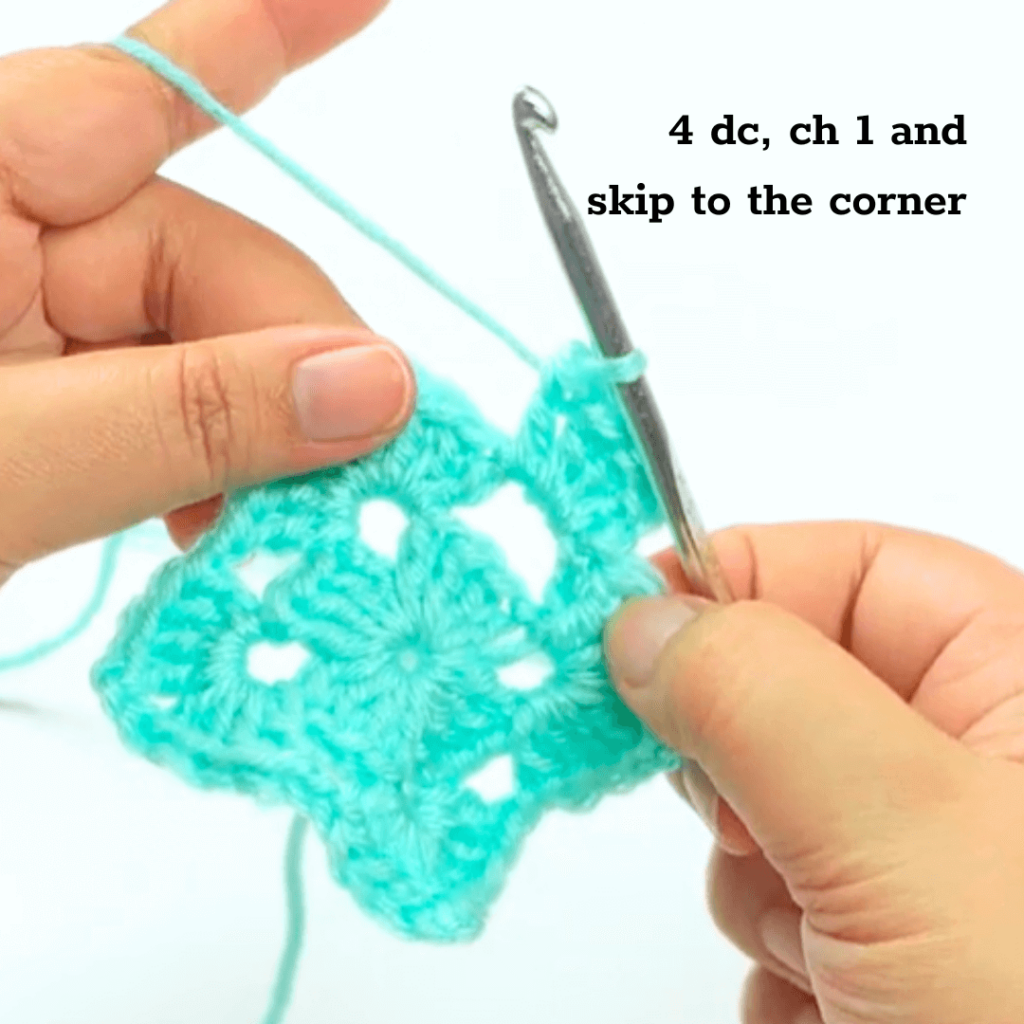
Make 4 dc in the same space.
Chain 1 and jump on over to the first corner.
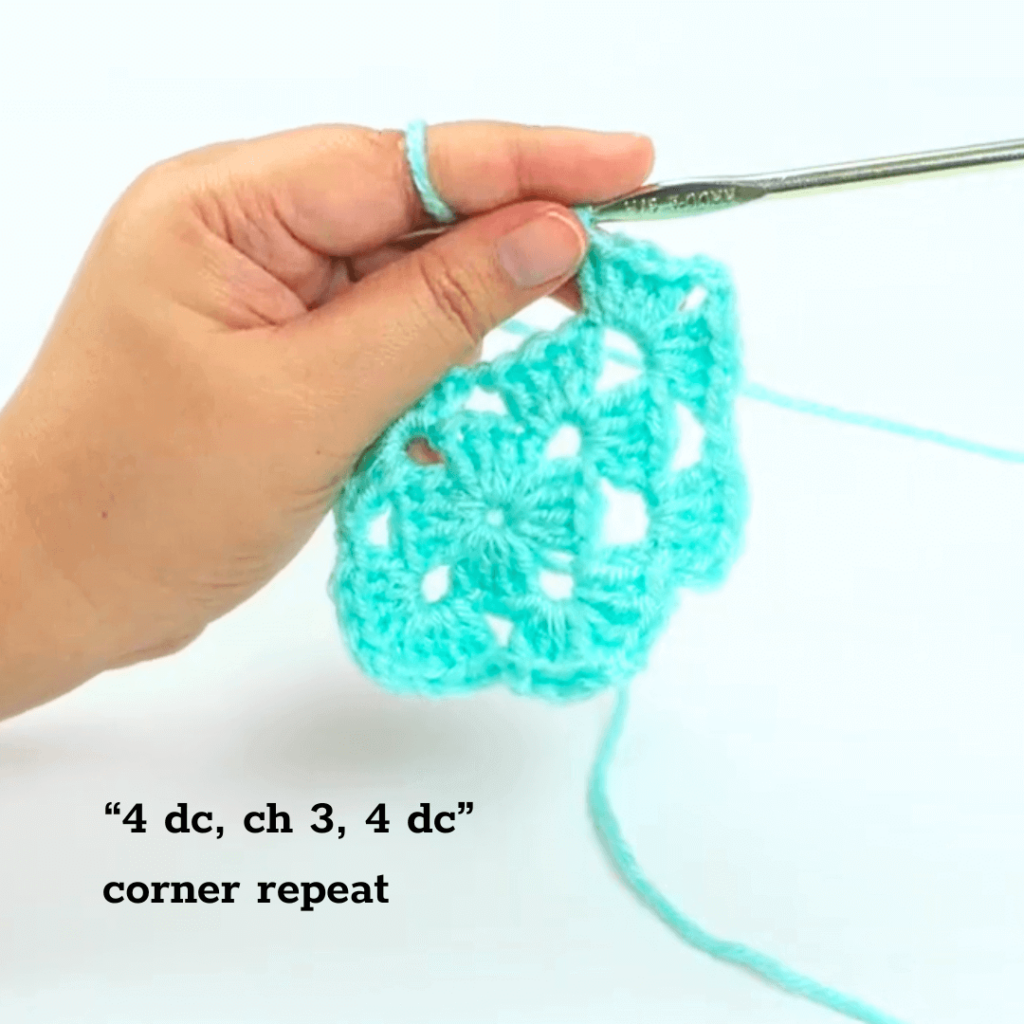
Make the corner increase:
“4 dc, ch 3, 4 dc, ch1”
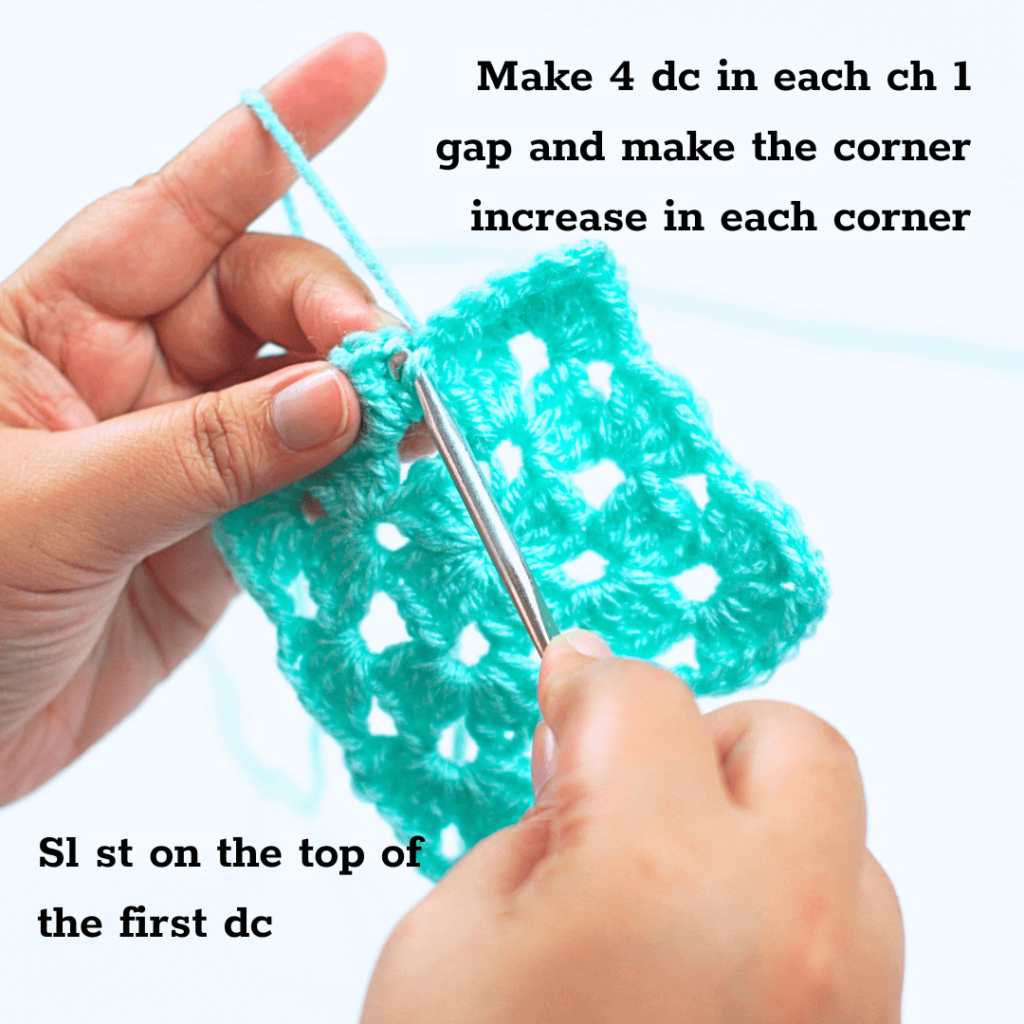
Chain 1 and make 4 dc in the next chain 1 space from the previous row.
From now on, you will make “4 dc, ch 1” in each chain 1 space.
In every chain 3 corner, make the corner increase: “4 dc, ch 3, 4 dc, ch1“
Once you reach the end of row 3, make a sl st on top of the first dc of the row.
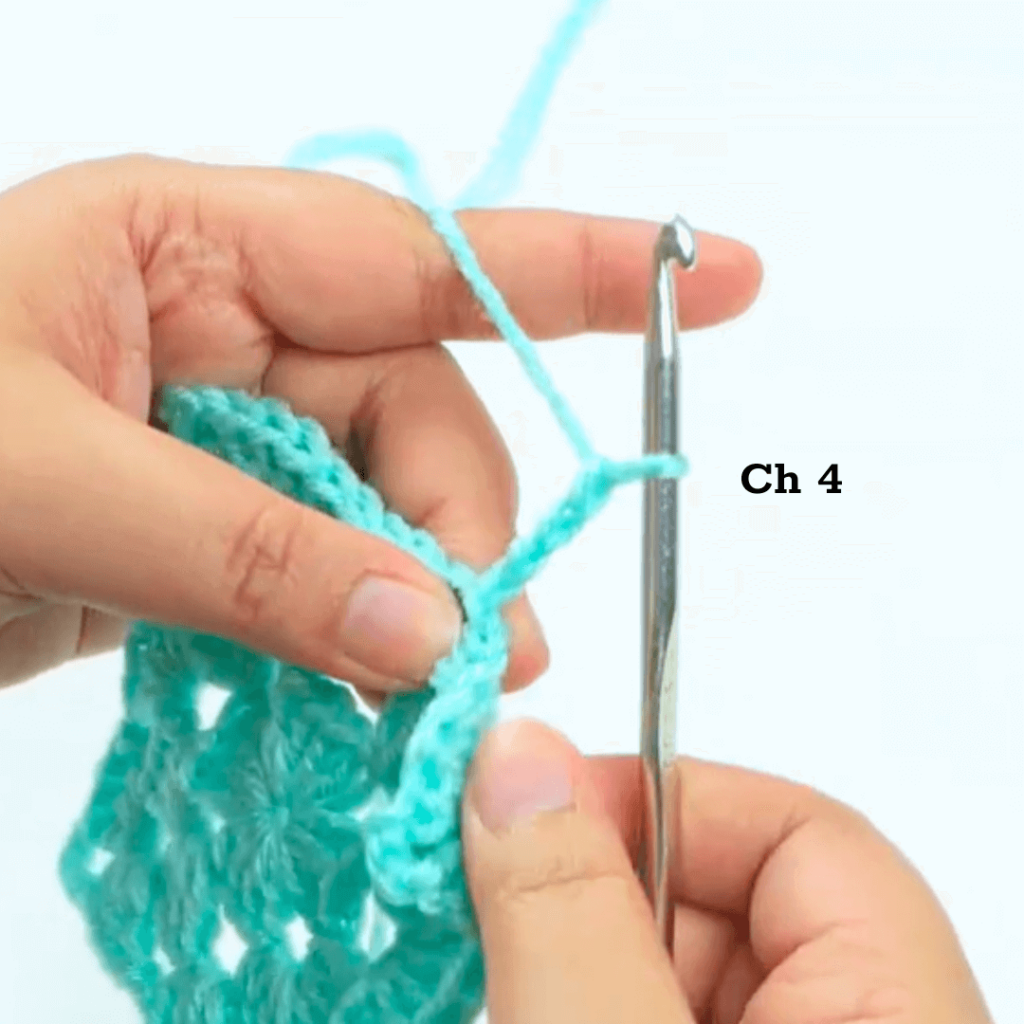
Chain 4 in the beginning of the row.
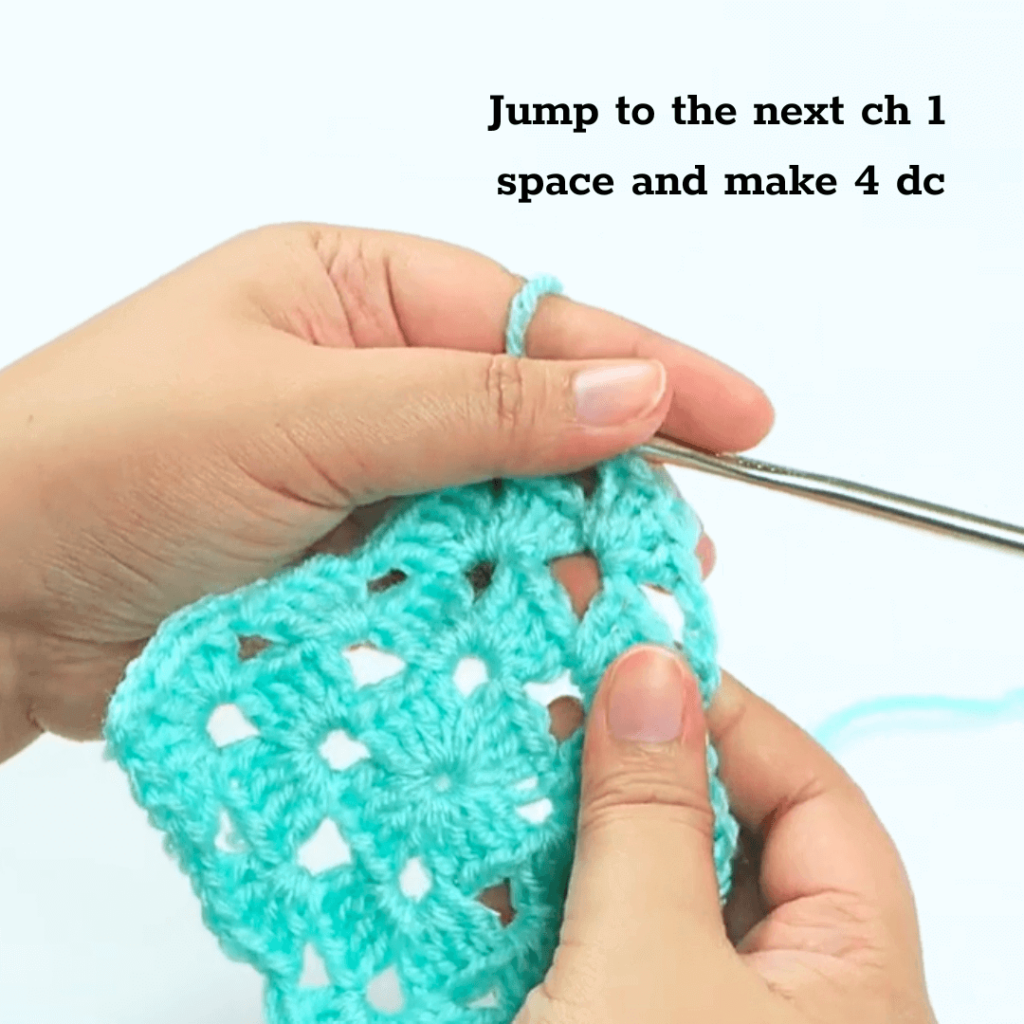
After you chain 4, jump to the chain 1 space and make “4 dc, ch 1“.
Do the same in the next ch 1 space.
Once you reach the ch 3 corner, make the corner increase:
“4 dc, ch 3, 4 dc”
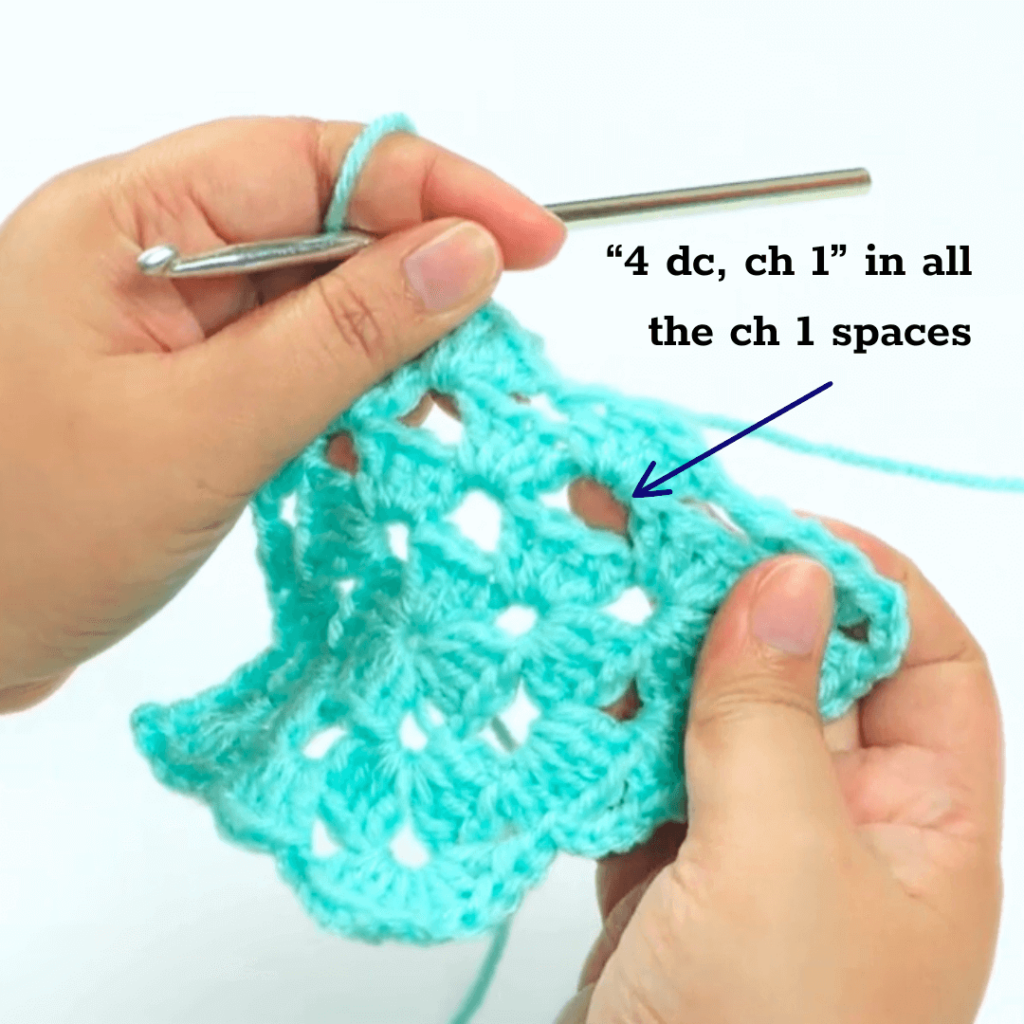
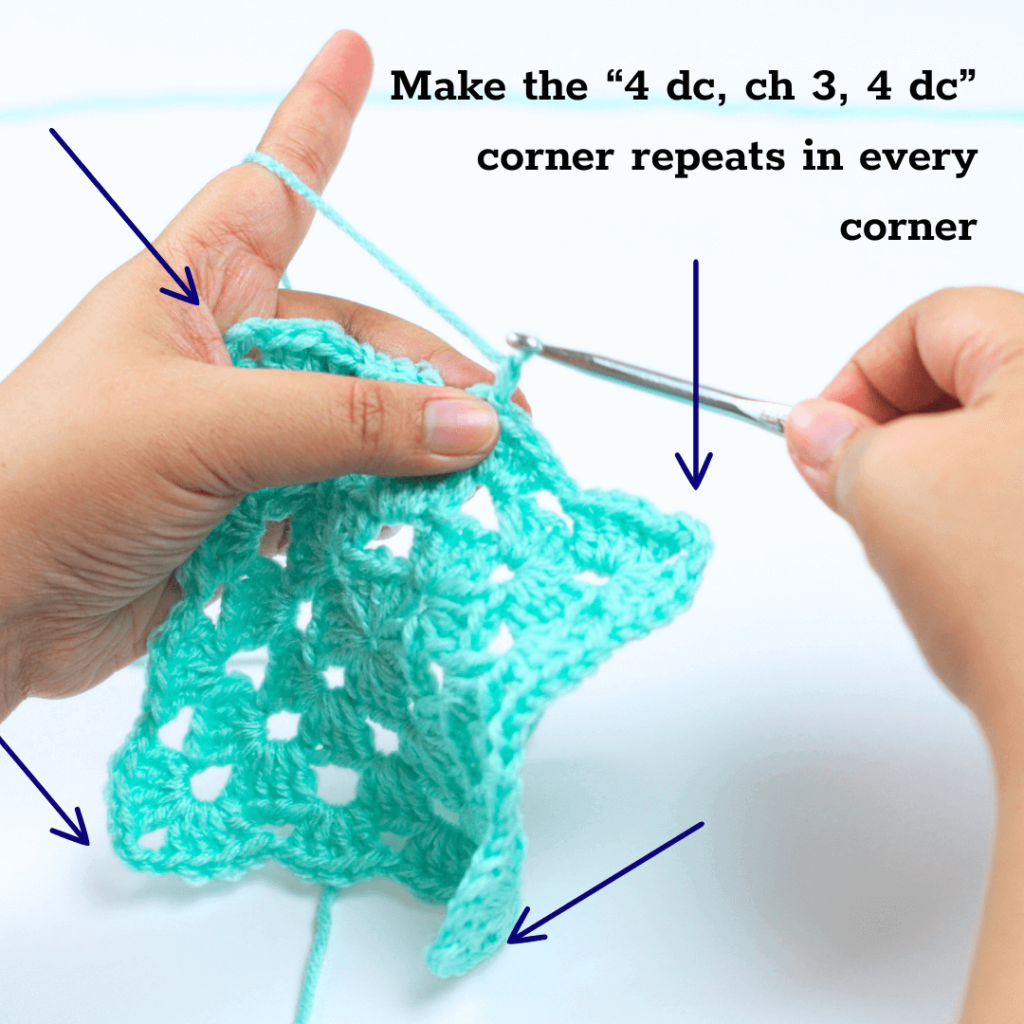
Now you know how to crochet a granny square! Reading this pattern may seem confusing, but it’ll get so much easier once you see your crochet granny square forming.
The first few rows of a crochet granny square are always a bit confusing because you’re essentially staring at the bare skeleton. But once you get to row 3, you’ll be able to see where certain stitches should go!
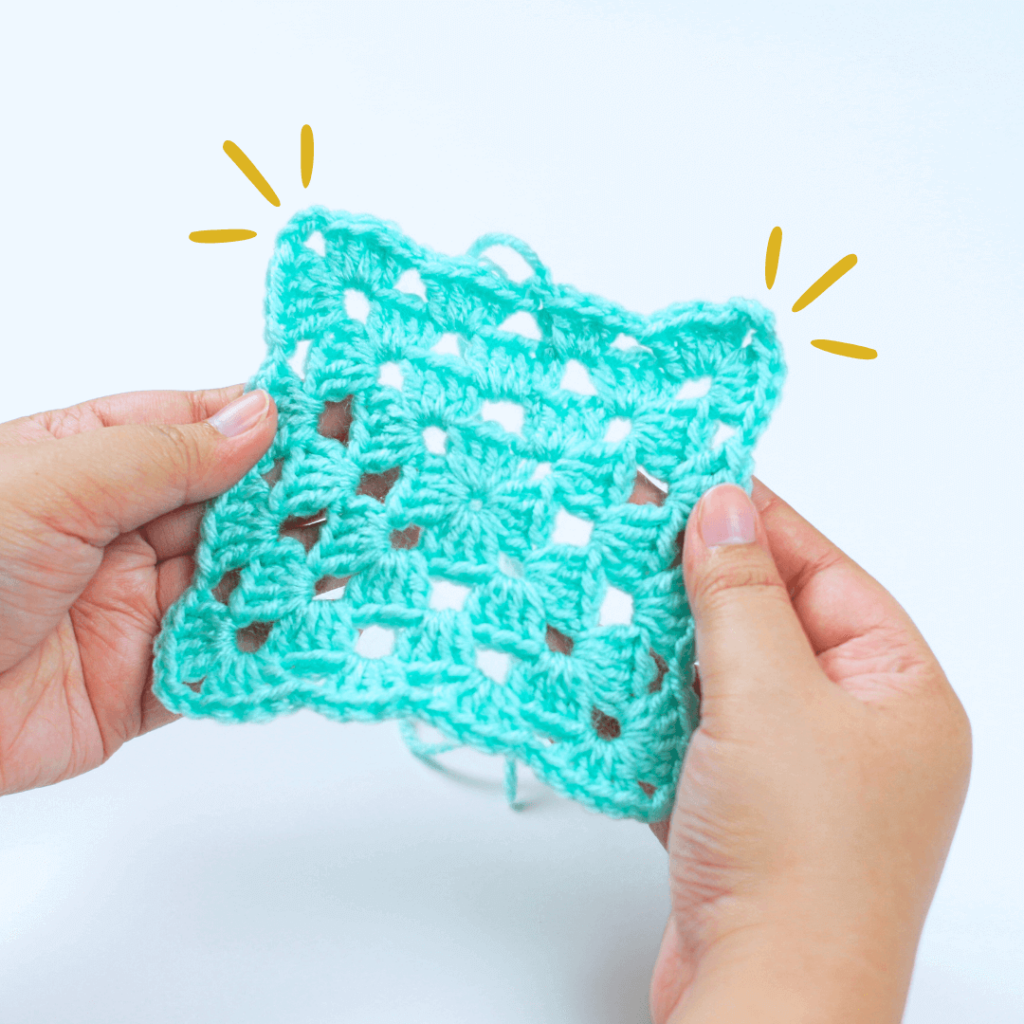
Your crochet granny square should look somewhat like the image below. It’ll be a bit confusing at first, but you’ll soon realize just how easy crochet granny squares are to make.
The more you practice, the quicker you will notice the repetitiveness of the pattern. This is the same pattern I used to make a big, slouchy granny square cardigan years ago. All I did was make a ginormous granny square and sewed the corners together to form a big diamond. Perhaps we’ll make that in a future blog tutorial!
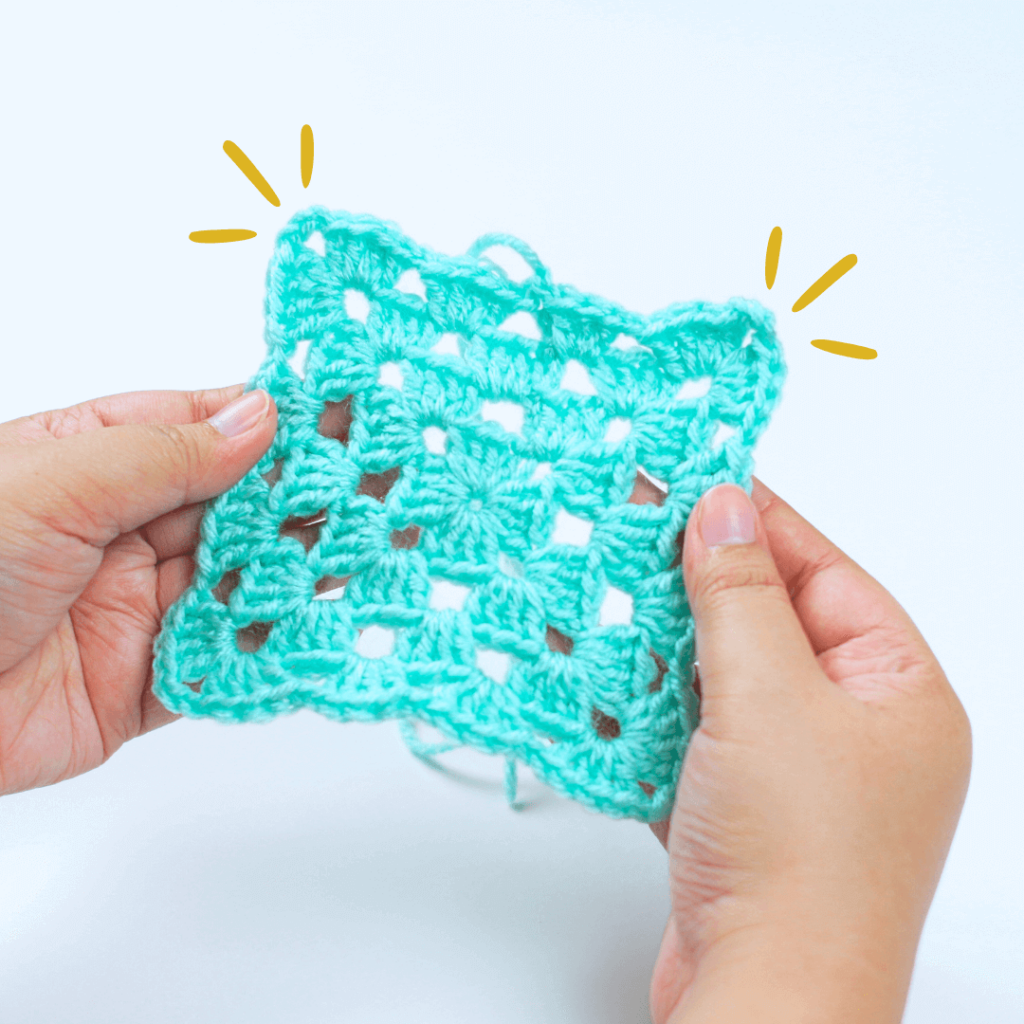
There are plenty of other ways to crochet granny squares. This tutorial focuses on the classic. Once you master this, you’ll be conquering new granny square crochet patterns left and right!


