Continental Knitting vs English Knitting
Which technique is easiest to learn?
Which technique is easiest to learn?
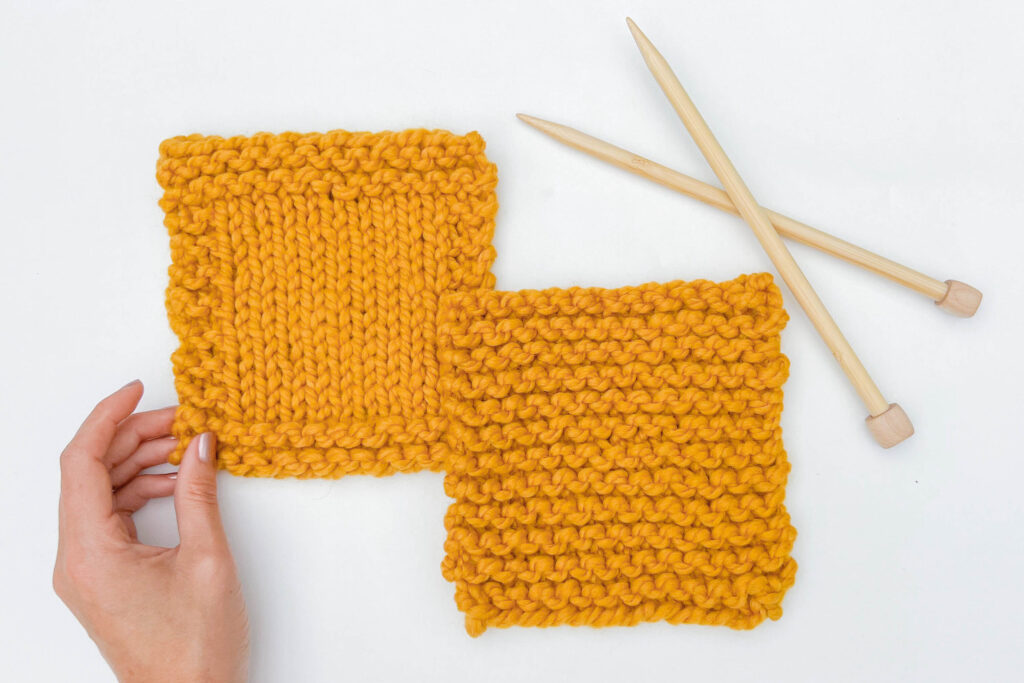
Continental Knitting and English Knitting are the most common ways to knit! Both techniques create the same knit stitches. However, there are small differences in the way the yarn is held and stitches are formed that can make a big difference in how tight or loose the knit fabric is. These differences can change how fast a knitter can form stitches too!
Today, we’ll look at the differences between continental and english knitting and describe some of the pros and cons for both techniques.
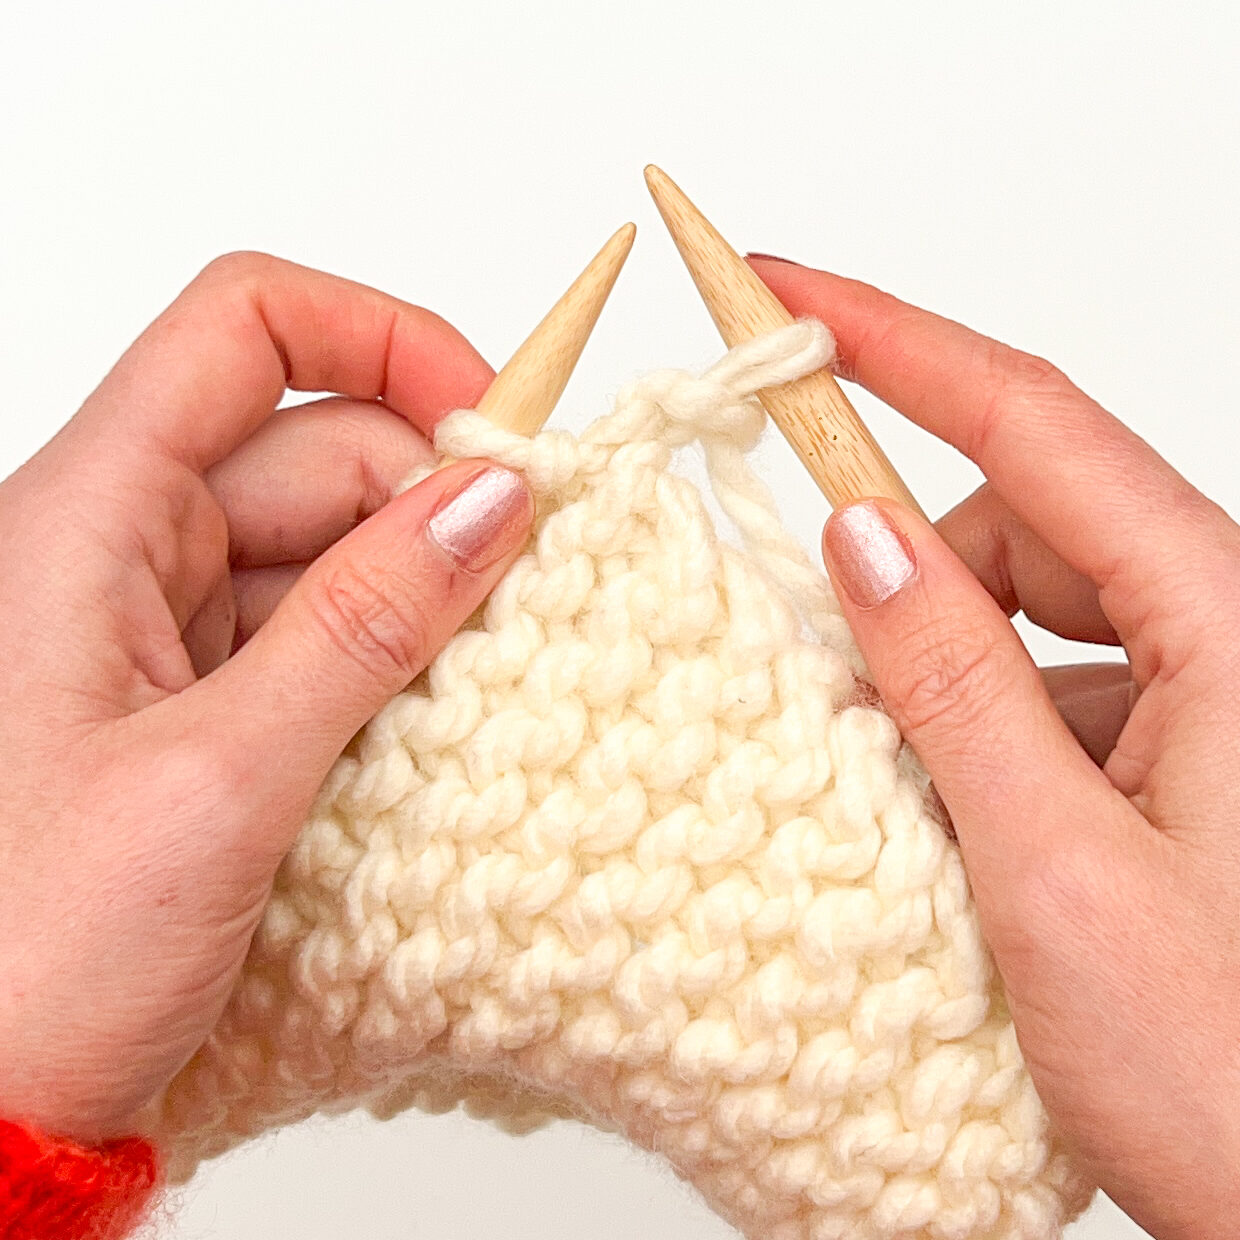
Continental knitting is also known as German knitting or “picking”. This method holds the yarn in the non-dominant hand with the strand looped over the back of the index finger. The index finger is used to help the knitting needle pick up yarn before pulling it through to create a new stitch. In this technique, both hands are on the knitting needles at all times.
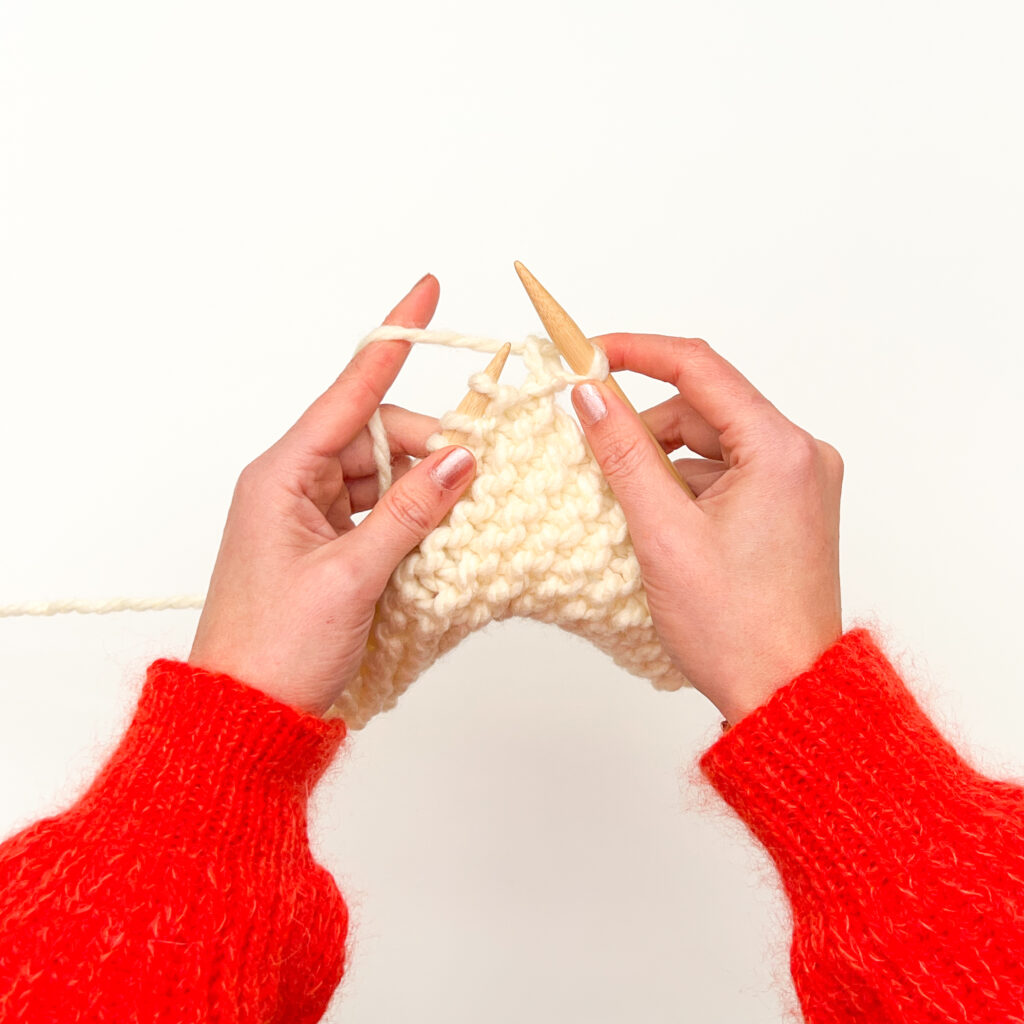
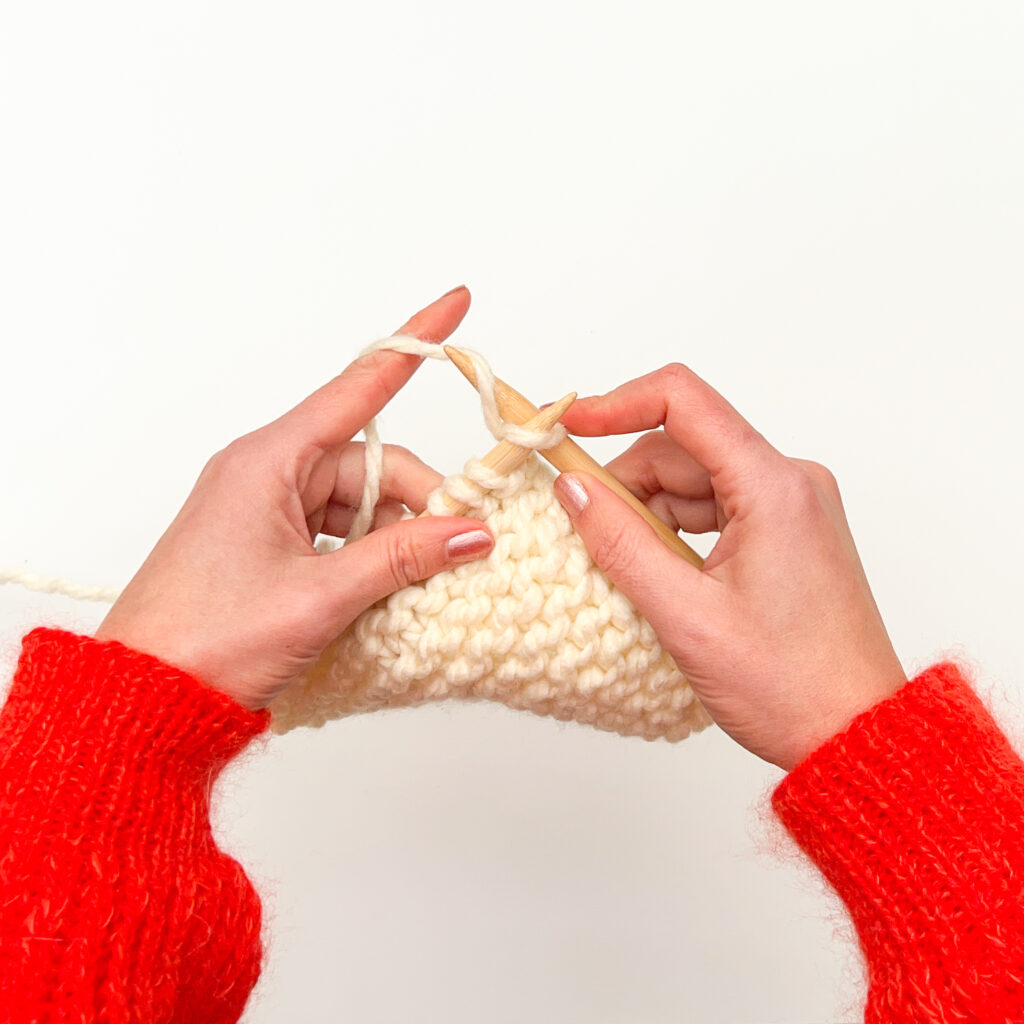
Step 1: Tension the yarn in your left hand by wrapping it around one or more fingers before passing it over the back of your index finger. In this example the yarn is wrapped around the pinky and up over the back of the index finger. The index finger guides the yarn over the needle as you form new stitches and is the most important part of setting up your yarn in your left hand.
Note: the yarn is positioned behind the knitting needle when forming knit stitches.
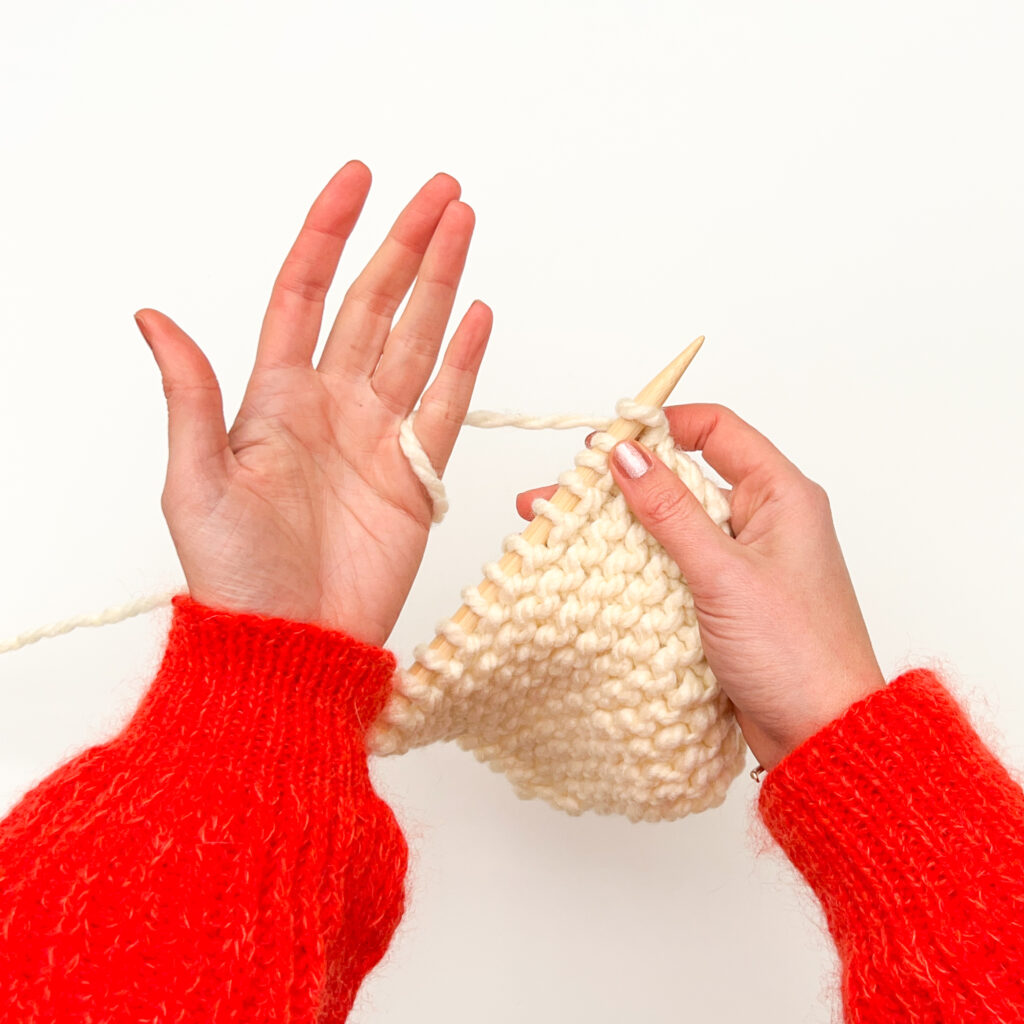
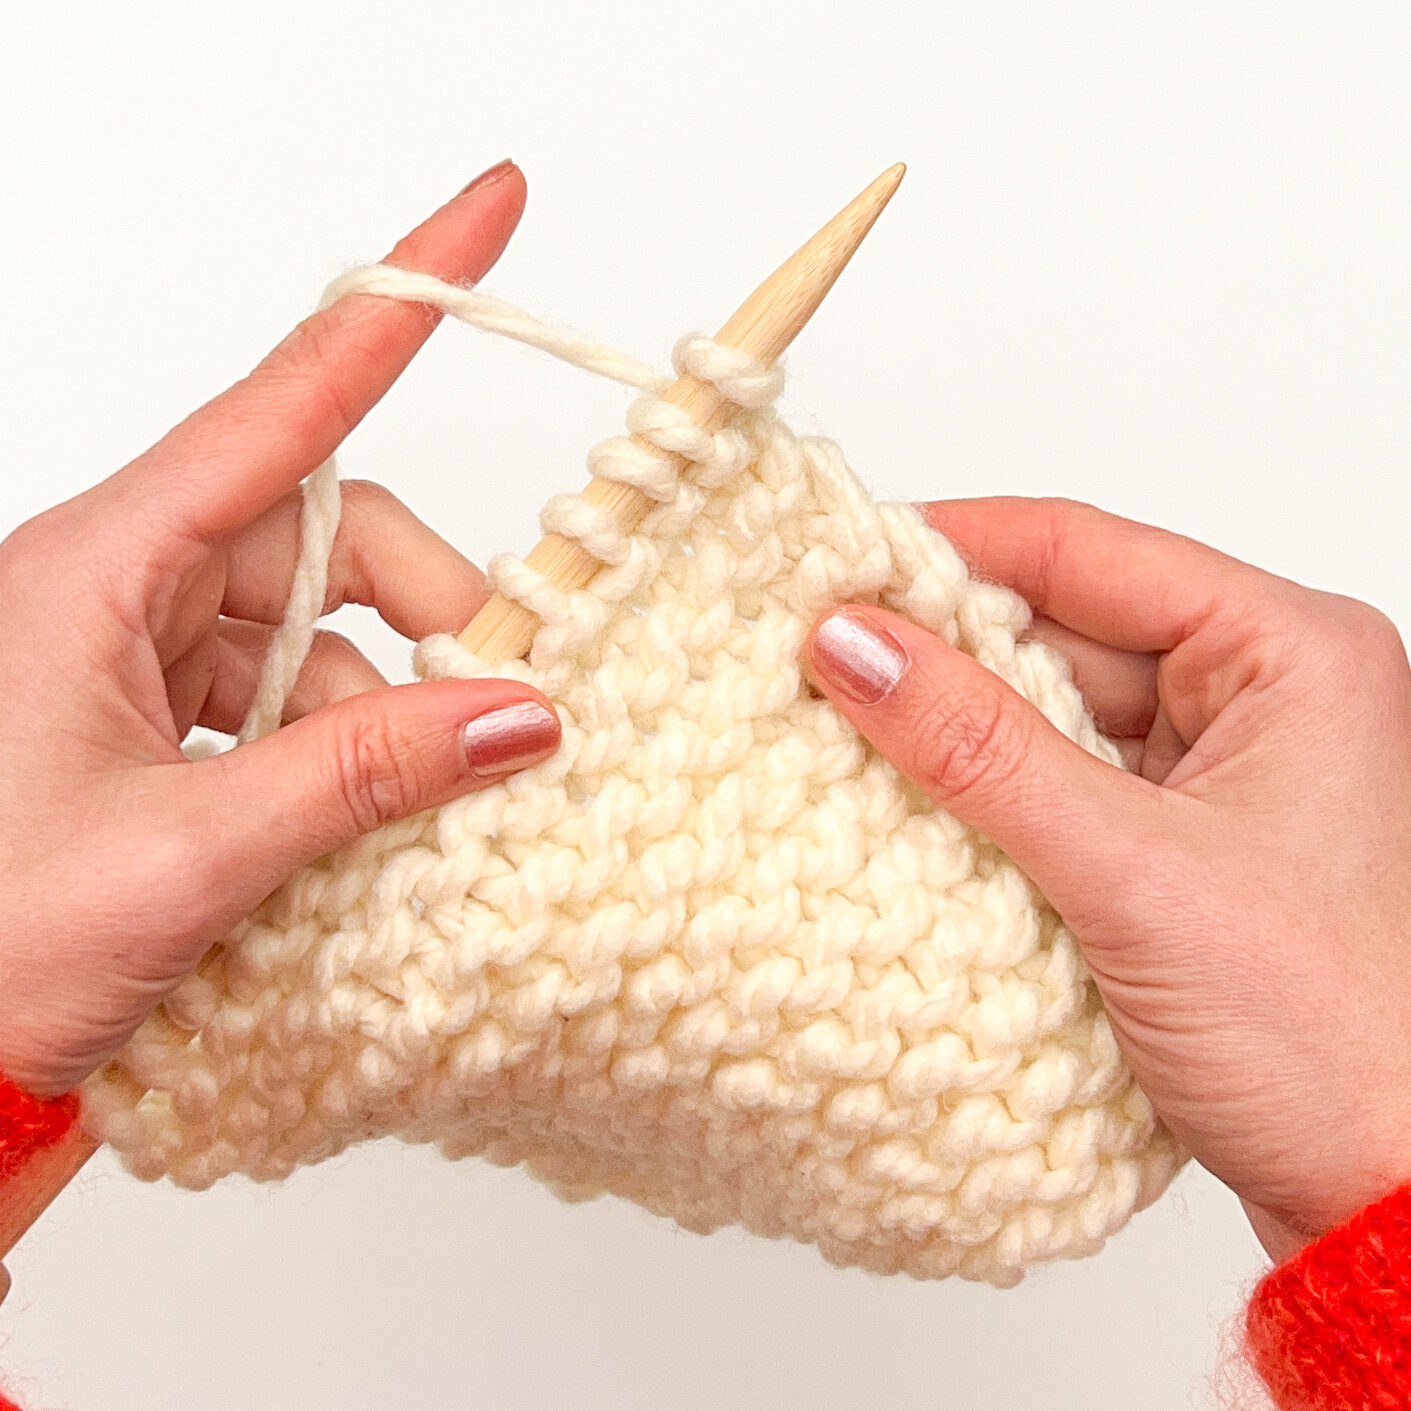
Step 2: To create a new stitch: insert the right needle tip into the first stitch knitwise (upward through the front leg).
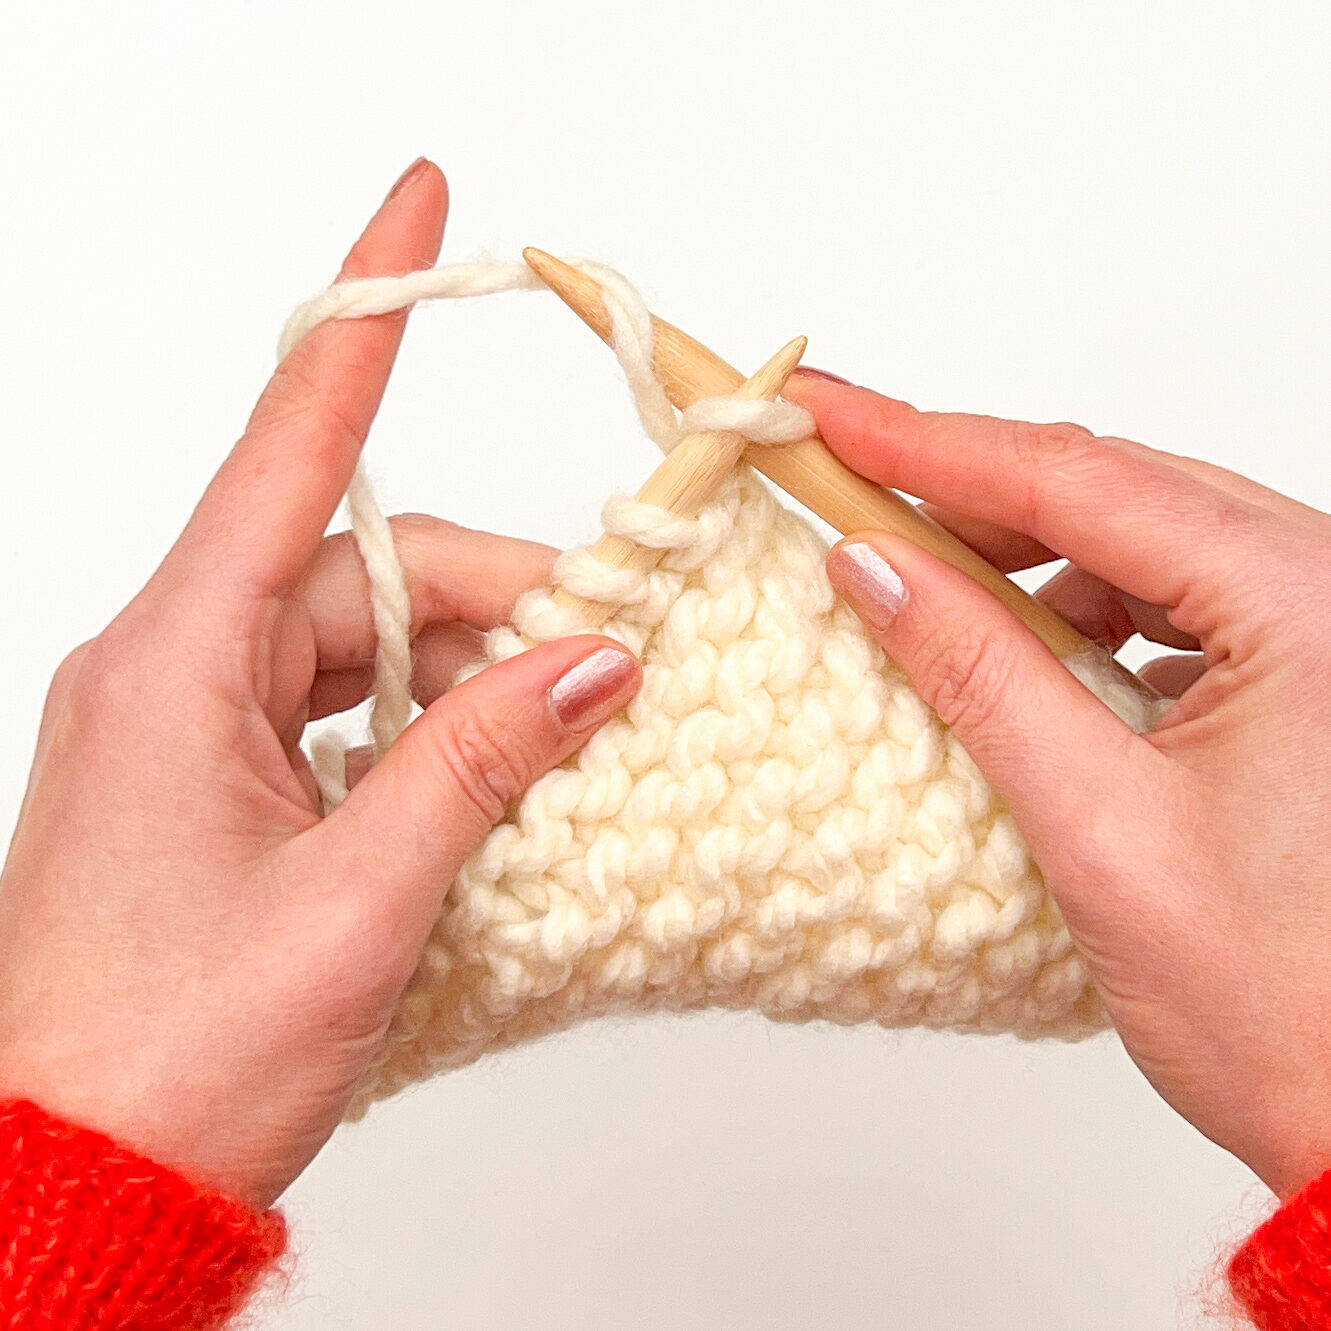
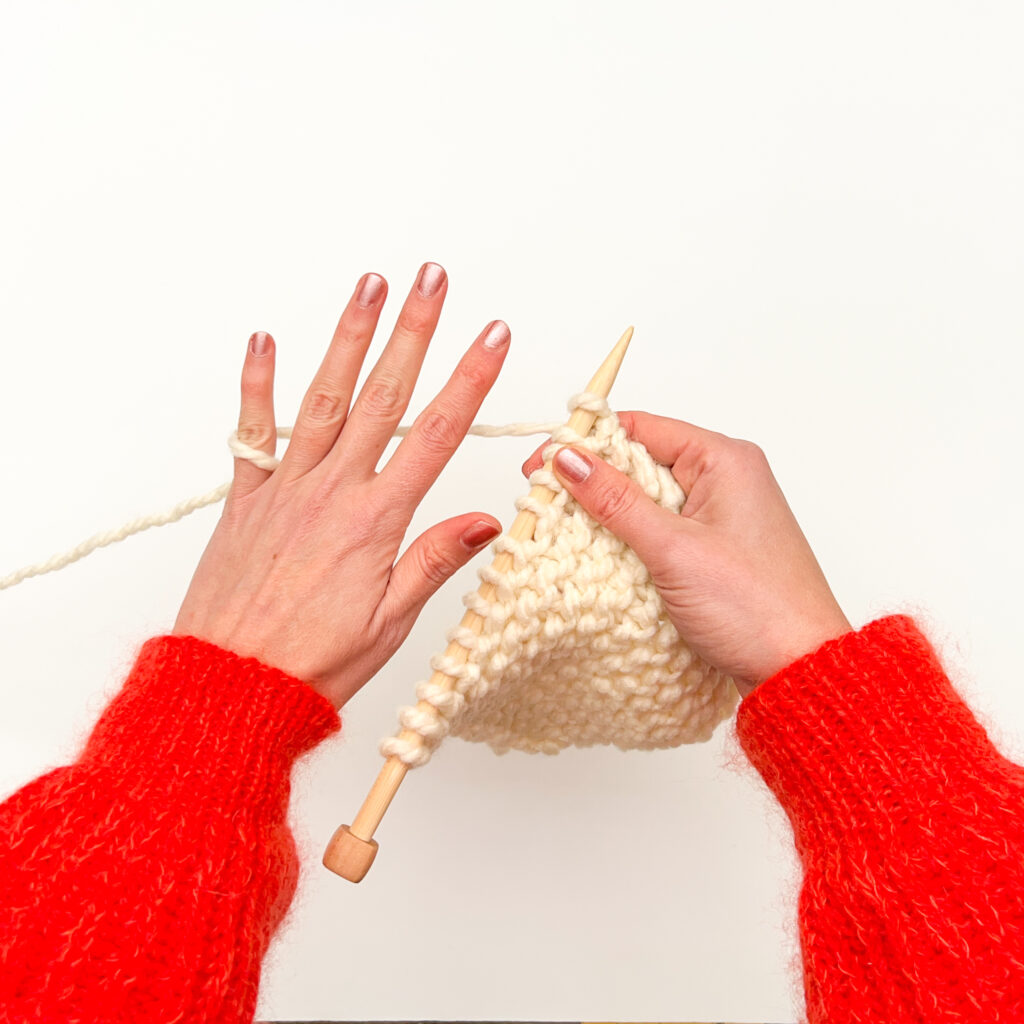
Step 3: Scoop the right needle around the index finger strand counterclockwise so that the strand is looped over the needle.
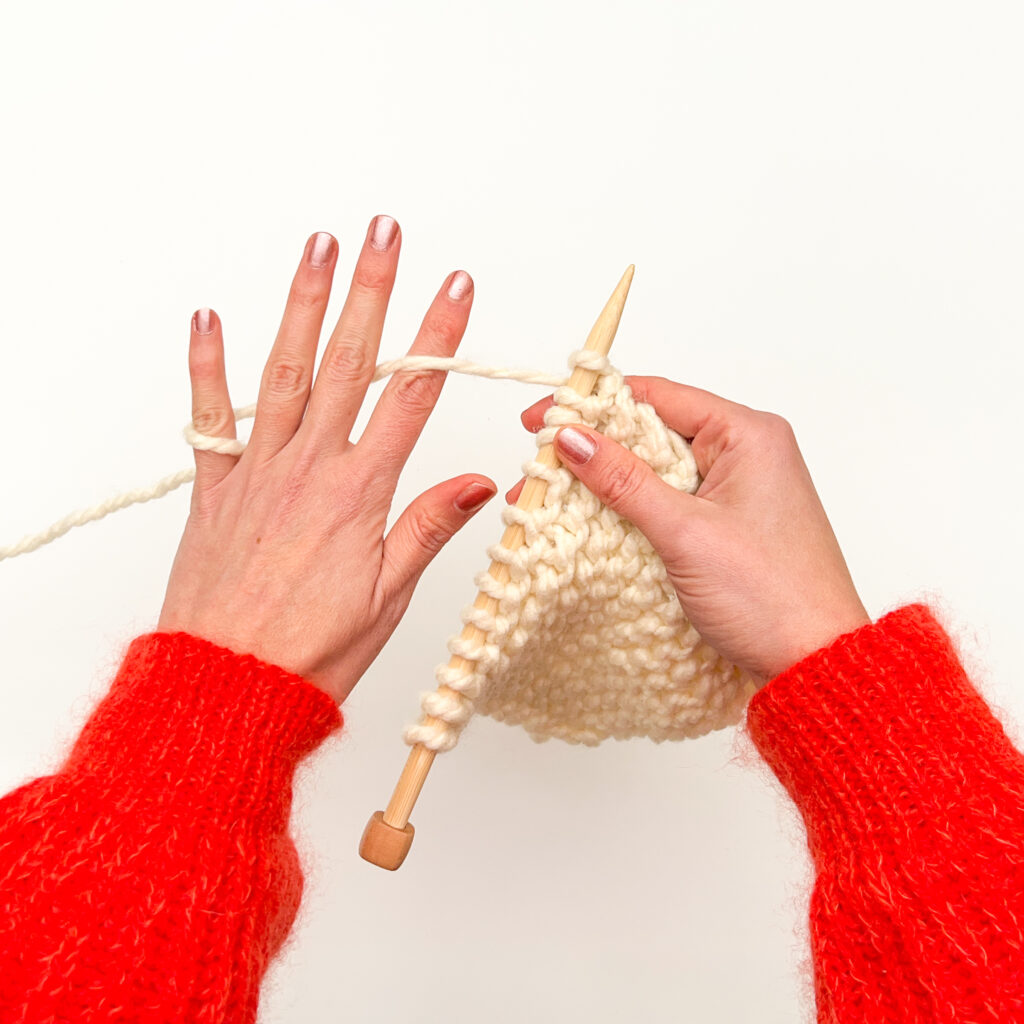
Step 4: Pull the yarn down through the stitch.
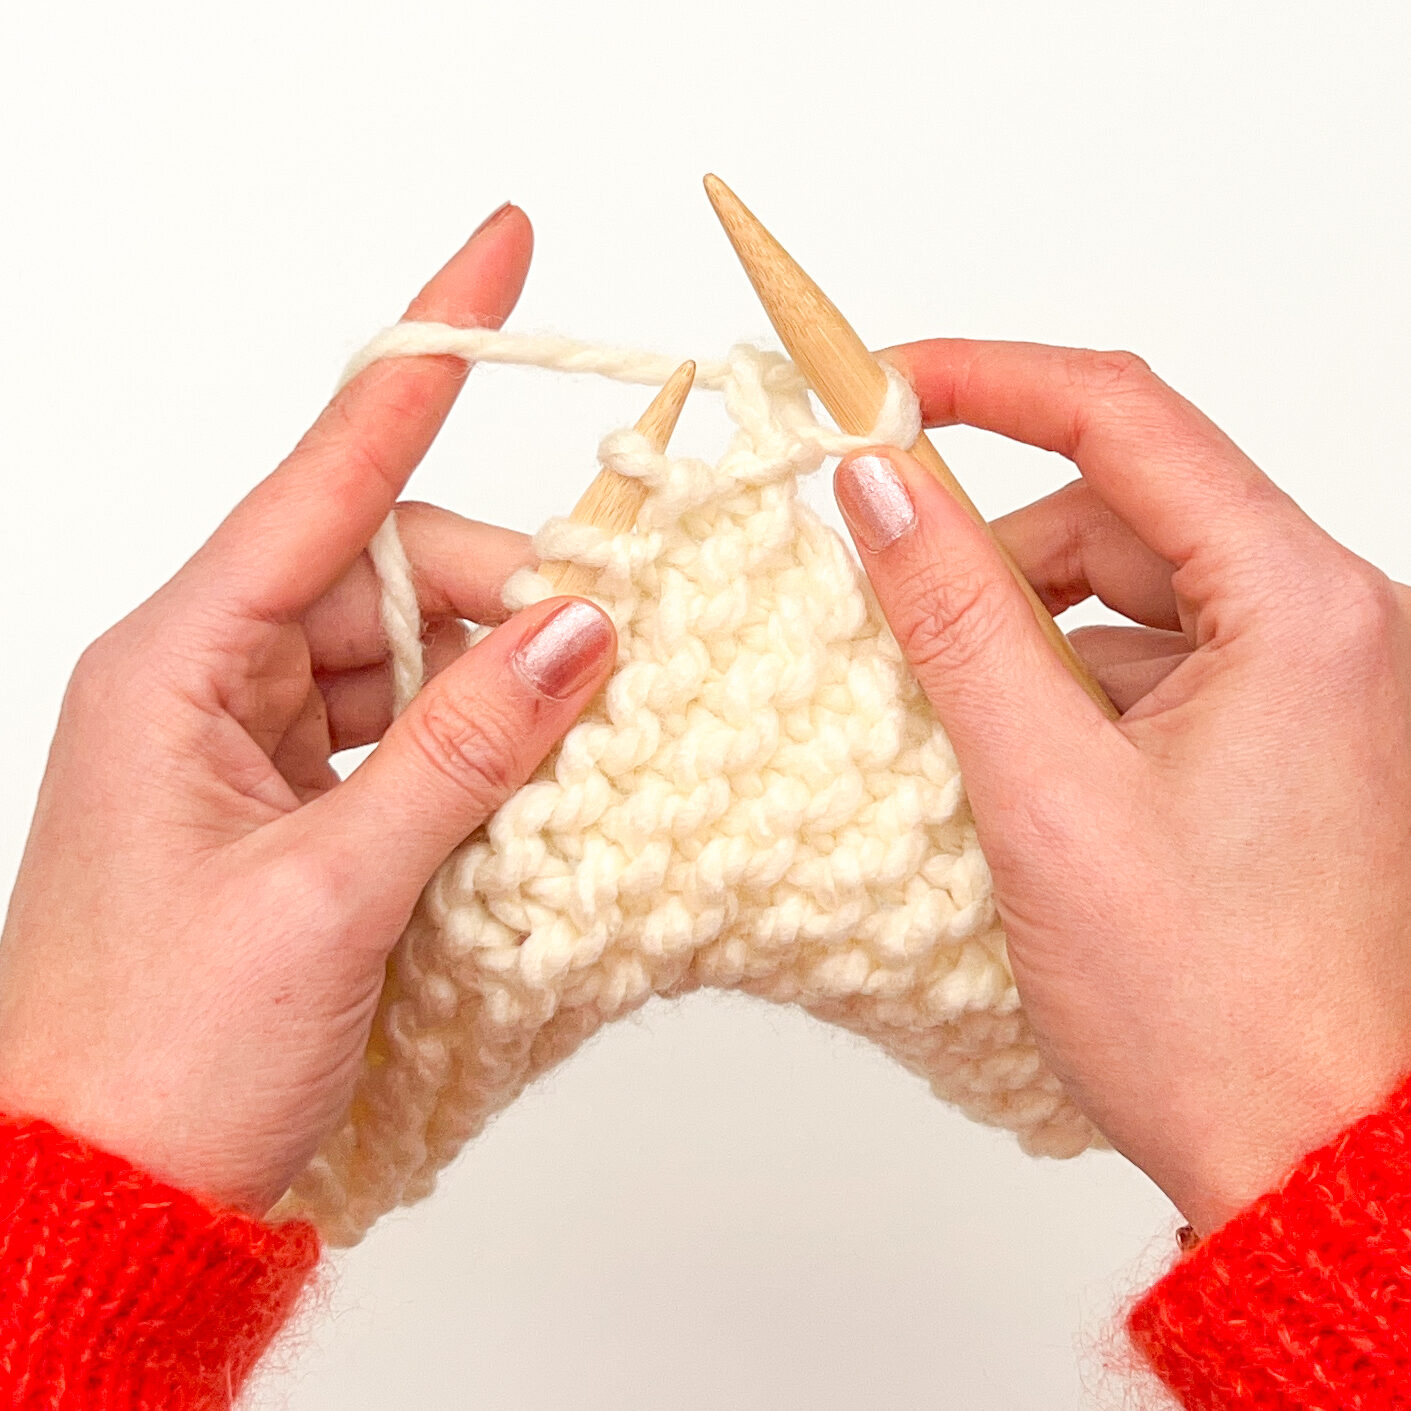
Step 5: Slip the left stitch off the left needle. You now have a knit stitch on the right needle.
Both continental knitters and crocheters hold the yarn in the left hand making it an easier way for crocheters to learn how to knit!
While both methods can be fast, some knitters find that knitting continental style is faster because there are fewer hand movements needed to create each stitch.
Knitters may experience difficulty maintaining the tension in certain stitches, such as cables and loose knits, when knitting continental style.
English style knitting is also known as “throwing.” This technique holds the yarn in the dominant hand while knitting. To create a new stitch the right hand releases the right knitting needle and the yarn is “thrown” over the needle to form a stitch.
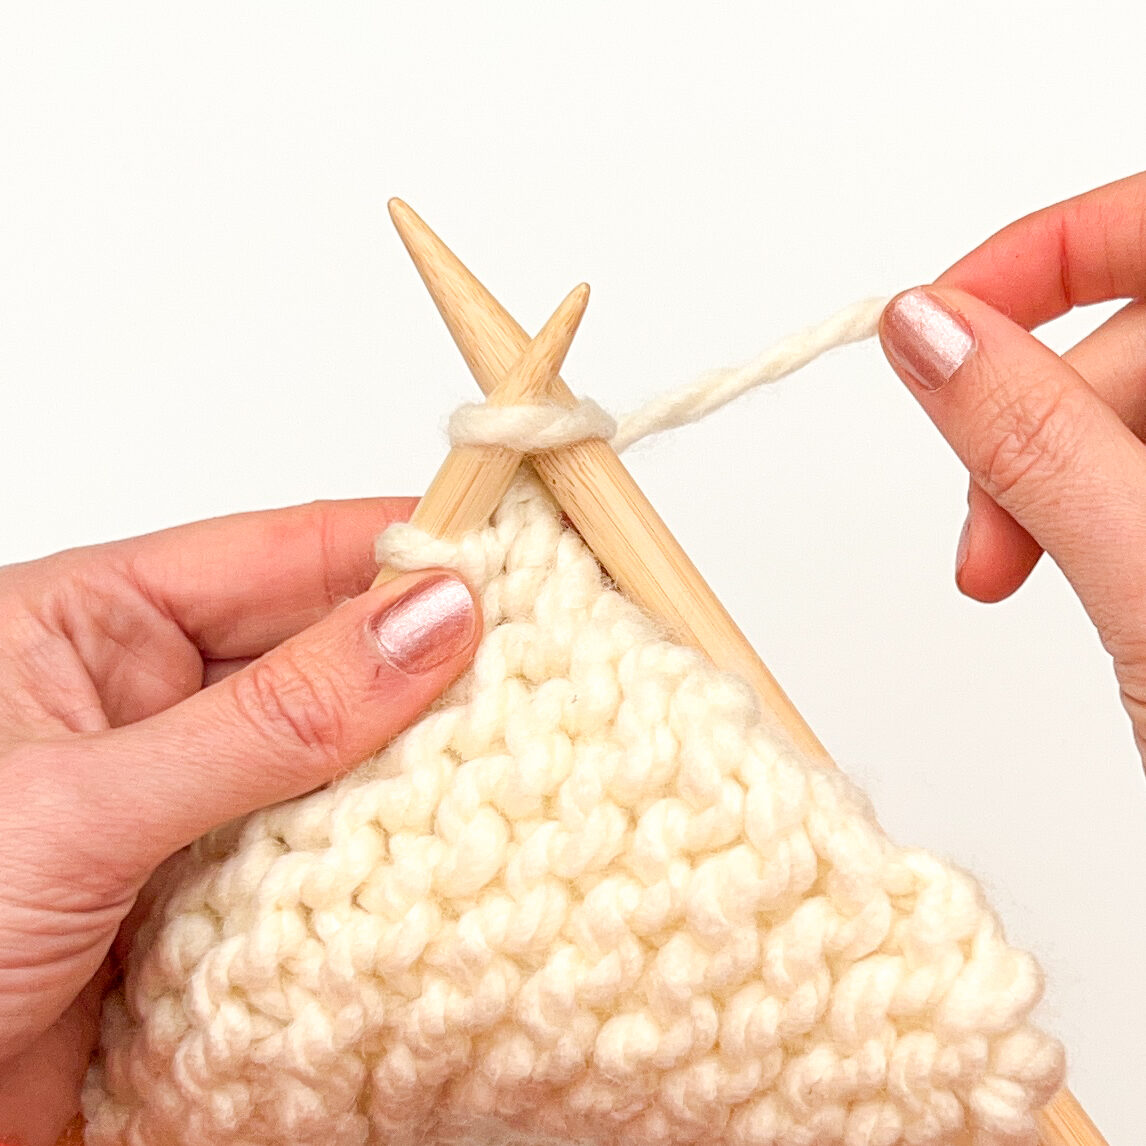
Step 1: To create a new stitch, insert the right needle tip into the first stitch knitwise (upward through the front leg).
Note: the yarn is positioned behind the knitting needle when forming knit stitches.
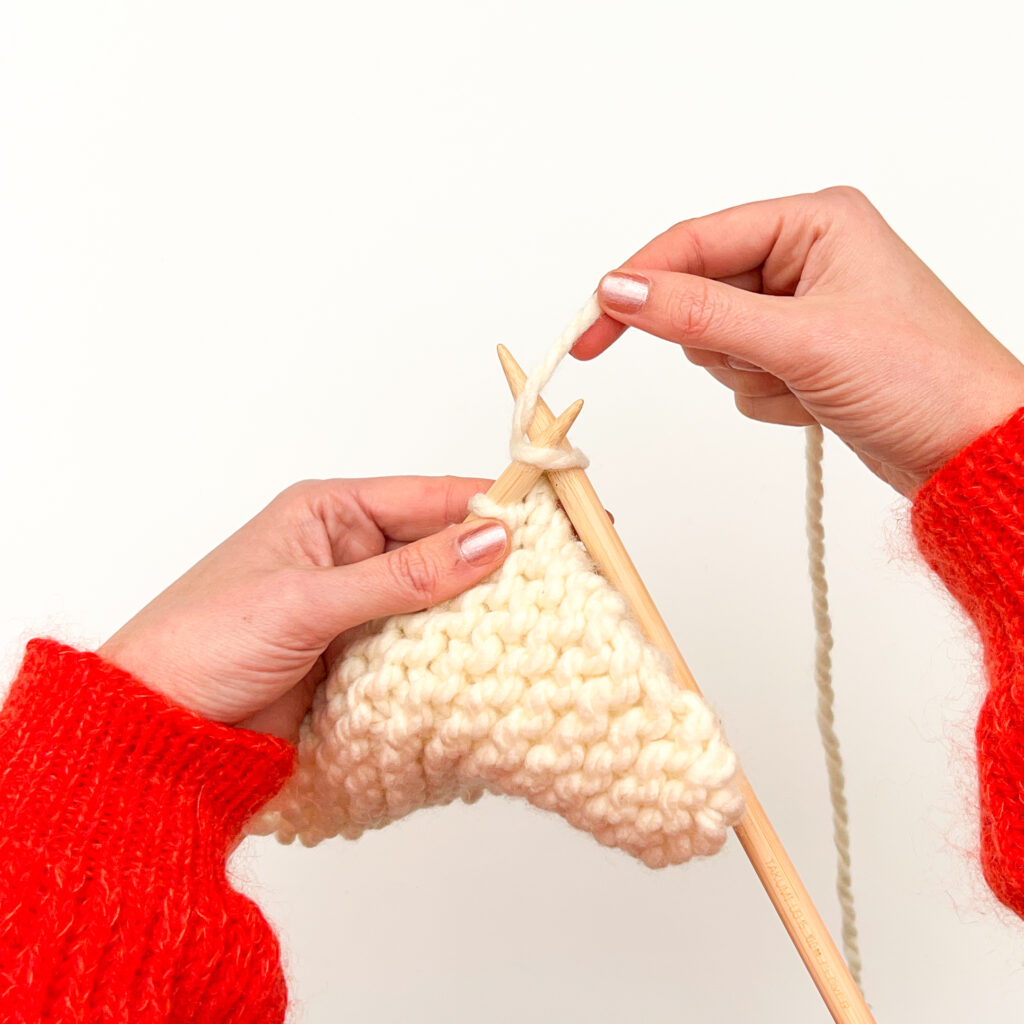
Step 2: Letting go of the right needle, pick up the yarn in your right hand and wrap it counterclockwise around the right needle tip.
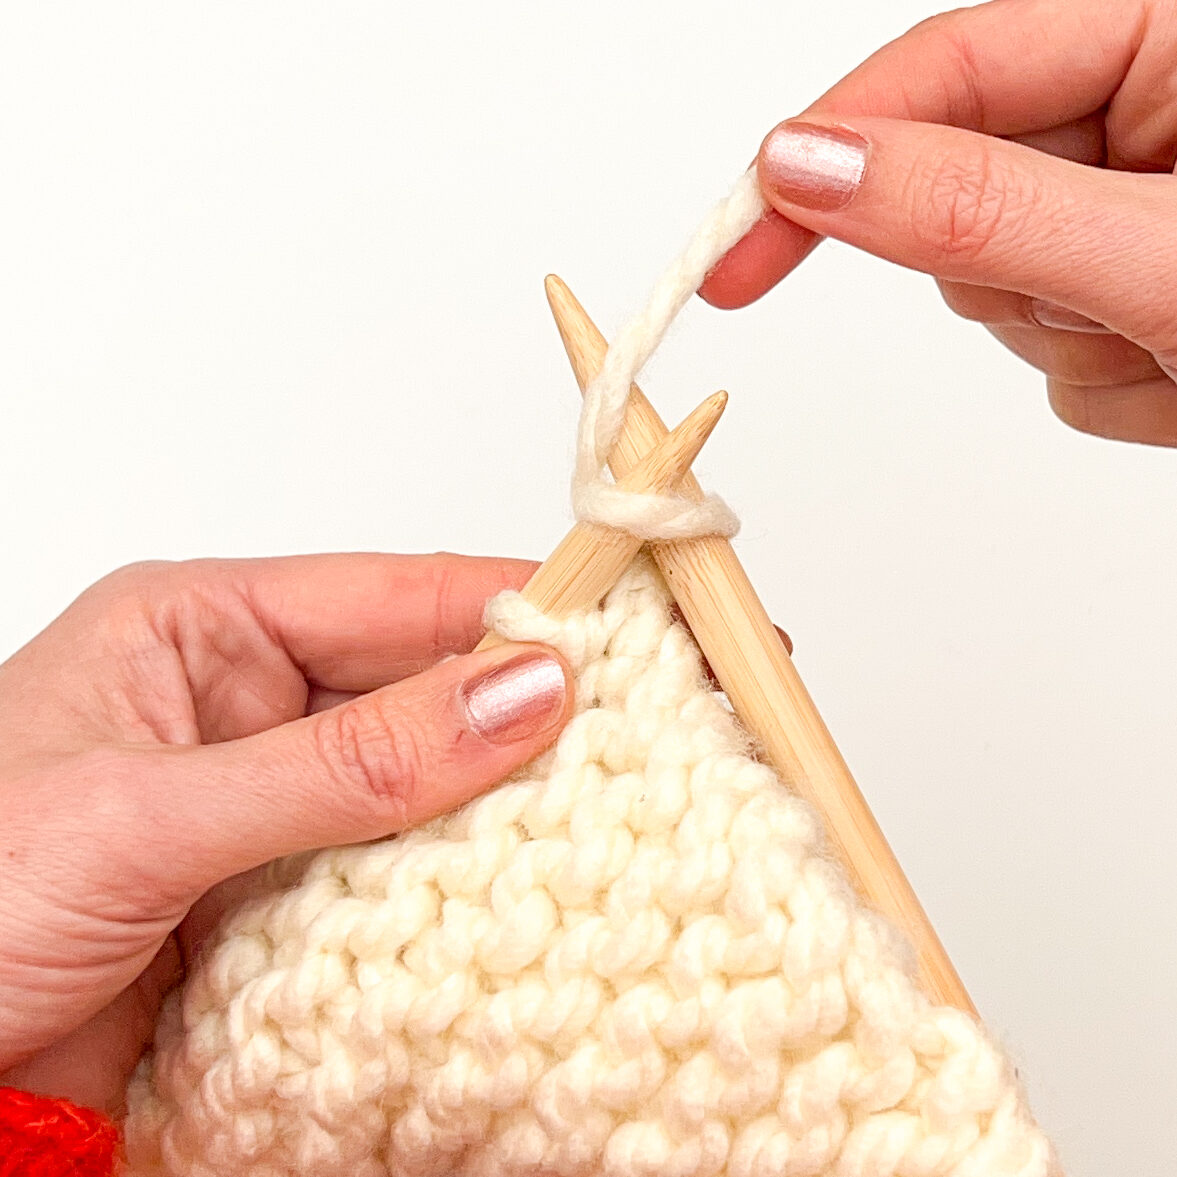
Step 3: Pull the yarn strand down through the stitch on the left needle.
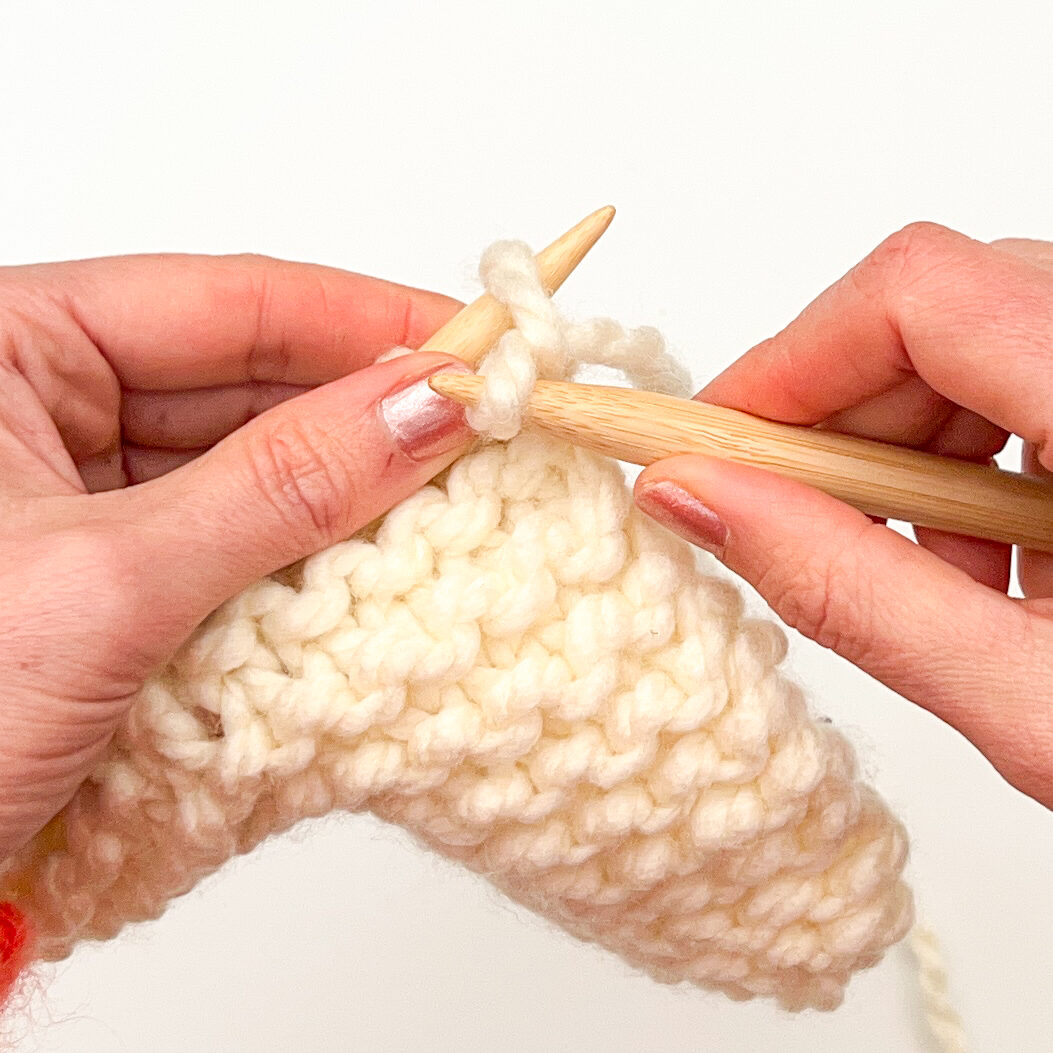
Step 4: Drop the left stitch off the left needle by pulling the right needle up and to the right.
Pro Tip: You can use your fingertips to help slide the left stitch off and also to anchor the right stitch on the right needle while forming new stitches.
English-style knitting involves “throwing” the yarn around the needle younger children might find it easier to form stitches, especially when using thicker yarns.
Continental knitting creates tension on the yarn by wrapping it around fingers which might be hard for small hands using thicker yarn. English-style knitting keeps the fingers free making it easier to knit.
Because this technique is slower, it might be easier for some knitters to keep their tension (and stitches!) even across the row. Each stitch is carefully wrapped around the needle which means that the knitter has more control over how tightly or loosely the yarn is wrapped around the needle.
The “throwing” movement in English Knitting may cause strain on knitters who suffer from arthritis or repetitive stress pain.
At some point, you may find that the repetitive knitting motions can strain wrists and joints over time. Both English and Continental style knitting use different hand movements to create the same stitches, you can alternate which method you use to give your body a break.
Getting used to carrying the yarn in either hand can make some more intricate colorwork designs easier to do! Colorwork uses multiple colors of yarn across a row. That means you’re wrangling multiple yarn strands at once! Learning how to use the yarn in both hands makes it easier to carry one color in each. You’ll also be able to use the now-familiar picking and throwing motions to work quickly and across a colorwork row.
We always find that it’s just fun to learn more techniques! The more you know, the more you can incorporate pieces of each technique into your own knitting practice in a way that makes it fun, comfortable, and works with your body.
We’ve got all the articles and tutorials you need to get started as a beginner knitter! Now that you’ve got a good grasp about continental knitting vs english style knitting, we’ve got plenty of other information to explore.
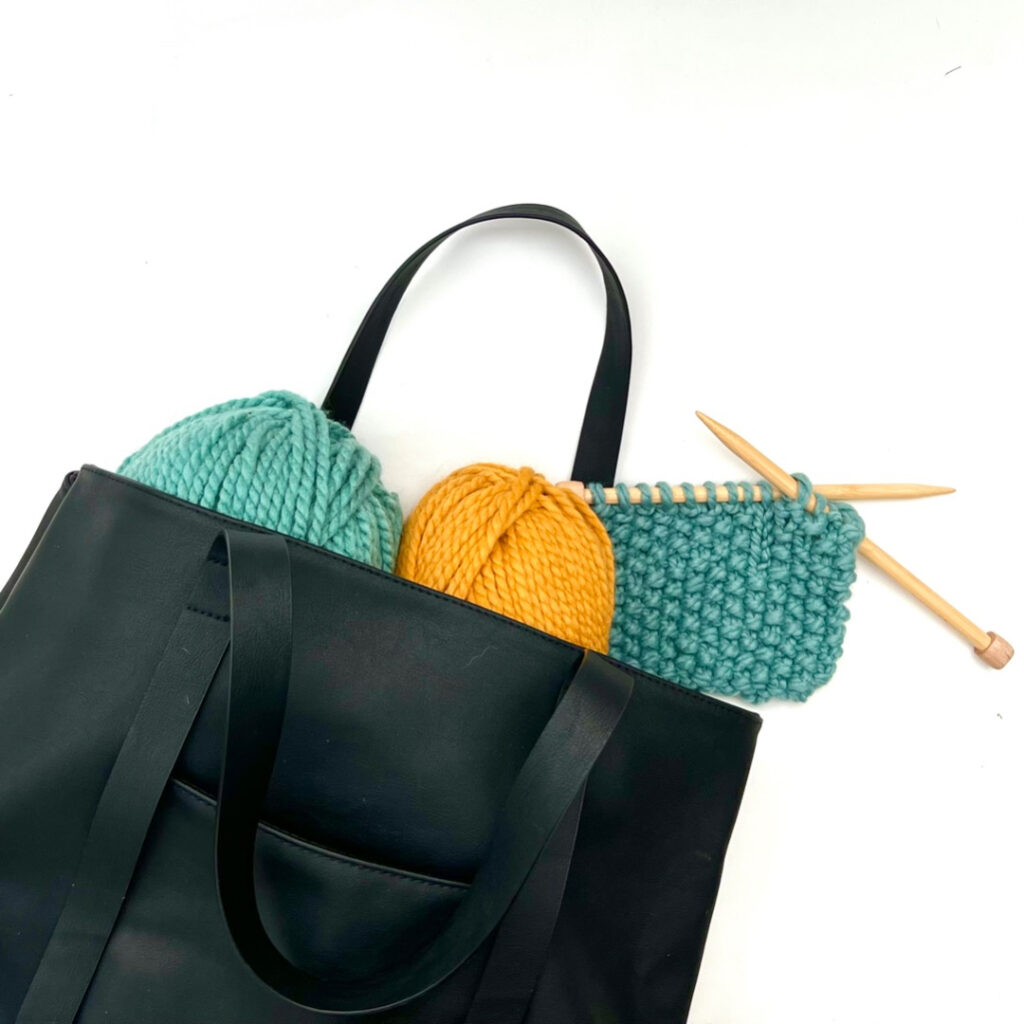
We’ve got everything you need to get started knitting, all you need is a ball of yarn and some knitting needles! Five beginner tutorials will show you how to get started knitting as a total beginner.
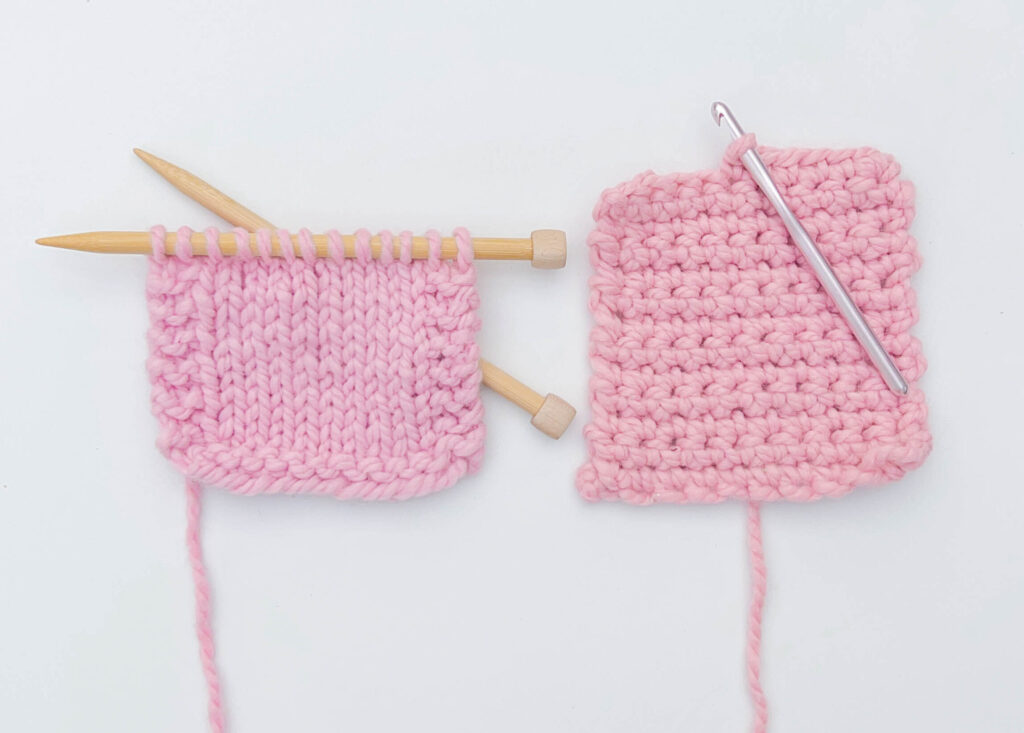
Not sure what the difference between knitting and crochet really is? While both crafts use yarn and tools to make all sorts of projects there are some fundamental differences. This article walks you through all aspects you need to know in order to identify the difference between knitting and crochet and will also help you decide which craft to try next!
Not sure where to start or what to buy as a beginner knitter? Don’t worry! We’ve got you covered. This article goes over all of the basic must-have tools for new knitters.
Ravelry is an amazing free resource, perfect for beginner knitters. This is a vibrant community built by knitters, for knitters (and crocheters too). You’ll be able to explore a huge range of patterns (free and paid) as well as join in on community forum discussions too!


