Judy’s Magic Cast On
The perfect cast on for toe-up socks & top-down hats!
The perfect cast on for toe-up socks & top-down hats!

Judy’s Magic Cast On is a fantastic technique that beginner knitters should definitely try. This technique is mostly used to create a totally invisible, two-sided seam most often to create the toe on a pair of socks. While this technique can be a little difficult the first time around, with a little practice and patience, you can easily master the technique and start your project with confidence.
Whether you’re making your first pair of socks or a top-down hat, Judy’s Magic Cast On can help you achieve a perfectly seamless start.
Judy’s magic cast on it creates an invisible seam while leaving a circumference of live knit stitches, ready to be knit in the round! Why is this so cool? The ability to cast on for knitting in the round without having to go back and finish or close the seam by sewing it shut saves time and also eliminates any extra bulk in the finished fabric. The other way to achieve the same finish is with a provisional cast on which adds several additional steps. Judy’s saves time AND creates a fantastic finished fabric.
Judy’s magic cast on is a specialty cast on that for some knitters might never be used in a project. However, if you’re knitting a project in the round starting at the closed end and working downward, you’ll want to know how to work this cast on. Hats that start at the crown, socks that start at the toe, and mittens that start at the fingertips are all excellent examples of Judy-friendly projects!
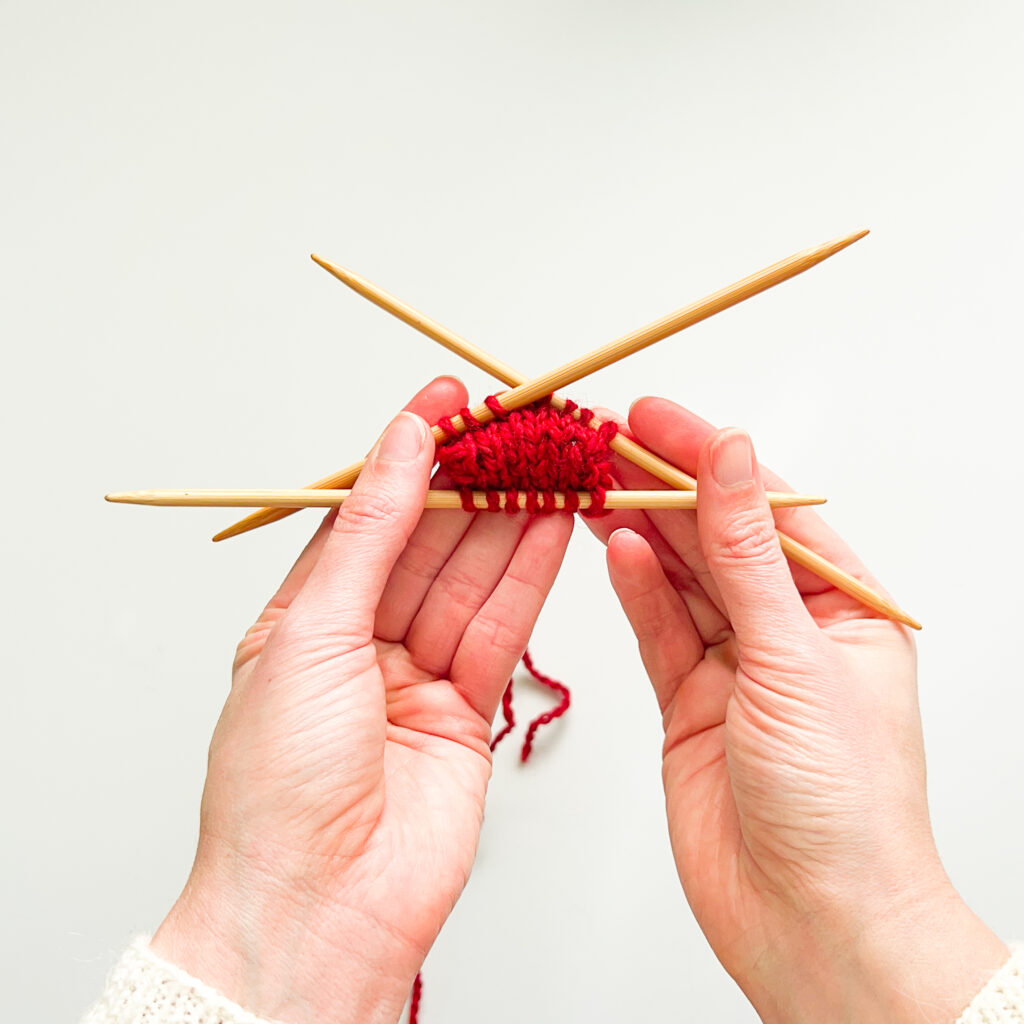
This tutorial will show you how to cast on and knit the first round of Judy’s magic cast on. We demonstrate the basics using a set of DPN knitting needles. You can also use a long circular knitting needle with the magic loop technique, however it’s more advanced to work this technique using a circular needle. We recommend using DPN’s for the first tries!
Note: this tutorial was written with instructions for right-handed knitters. The same steps can be converted to left-handed dominant steps by swapping right-for-left in the text.
We’ll show you the set up steps, casting on, and knitting the first round in this tutorial. It would be most helpful to read through the entire Judy’s magic cast on tutorial before knitting along so that you’re familiar with all of the steps!
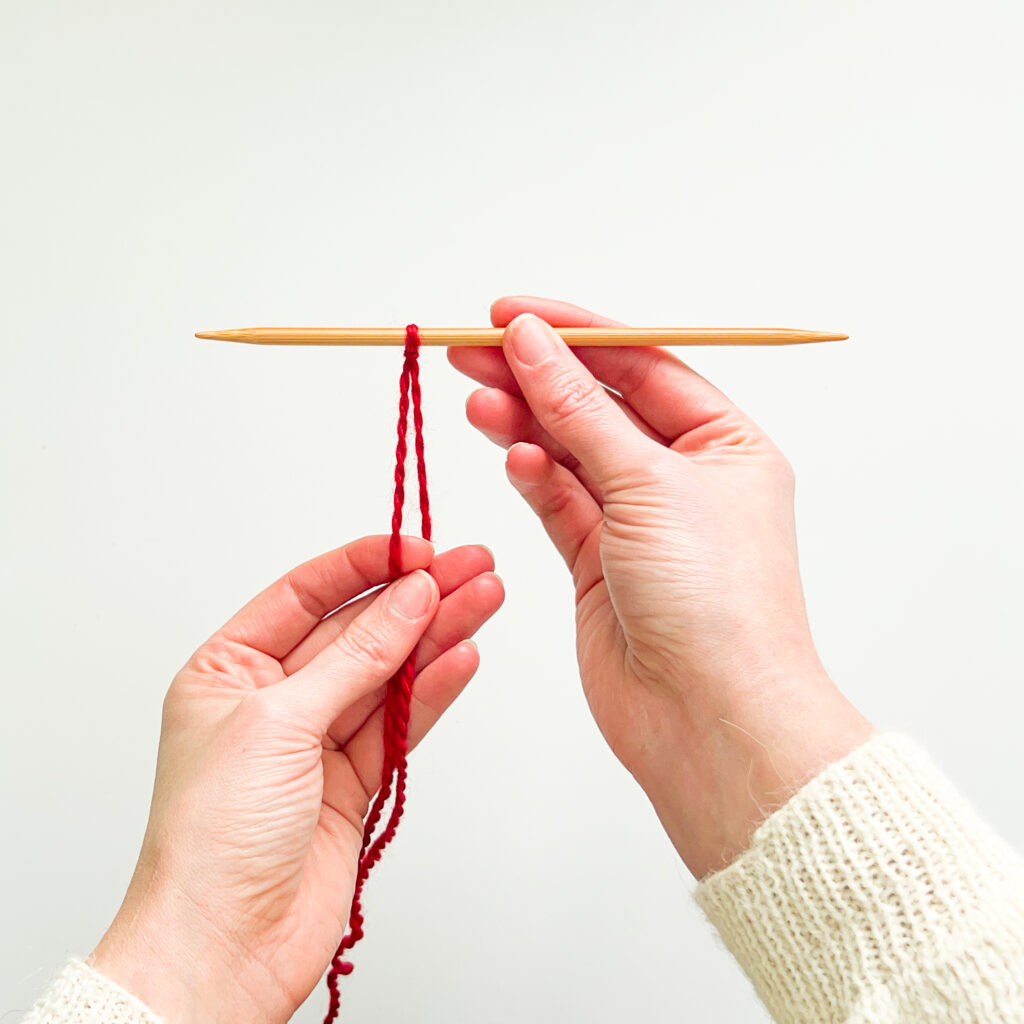
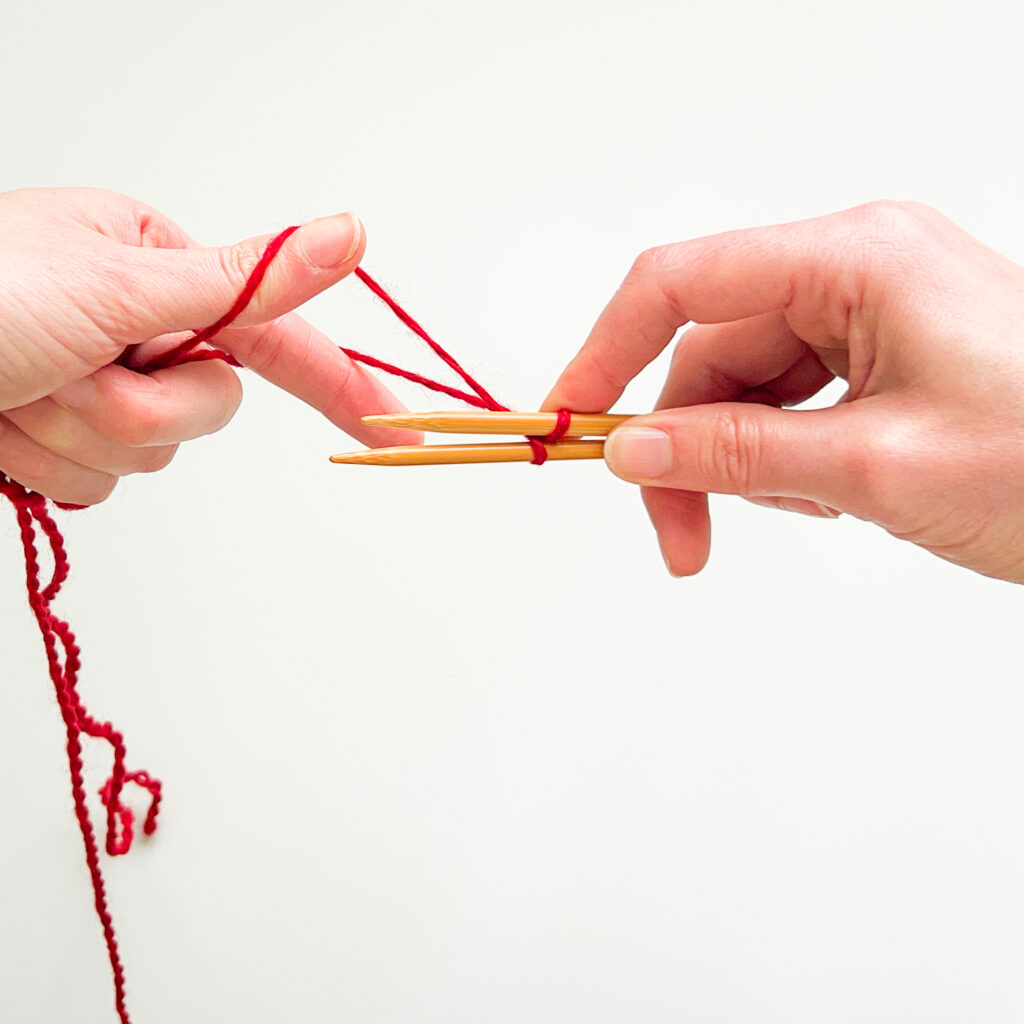
Set Up Step 1:
Start with a slip knot on one DPN knitting needle. Leave a long yarn tail (at least 3x longer than the finished width of your cast on).
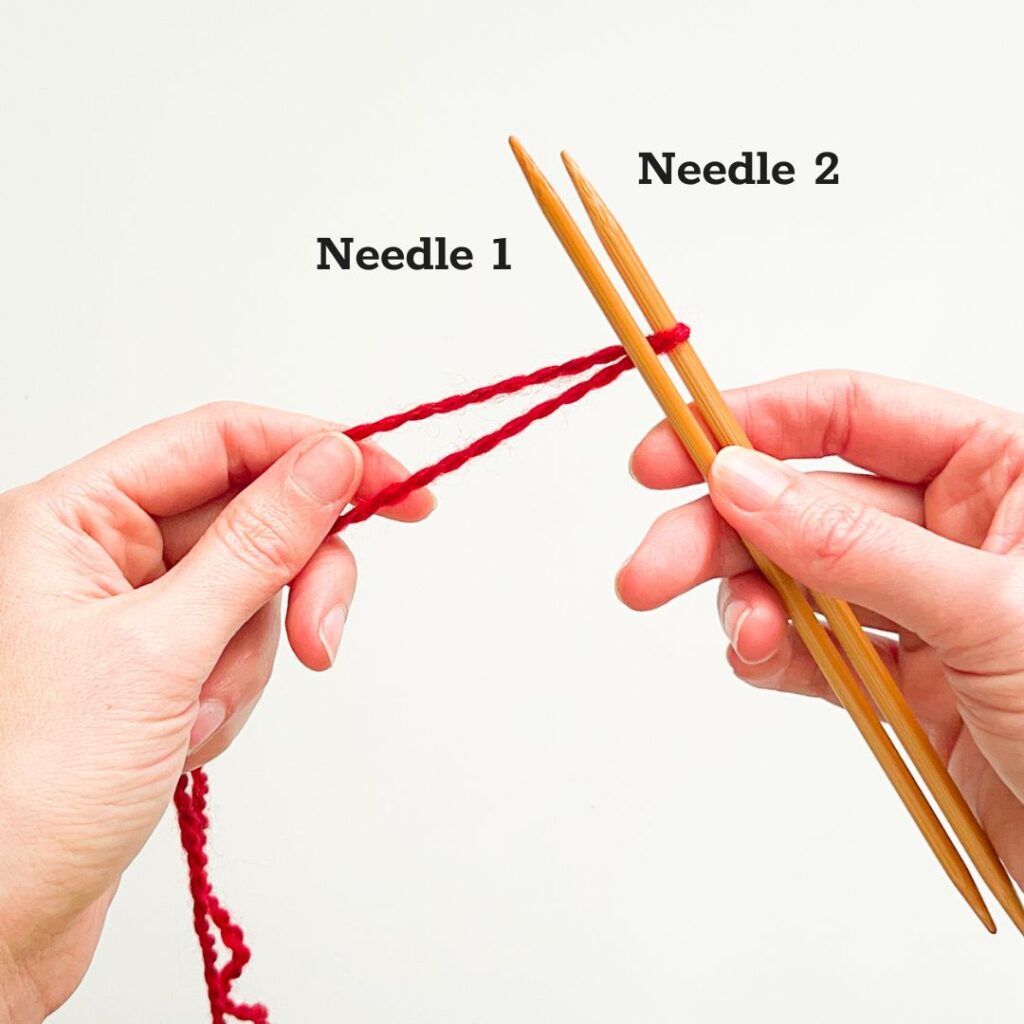
Set Up Step 2:
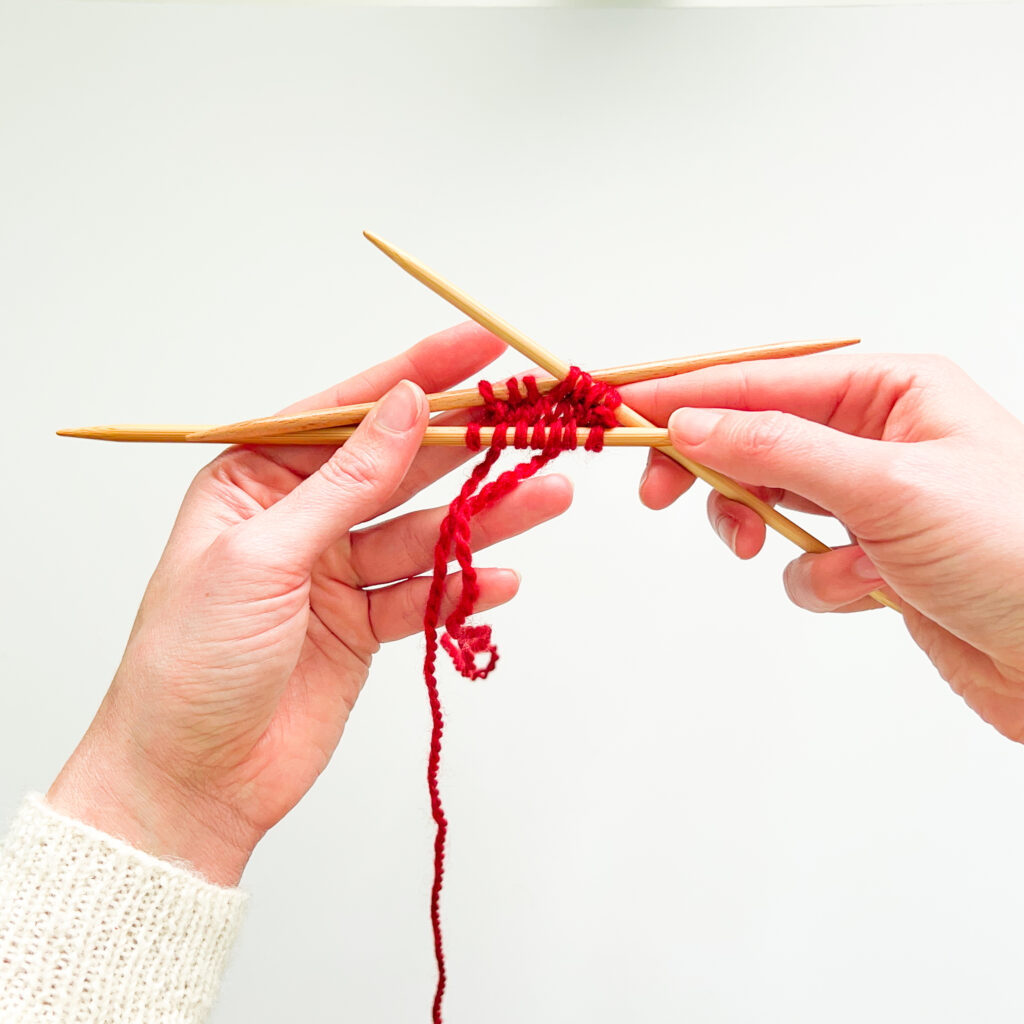
Hold the slip knot needle in your fingertips positioned closest to your palm (aka: “needle 2”). Add a second needle (aka: “needle 1”) keeping a small gap between them using the pad of your thumb.
Both yarn strands are coming out to the left.
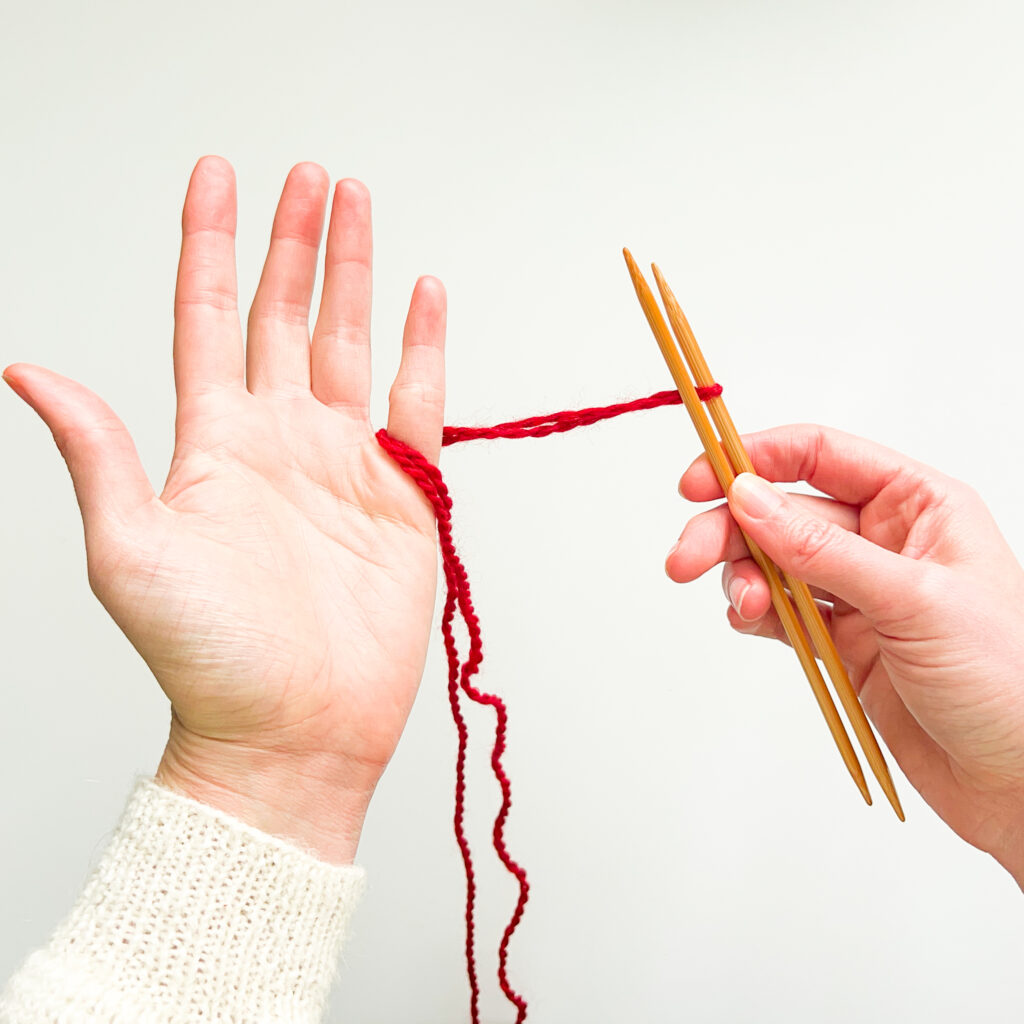
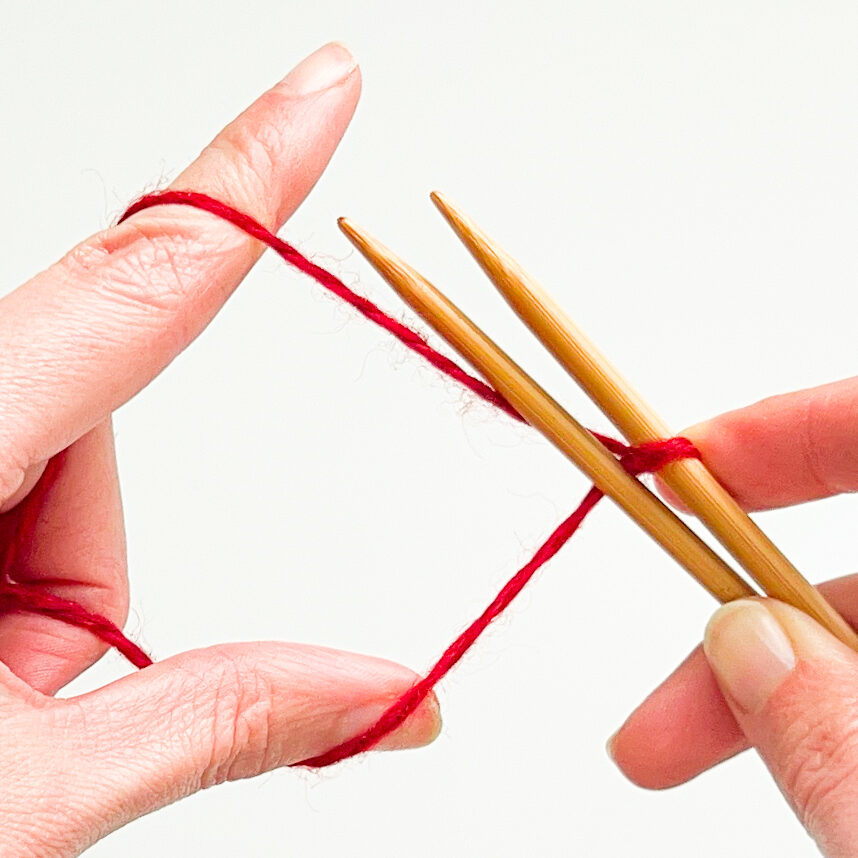
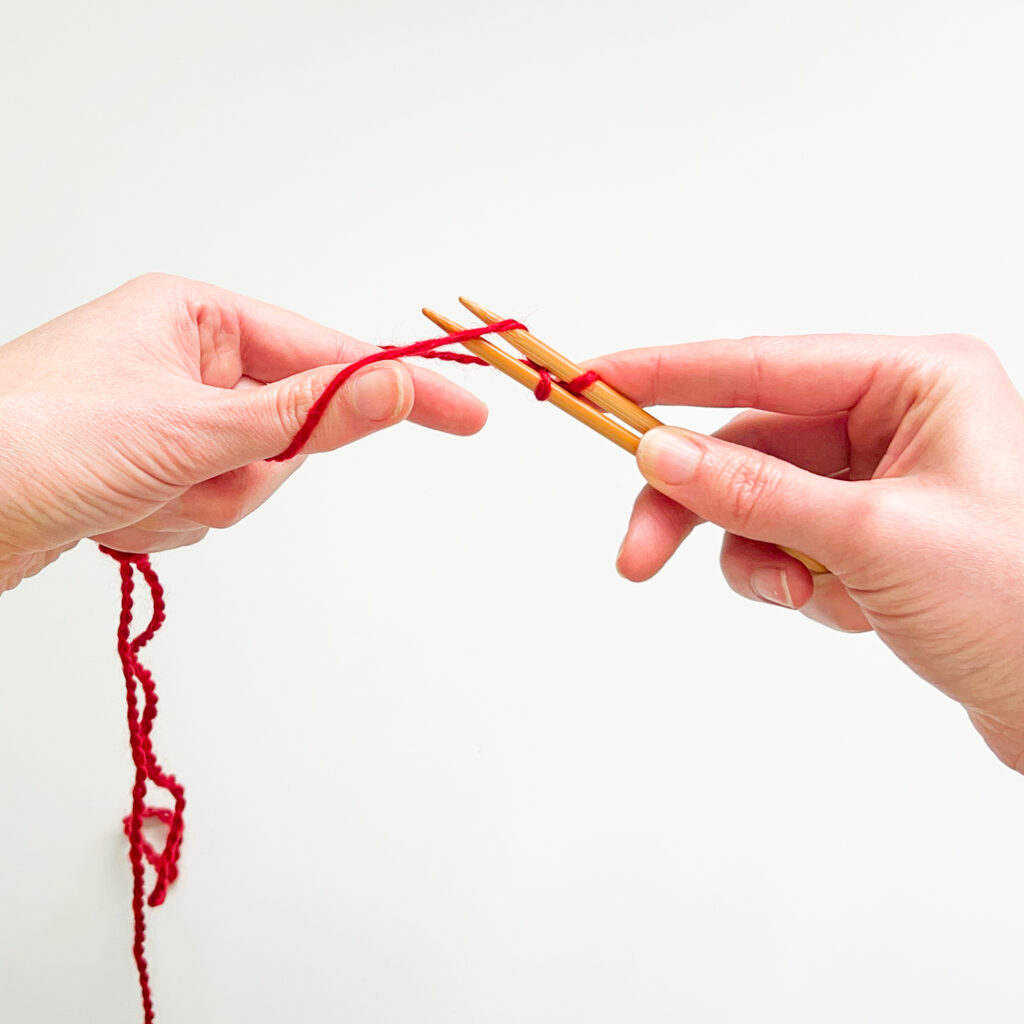
Set Up Step 3:
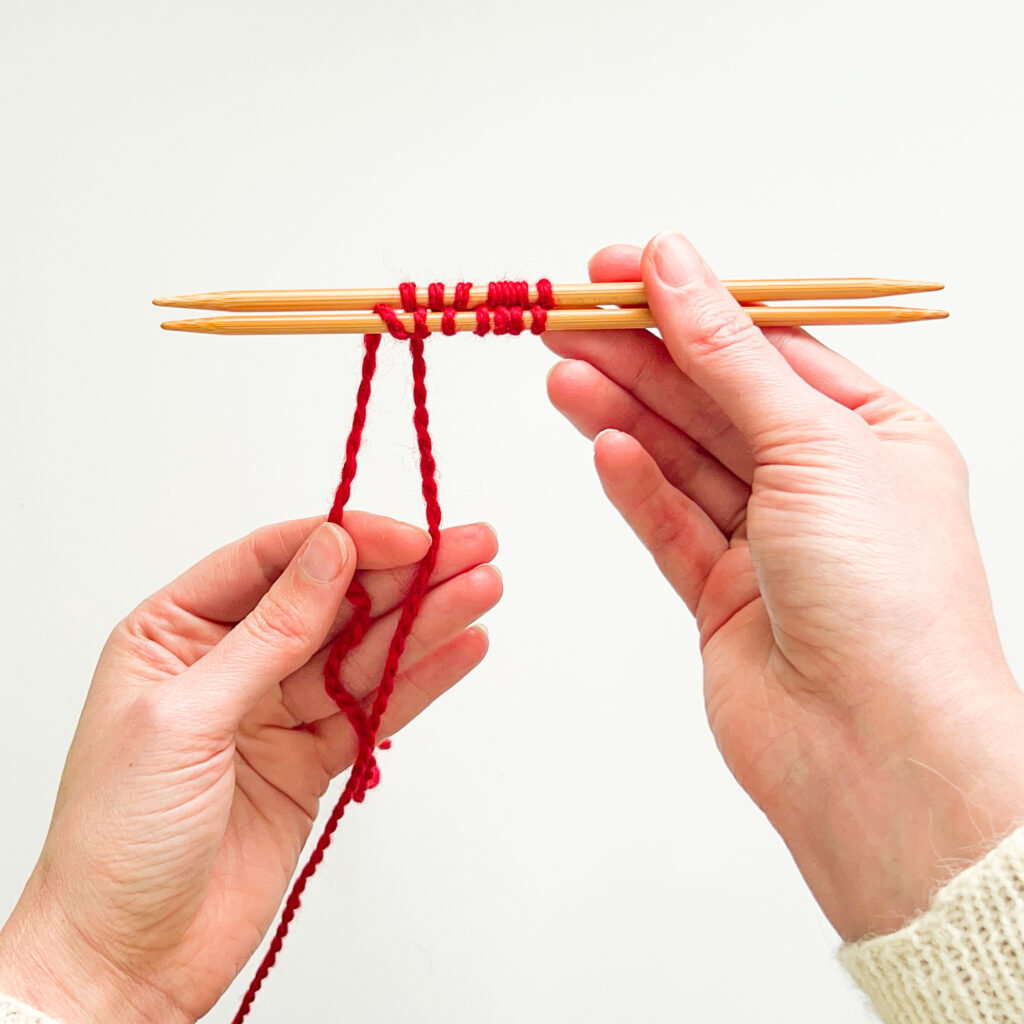
Wrap the yarn around the back of your pinky to tension the strands. Close your last three fingers. Insert the left index finger and thumb between the strands to separate them, creating a diamond-shaped opening.
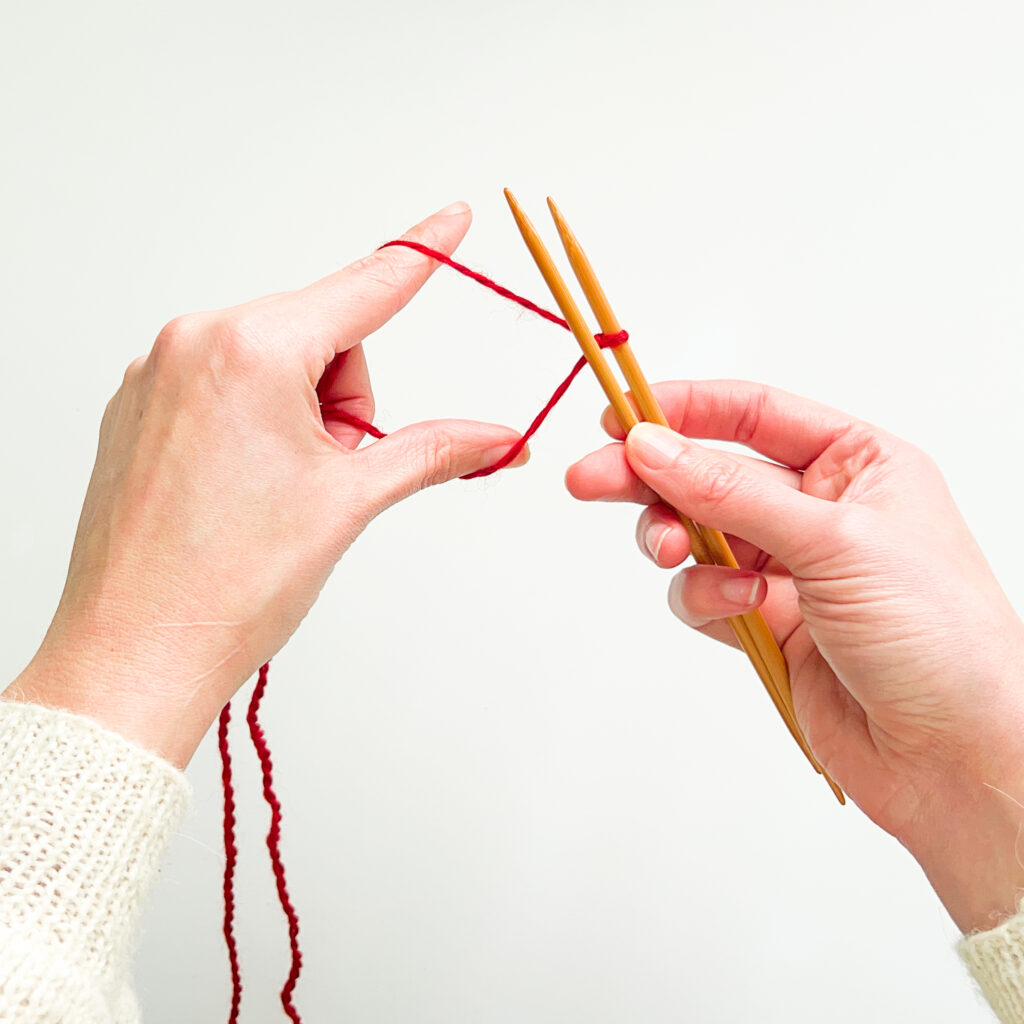
You’ll use the index finger yarn strand to wrap around needle 1, creating a new stitch! To wrap the yarn around the outer needle, you’ll move both needles together but only wrap the yarn around the needle 1 in these steps.
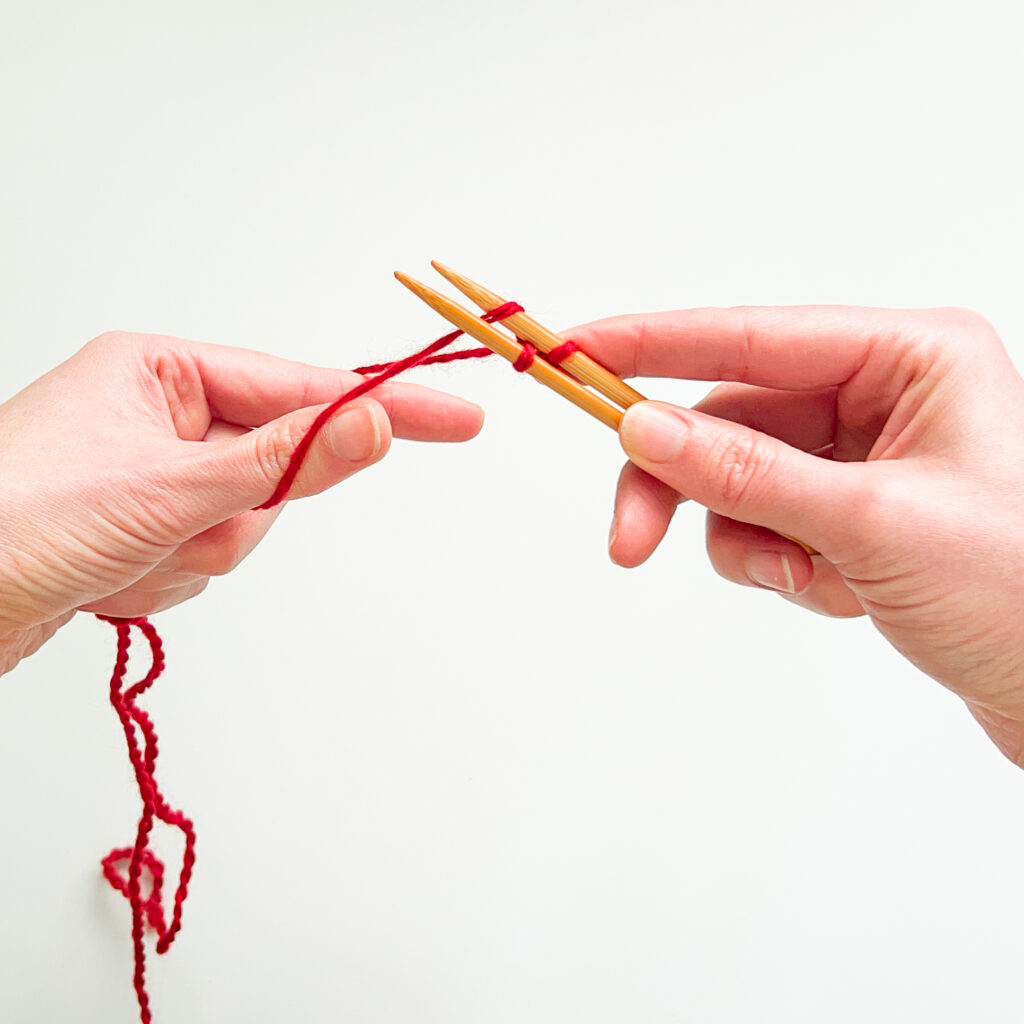
Holding the needles together, circle the tip of needle 1 counterclockwise up over, behind, and under the index finger yarn strand so that the yarn is wrapped around the needle and is back in the starting diamond position.
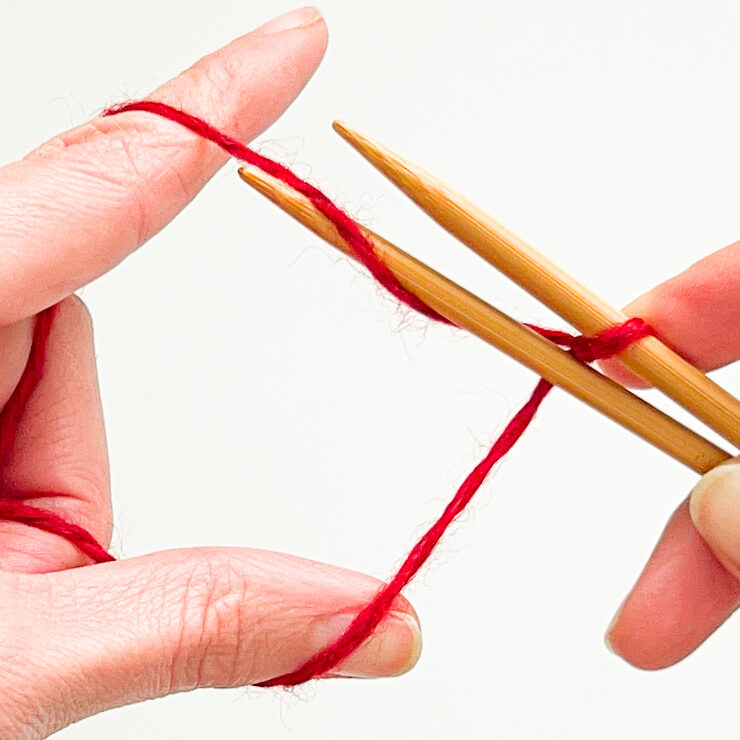
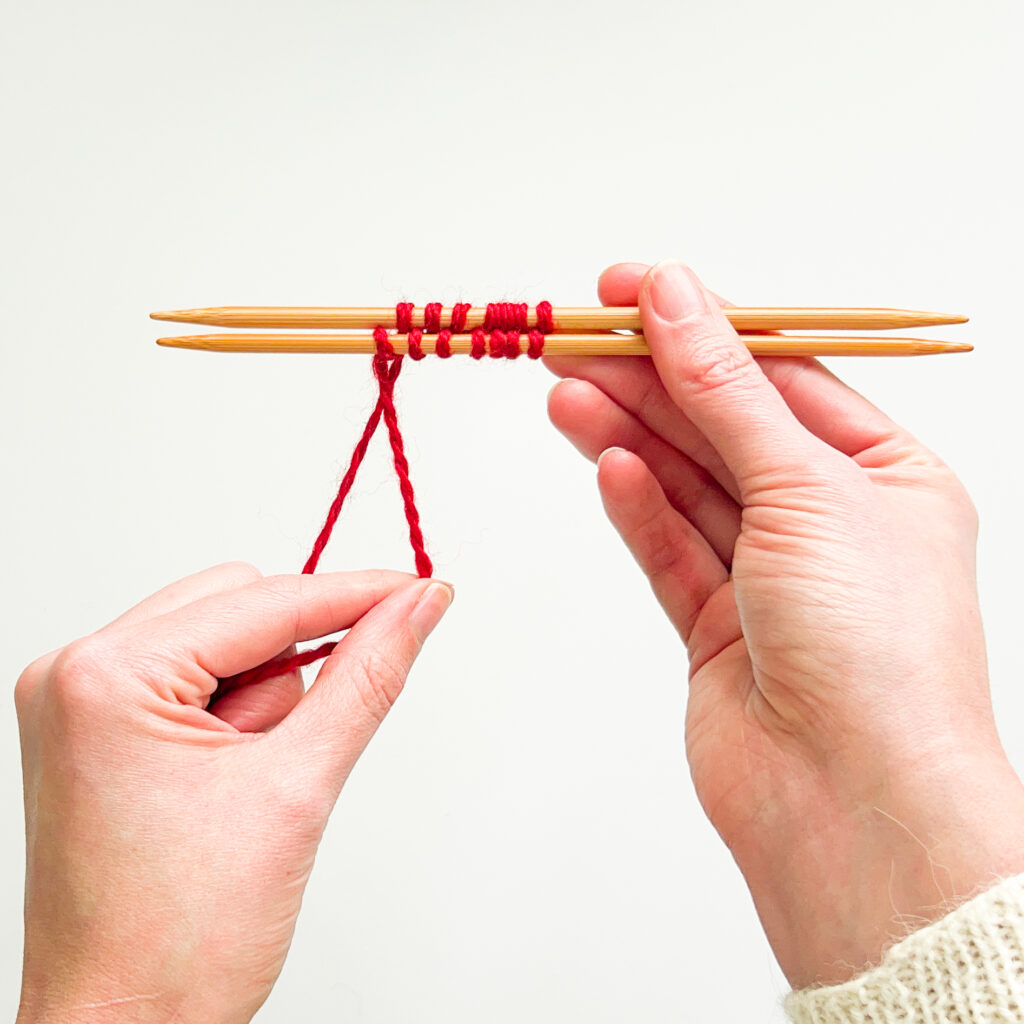
You’ll use the thumb yarn strand to wrap around needle 2, creating a new stitch! To wrap the yarn, you’ll move both needles together but only wrap the yarn around needle 2 in these steps.

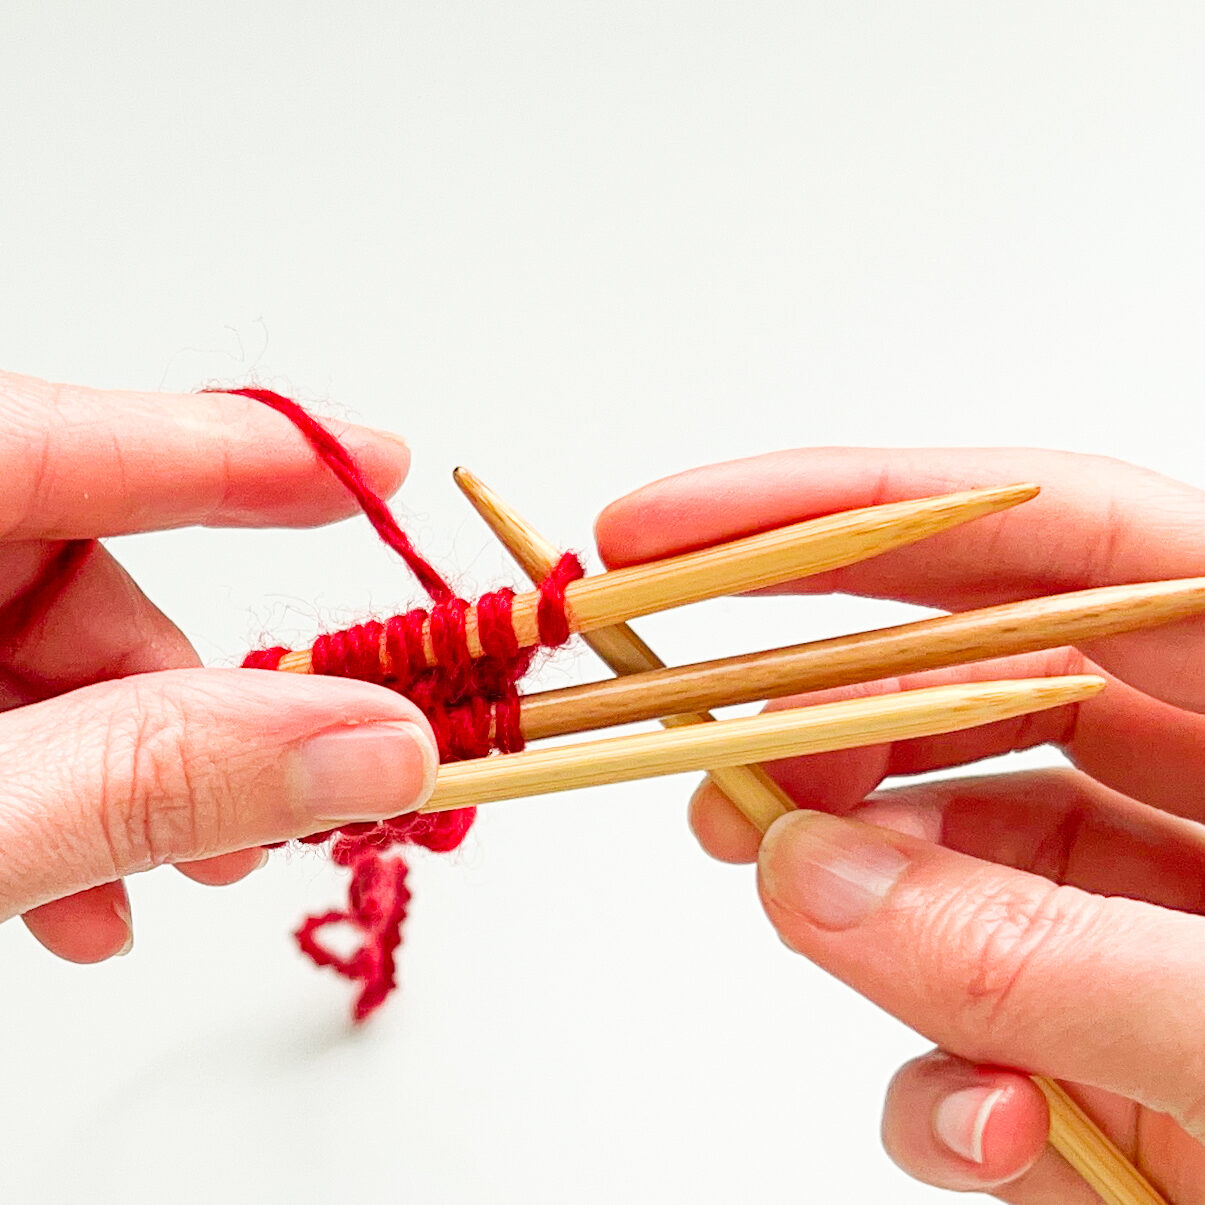
In these photos, one stitch has been made on needle 1 (left photo). Get ready to wrap needle 2 by twisting your left hand so the palm faces you, bringing your thumb upward.
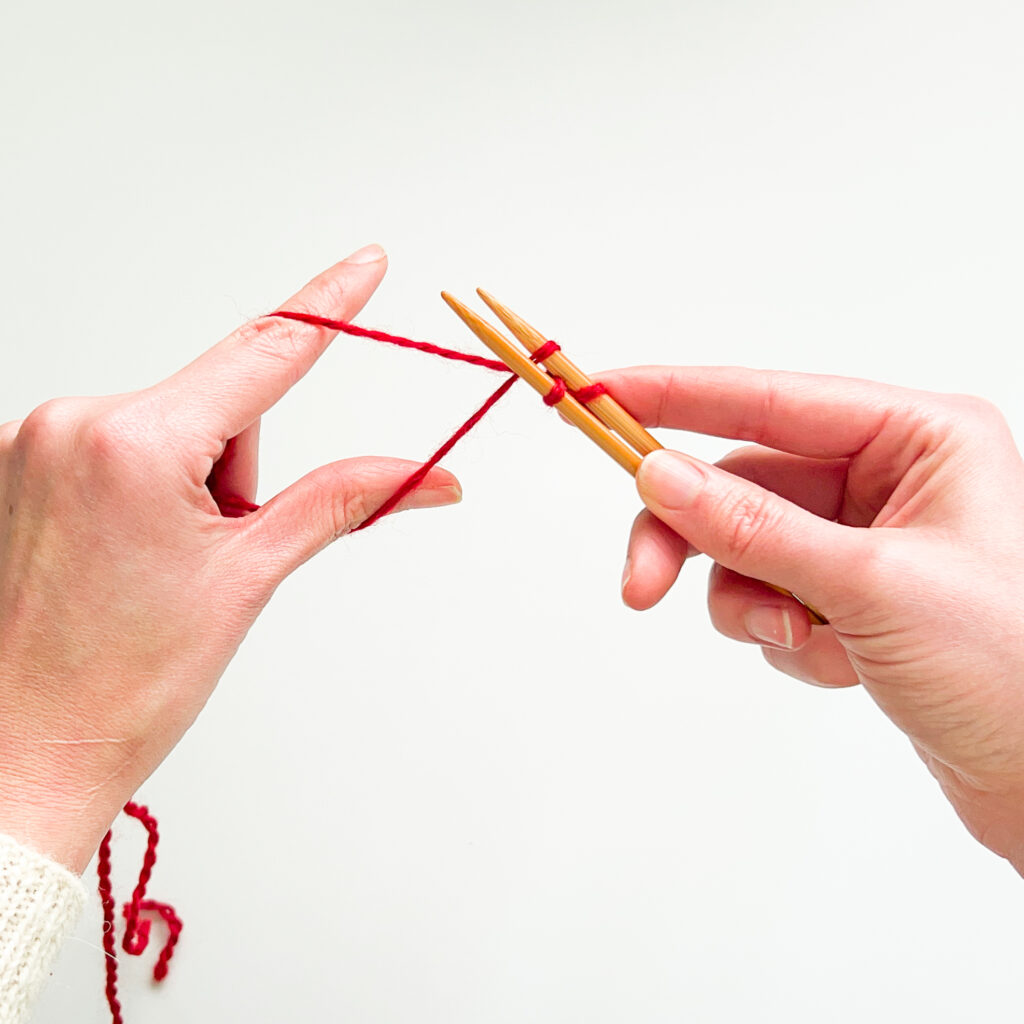
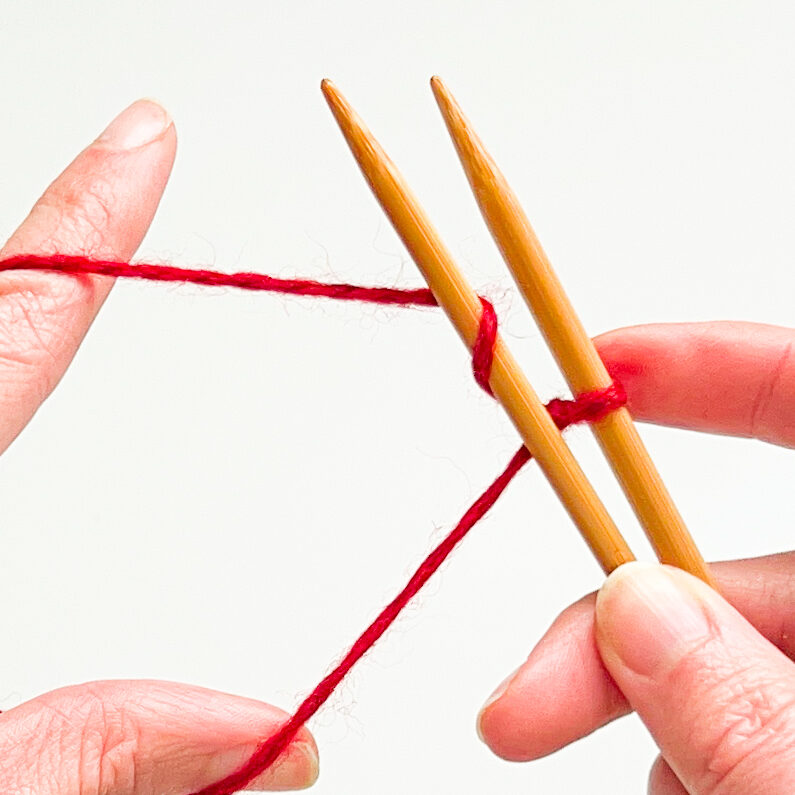
Angle both needles downward. Circle the tip of needle 2 clockwise under, up behind the strand. Slip the yarn between the knitting needles. The yarn is now wrapped around the needle clockwise and is back in the starting diamond position.
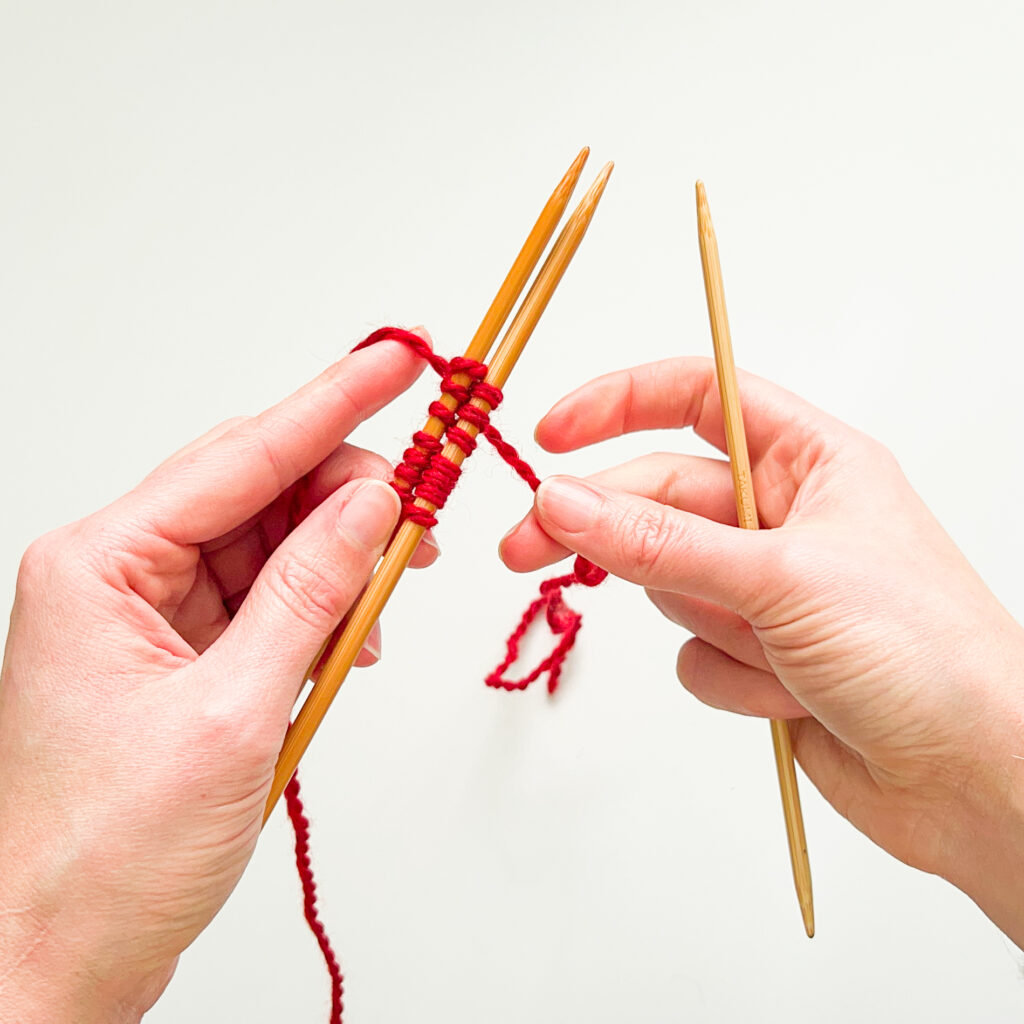
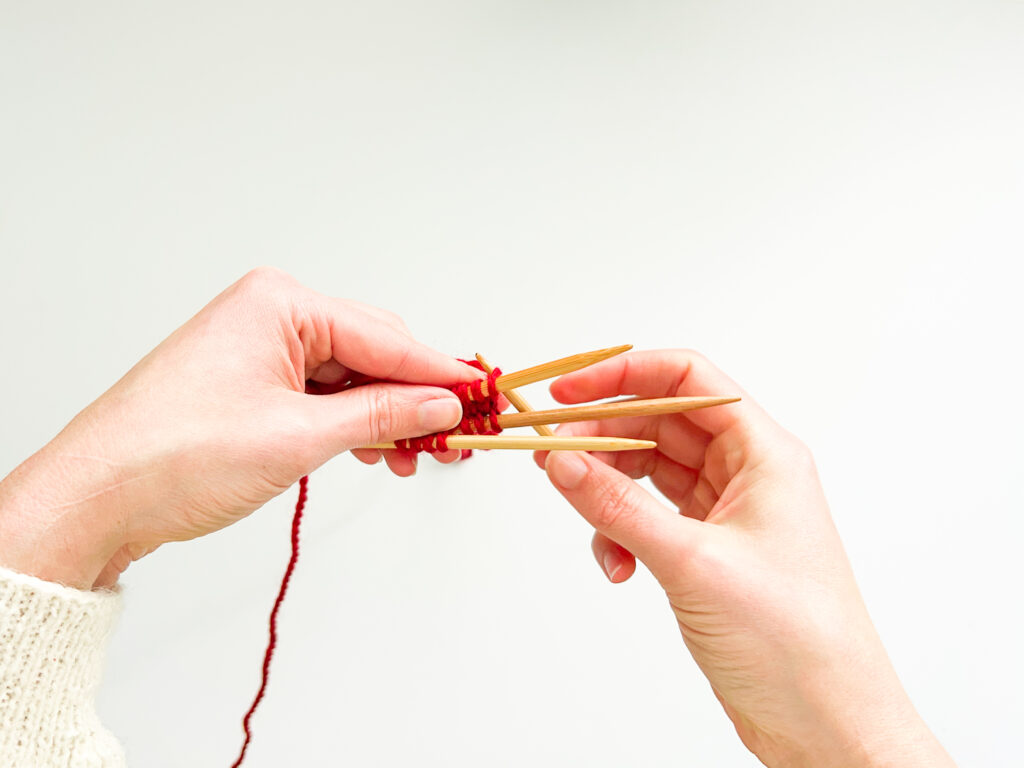
Alternate wrapping the index strand around the needle 1, and the thumb strand around the needle 2 until you’ve cast on the number of stitches you need for your project.
Remember: the slip knot counts as the first stitch! There should be the same number of stitches on both needles.
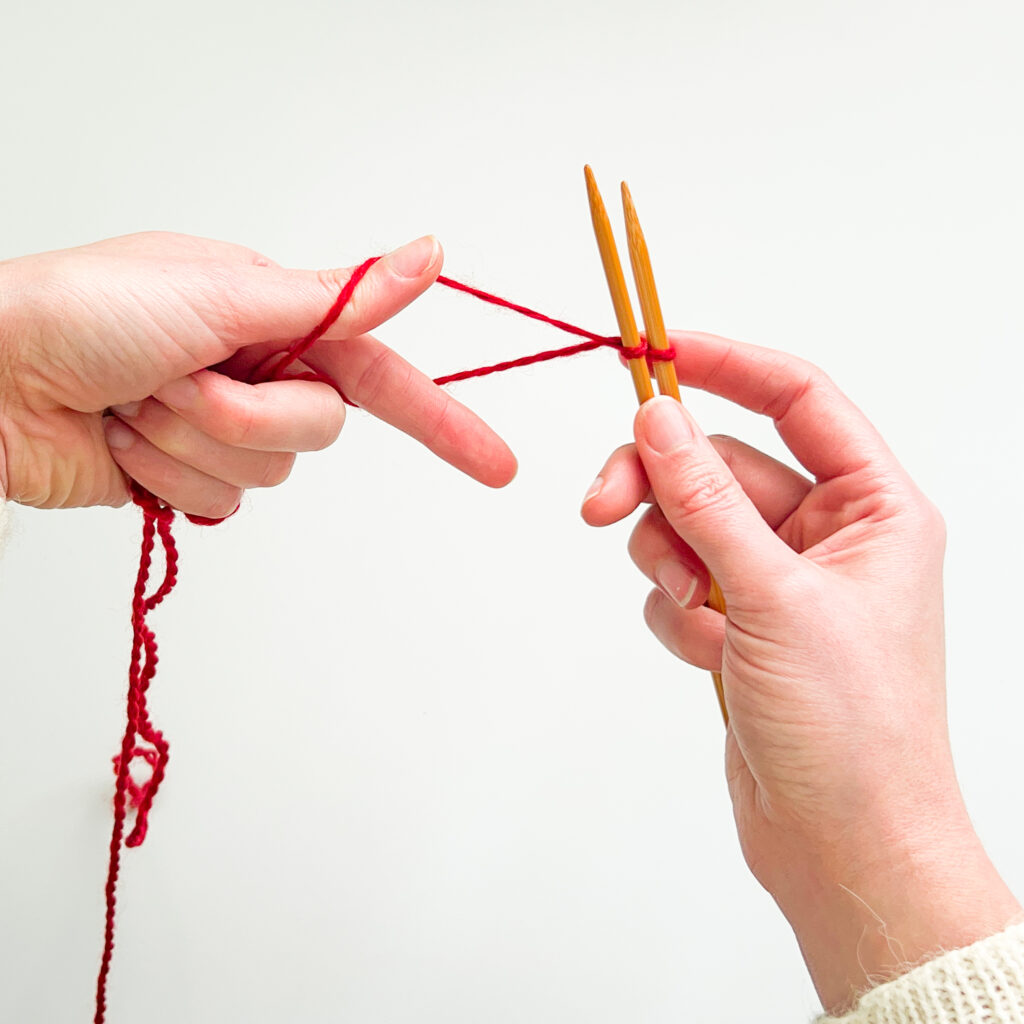
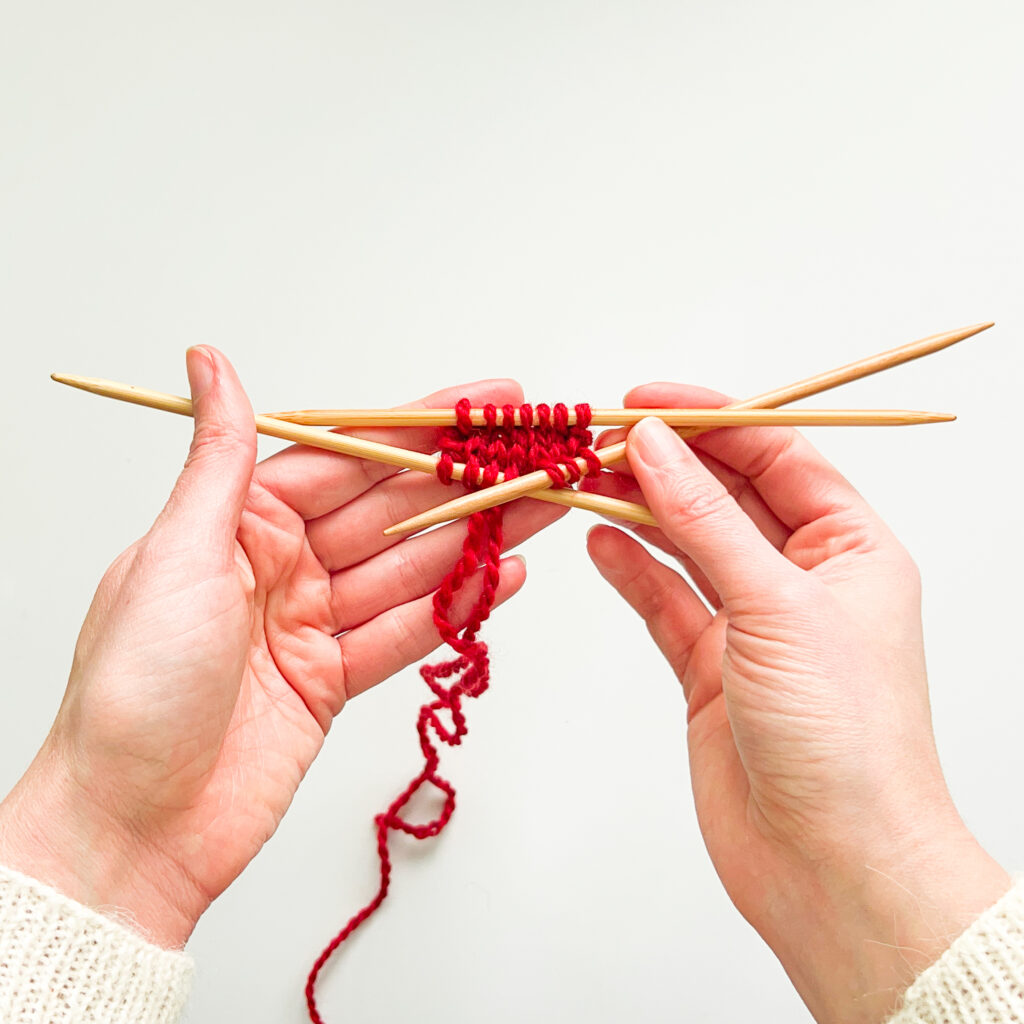
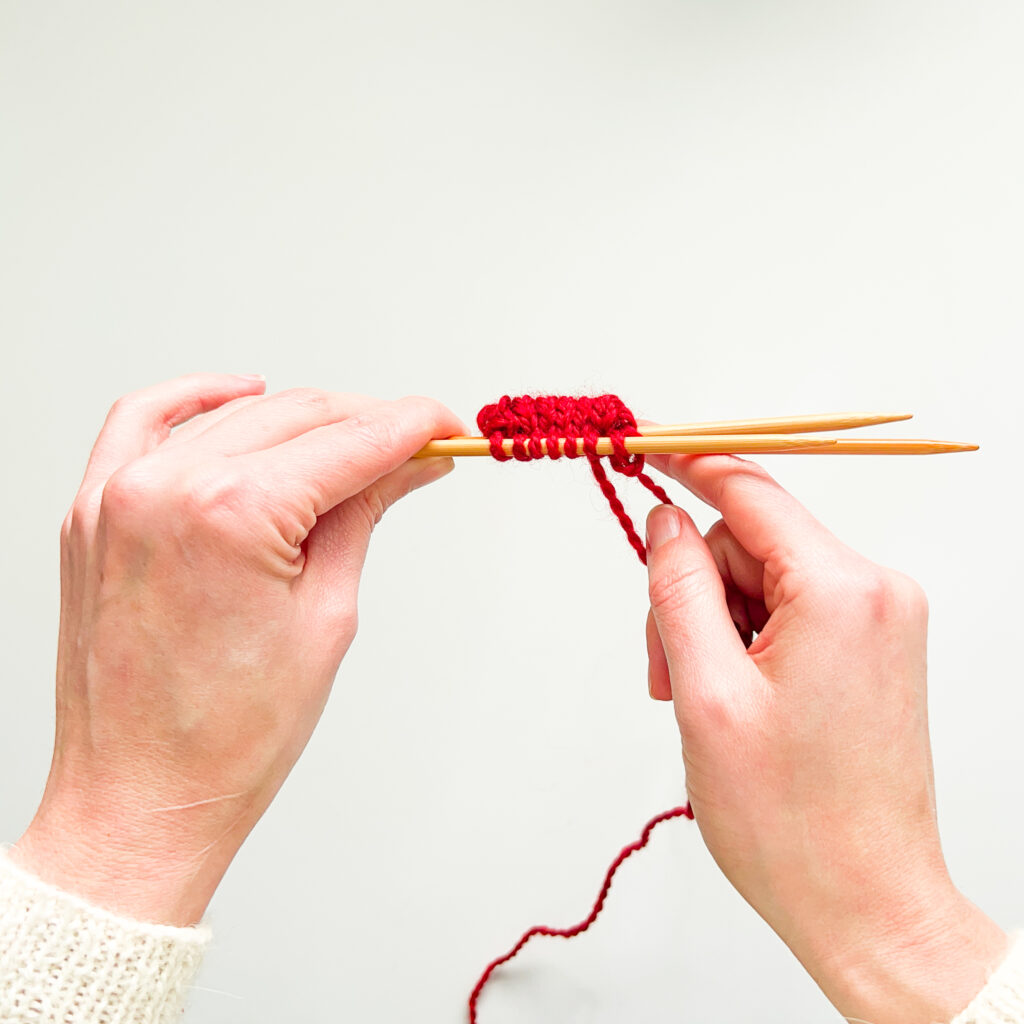
Twist the yarn tail and working yarn strand over each other once to lock the last cast on stitch in place.
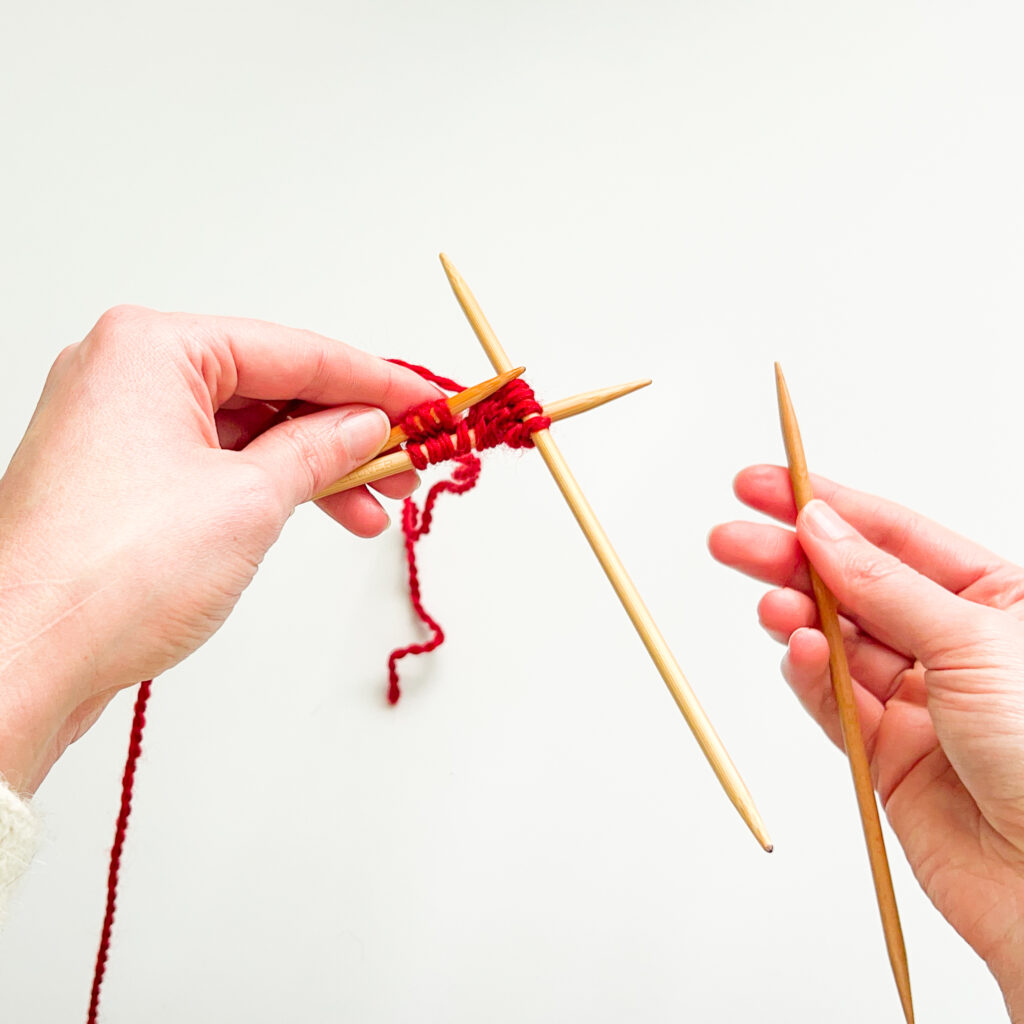
Knitting the first round after casting on using Judy’s magic cast on can be both tight and fiddly! Our advice: take your time and don’t be afraid to practice a few times.
Overview: to knit the stitches off the first needle you’ll use a third, empty DPN to knit the first half of the stitches. You’ll then use a new empty DPN to knit the remaining stitches from the needle, finishing the first half of all the cast on stitches.
Step 1:
Hold both needles in your left hand. Needle 1 is now held closest to the palm of your left hand.
The working yarn should be positioned behind Needle 1. Pull the yarn tail to the side so that you’re not accidentally knitting with it.

Step 2:
Using a third empty needle, knit the first half of the stitches on Needle 1.
Note: this will be tight! Take your time and go slowly, being careful not to drop any stitches off the needles accidentally.
Step 3:
Once you’ve knit half of the stitches from Needle 1, introduce a fresh DPN needle to knit knit the remaining stitches from Needle 1.
You’ve now knit half of all the cast on stitches. The stitches from Needle 1 are now split between two DPN’s and the remaining unknit cast on stitches are on a single needle.
You have the option to split the stitches from Needle 2 onto two needles as we just did with Needle 1. However, using three DPN needles is usually enough to give you room to work in the round. In this case we’ll knit across Needle 2 without dividing the stitches between additional DPN needles.
Follow your pattern for how to divide stitches if you’re using one.
Overview: to knit the second half of your cast on stitches you’ll be knitting them through the back loop to get them to lie in the same direction as the rest of your stitches.
Instead of knitting the stitches on the second needle normally, you’ll want to knit them through the back loop. When cast on, these stitches are twisted which means that if you knit them through the front loop normally they’ll be twisted in the finished fabric and won’t lie flat.
To knit through the back loop, insert your right needle through the stitch from right to left, upward under the back leg of the stitch. Wrap the yarn up over the right needle tip counterclockwise and pull through, slipping the old stitch off the left needle.
Knit across the third needle, making sure to knit all the stitches through the back loop.
After the end of the first round your piece should look like this. If you followed along with our video above, you may have four needles at this point rather than three as shown here. Both are correct! Use as many needles as feels comfortable or as your pattern specifies.
After that first round, you’ll knit all stitches normally, no need to knit any of them through the back loop again. You’ll start to see the fabric form in the center between the two needles creating a closed dome shape as shown below:
This is a great sign that everything is working!
Here is a handy list of helpful tutorials to keep your knitting skills sharp: