Knit I-Cord
How to simple knit and i-cord drawstring!
How to simple knit and i-cord drawstring!
Knit I-cord doesn’t get used in patterns often but when it does, it’s used for all sorts of cute-and-useful details! This super simple technique takes just a minute to master and is one of the easiest things to create. Today, we’ll show you how to knit I-cord using two DPN needles and any yarn you’d like!
Knit i-cord is most commonly used to create a knit drawstring. Need a drawstring for those cute baby pants you just finished? I-cord to the rescue! Instead of a pompom at the top of a hat, try using a cute i-cord stem instead. If you’re interested in knitting toys and stuffies, many patterns will use i-cord to easily create legs and other details too!
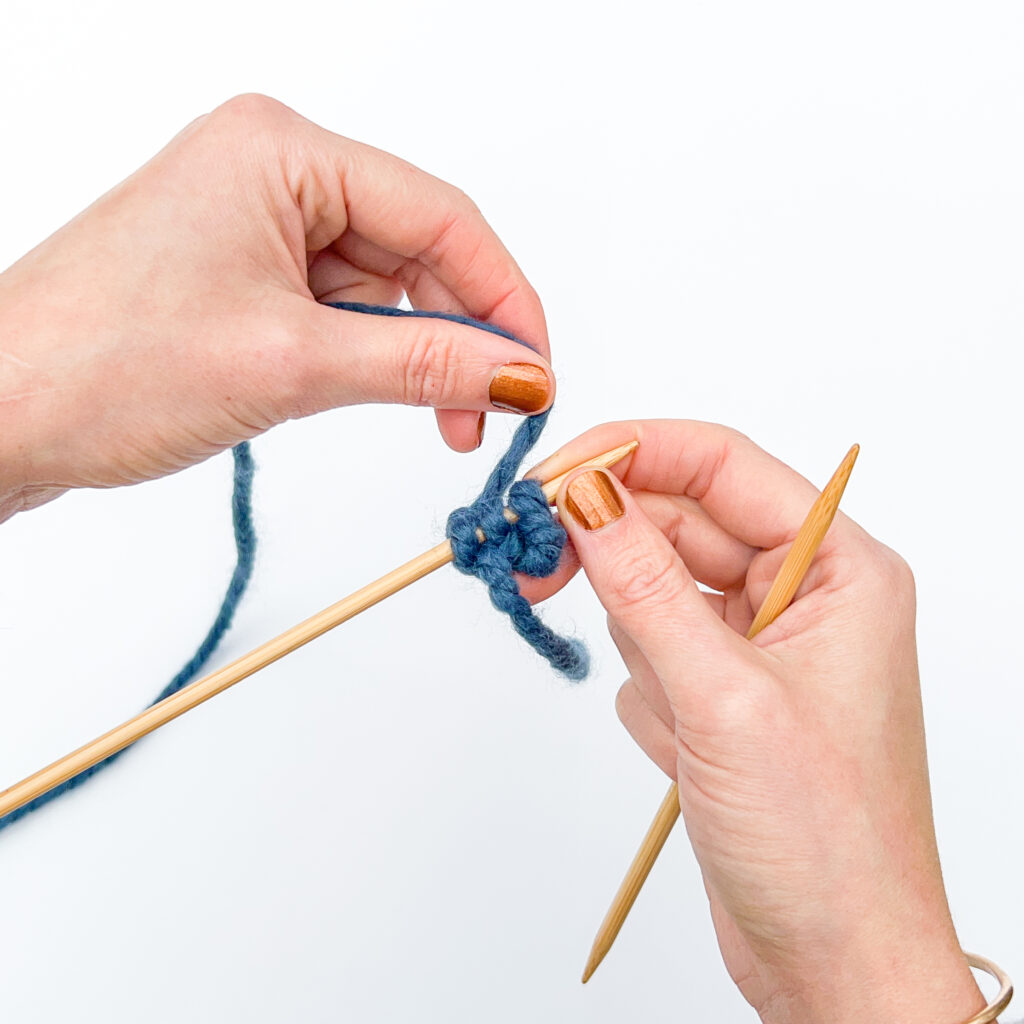
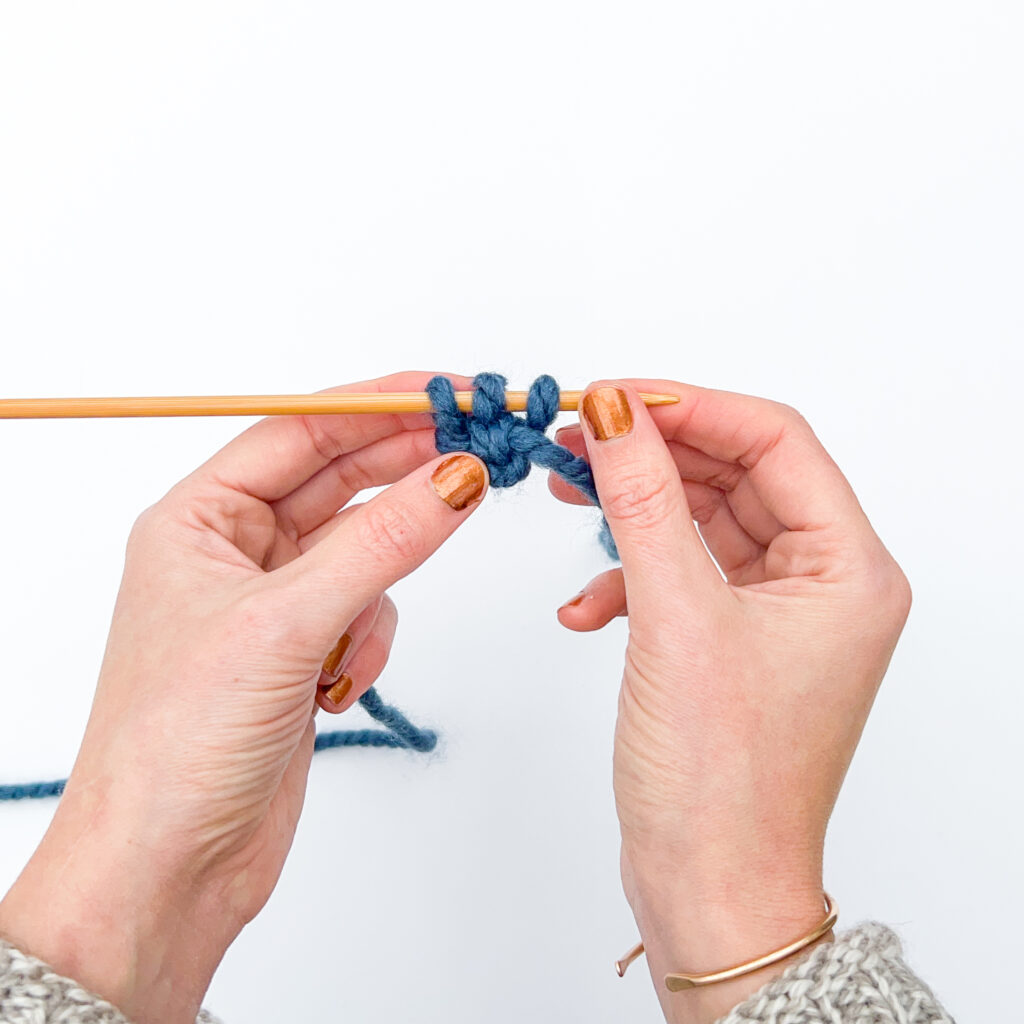
Step 1:
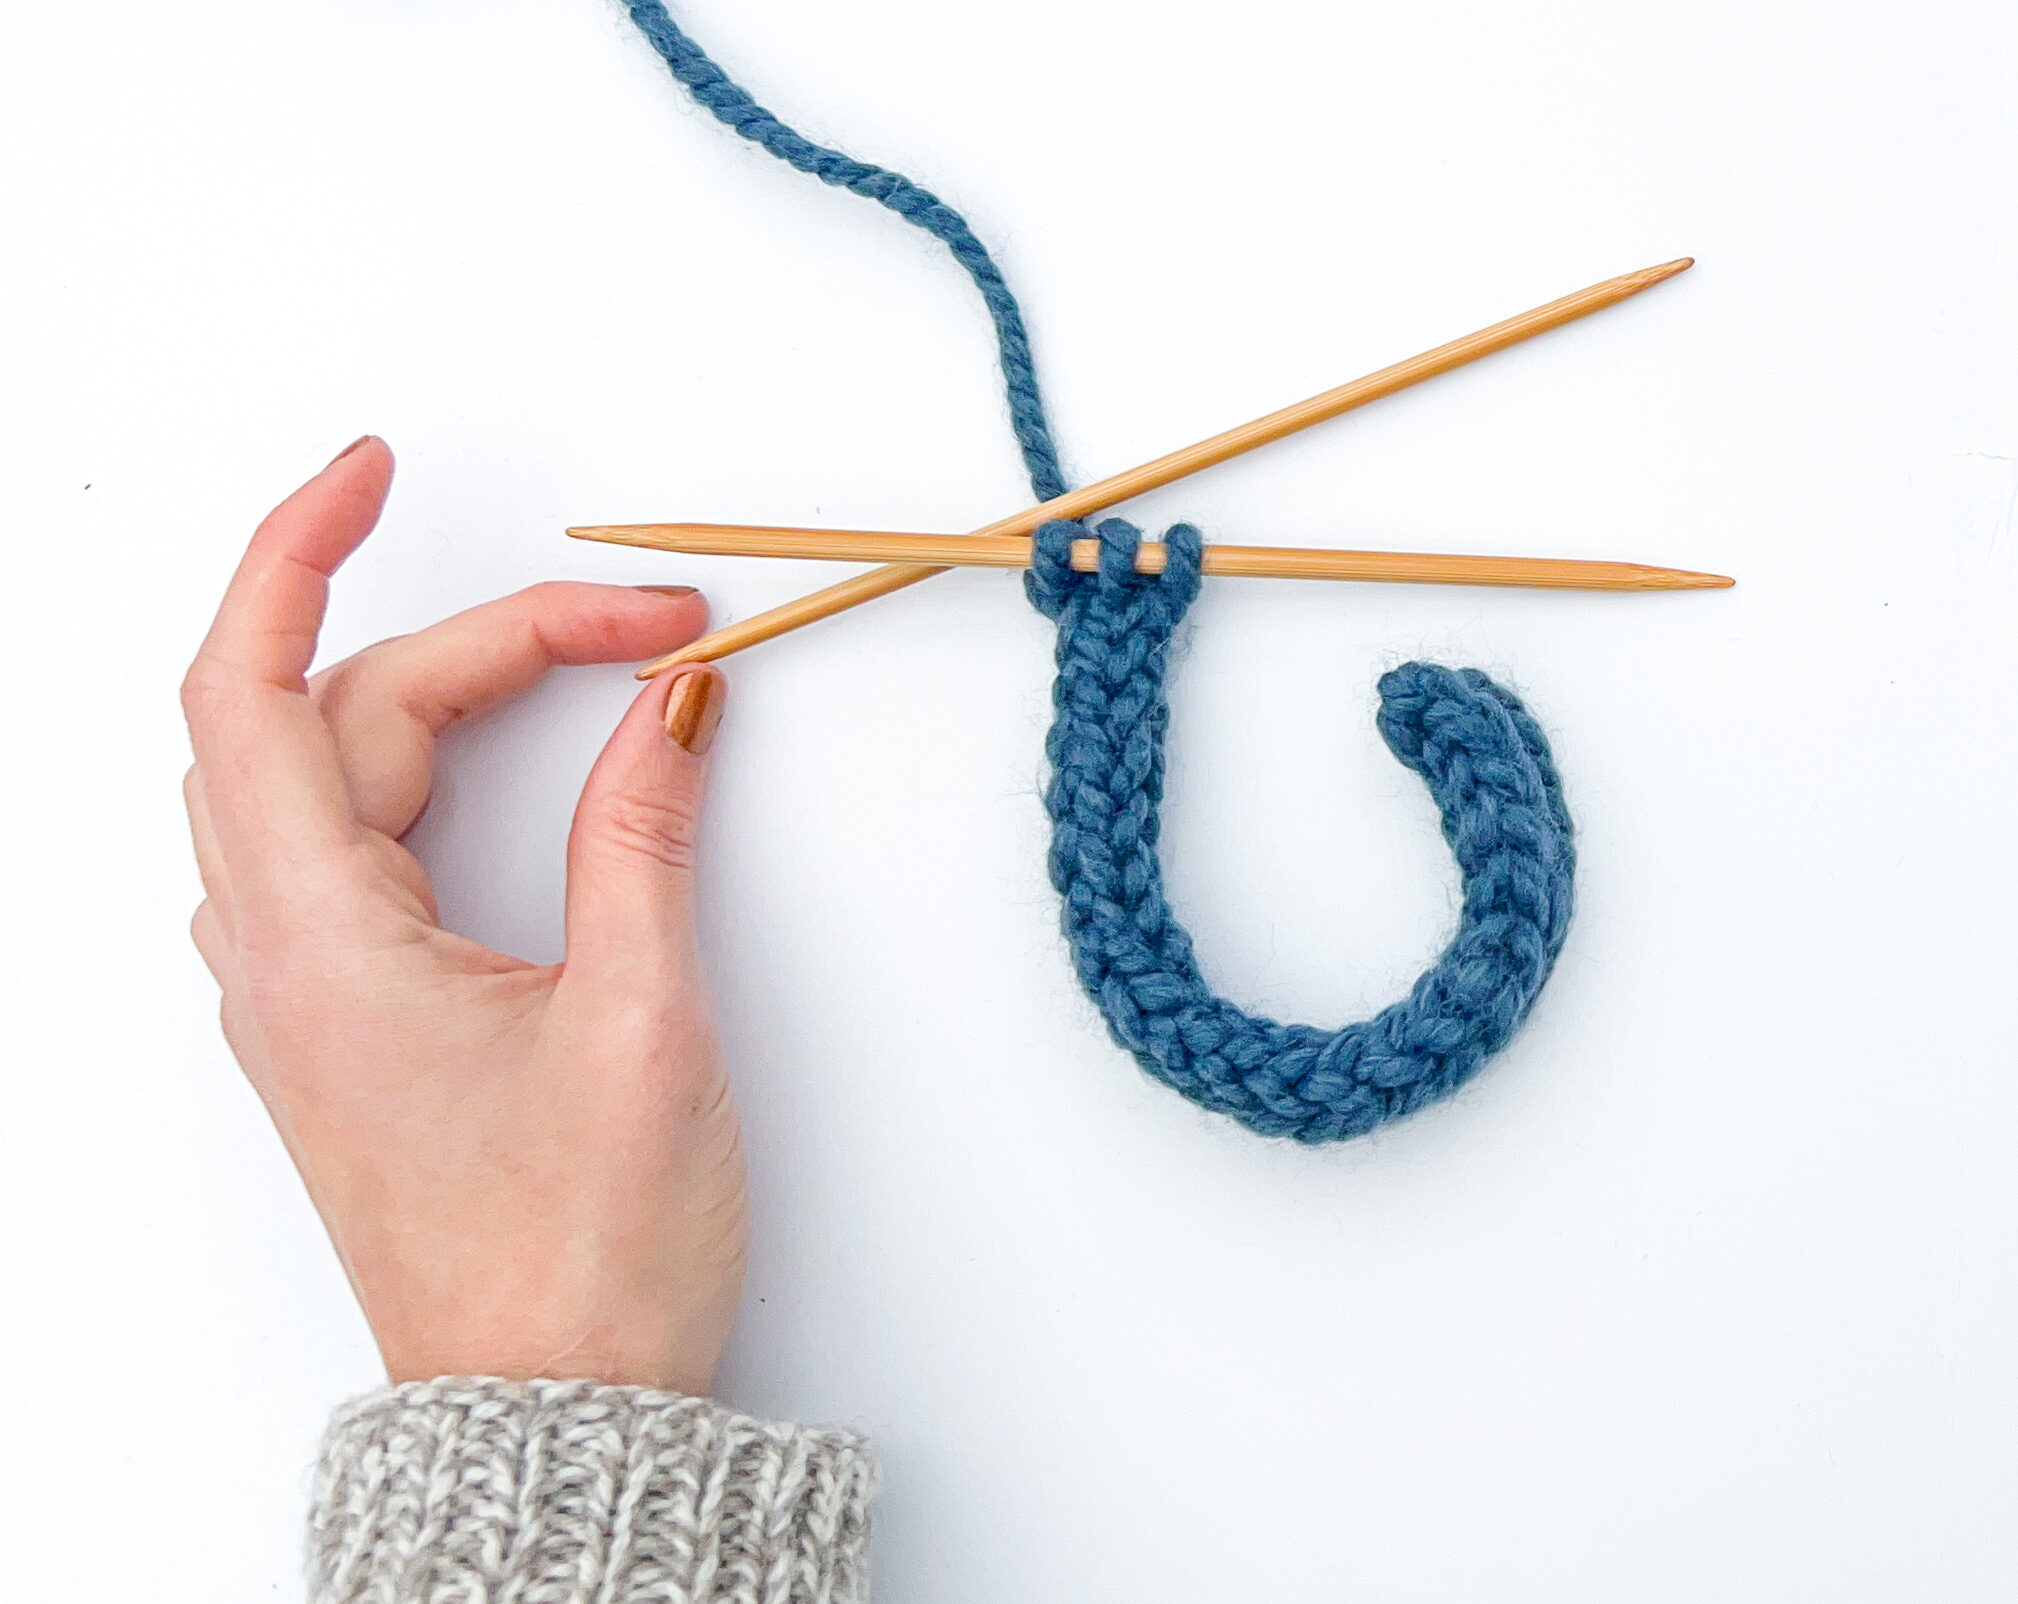
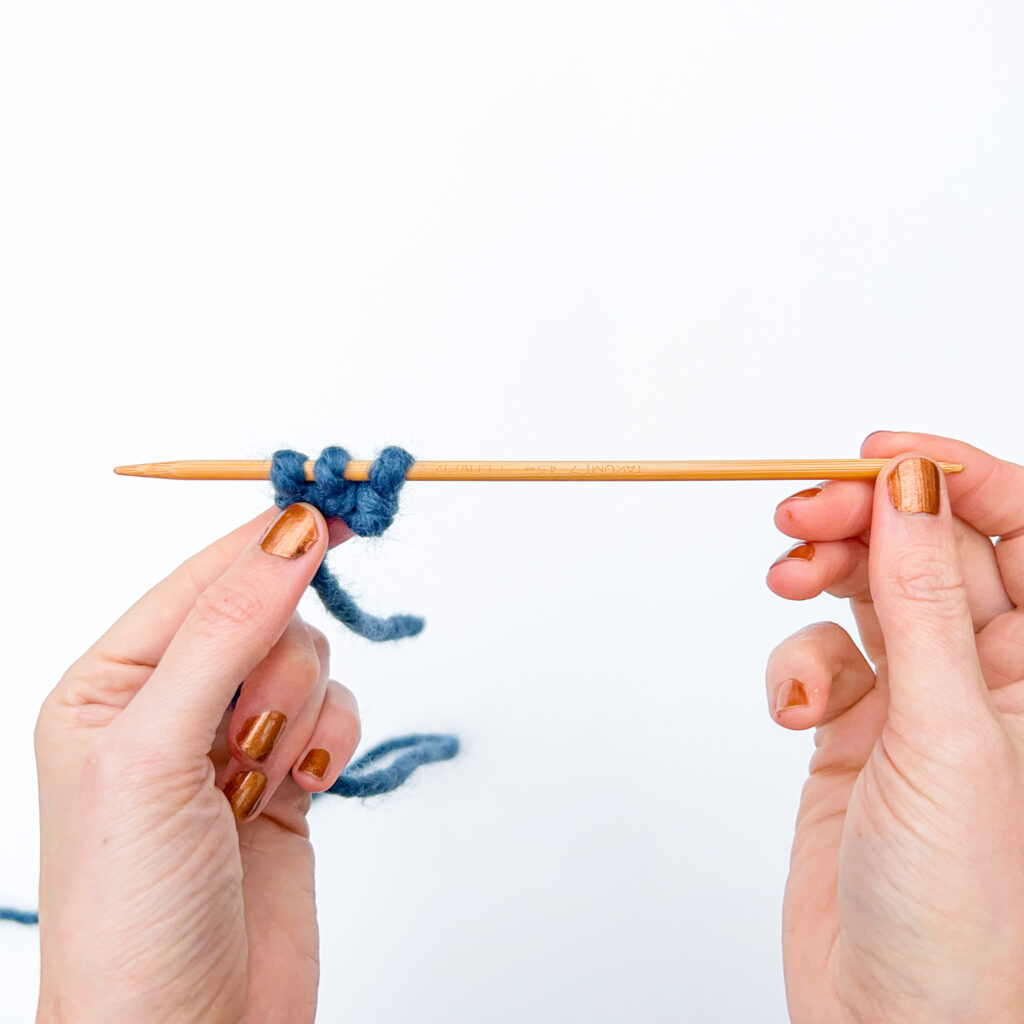
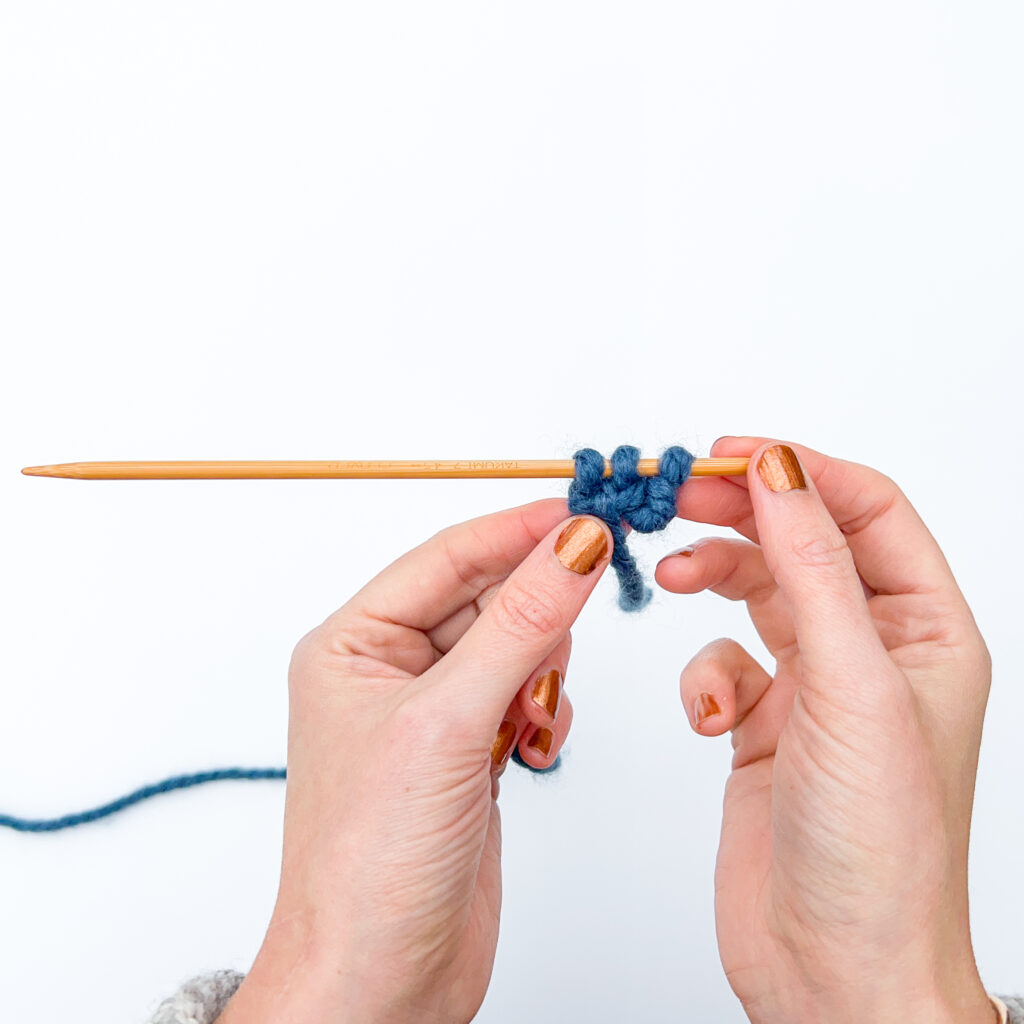
Cast on 3 stitches using the cast on method of your choice.
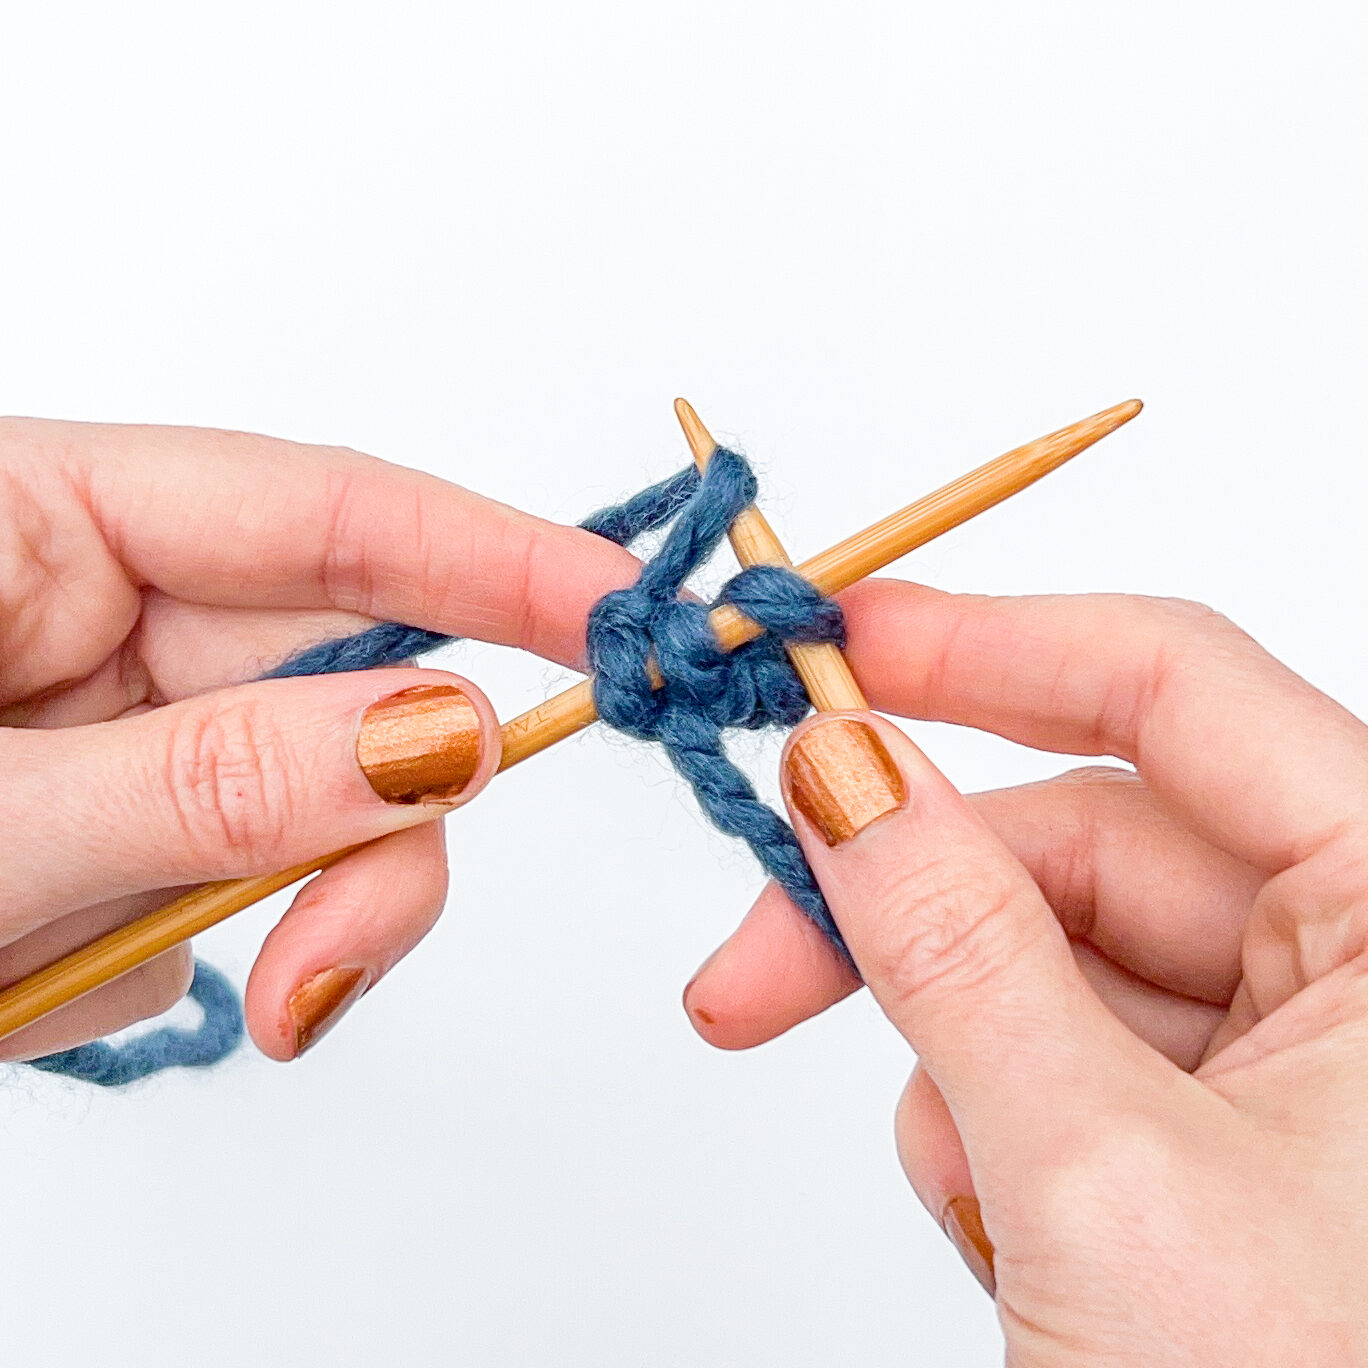
Step 2:
Do not turn your work. Instead, slide your stitches on the needle from left to right. The yarn strand will be on the left.
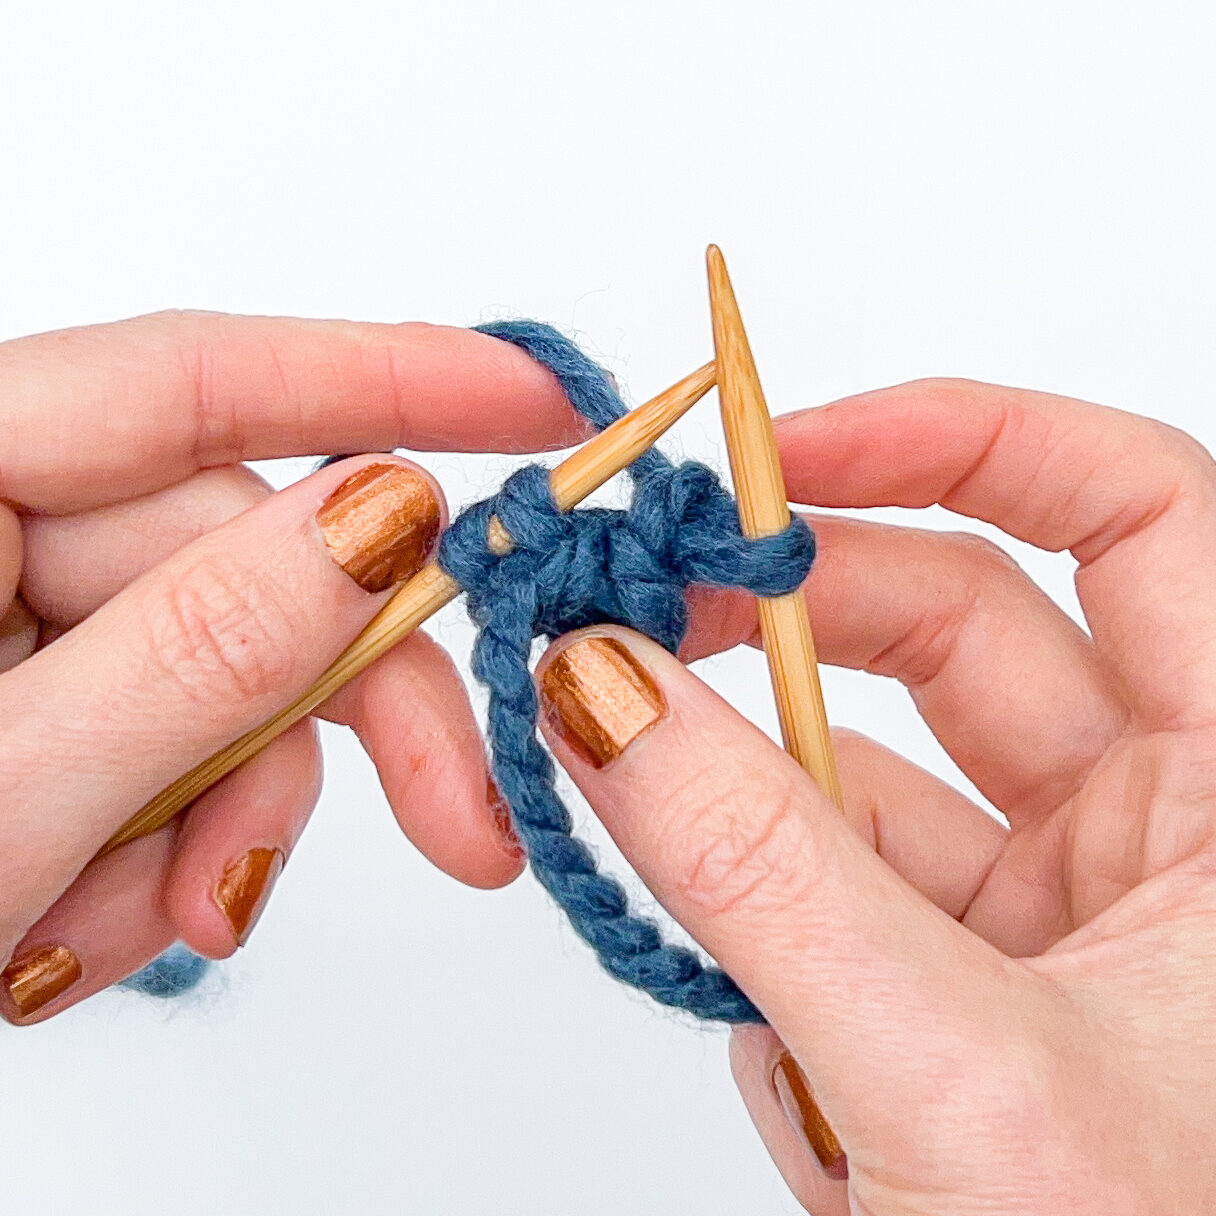
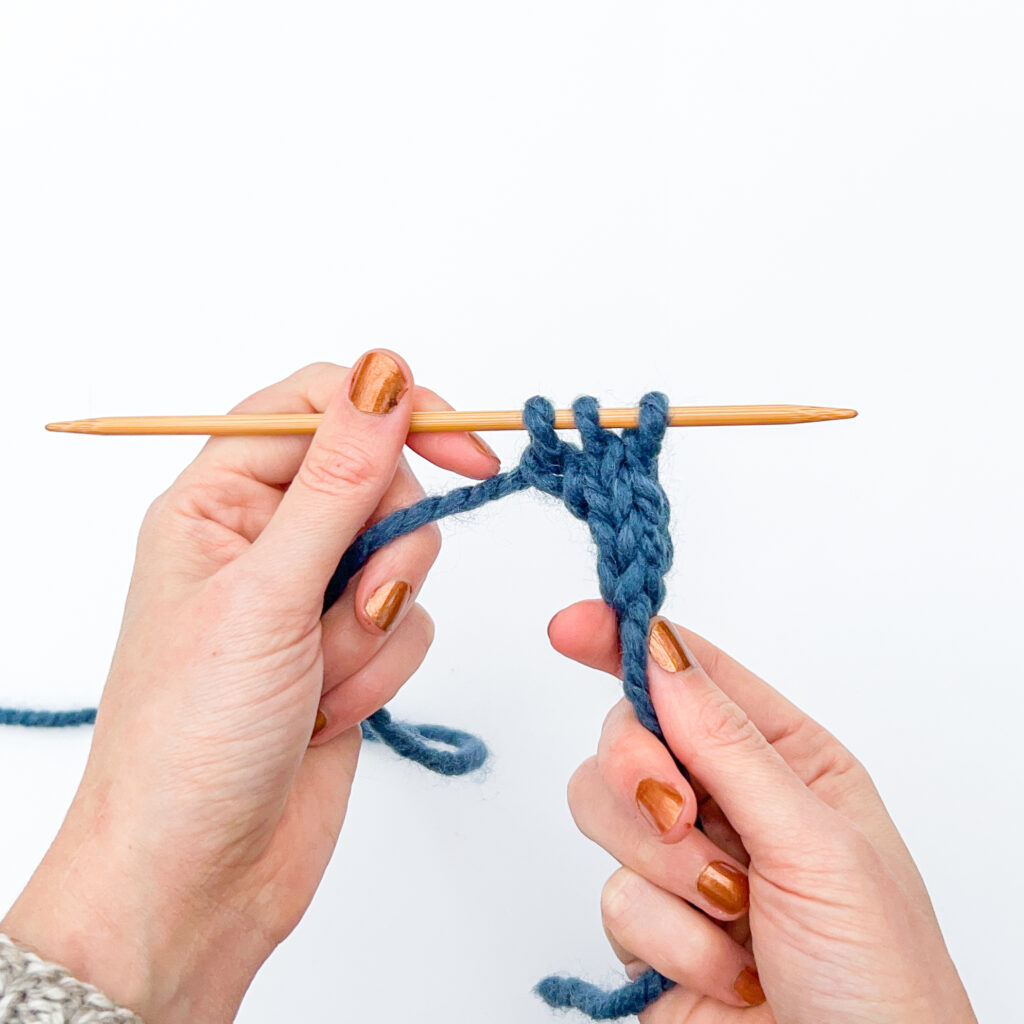
Step 3:
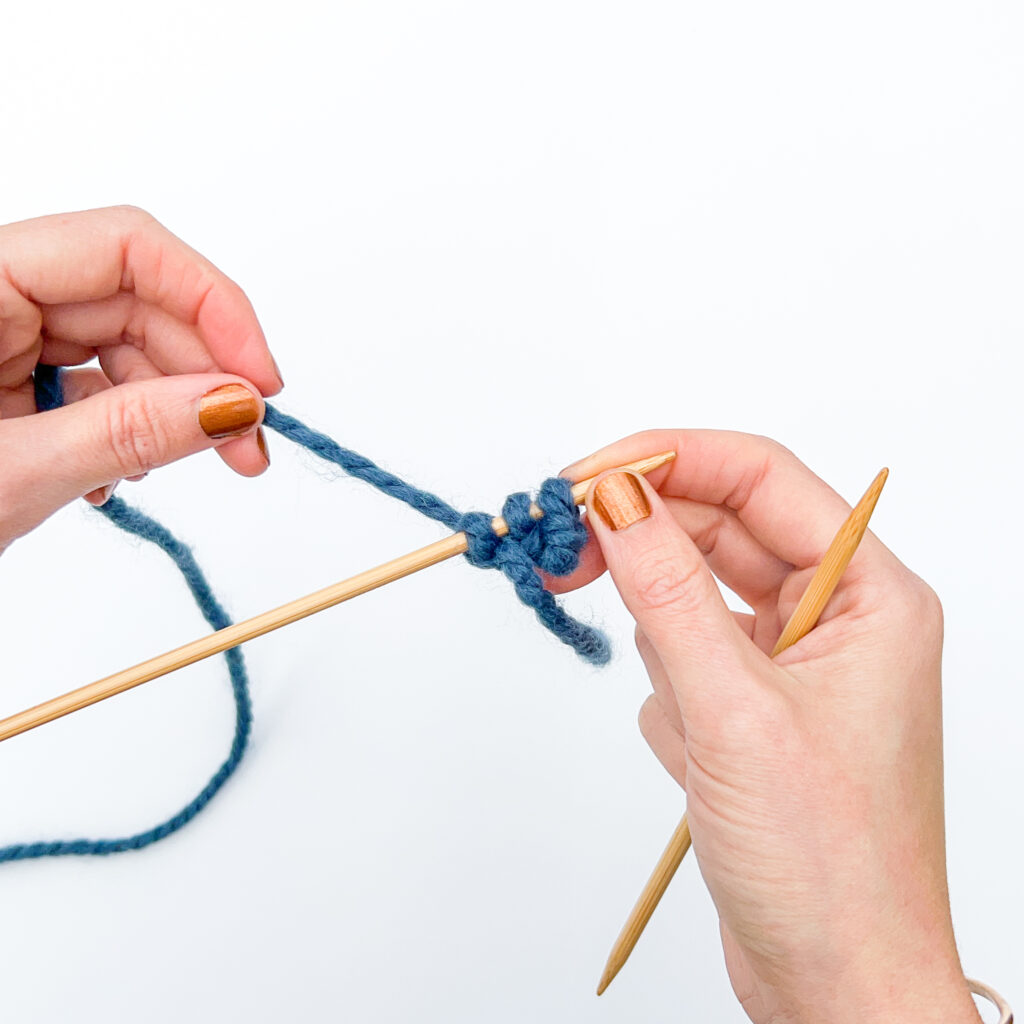
To knit across the row, bring the yarn strand from the left, behind your stitches, so that it’s behind the stitch closest to the right needle tip. Knit across the row!
To work the next row, do not turn your work. Instead, slide your stitches on the needle from left to right. The yarn strand will be on the left.
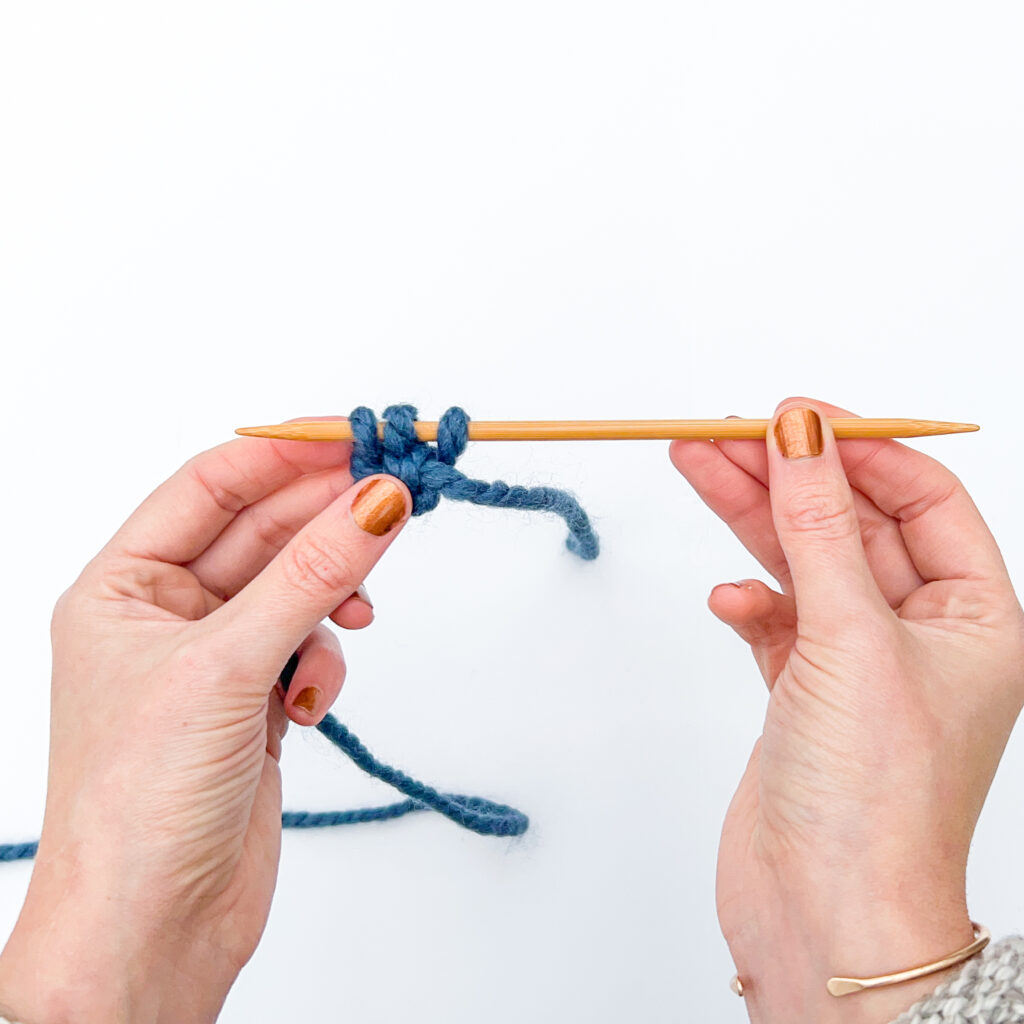
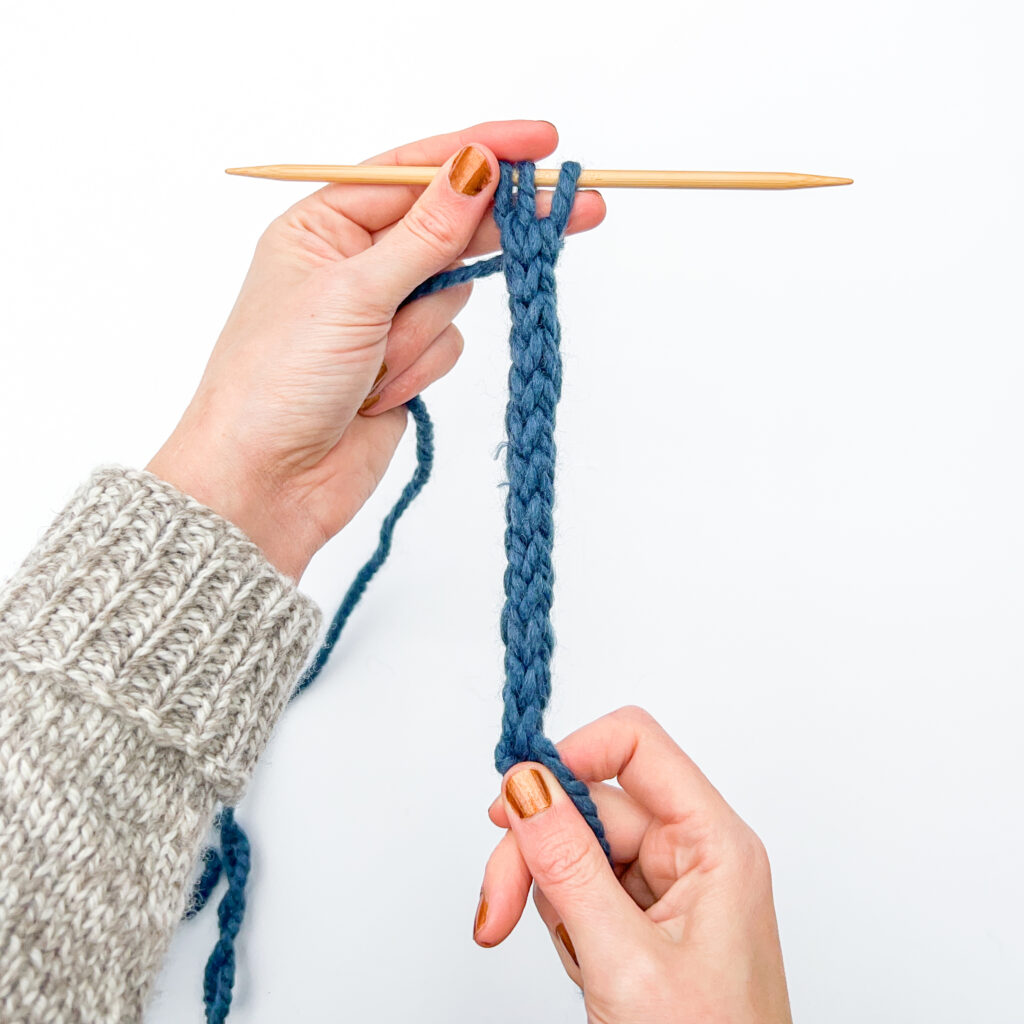
Repeat
Repeat steps 2 & 3 until your i-cord is the length you need.
To end the i-cord, cut the yarn leaving a 6″ yarn tail. Using a yarn needle, thread it through all of the stitches on the needle, from right to left, cinching the end closed. Weave in both tails by threading the yarn tails in through the hollow core of the i-cord. Trim any extra yarn tail flush with the surface of the knit fabric.
There are several ways you can make knit I-cord even better!
Multi-colored I-Cord: Using scraps of yarn (in the same weight), or use self-striping yarn to create brightly colored i-cord. Try knitting just the ends in a contrast color to create colorful tips too!
Beaded I-Cord: Loading the yarn with beads before you start knitting and slipping a bead into place as you’re knitting to create a beaded cord. This can be used to make jewelry or other decorative accessories!
Because you’re wrapping the yarn strand across the row, the space between the two stitches on the back side of the i-cord can be a little gappy. It helps to gently pull on the i-cord (downward) every few rows to even the tension out. Also, make sure to block your i-cord (soak in warm water, gently massage the cord, lay flat to dry) once it’s all done.
You can easily make your I-cord tube a different thickness two different ways.
1. You can cast on a different number of stitches. Ideally you want to cast on 3 or 4 stitches. If you do any fewer you won’t get a rounded tube. You can experiment with more stitches however, keep in mind that you need to use few enough stitches that the yarn wrapping from the end to the beginning of the row pulls those stitches closed and doesn’t leave a wide gap.
2. You can use a different yarn. Try using a thicker yarn and larger needles to create a thicker cord and a thinner yarn on smaller needles for a smaller tube.


