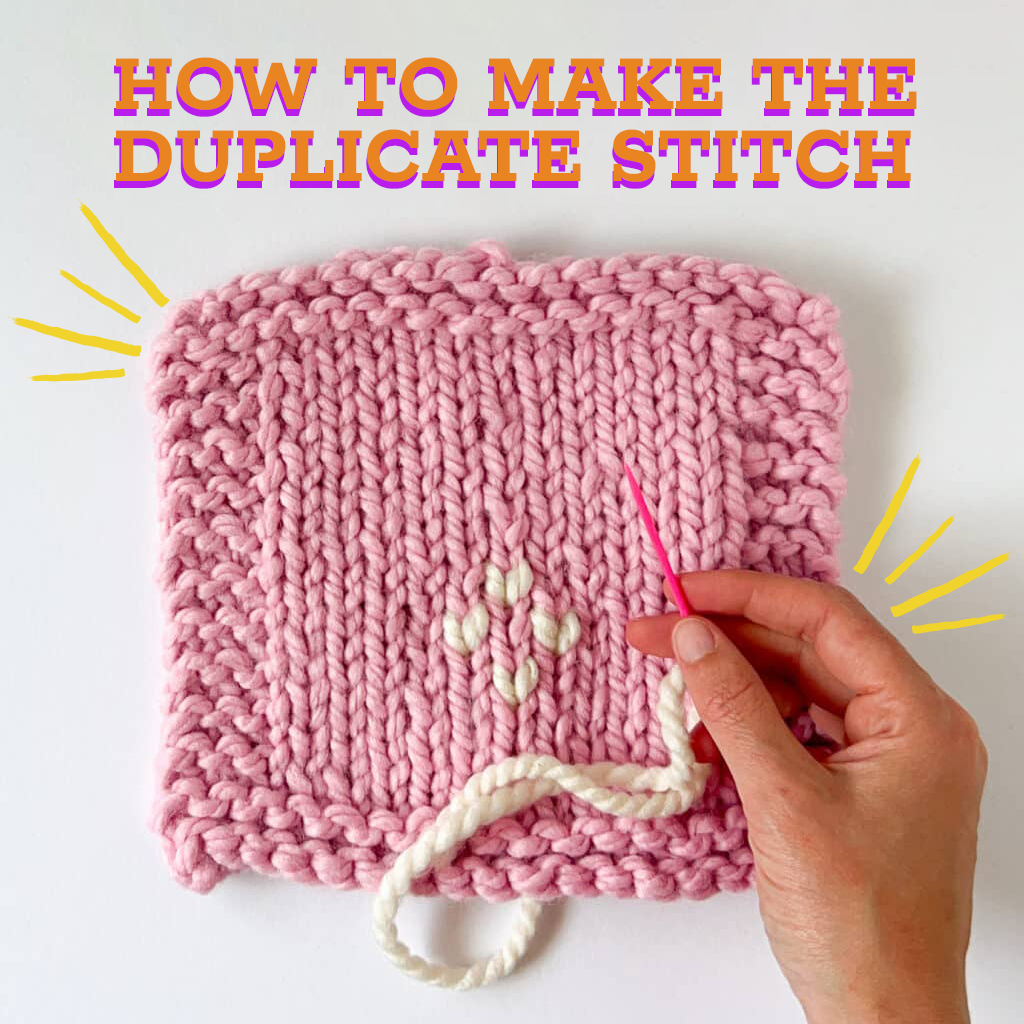
How to Knit the Duplicate Stitch
Duplicate stitches add detail to finished knits by sewing!
Duplicate stitches add detail to finished knits by sewing!
Have you ever wanted to spice up a plain knitted cardigan or sweater but didn’t know how? Well, let me introduce you to the nifty duplicate stitch knitting technique!
This is a simple, beginner-friendly method that every knitter should learn about. With duplicate stitch knitting, you can add unique designs, add fun details, spruce up old knitwear, or even repair damaged stitches in your projects!
Today, we’ll show you how to do the duplicate stitch on knits using just a yarn needle and some spare yarn.
Excited? Then let’s get started!
Also called “Swiss Darning”, this technique is used to add details to knitted pieces—specifically on stockinette stitch projects.
This is a versatile technique in knitting that allows you to add decorative elements to your projects after they are completed. It involves using a tapestry needle and a contrasting yarn color to stitch over existing knit fabric, creating a design or pattern on the surface. This technique is commonly used to add motifs, letters, numbers, or other embellishments to plain stockinette or garter stitch fabric.
We love using duplicate stitch to add more color to designs without having to switch colors while you knit.
The term “duplicate stitch” can sound like an intermediate-advanced level of knitting. But we promise, anyone can do it, even beginners!
Aside from adding some pizzaz on a knitted item, what are the other reasons you might want to learn duplicate stitch?
Let’s take a look:
We all make mistakes in knitting. Even pros are no strangers to the odd “oopsie” moment, especially when you’re doing a complicated colorwork project. Instead of unravel back to the mistake, you can stitch over the errors later!
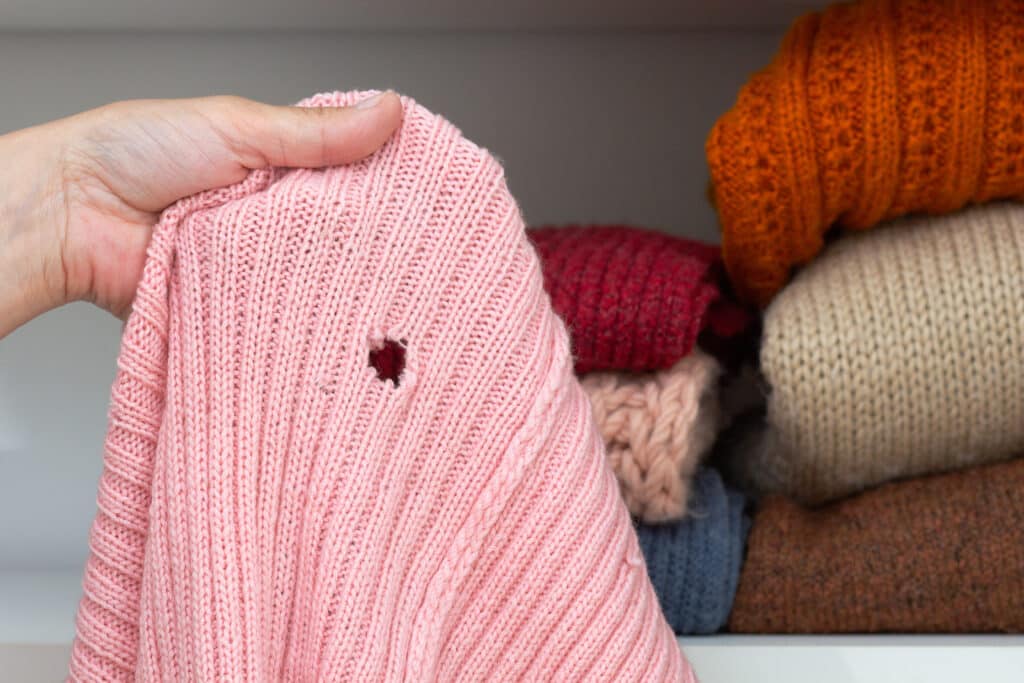
We all know that feeling when we grab our favorite knitted sweater or cardigan and we find holes in them! Did a mouse chew right through it? Was it a family of moths?
Well, no matter! You can stitch over the holes using duplicate stitch to replace missing or dropped stitches in knits.
Plenty of knit projects need just a little bit of extra color. Image adding the eyes to a toy or stitching a name onto a Christmas stocking or baby knits. You can replace just a few stitches or huge areas of color with new stitches!
However, remember when you’re adding stitches on top of existing fabric it will make it double thick and stiffer than the surrounding fabric.
We’ll show you how to do a single duplicate stitch. For each stitch you want to stitch over, follow steps 1-5 until the area you want to replace has been covered!
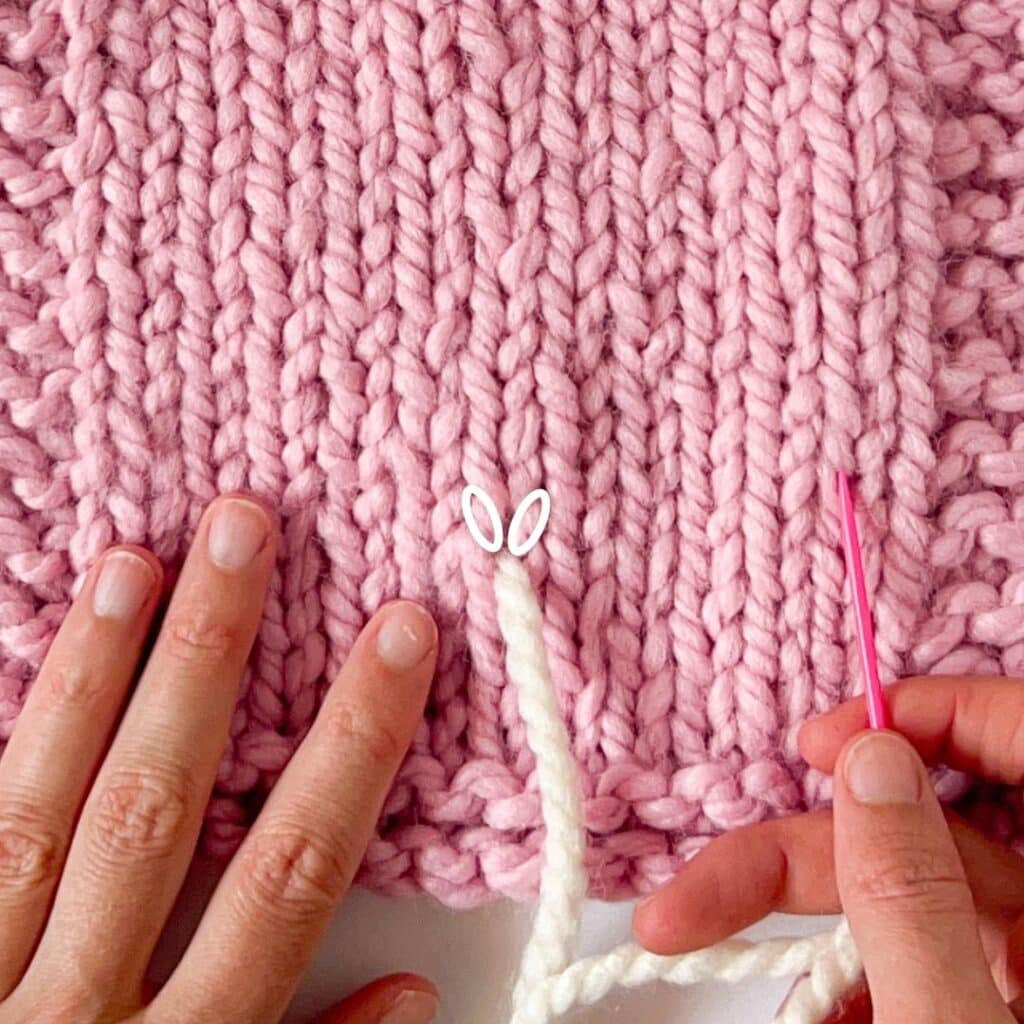
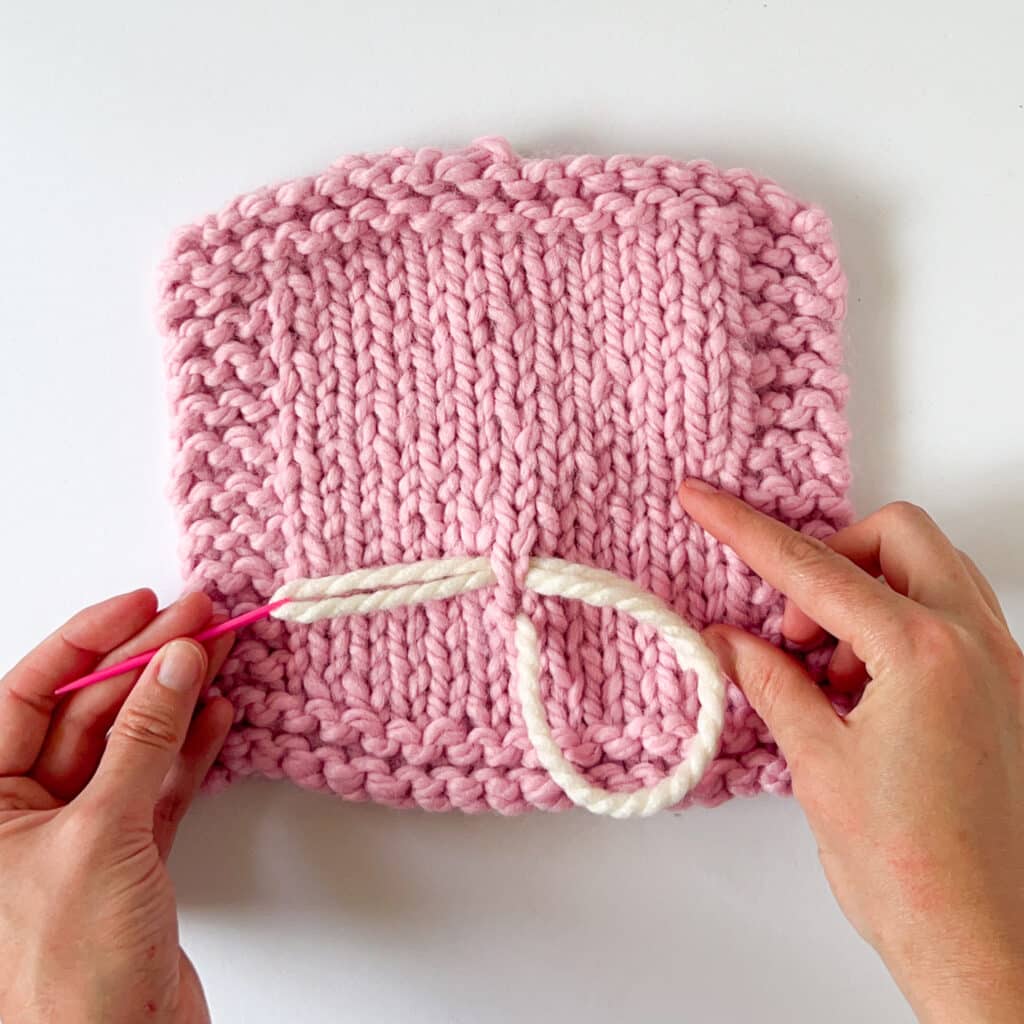
Step 1:
Find the stitch you want to replace.
Thread the yarn through space at the bottom of “v” stitch you want to duplicate stitch over.
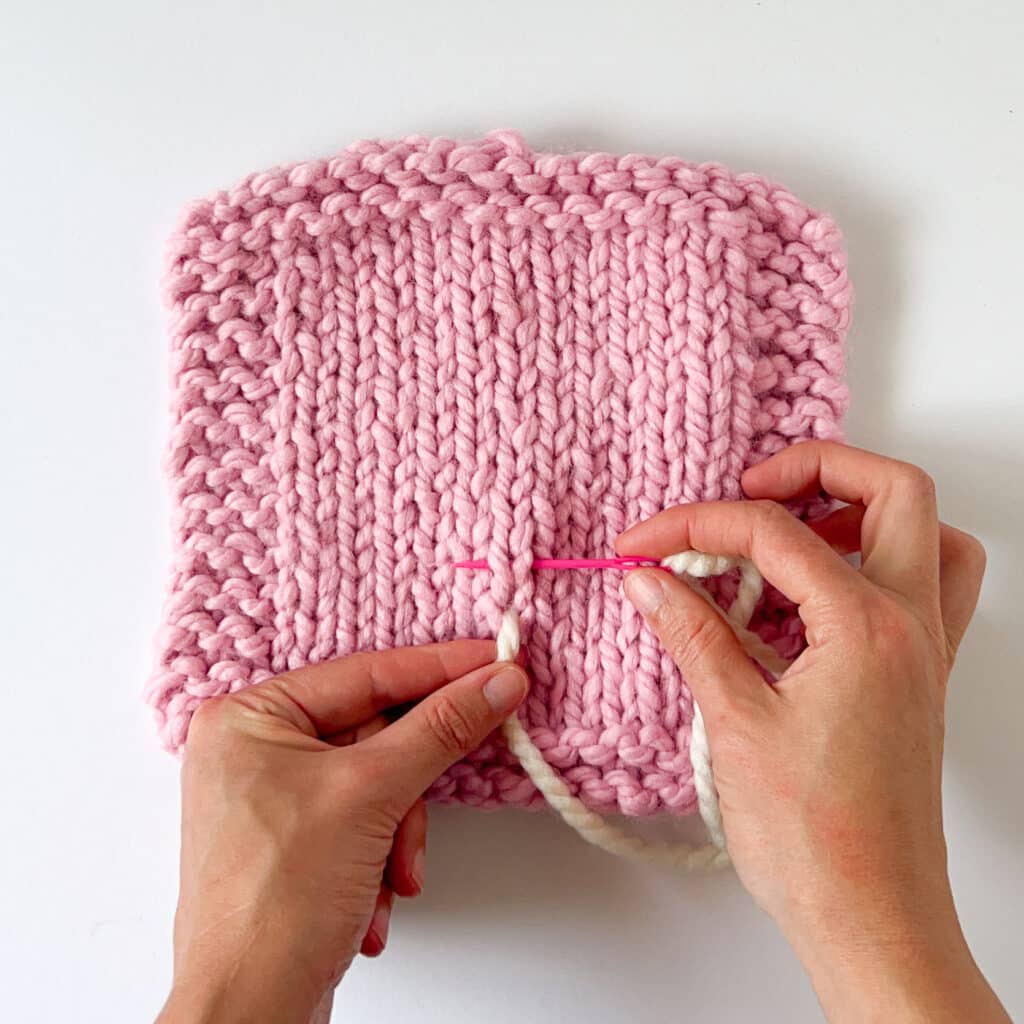
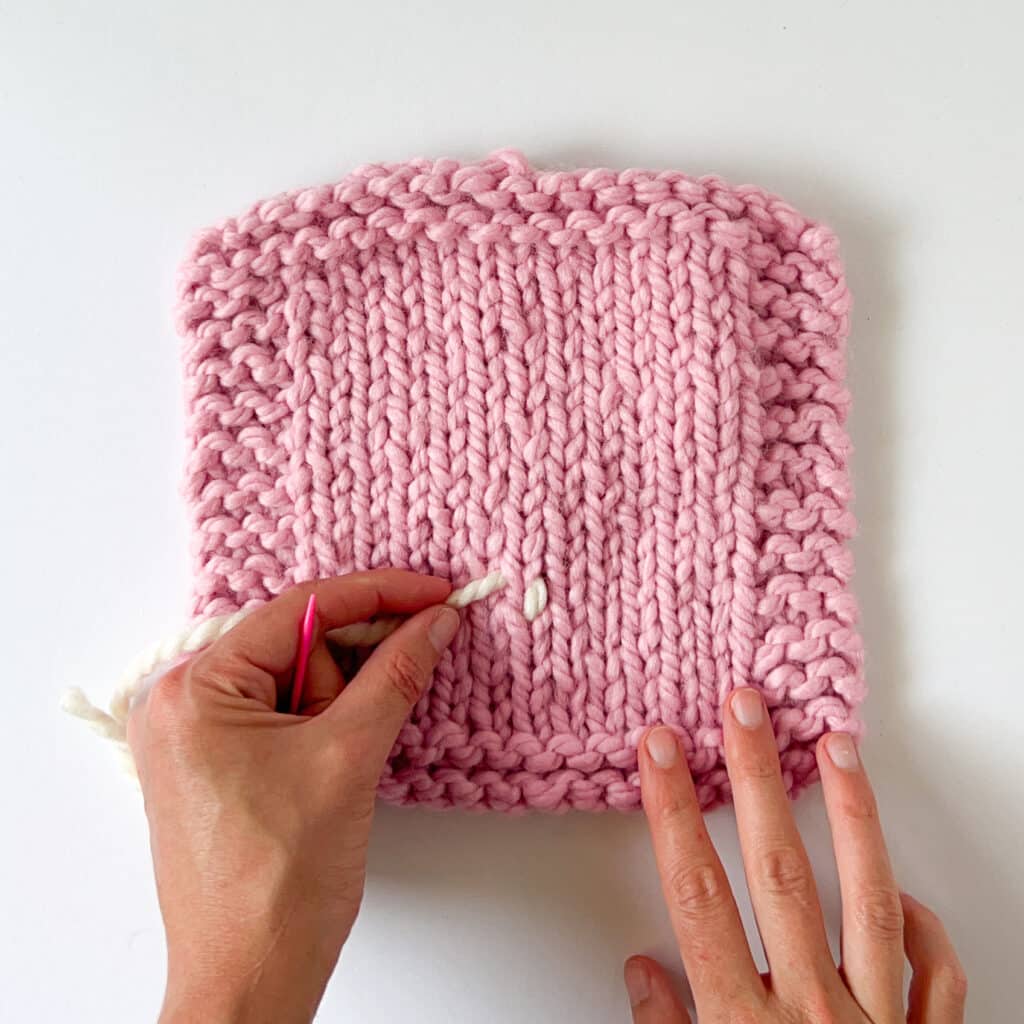
Step 2:
Thread the yarn needle behind both legs of the stitch above the one you want to duplicate stitch over.
Step 3:
Pull the yarn through until the stitch lies flat and even with the rest of the fabric.
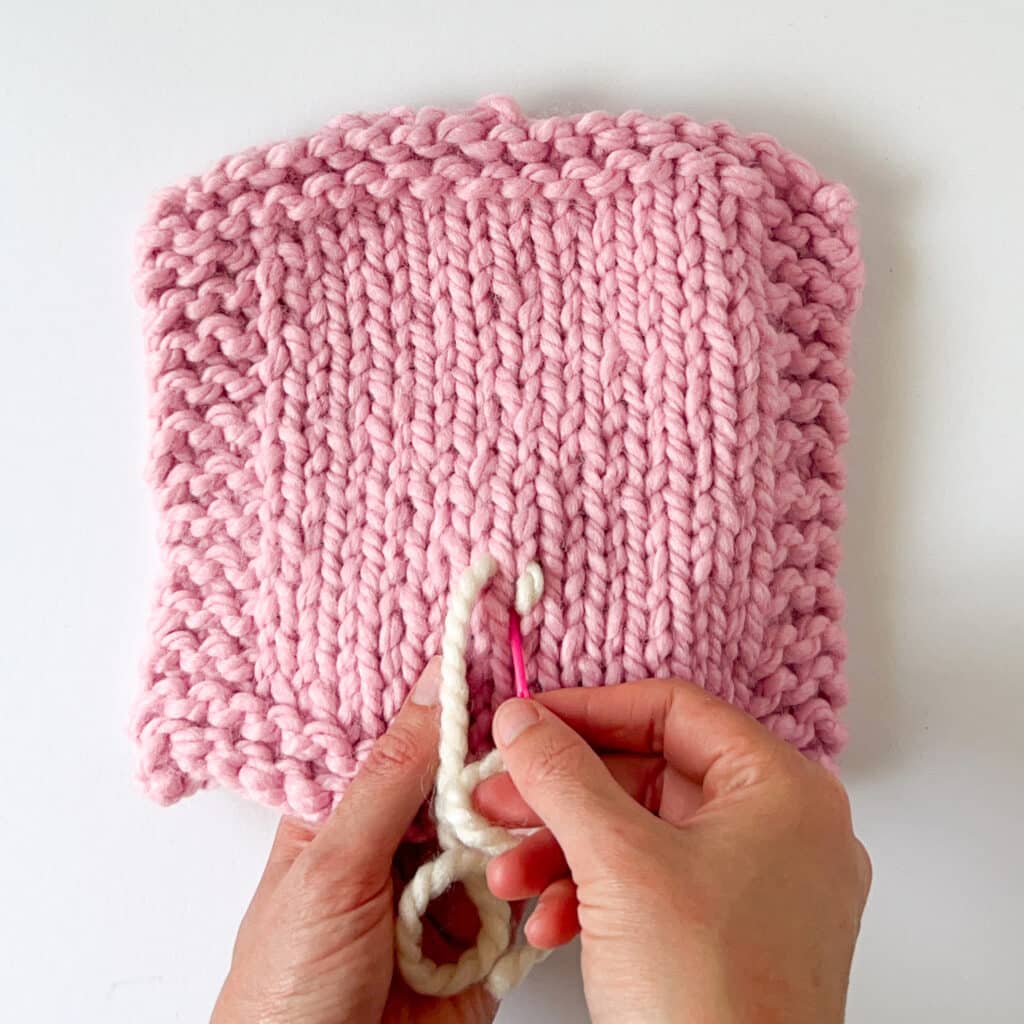
Step 4:
Insert the yarn needle back through the base of the stitch, the same space as Step 1.
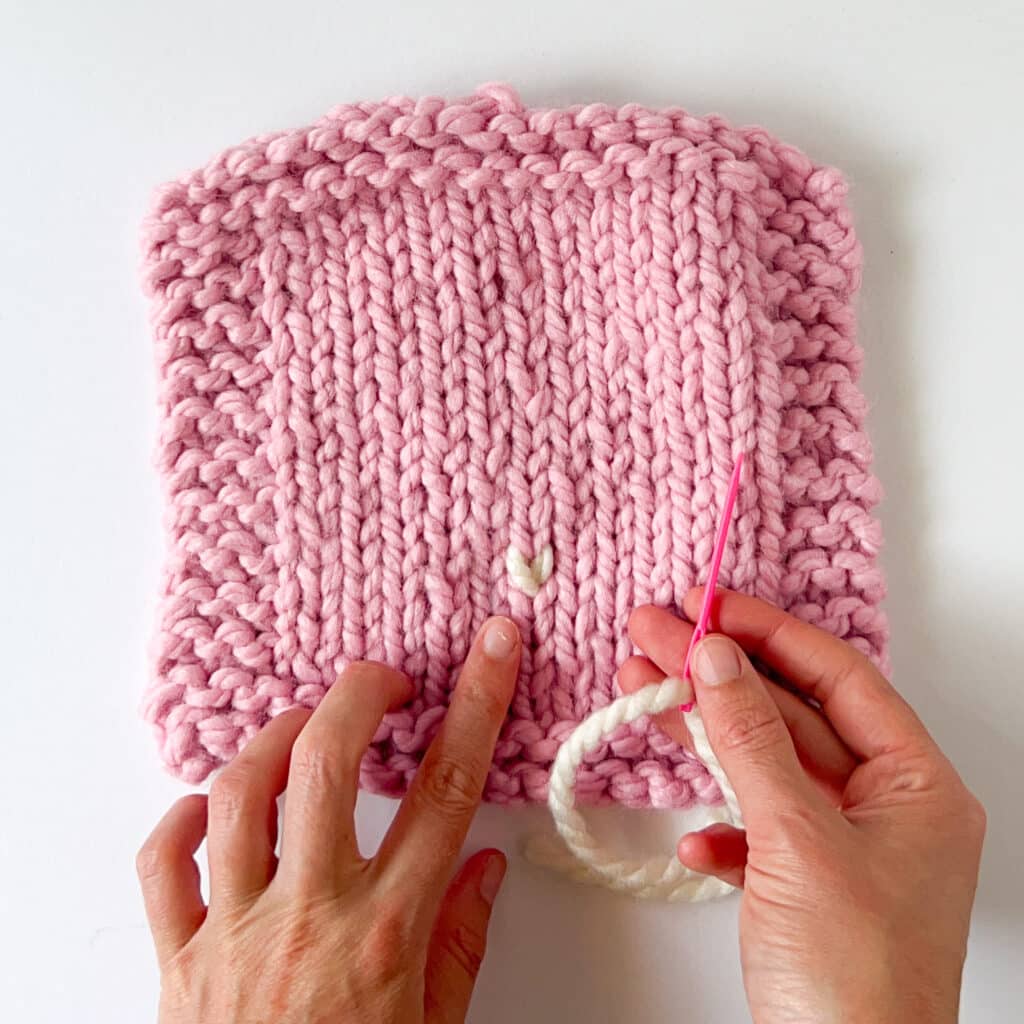
Step 5:
Pull the yarn through until the stitch lies flat and even with the rest of the fabric. One stitch has been duplicated!
Naturally, your first few attempts at duplicate stitch might be a little bit uneven, but it’s all part of the process! The more you do it, the better you get at duplicate stitching.
We have a few pro tips to share that will make your experience with duplicate stitch a little bit easier:
Using yarn that has the same or similar thickness to the yarn in your knitted fabric makes it so that each duplicate stitch you make covers the base colors underneath.
It’s easy to get confused where to start off your duplicate stitch—especially on a larger project. The easiest way to cover stitches is to start from the bottom, working upwards, section by section!
Do you want to add in a new design? Or maybe you’re following a duplicate stitch pattern you can keep track of the area you want to cover by tracing it with water-soluble fabric pen. Don’t worry, all those marks will be gone after the first soak! But to be sure, you should always do a test on a swatch before doing a large project with an unknown fabric pen.
Are you working on smaller pieces? Then blocking your knitted pieces before starting your duplicate stitch project can make it easier for you to find the right stitches to work on! Blocking before and after can create even, tidy stitches.
Want to keep your duplicate stitches even? Lightly tug on your stitches as you make them. This will help you make sure that your stitches stay even till the end of your project.


What does the back of the duplicate stitch look like?
Hi there ! The back of duplicate stitches typically show the path of that stitches you are following/stitching over… You’re definitely right about asking about it though, I should add that in!