How to Block Knitting
The perfect finish for every project.
The perfect finish for every project.
You may have noticed that most patterns tell you to “block your knitting” as the final step once you’ve woven in all your ends.
But what is blocking knitting anyway? And why is it so important?
Great news! We’re going to learn alllllll about the what, when, why, and how of blocking knits in today’s tutorial.
Ready to learn? Let’s go!
Blocking in knitting is a crucial last step in every single project. Actually, this goes for crochet too!
Blocking knit projects, at its most basic is the process of wetting your project and then letting it air dry in a particular shape. Wet yarn can be adjusted with some gentle smooshing and pinning into a particular shape or size.
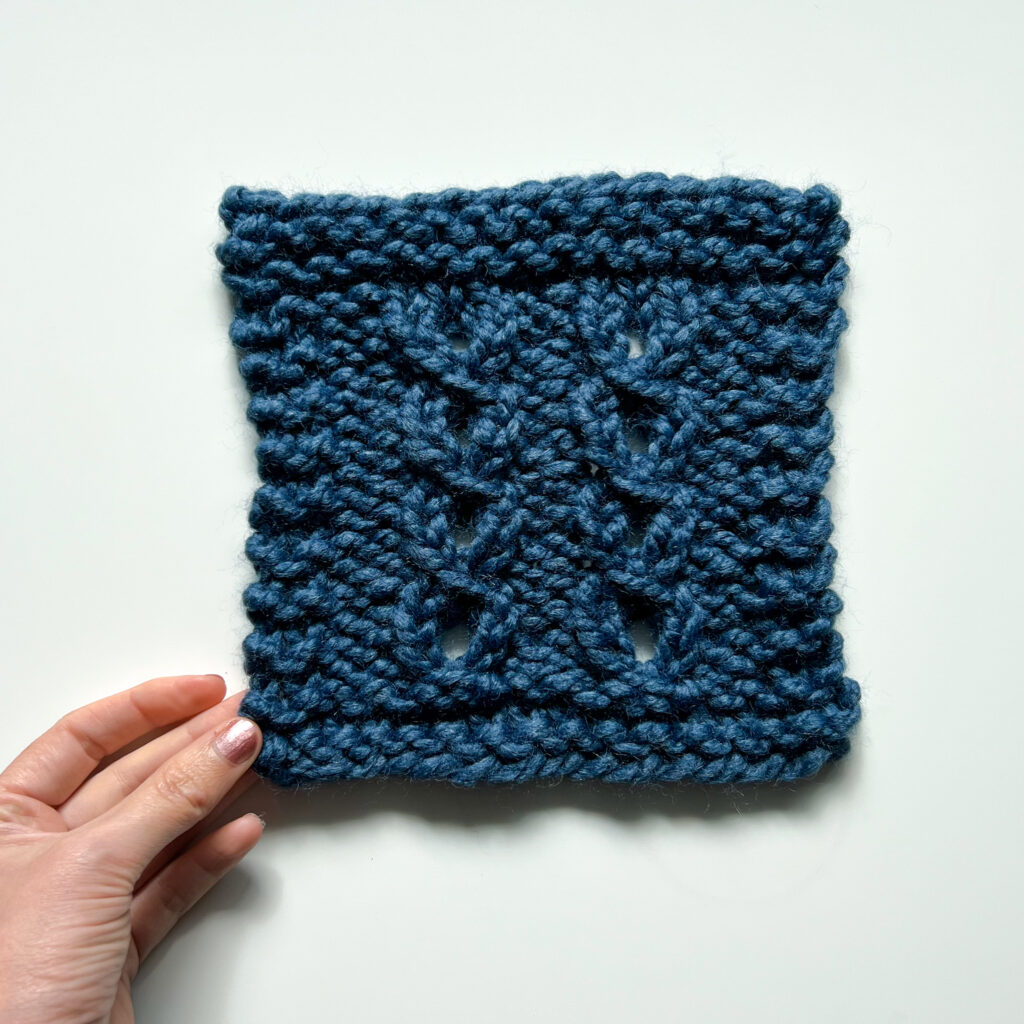
With blocking you can get even stitches, smooth seams, and straight edges in any knit or crochet project!
The short answer is: every. single. time.
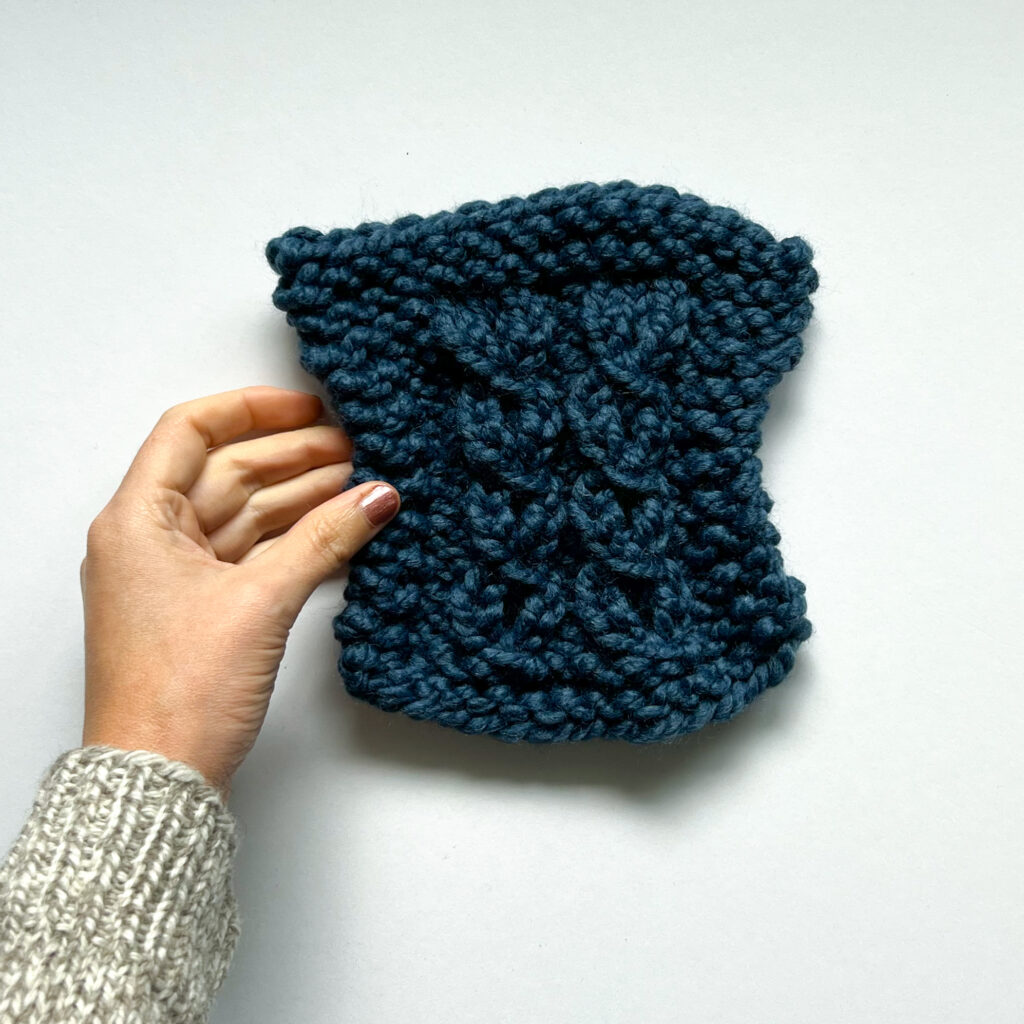
No matter how simple a project is, it will always look better after blocking. However, blocking is the most important for lace projects, cable stitch patterns, and swatches. In all three cases, the stitches need that blocking step to relax, open up, and be the most accurate version of themselves.
Blocking generally follows three simple steps:
1. Get your project wet by soaking, steaming, or spraying with a spray bottle.
2. Remove as much extra moisture as possible, typically with a towel.
3. Lay your project flat, matching the finished dimensions.
4. Let it air dry!
That’s it! Today we’ll walk you through how to wet block knitting by soaking in a basin with a wool wash, followed by pinning your project to dry on blocking mats.
I’ll also talk about different options for each of these steps later on in the post so stay tuned!

Give your knits that premium look!
BeKnitting’s set of 20 Blocking Combs will take your projects to the next level. Get straight edges, smooth hems, and even stitches in no time. Perfect for knitted clothing, dishcloths, scarves, and more!
Buy them now!
This step-by-step tutorial will show you how to wet block knitting by soaking it in warm water with a wool wash. The project will then be arranged on a blocking mat and pinned into place to air dry.
Step 1:
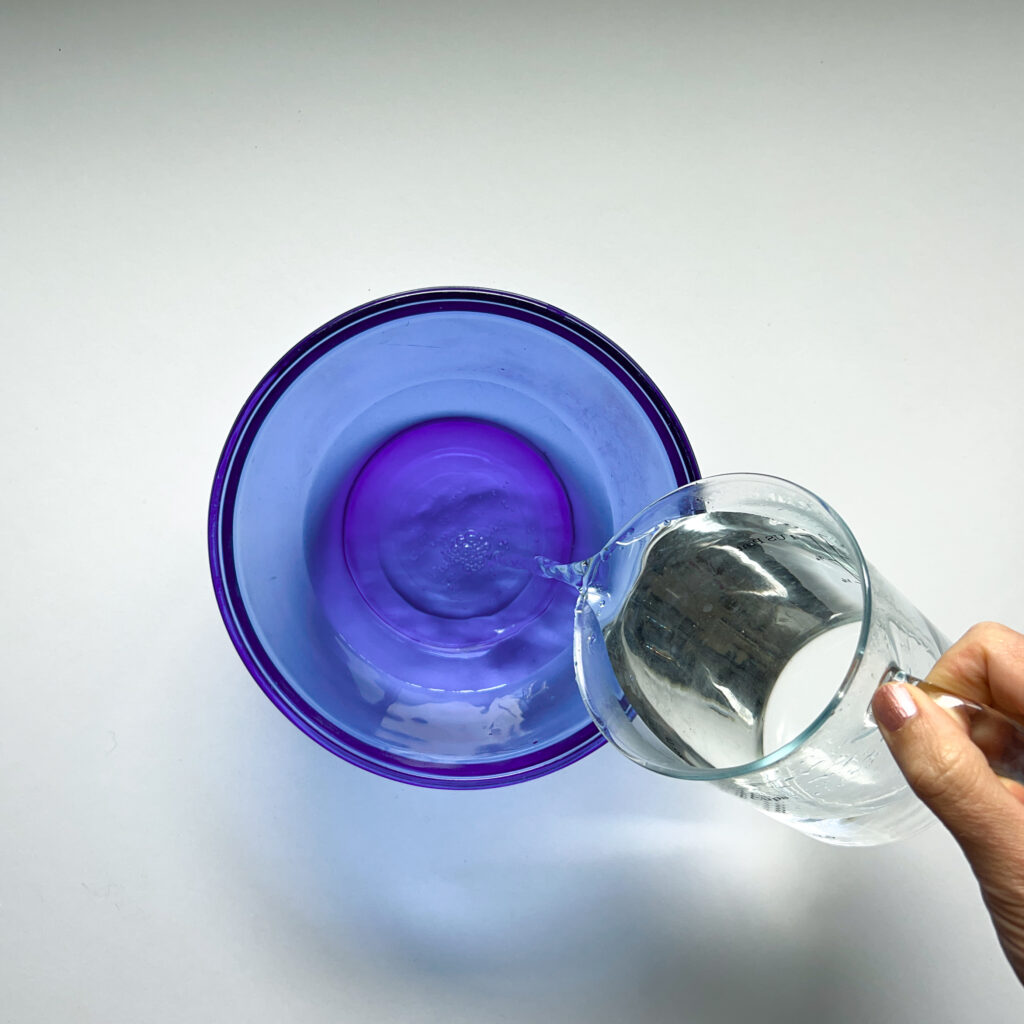
Grab a bowl, basin, or use a clean sink to soak your project.
Choose one that’s big enough for your project to be fully submerged with room to float freely.
Fill your container 2/3 full of warm (not hot!) water.
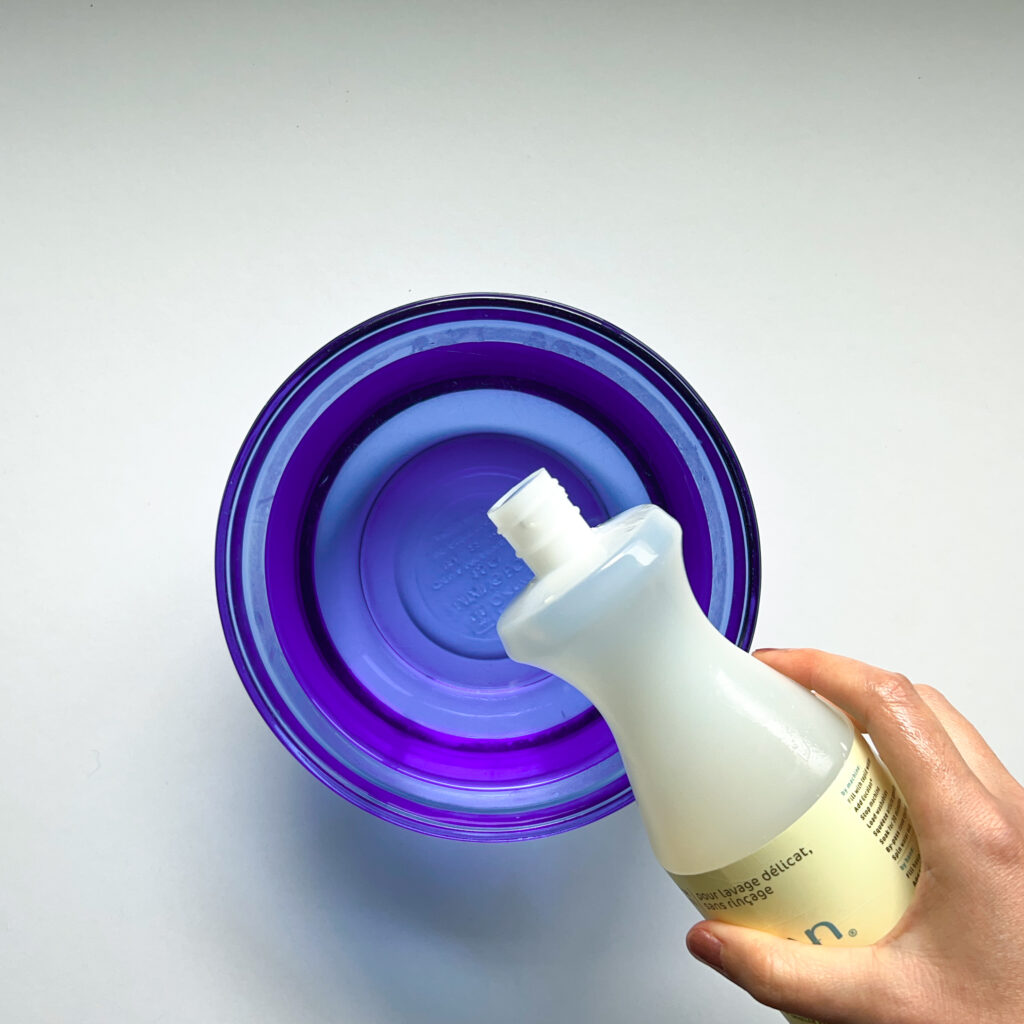
Step 2:
Add wool wash, detergent, or shampoo to your water bath.
For animal fibers: use a wool wash or shampoo.
For plant or synthetic fibers: you can skip this step, or use a gentle dish soap or shampoo for cleaning.

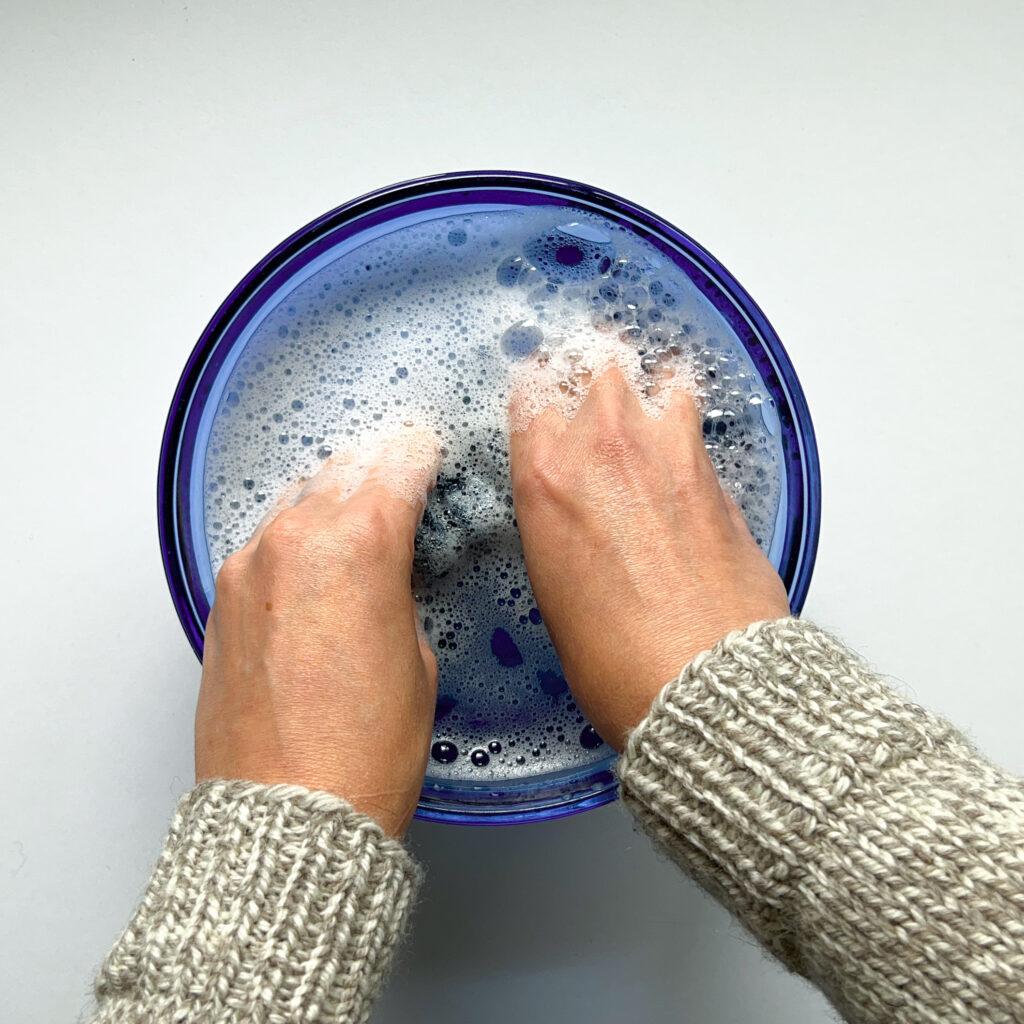
Step 3:
Use your hand to gently swish the water and soap mixture to distribute the suds evenly.
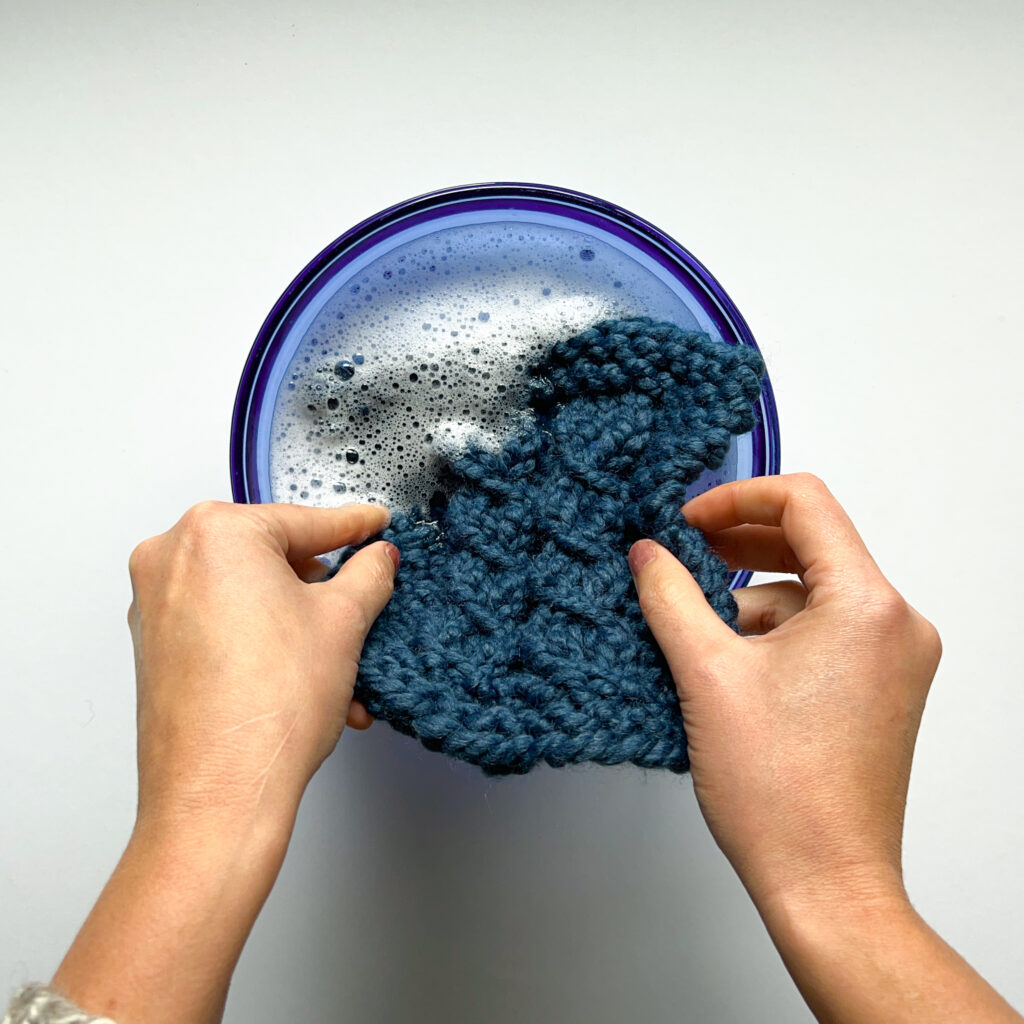
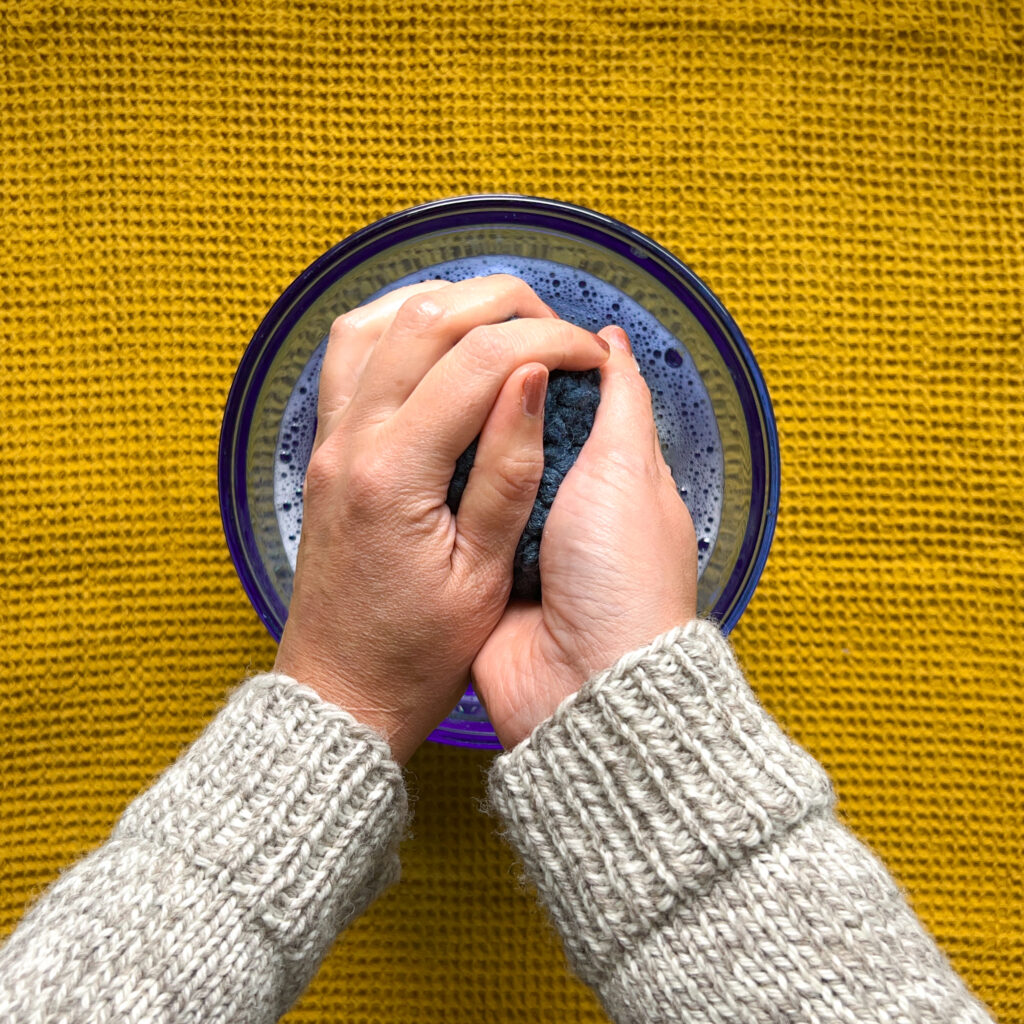
Step 4:
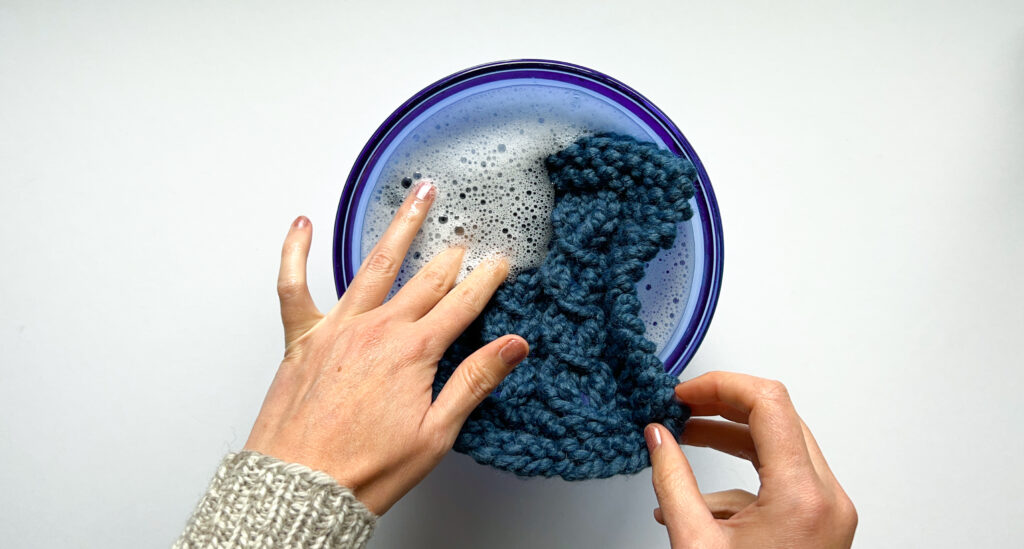
Time to add your project! Submerge your swatch or finished project and gently squeeze out any extra air trapped in the fibers. You want the fabric fully saturated.
Note: Make sure not to agitate or move the project around more than you have to. Your project might felt or stretch if it’s moved around too much!
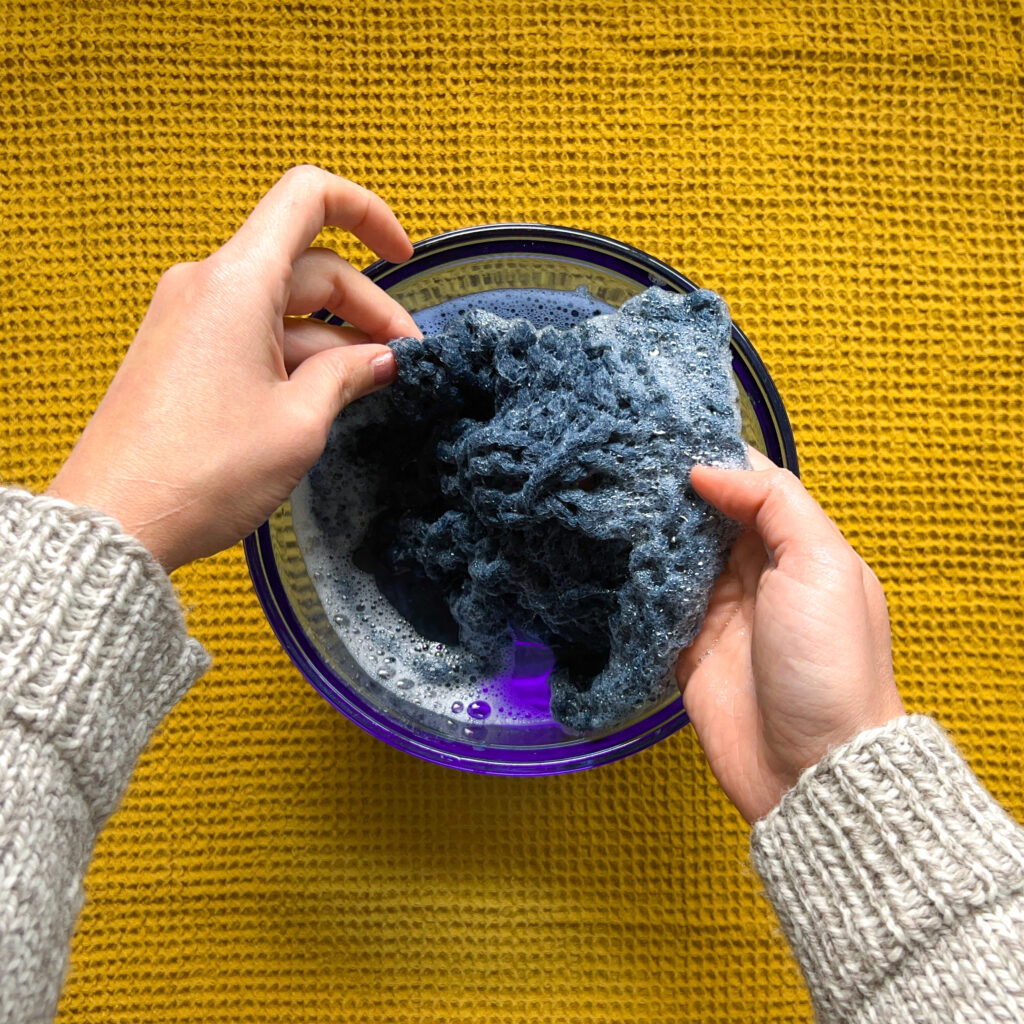
Step 5:
Let the project or swatch rest for 15 minutes – 1 hour in the water. While you wait, grab your towel and lay it open on a flat surface.
Next, gently lift the project from the bath making sure to support it so that it’s weight doesn’t stretch the fibers. Gently squeeze the excess water out.
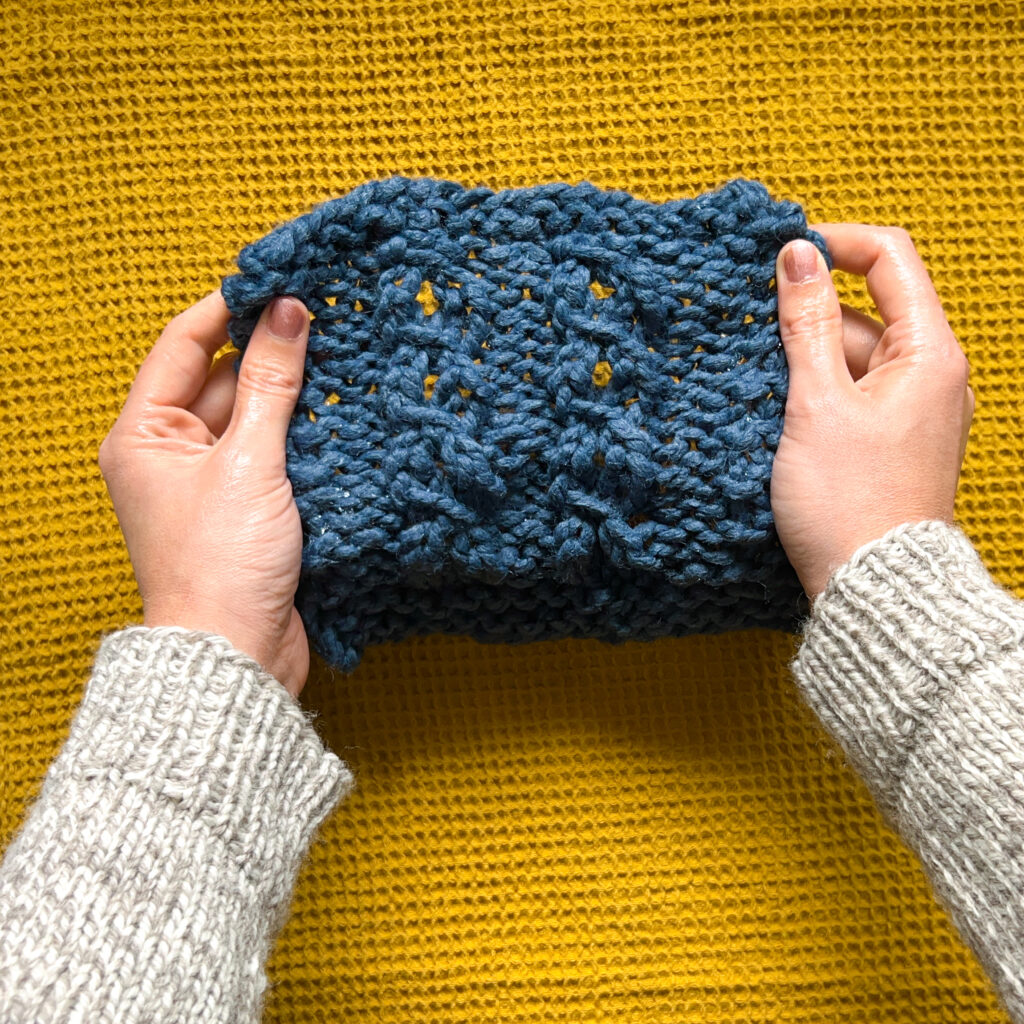
Step 6:
Gently open the project and lay it flat on the towel. Make sure there are no wrinkles or folds!
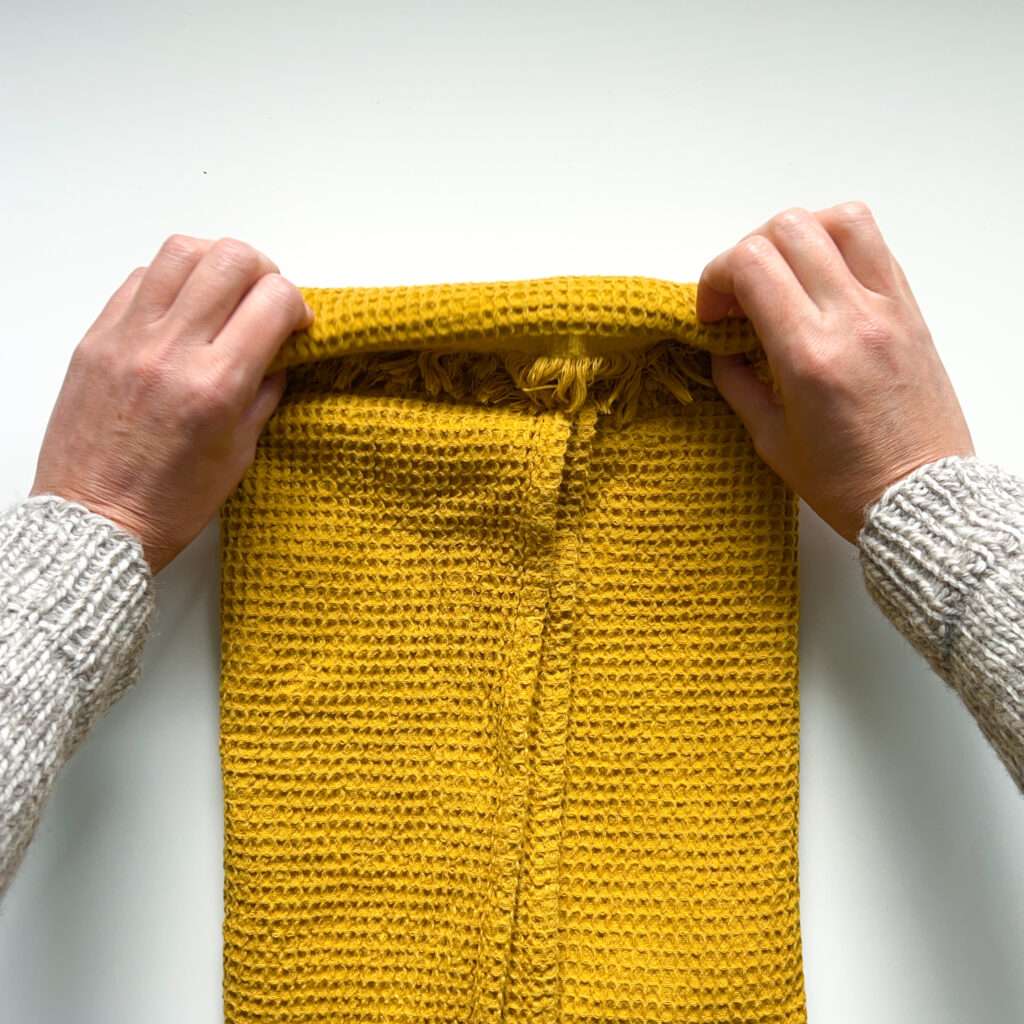
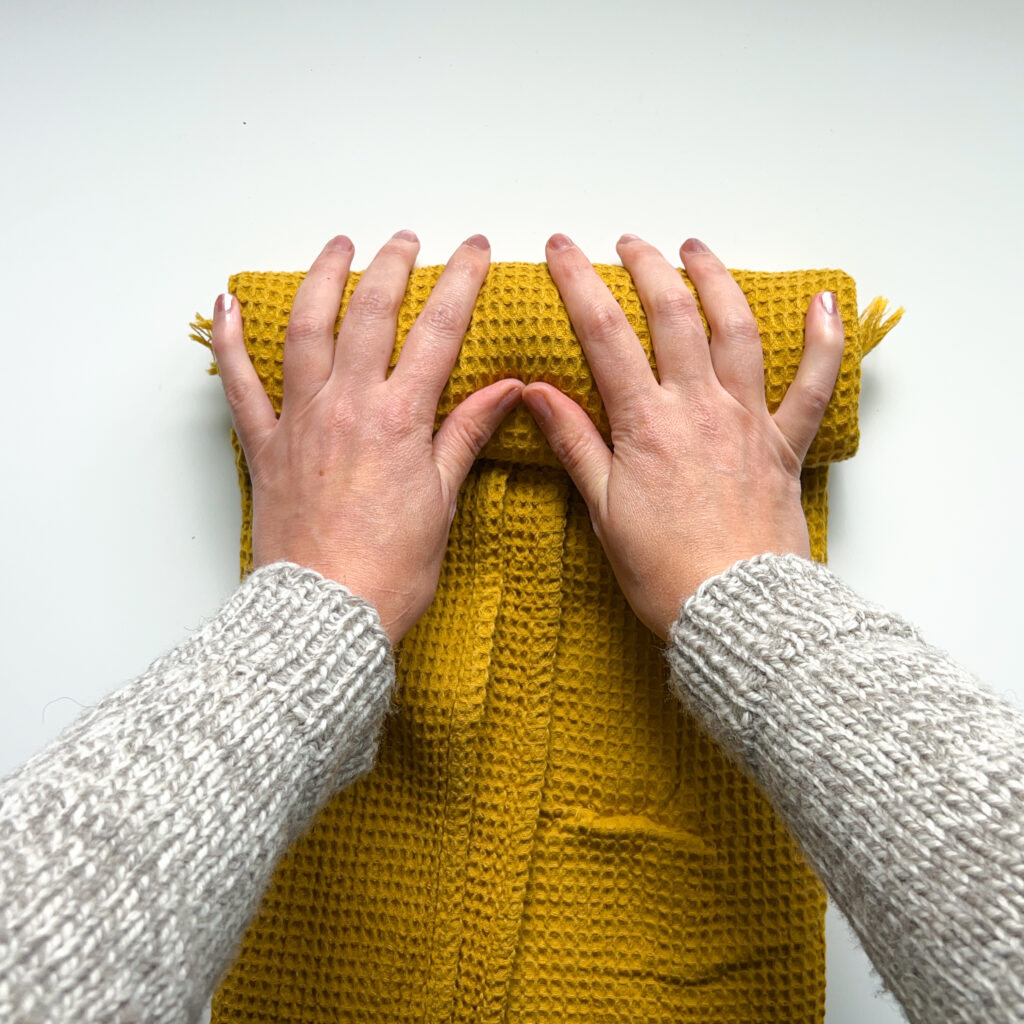
Step 7:
Fold the towel over your project so that’s it’s fully covered. Roll the towel up and then gently press on the roll to absorb any extra moisture.
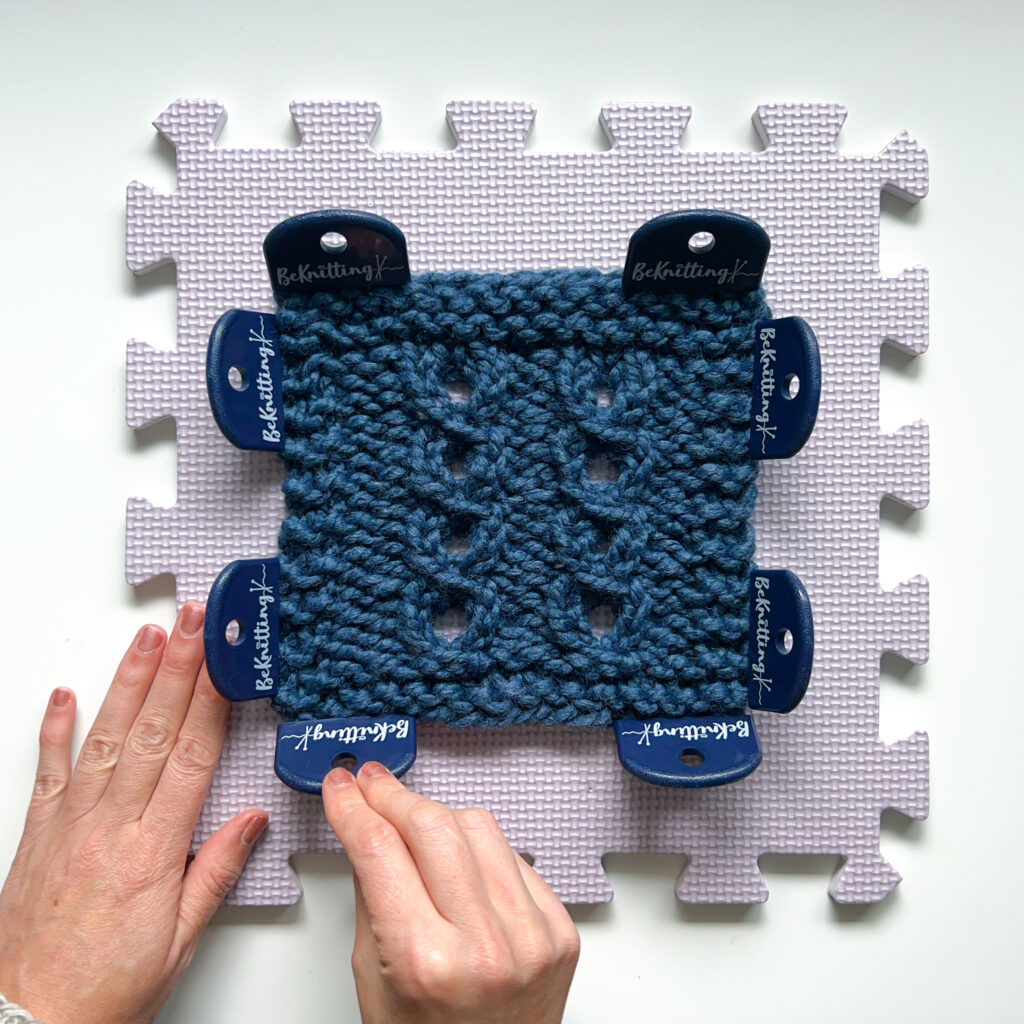
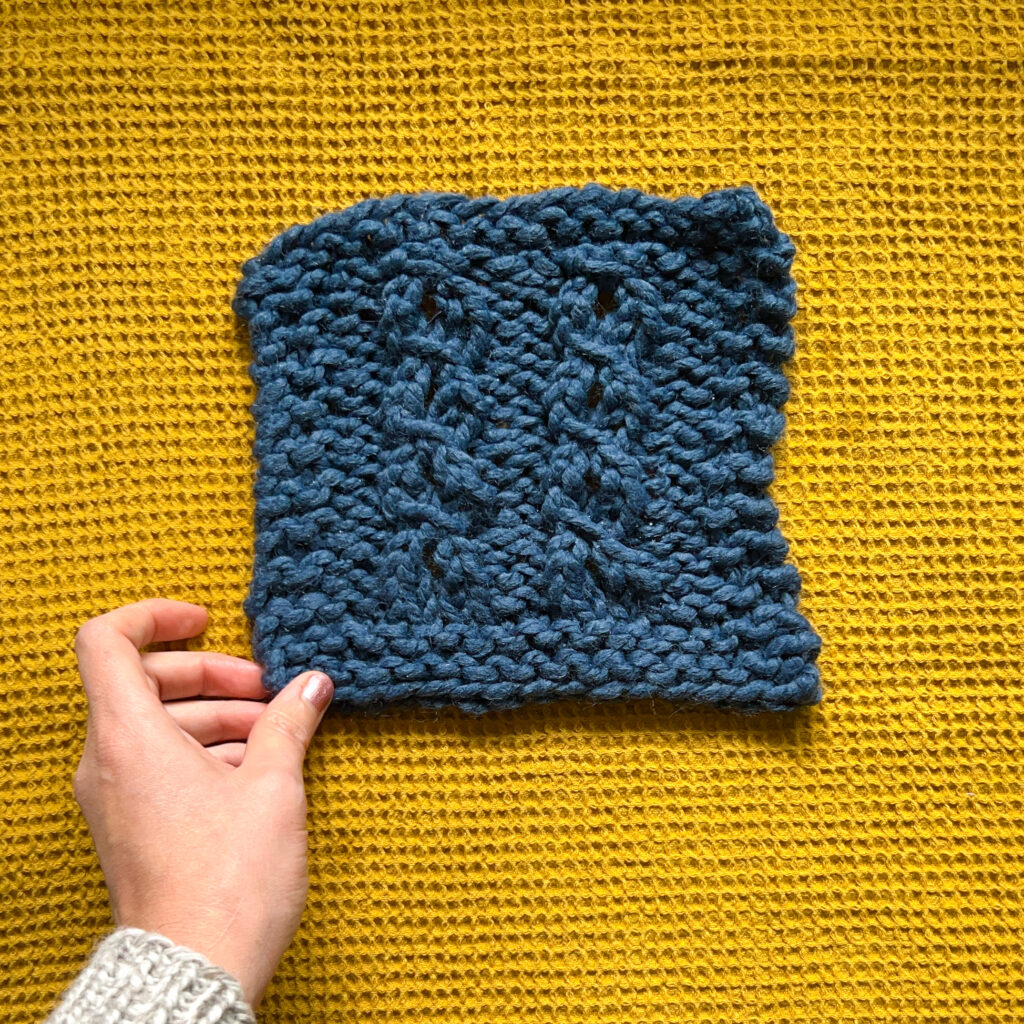
Step 8:
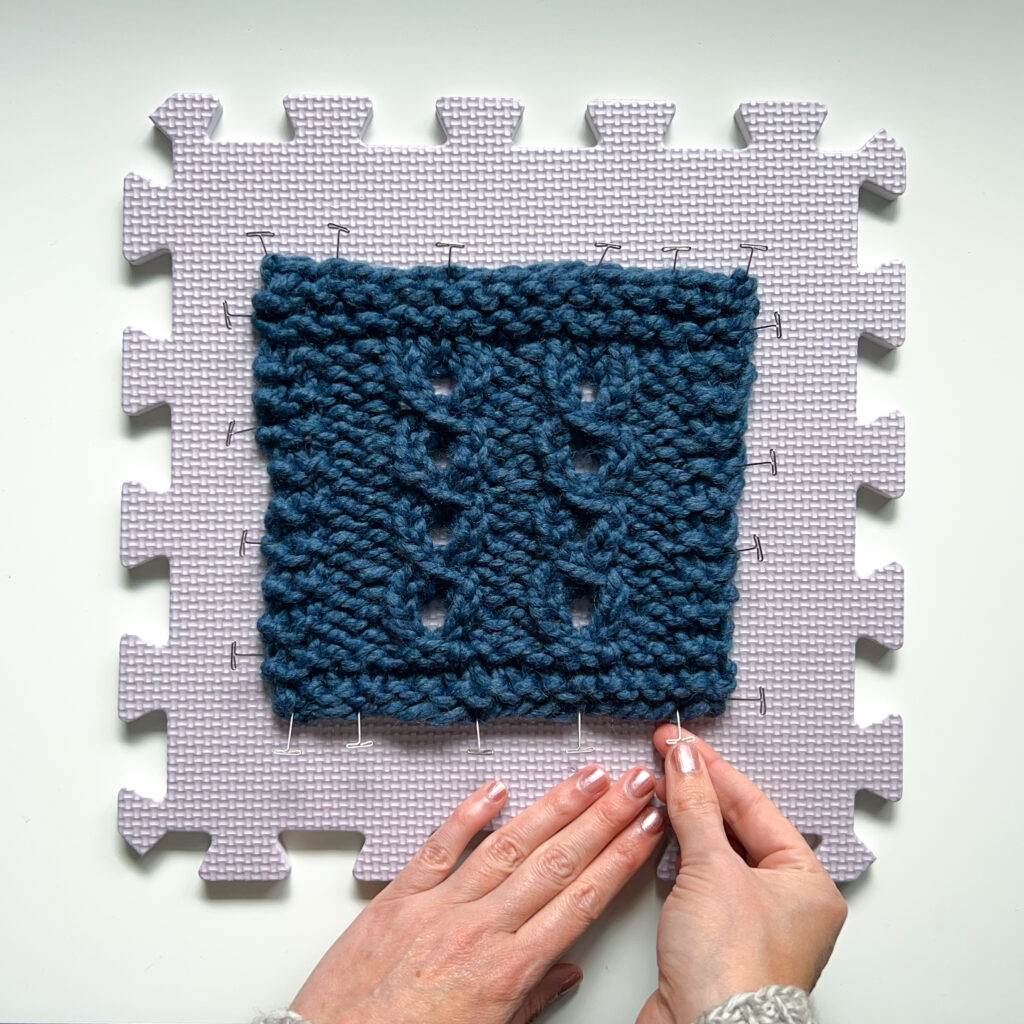
Place your project on blocking mats or another pinnable surface. Using blocking pins or blocking combs, pin your project to match the shape and dimensions noted in your pattern. This is a great time to check your knitting gauge!
Let your project air dry before unpinning. That’s it!
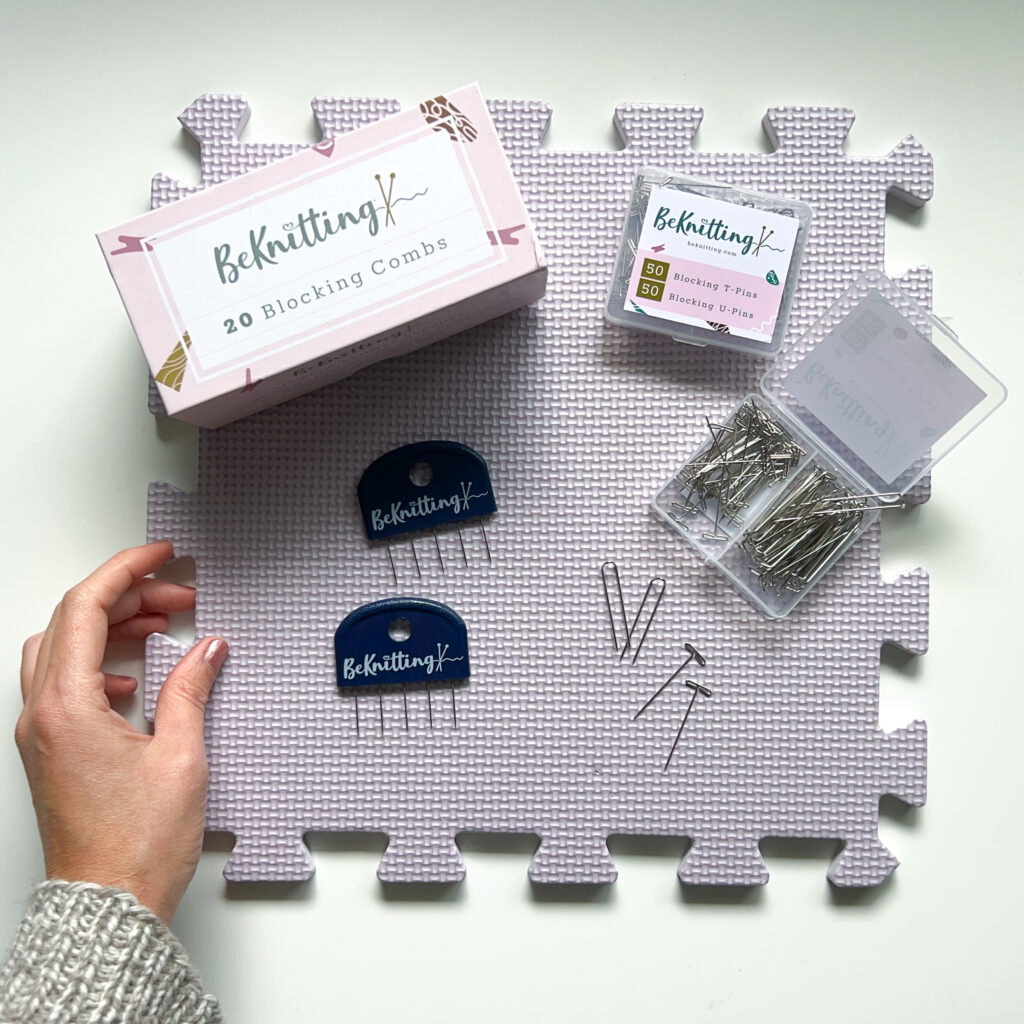
As we learn how to block knitting, we need to talk about the different accessories for blocking knits too! Let’s take a closer look at some of the specialty blocking tools available at most craft stores. While you can absolutely block projects with just a towel and some water, more tools will make the whole process faster and give you better results. Promise!

Blocking Combs
These handy tools have multiple pins embedded in an easy-to-grasp handle. This makes pinning long sections or corners fast and easy. Rather than wrestling with many individual pins you can simply push a blocking comb in to cover a whole area (and you know that section will be straight!).
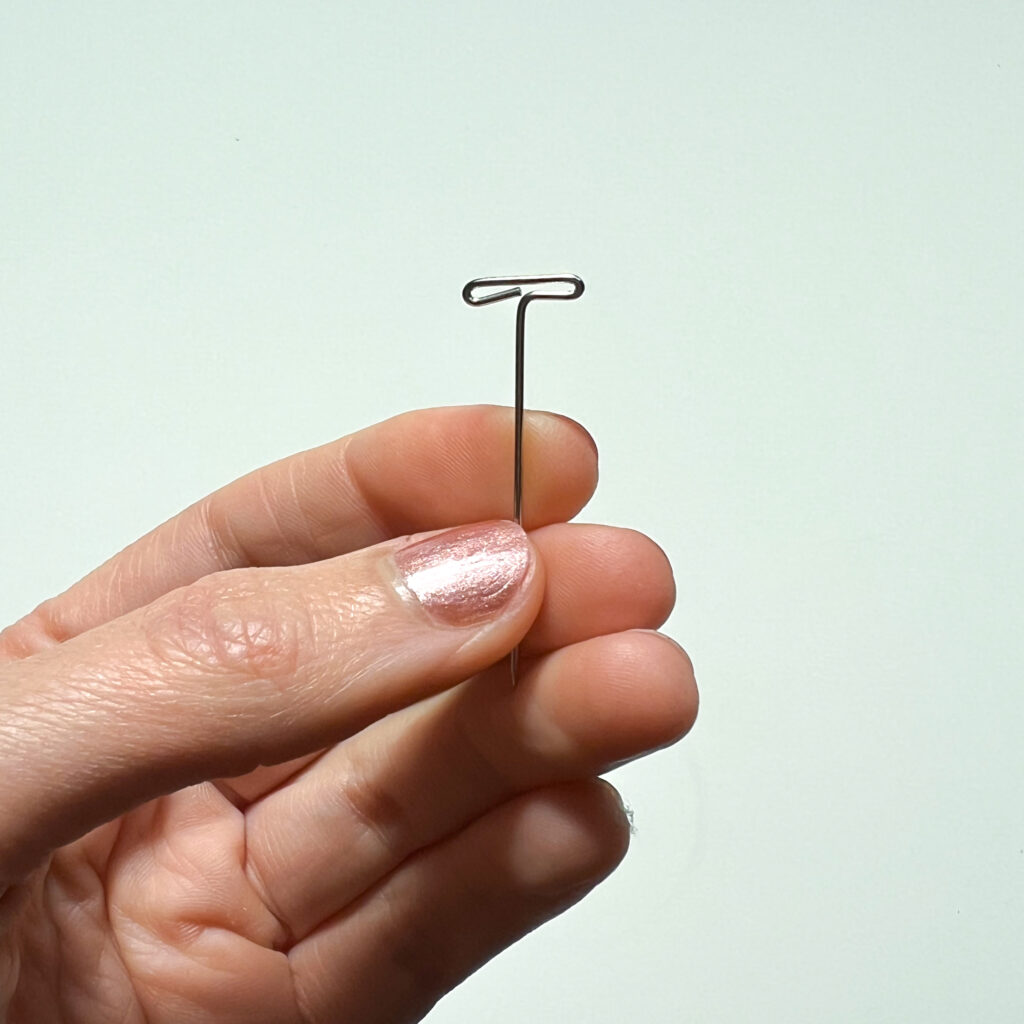
T-Pins
These pins are easy to find in any craft store and you can buy them in bulk! Look for rust-free stainless steel and nice sharp points. You can insert these pins to pinpoint specific areas that need to be blocked (great for lace points along edges!). The “t” shaped head makes them easy to push in and pull out of the project.
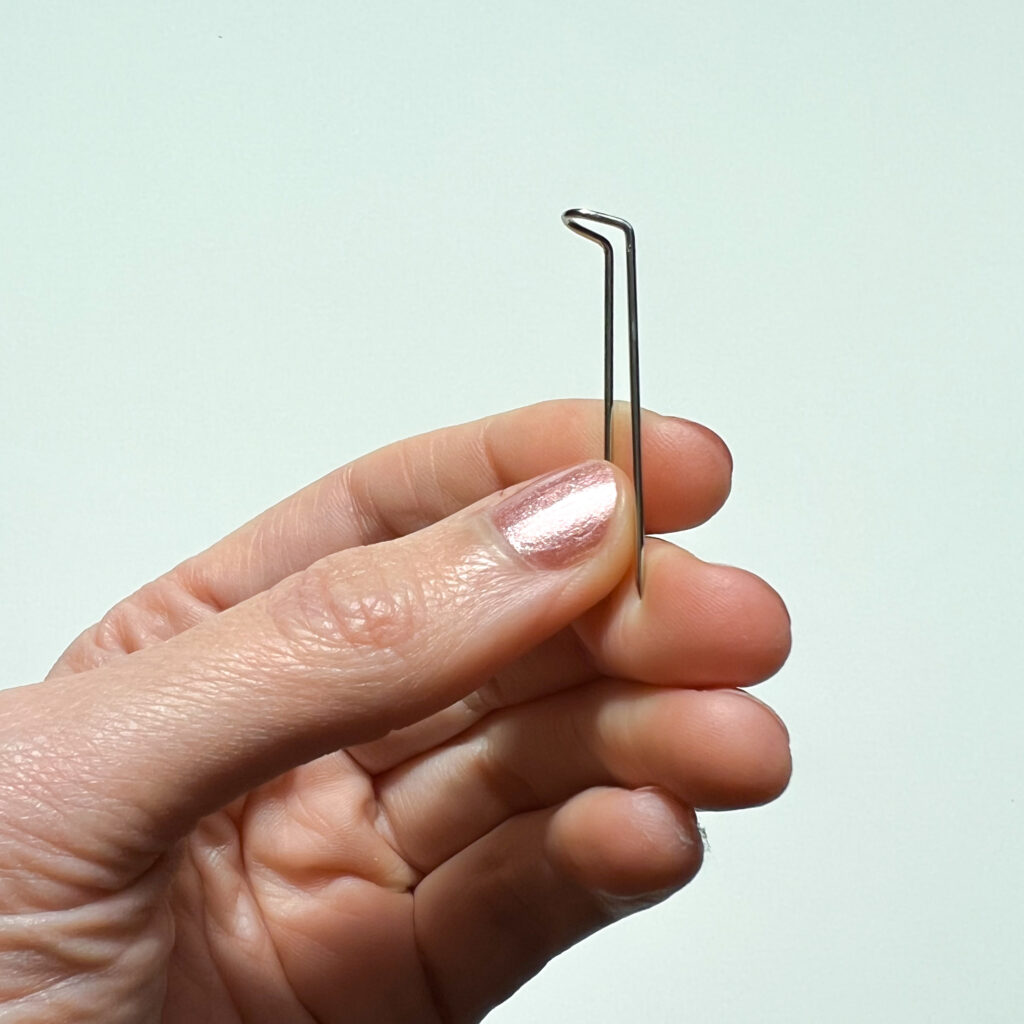
U-Pins
These pins have two legs which means they can pin two points at once! The curved head makes it easy to push them in or pull them out of the fabric. This style splits the difference between single t-pins and blocking combs.
There are several different approaches to blocking knitting and crochet projects. The big differences are in how the pieces of knitting or crochet get wet. Not sure how to choose between blocking techniques? Let’s take a look at the pros and cons of each!
The technique in this tutorial shows how to wet block knitting. This means that the whole knitted or crocheted piece is soaked in a water bath.
Pros: your project is totally saturated which makes for more even, thorough blocking.
Cons: There’s a lot of moisture to remove and some thicker projects can take multiple days to air dry.
Best for: projects that need heavy duty blocking like lace, cables, or projects with super bulky yarns.
You can use a simple spray bottle filled with just warm water, or a mixture of water with a dash of wool wash added for blocking knitting! Lightly mist your project to start, then pin it to your flat surface. Next, thoroughly spray the entire project and let it air dry.
Pros: projects that use thin yarns will dry super fast with just a light spray block!
Cons: Spraying usually isn’t enough to fully saturate thick yarns or dense textures.
Best for: light and airy projects or knits that just need a light touch-up between wears.
If you’ve got a garmet steamer then you’ve got everything you need to block knitting! Gently pin your project in place. While steaming make sure to keep the steamer moving and at least 1″ from the surface so that you don’t over heat your yarns.
Pros: this is a quick way to add heat and water to set a pattern or shape in knitting. It also works well on both thick and thin yarns.
Cons: Can be more difficult to evenly block a whole piece. There’s a danger of over heating delicate yarns with the hot steam.
Best for: touching up projects between wears, or light projects with good airflow for maximum steam penetration.
Phew! That’s a lot of information about how to block knitting! Now that you know a bit more about how to block knitting I hope that it makes it easy to actually DO IT for every project. It’s so tempting to skip this step but it makes a huge difference in the finished project.


Great information. I’m making a blanket with knitted squares. Every square is a different pattern so they definitely need to be blocked. I feel much more confident