How to Double Crochet Stitch for Beginners: 6 Easy Steps!
All about the double crochet stitch
All about the double crochet stitch
Let’s take things up a notch! Today’s lesson is all about the double crochet stitch. Also known as “DC” in crochet patterns, the double crochet is used to make many awesome crochet projects like granny squares, sweaters, tank tops, and more.
The DC is made by going through sets of 2 loops on your hook twice. I know that sounds a bit confusing. But you’ll see what I mean in a bit.
Ready to learn how to “dc”? Check out the step-by-step tutorial below.
You’ll only need 2 things to make the double crochet. Take a look:
Yarn tip: Don’t like how thin worsted weight yarn is? Choose super bulky or chunky yarn. They are much easier to hold on to and stitches show up much clearer. Opt for more affordable yarn brands so you don’t feel too bad about scrapping your first few attempts.
Try to avoid fuzzy yarn like chenille and velvet yarn as stitches become hard to distinguish once crocheted!
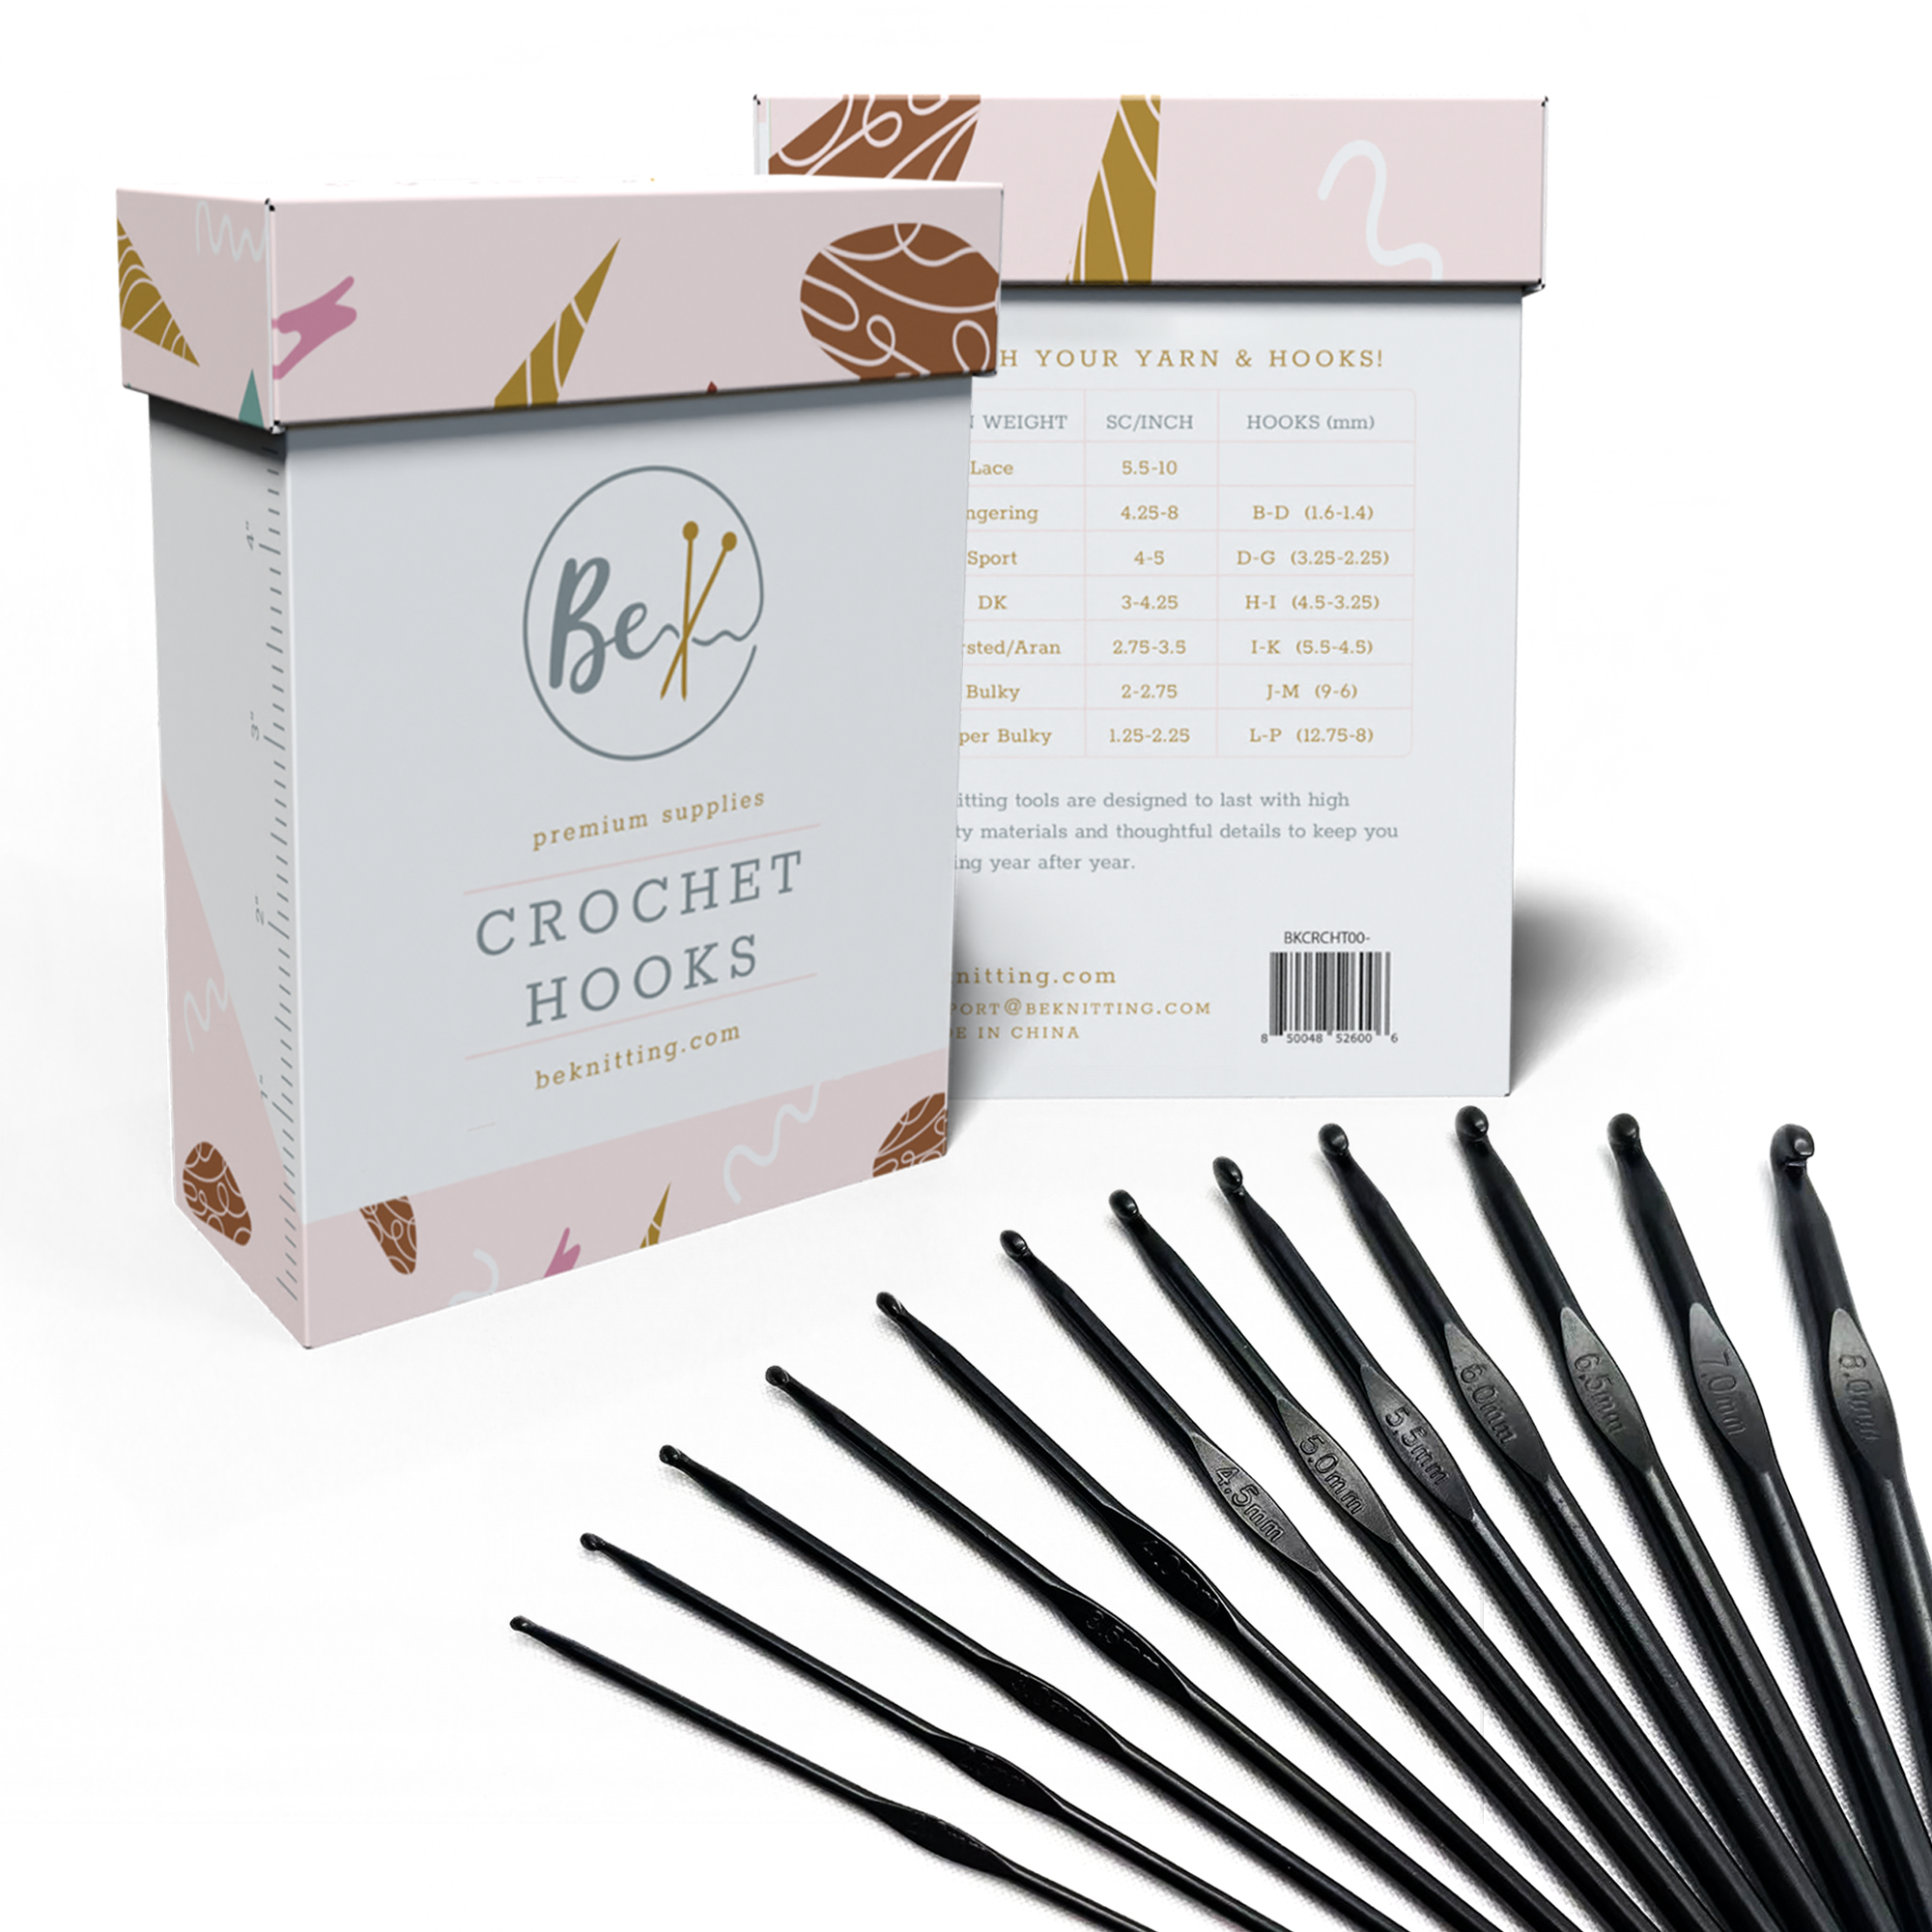
Learning how to crochet? Perhaps you’re looking for the perfect gift for a crocheter?
This ultra-sleek set of 12 crochet hooks is all you need to stitch up all sorts of fun patterns. Get all the essential hook sizes plus a handy container to store them in!
Available on Amazon now!
Crochet stitches are best learned with visual aids. So we made sure to include photos in this quick and easy tutorial below:
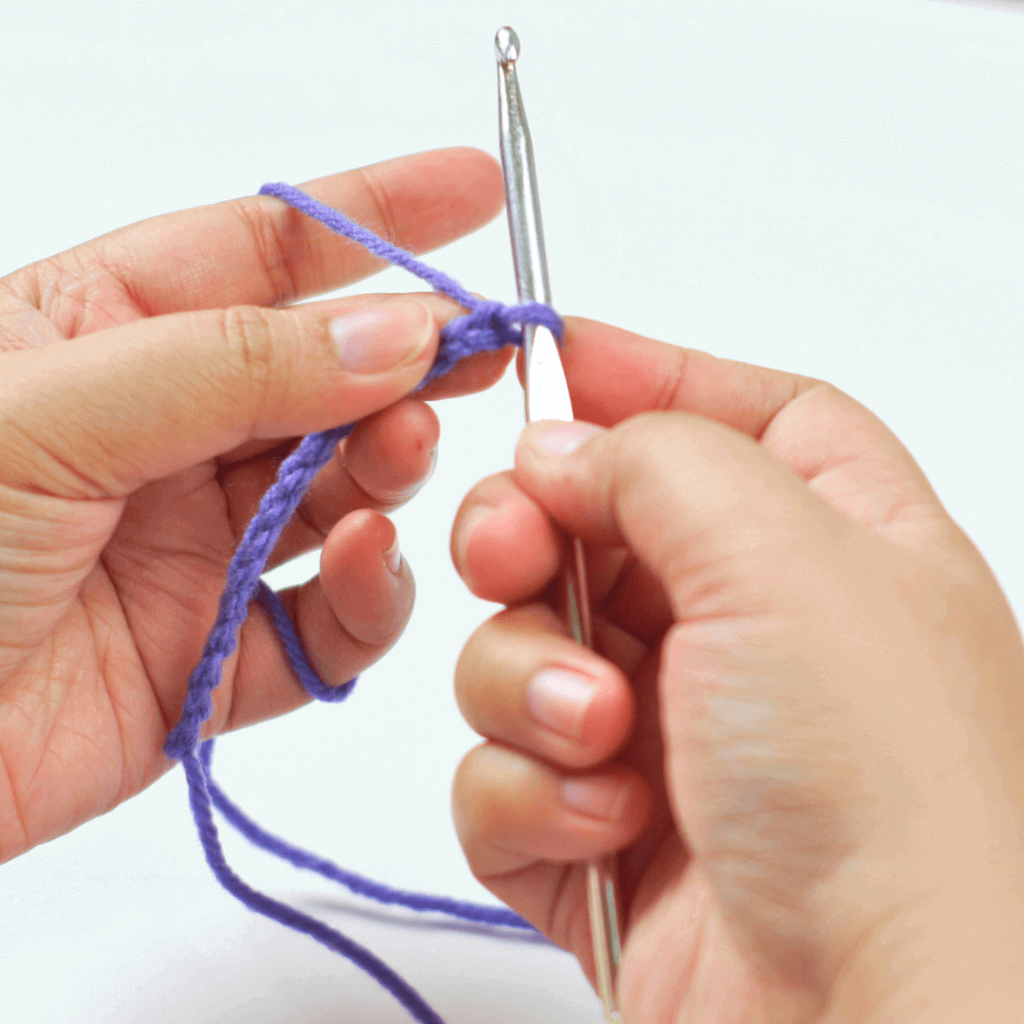
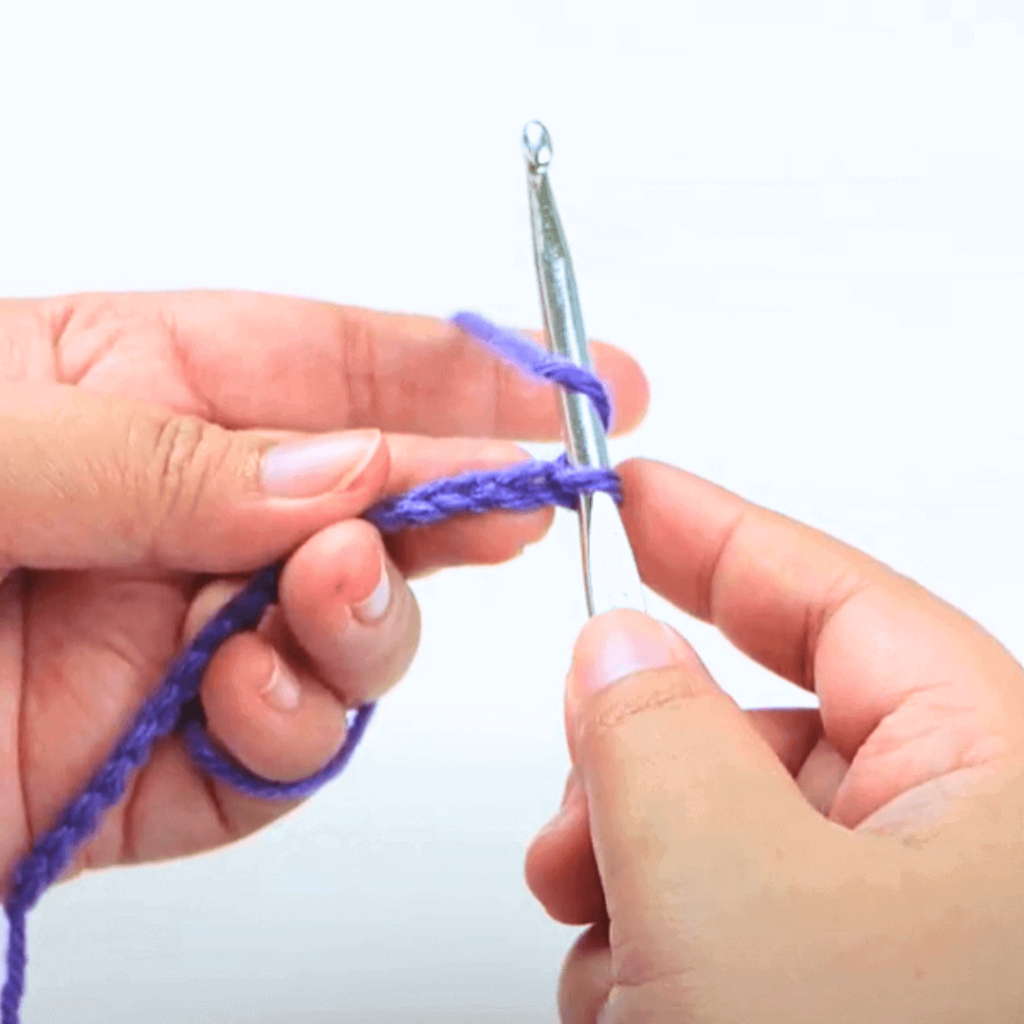
Yarn over once before going into the stitch.
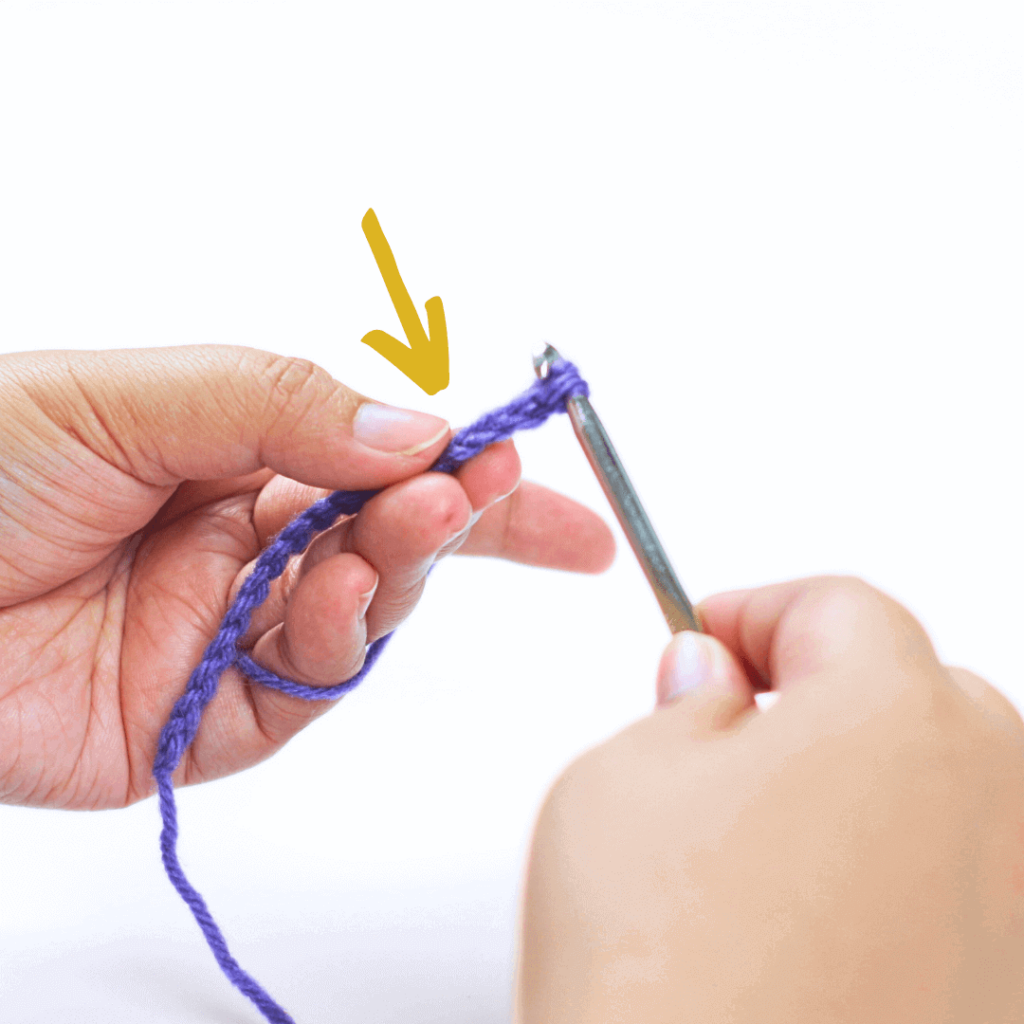
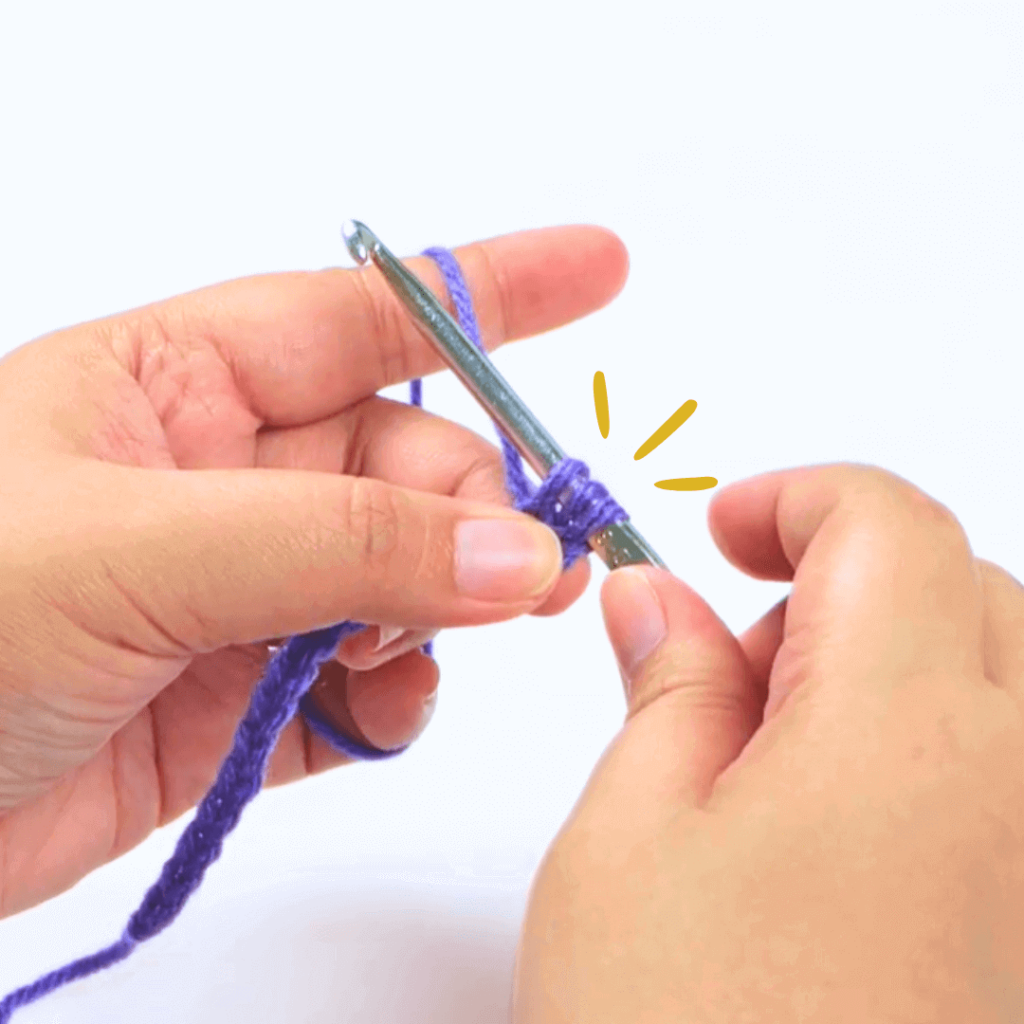
After yarning over, go into the chain and grab a loop.
You should have 3 loops on your hook like the second image on the bottom left of Step 2.
Pro tip: Make sure your hook is facing towards you to have an easier time grabbing a loop.
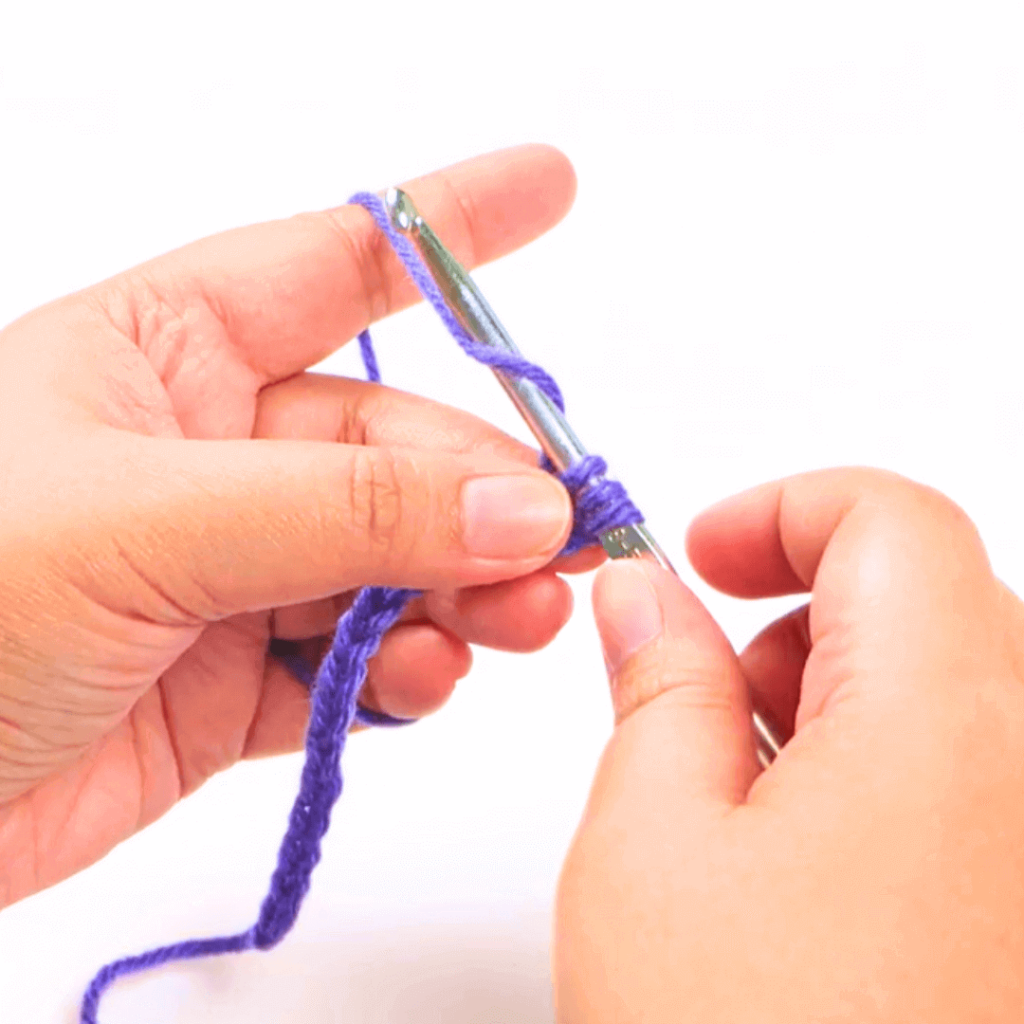
Go from under your working yarn and over, grabbing a loop using your hook.
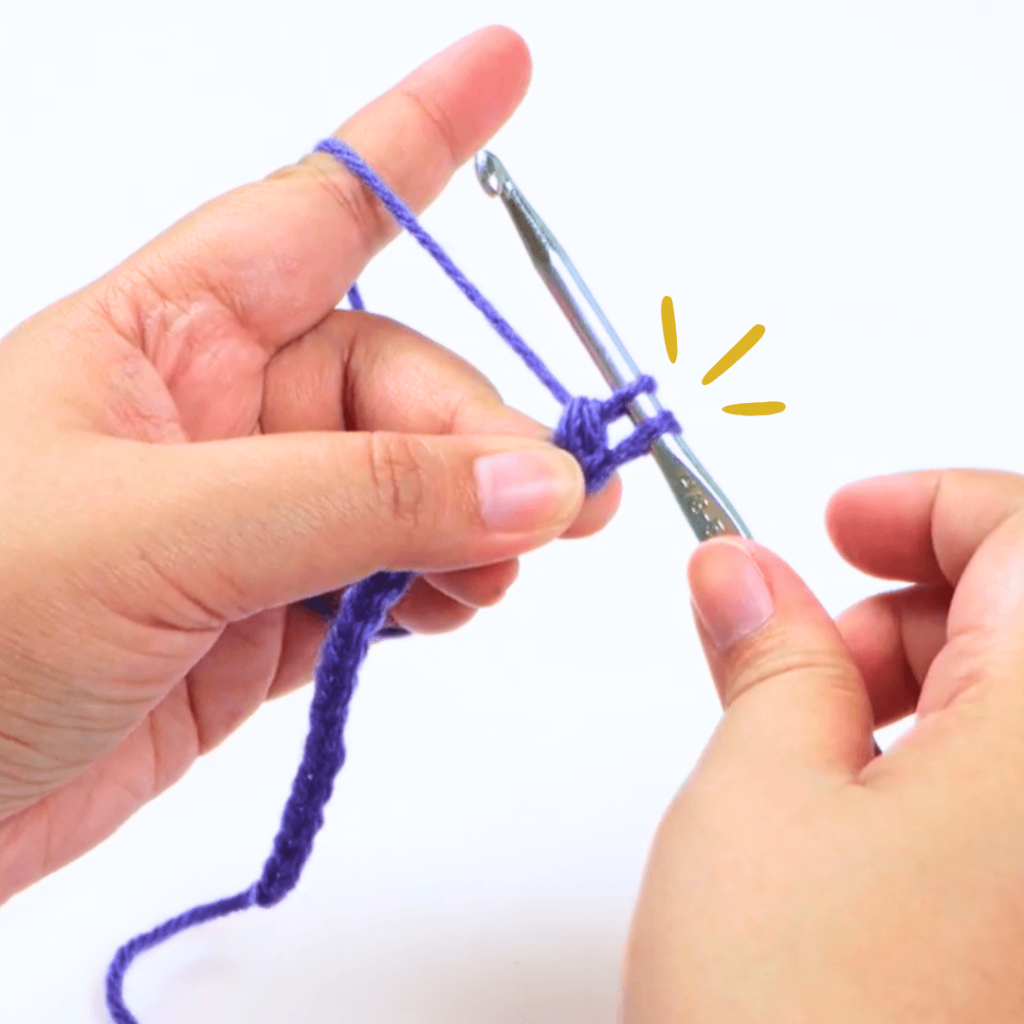
Go through the first 2 loops on your hook. This should still leave you with 2 loops.
Pro tip: When working with multiple loops on your hook, try rotating your hook 90° downward without dropping your yarn-over and pull it through.
You can also grab the base of the stitch you are making for more stability.
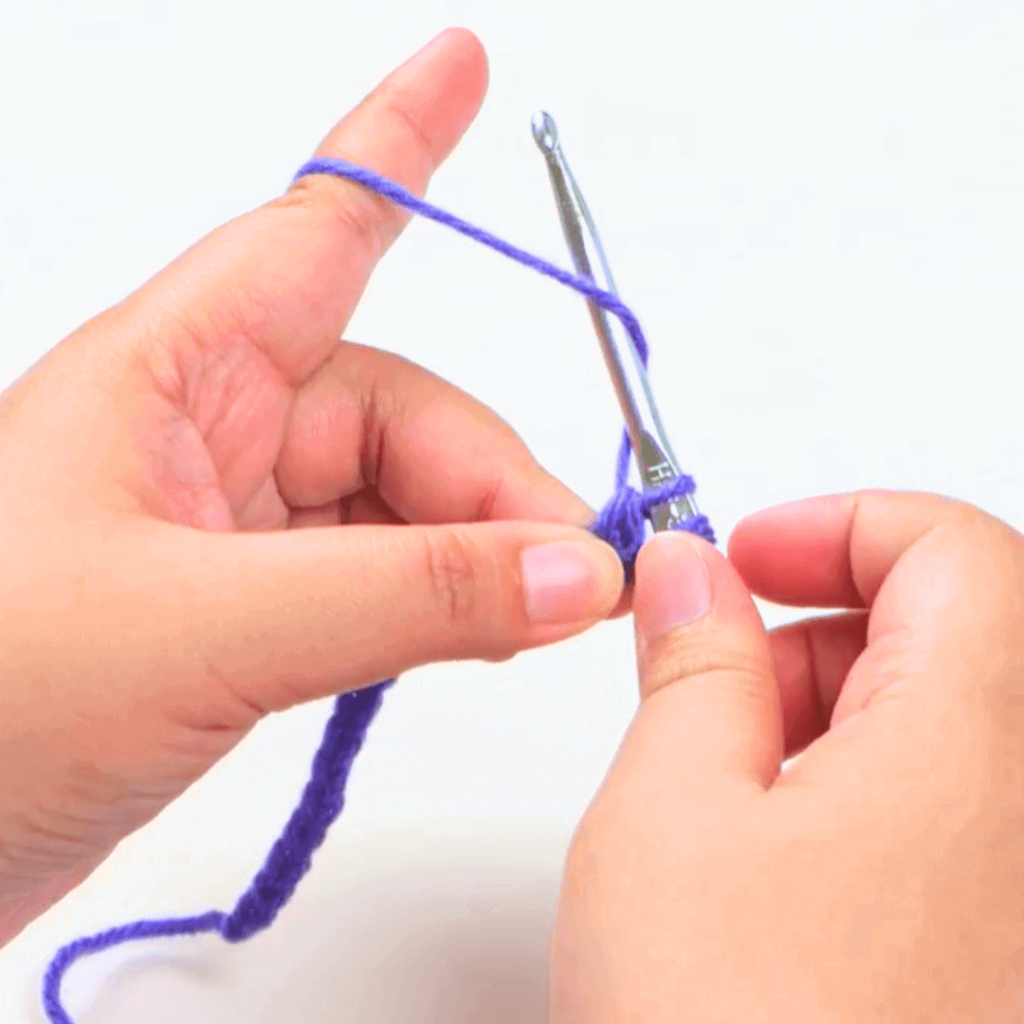
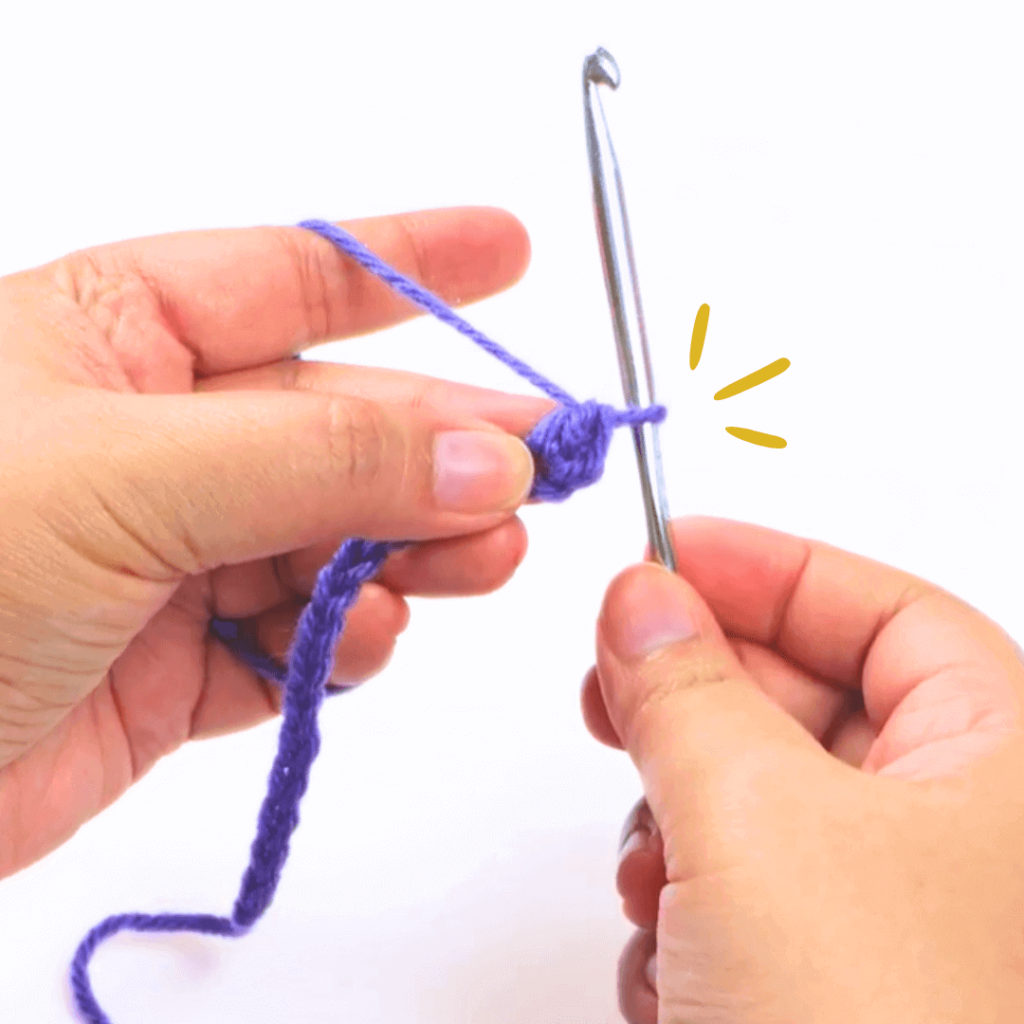
Now you have your first double crochet!
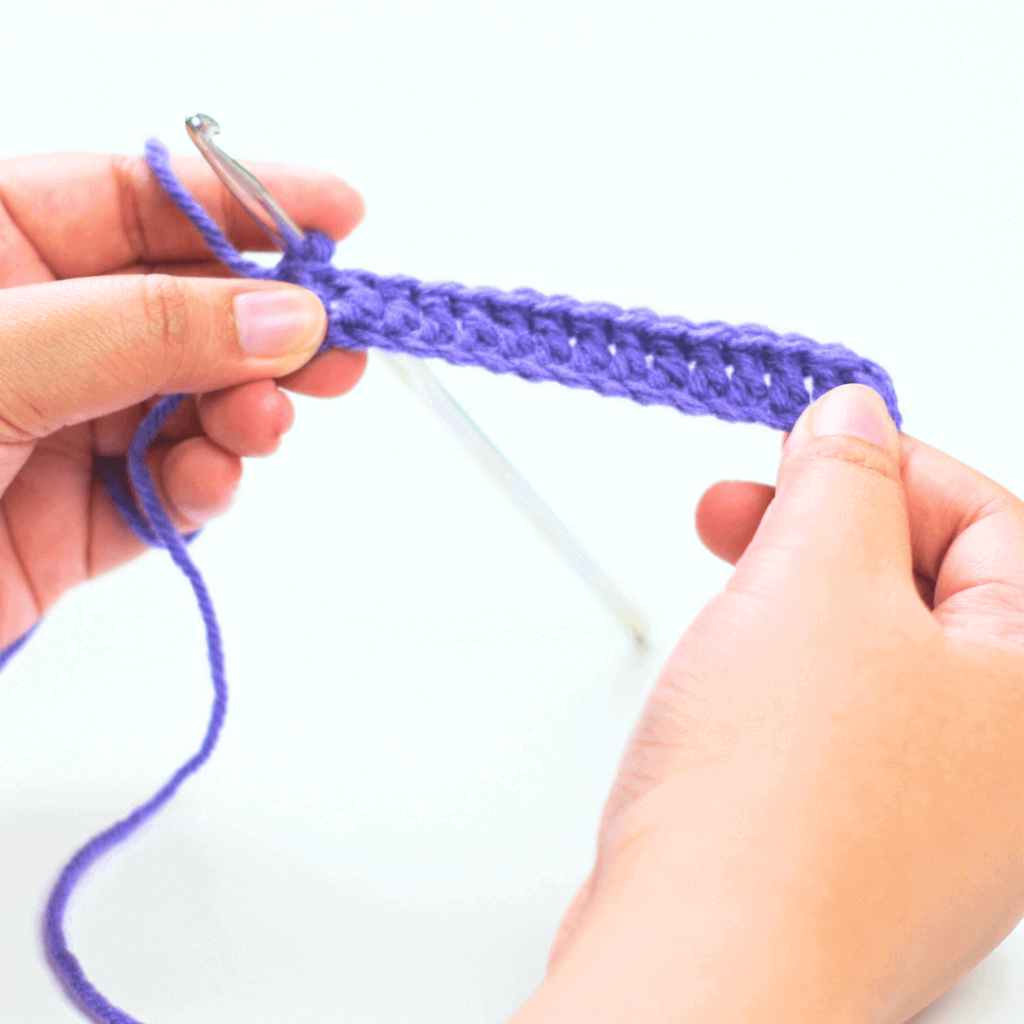
This is how your first DC stitch should look! Continue repeating steps 1 to 6 until you’ve reached the end of your foundation chain.
The extra stitch we made at the end was simply for raising the first stitch of the row. It’s not usually included in the stitch count. So the 11 to 21 chain stitches you made are really just 10 to 20 stitches. Making an extra chain one will help give you a neater and straighter edge. Extra “chain ones” are also used to go up a new row.
The double crochet is made by going through two loops at a time, twice. But how does it differ from the single crochet and half double crochet?
The single crochet is made by going through a stitch, grabbing a loop, yarning over once, and going through the two loops on your hook. This results in a small stitch perfect for amigurumi and other crochet patterns that use closed stitches.
The half double crochet stitch has an extra yarn over before you go into the chain stitch to pull up another loop. This results in three loops on your hook that you have to go through in order to form the half double crochet. It’s also slightly taller than the single crochet stitch but shorter than double crochet!
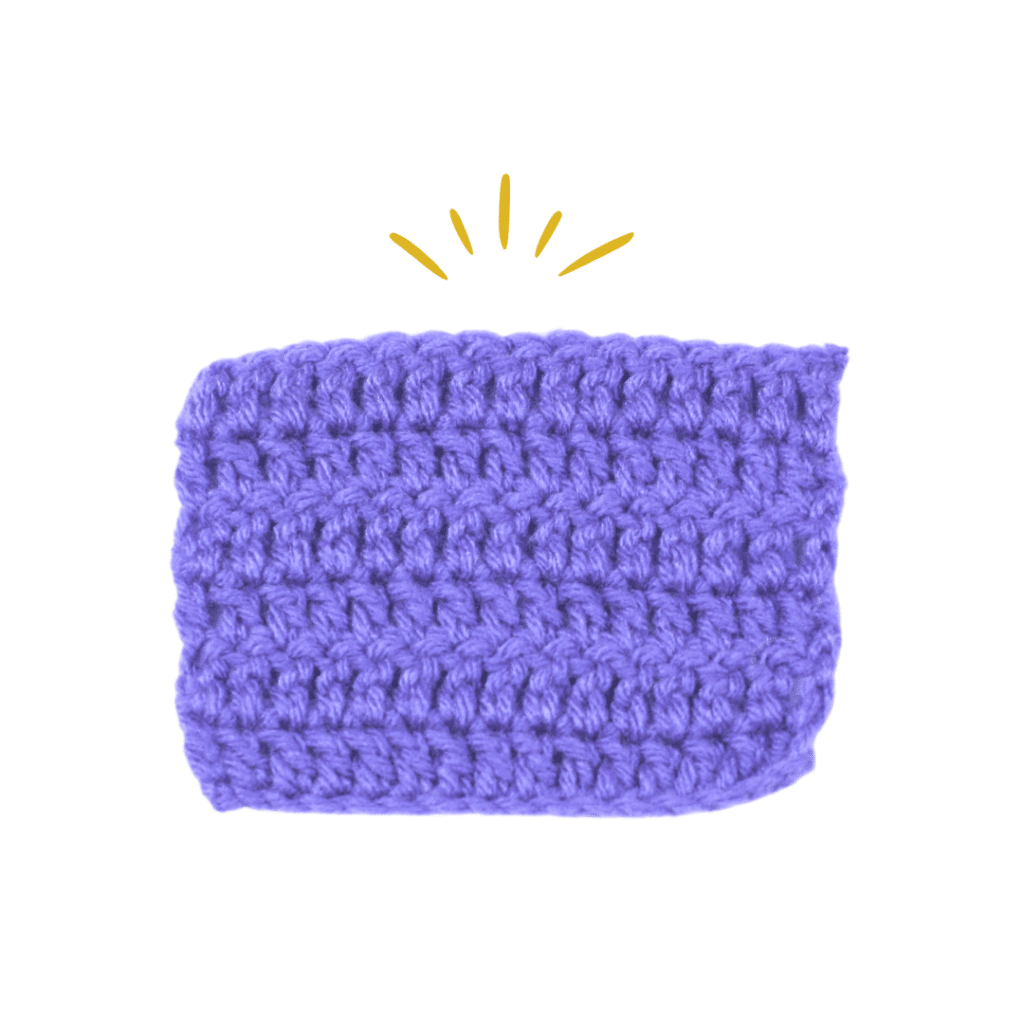
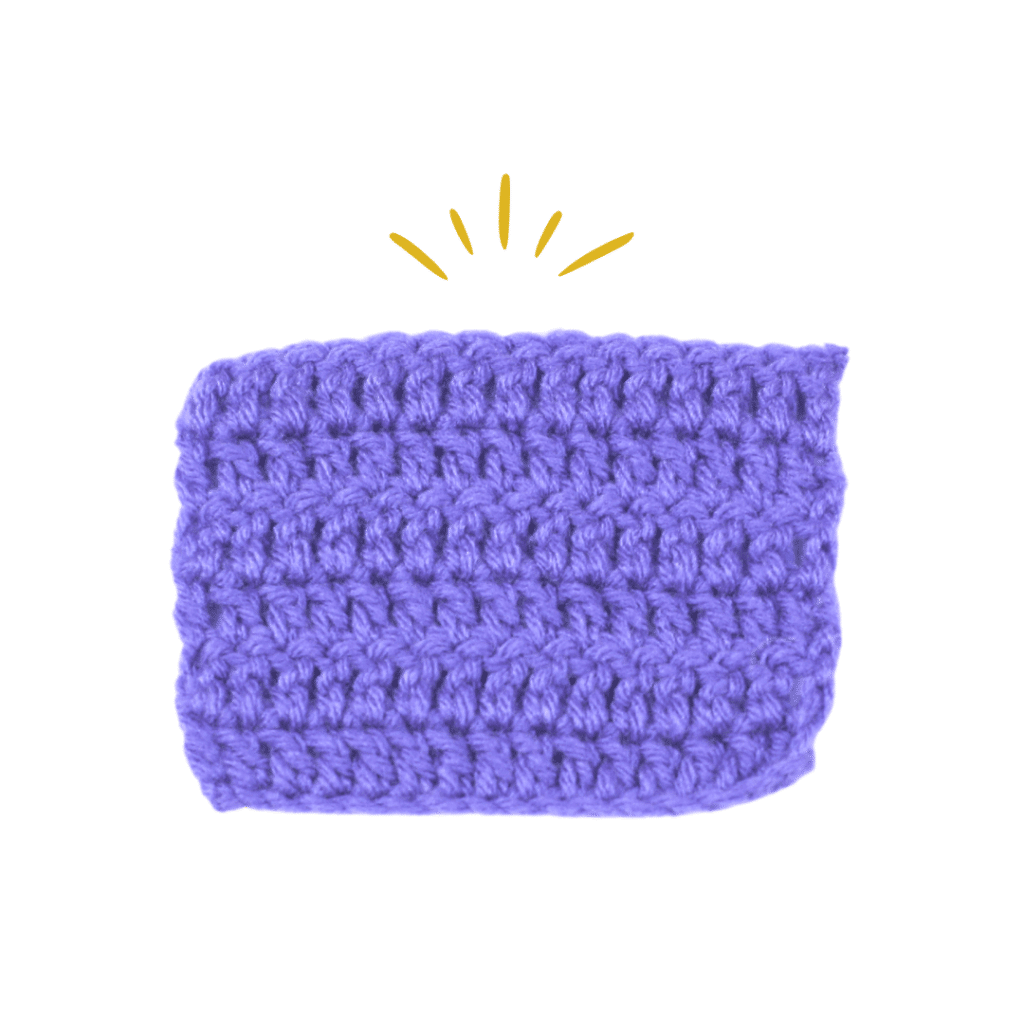
Your double crochet swatch should look somewhat like this. As you can see, the corners are a bit wonky. That happens quite often to flat crochet fabrics. All you have to do to crisp up the edges is to block your crochet fabric!
