How to Finger Knit a Blanket: Easy 5-Step Tutorial!
Finger knitting blankets for beginners!
Finger knitting blankets for beginners!
Welcome, all you cozy crafters! Today, we’re diving into the wonderfully tactile world of finger knitting to create something truly special: a snuggly blanket that’s perfect for beginners. If you’ve ever felt intimidated by needles or complex patterns, fear not—finger knitting is here to save the day!
So, why is finger knitting such a fantastic starting point? Well, imagine knitting without the needles. Sounds intriguing, right? That’s because finger knitting simplifies the process, making it accessible to anyone eager to create something beautiful with just their hands and some yarn.
Now, let’s talk about the magic of learning how to finger knit a blanket! Instead of traditional needles, you use your fingers to knit a cozy masterpiece. It’s a meditative process that not only yields a lovely blanket but also helps you unwind and tap into your creativity too!
So, grab your favorite yarn, get comfy, and let’s embark on this finger-knitting adventure together. By the end of this post, you’ll have all the know-how to craft your own blanket and bask in the satisfaction of a project well done. Let’s get started!
Disclaimer: This article contains links to external unaffiliated websites.
Don’t know how to finger knit a blanket? Don’t worry, I’ll walk you through it! Before we get into the step-by-step tutorial, let’s talk about how to set up your finger knitting project.
Just like traditional knitting, you need to make some preparations in order to make your knitting experience much more smoother. So if you want to learn how to finger knit a blanket, make sure to tune in!
Before you can start learning how to finger knit a blanket, you need to determine how big you want it. Do you want an adult-sized blanket? Are you making it for a child? Or is it for a baby?
Knowing the dimensions you need will tell you how long to knit your strips. It can also help you determine the amount of yarn you’ll wind up using — which is really handy if you’re designing your own finger knitting pattern!
The appearance, thickness, weight, texture of your blanket can change depending on the material you use to kit your blanket! If you have allergies, you will have to find substitutes too. If you plan on washing your blanket often (super important for baby blankets!) then you’ll want to choose a yarn that’s machine washable. Think acrylic, cotton, or a superwash wool. If you’re going for a blanket that’s decorative and won’t be laundered often you can get more creative with your fiber choice!
Read on for a longer guide to choosing yarn for finger-knit blankets below!
The general rule for yarn-related crafts is that the thicker the yarn, the faster you finish! Because you’re wrapping the yarn around your fingers in finger knitting, you need to make sure the yarn isn’t too thick to fit comfortably between each finger! Test the yarn you want by wrapping it in two rows around each finger to see how it feels.
This guide is all about learning how to finger knit a blanket with your fingers. No needles, hooks, or looms! The last thing you want is to have stiff and sore fingers. Remember to stretch before each project and take plenty of breaks! Don’t worry, we have some handy tips (pun intended!) and tricks on how to take breaks that will keep you comfortable while you tackle a big blanket project.

Looking for super bulky chenille yarn that works like a dream? Say less! BeKnitting’s Finger Knitting Yarn has everything you need to make your next cozy knitting or crochet project. It’s warm, cozy, and doesn’t shed!
Available on Amazon Now!
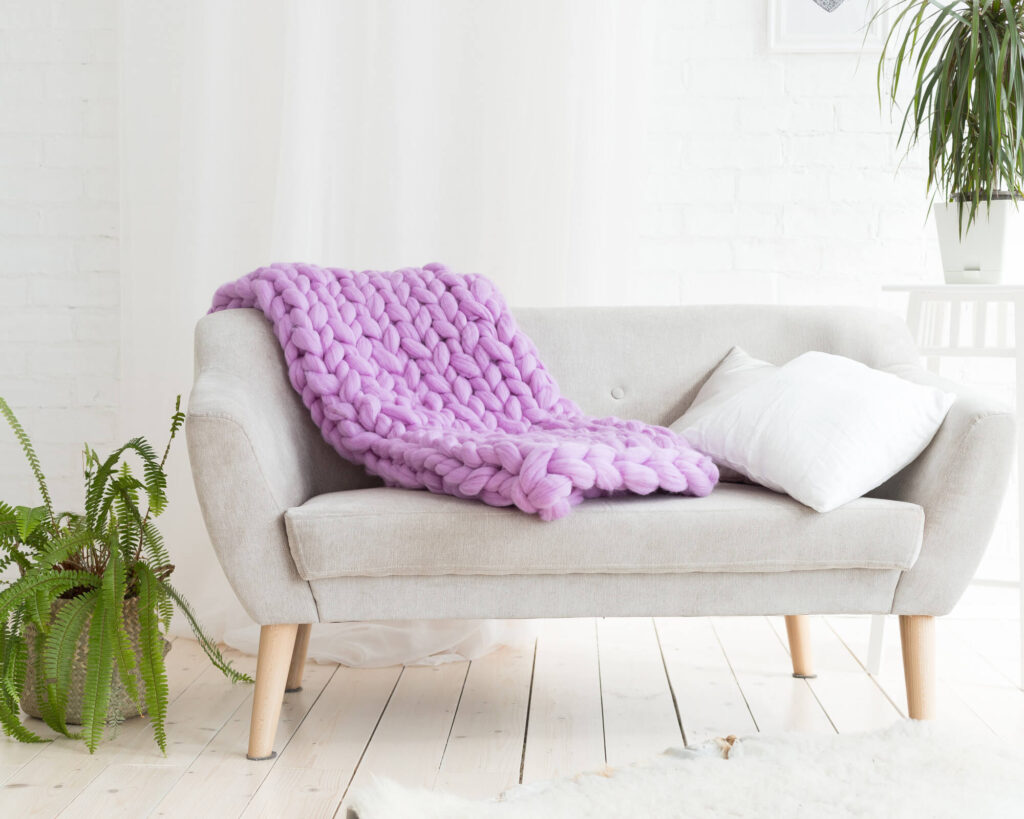
Ready to learn how to finger knit a blanket? This tutorial is completely beginner-friendly and will show you everything you need to know to make a whole stack of afghans.
You only have four fingers which means you can only knit a piece four fingers wide! Clever crafters have found a way to knit strips that are joined together as you go which means you can knit a piece as big as you’d like!
Step 1: knit one strip as long as you want your blanket to be.
Step 2: Cast off all but one stitch.
Step 3: Cast on stitches to start the next strip.
Step 4: Knit your second strip, picking up an edge stitch from the first strip at the beginning of each row to join-as-you-go!
Note: There are so many ways to learn how to finger knit a blanket. Today, I’ll show you my favorite way to finger knit a blanket for beginners.
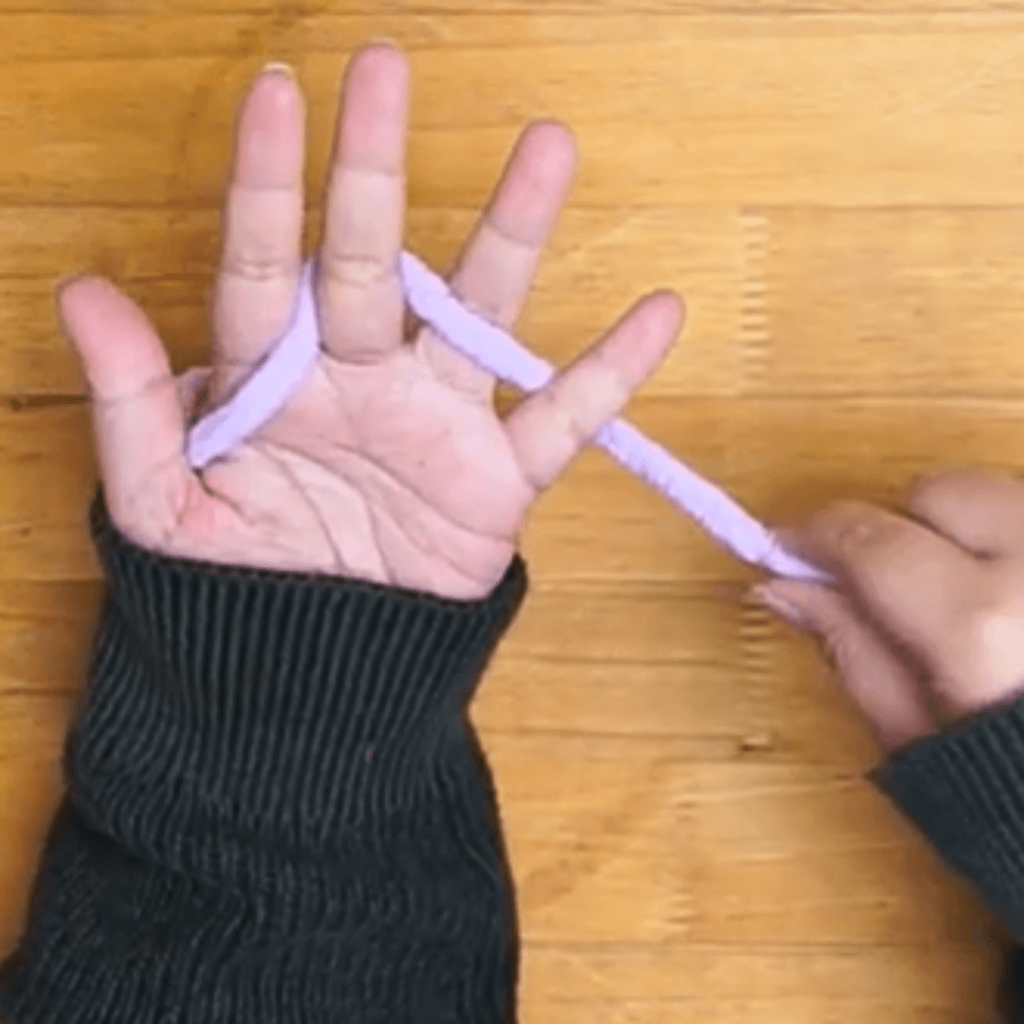
Take your yarn and pinch the tail between your thumb and the side of your palm.
A: Bring the yarn behind your middle and pinky fingers.
B: Loop the yarn over your pinky finger and behind your ring and index fingers.
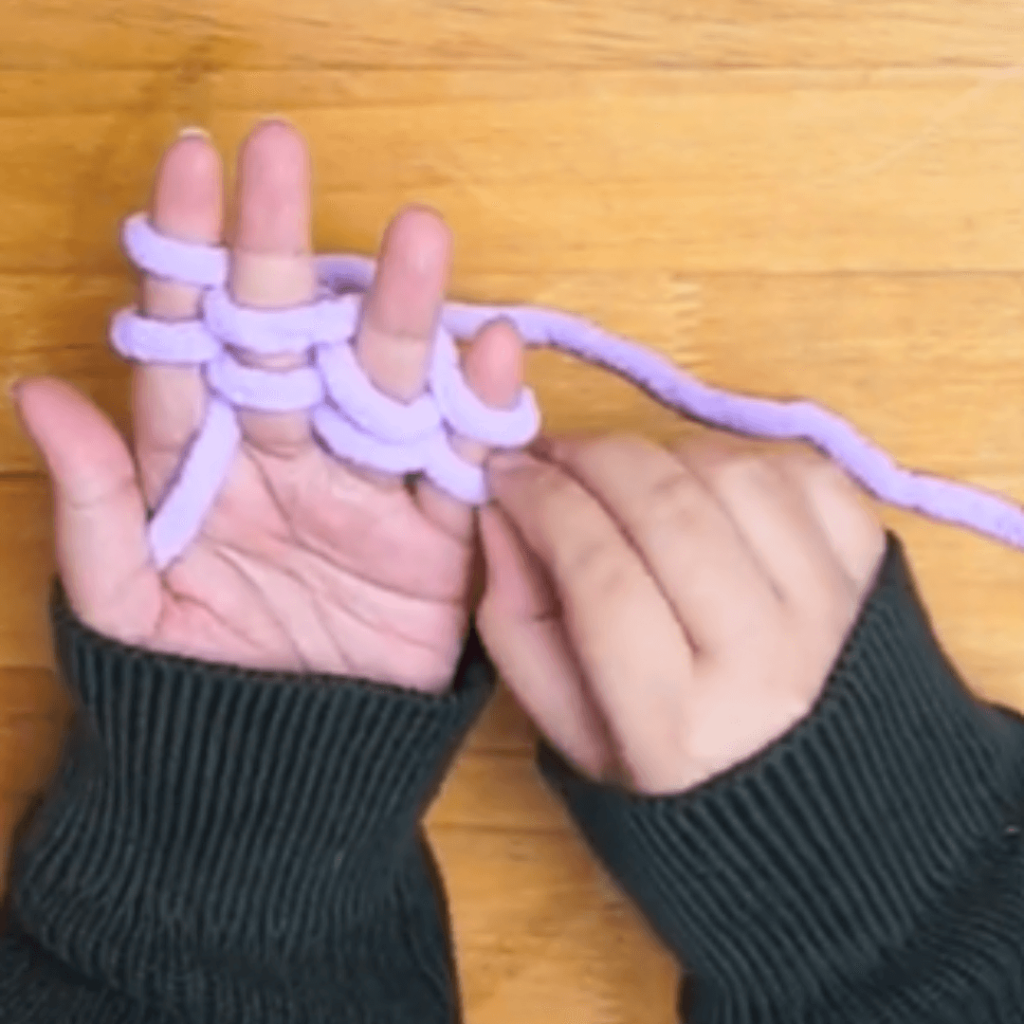
Repeat A and B until there are 2 LOOPS ON ALL 4 FINGERS.
The repeat should end with your index finger.
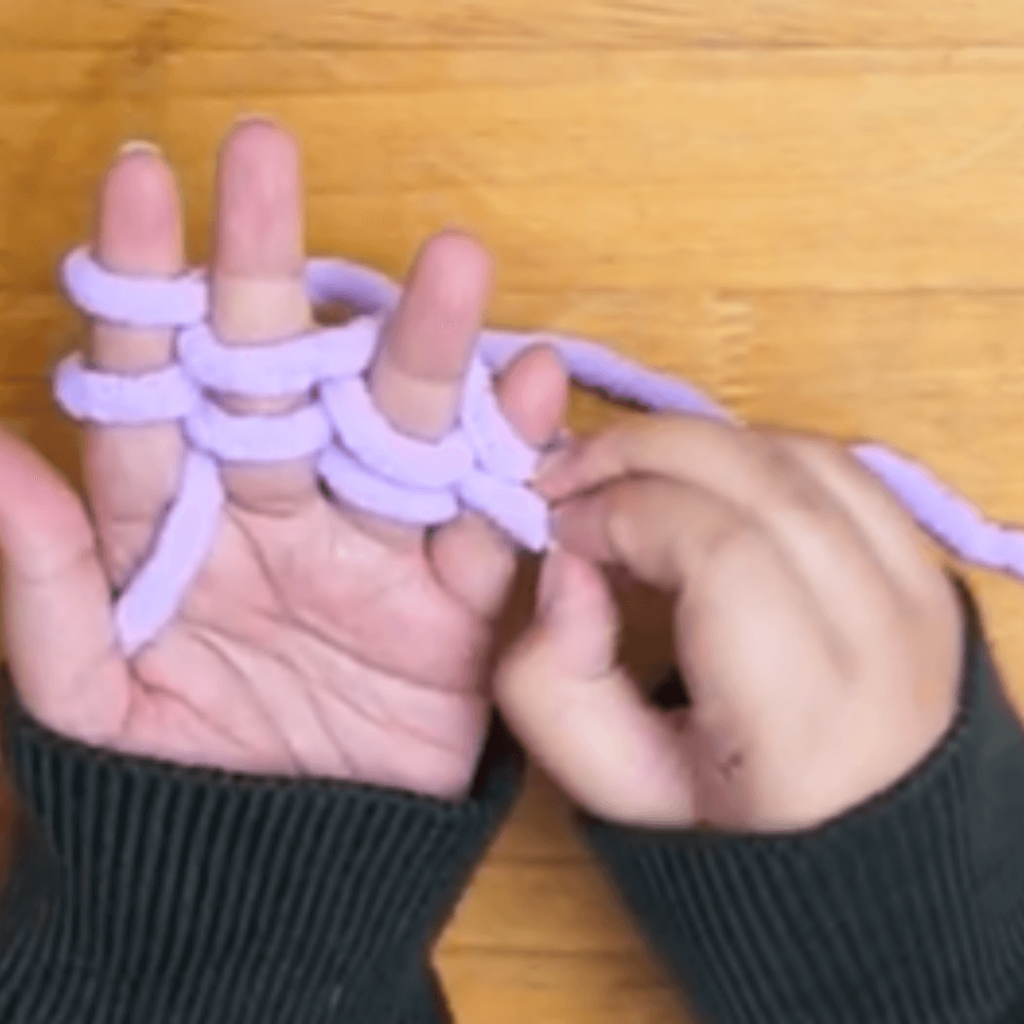
Take the bottom loop on your pinky finger and pull it over creating a loop. Repeat these steps on all fingers.
After your first knit row: Take your yarn tail and drape it over the middle of your index and middle fingers to secure it.
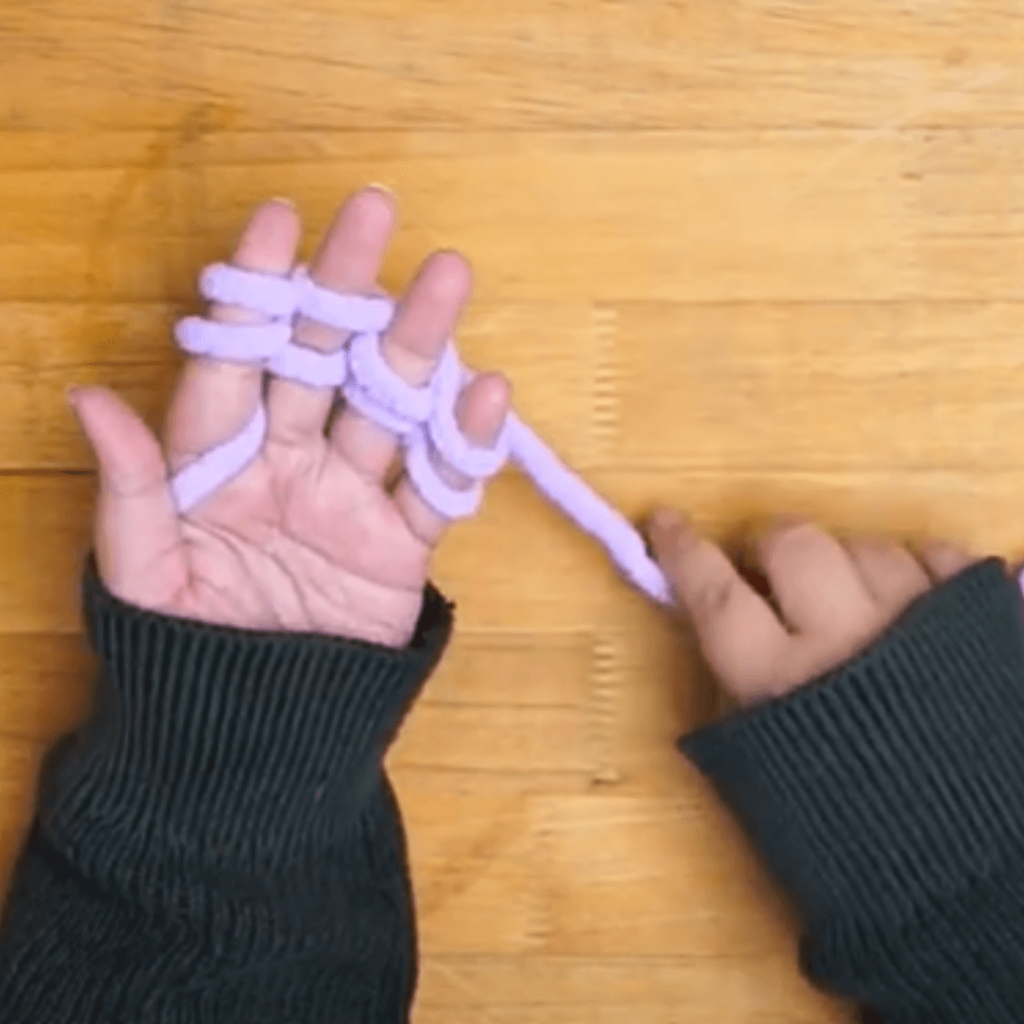
Repeat Step 1 and 2 until you reach your desired length!
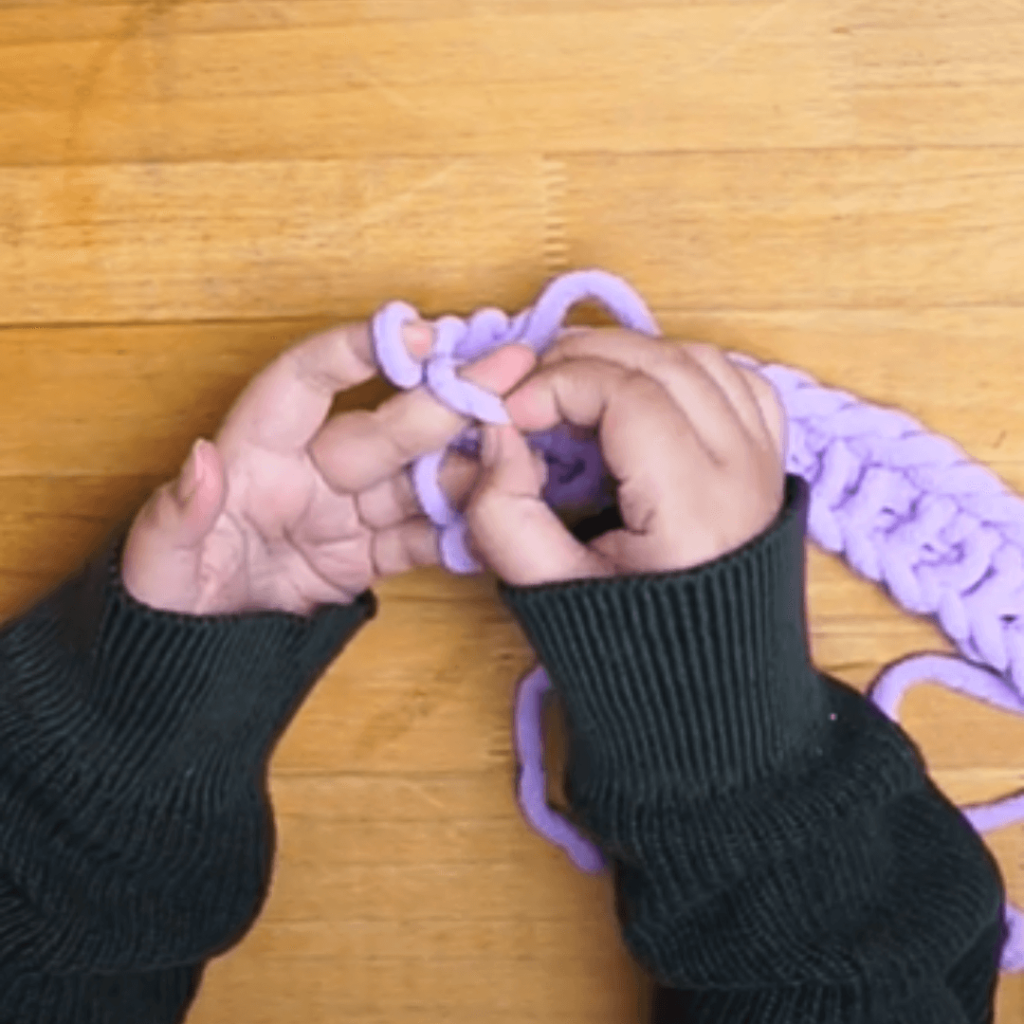
Take the loop on your middle finger and put it over your index finger.
Knit the two loops by bringing the bottom loop up over the second loop.
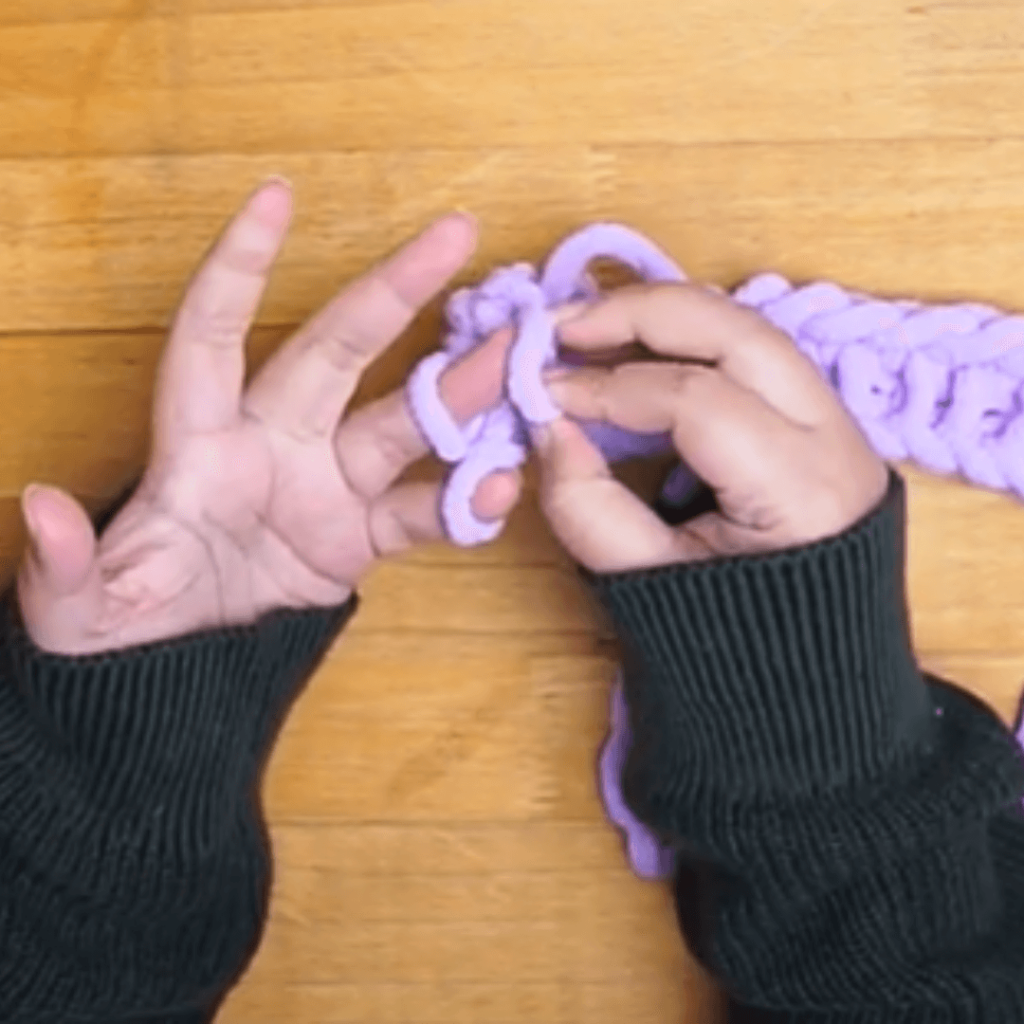
Take the loop from your index finger and move it over to your ring finger. Bring the bottom loop up over the top loop.
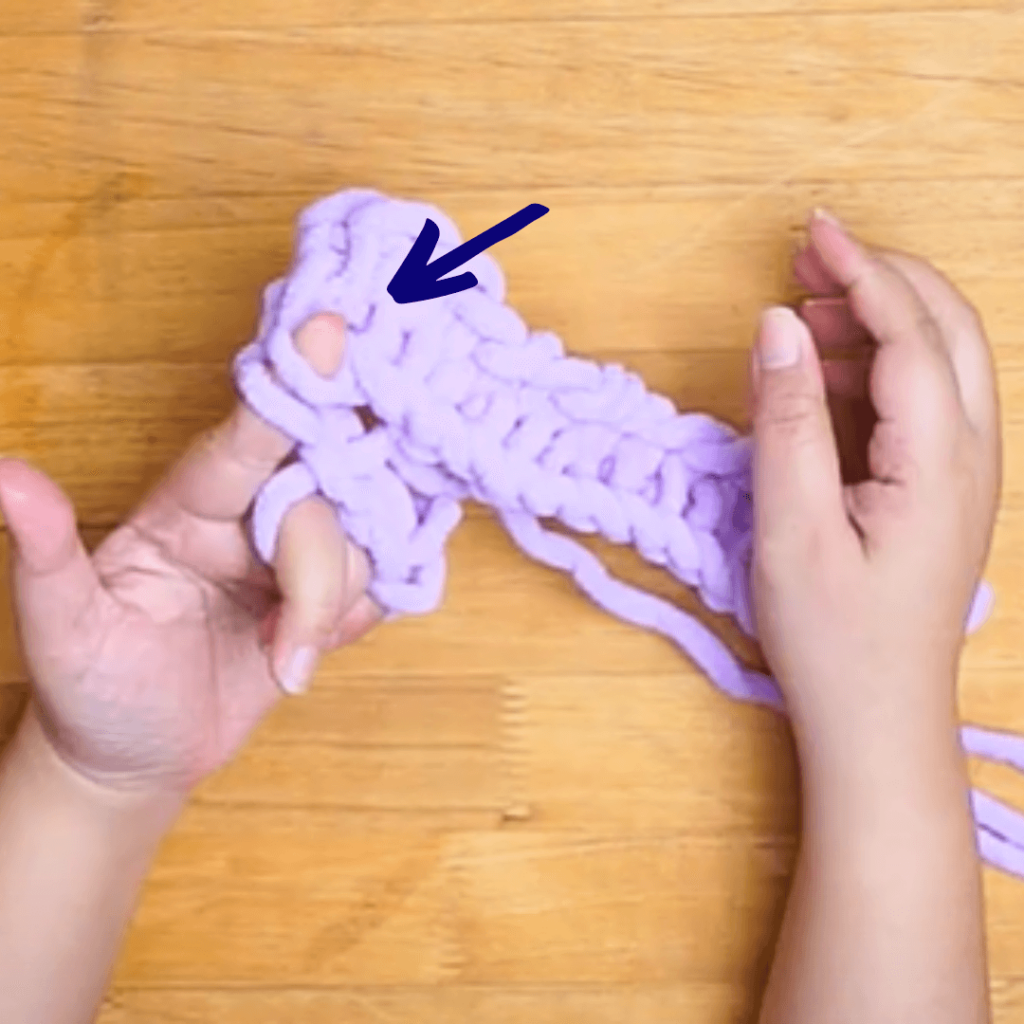
Move the single stitch to your pinky finger and knit it together with the existing stitch.
You should be left with only one loop on your pinky finger!
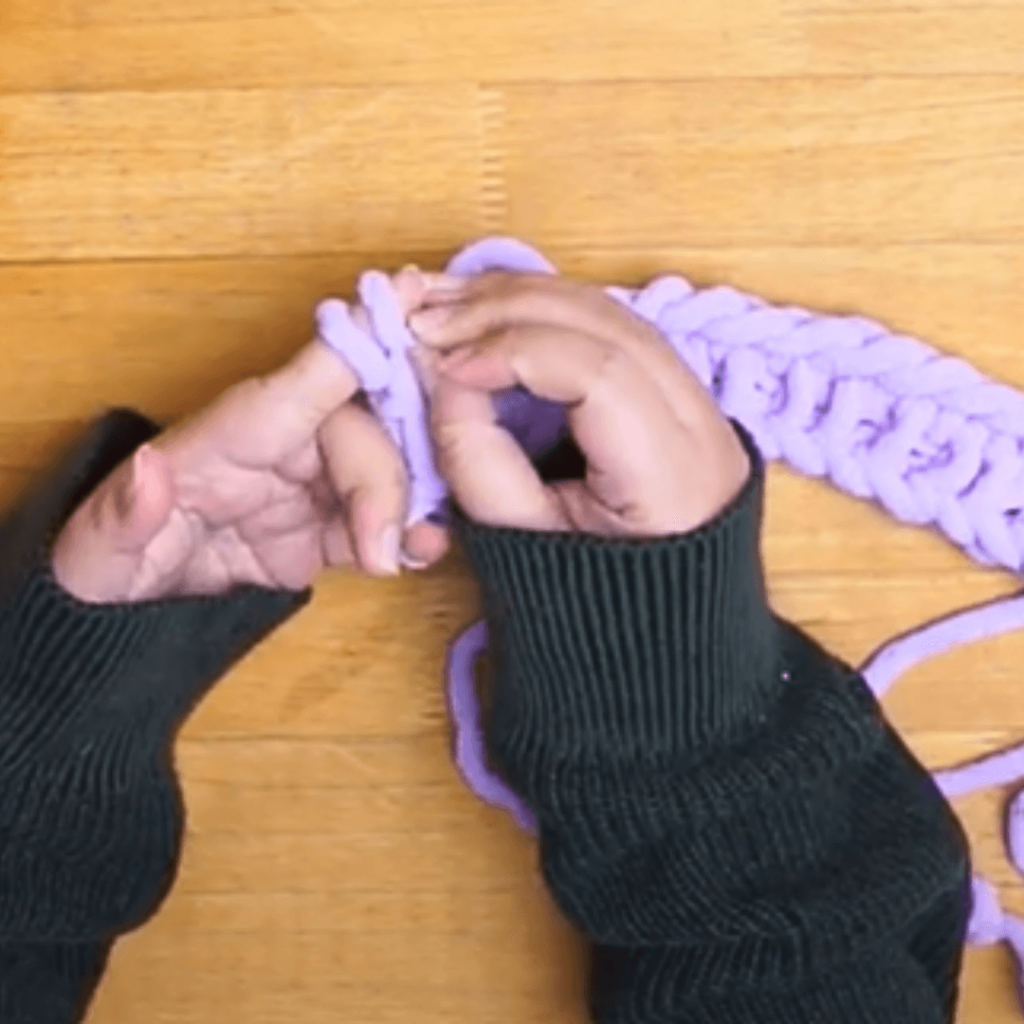
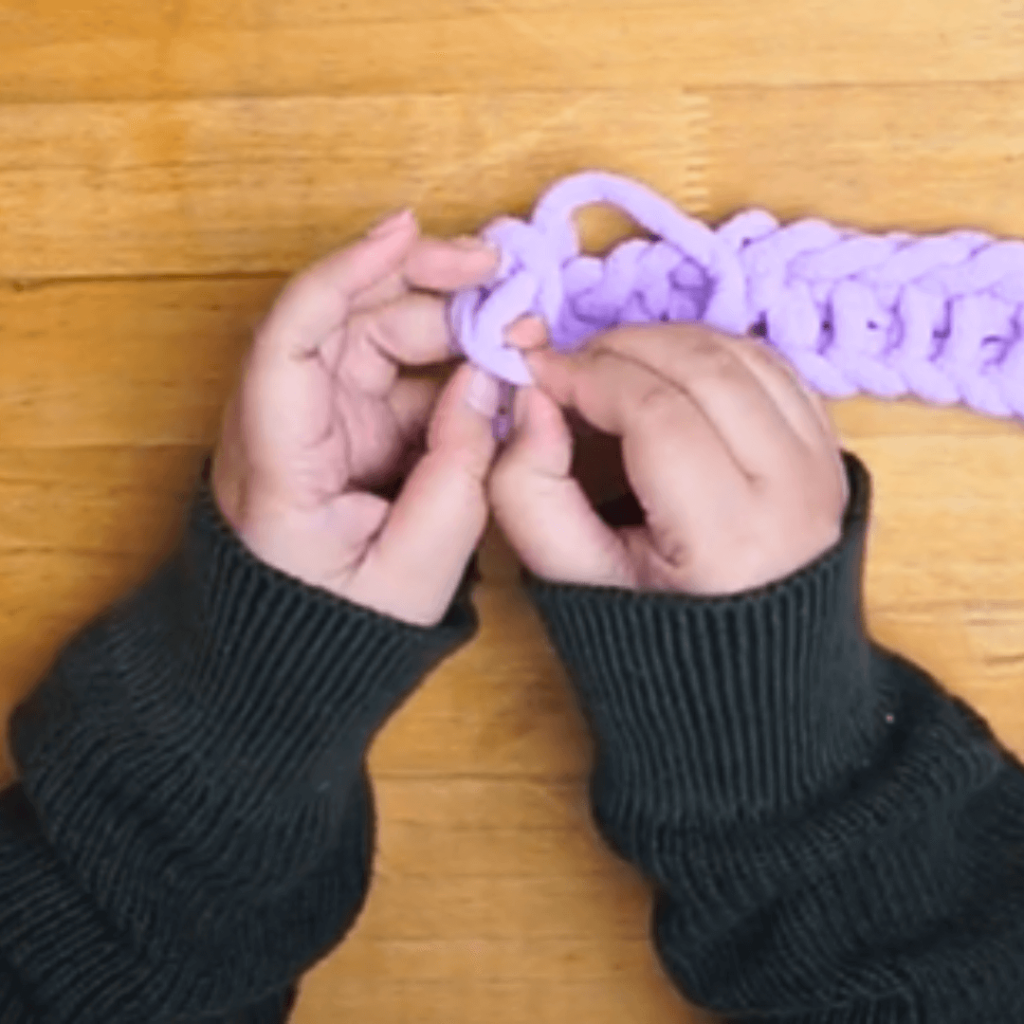
Step 4: Casting on New Stitches
First, move the remaining stitch from your pinky to your index finger.

Wrap & Knit a Row
Wrap the yarn in two rows around your fingers, starting by bringing it behind your middle finger.
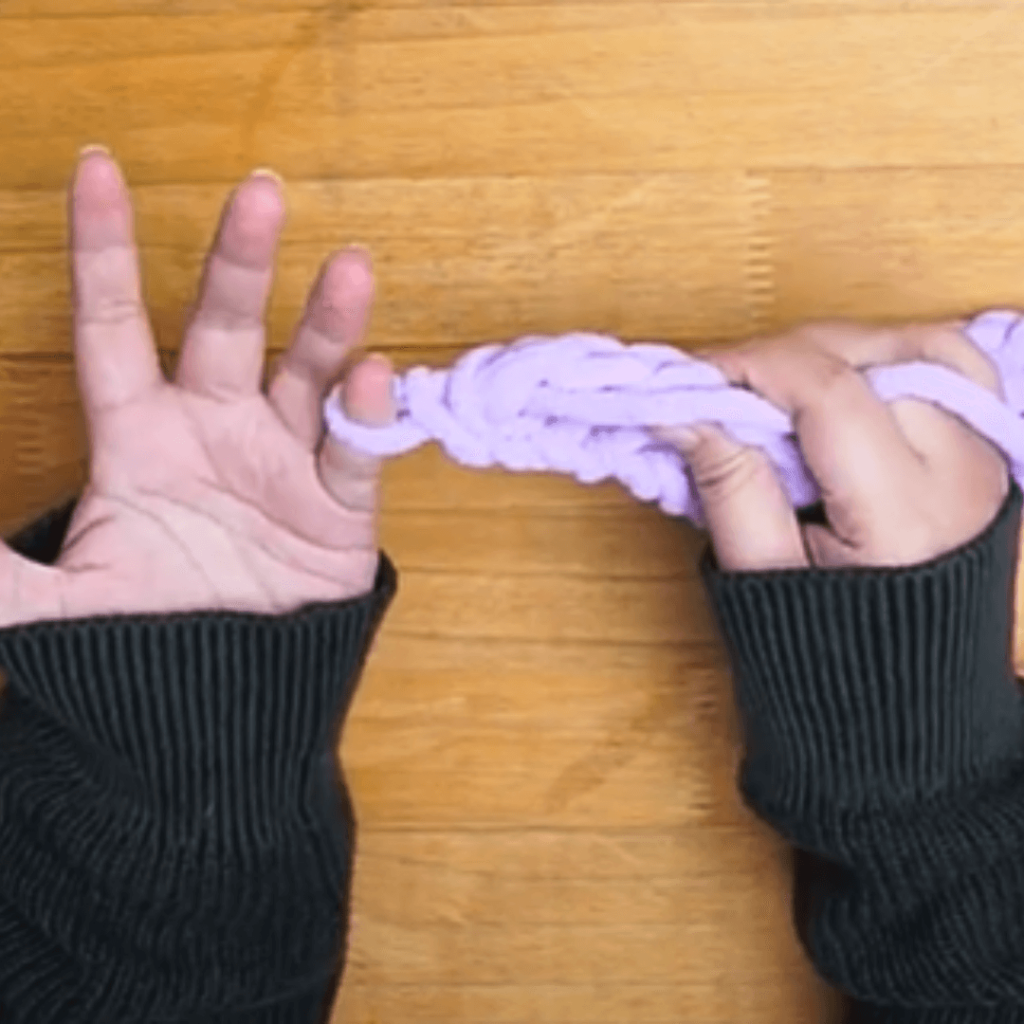
Knit all the stitches!
Step 5: At the beginning of the next row (and all rows) pick up a stitch at the edge of your first strip on your index finger.
Knit the two loops together!
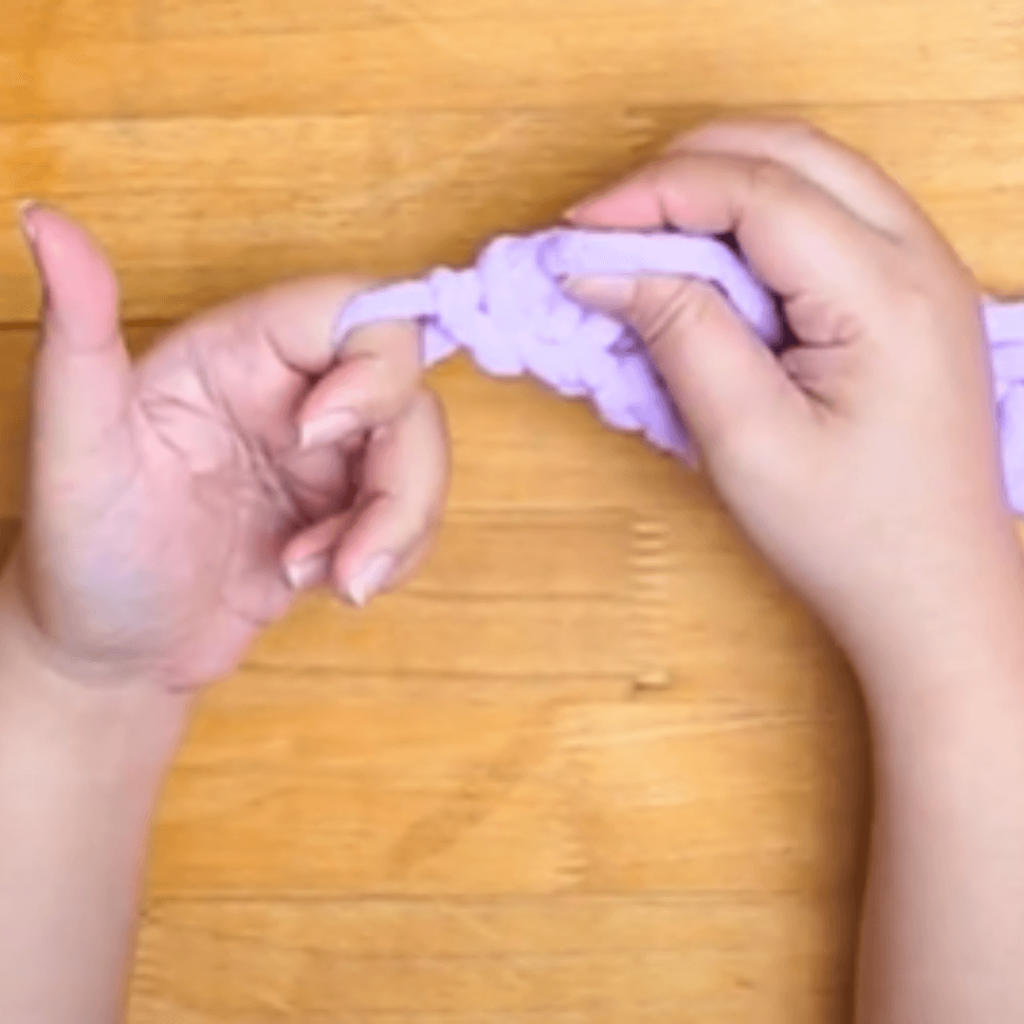
Wrap the yarn around all your fingers until you have 2 loops on each finger.
Knit all of the loops in the row!
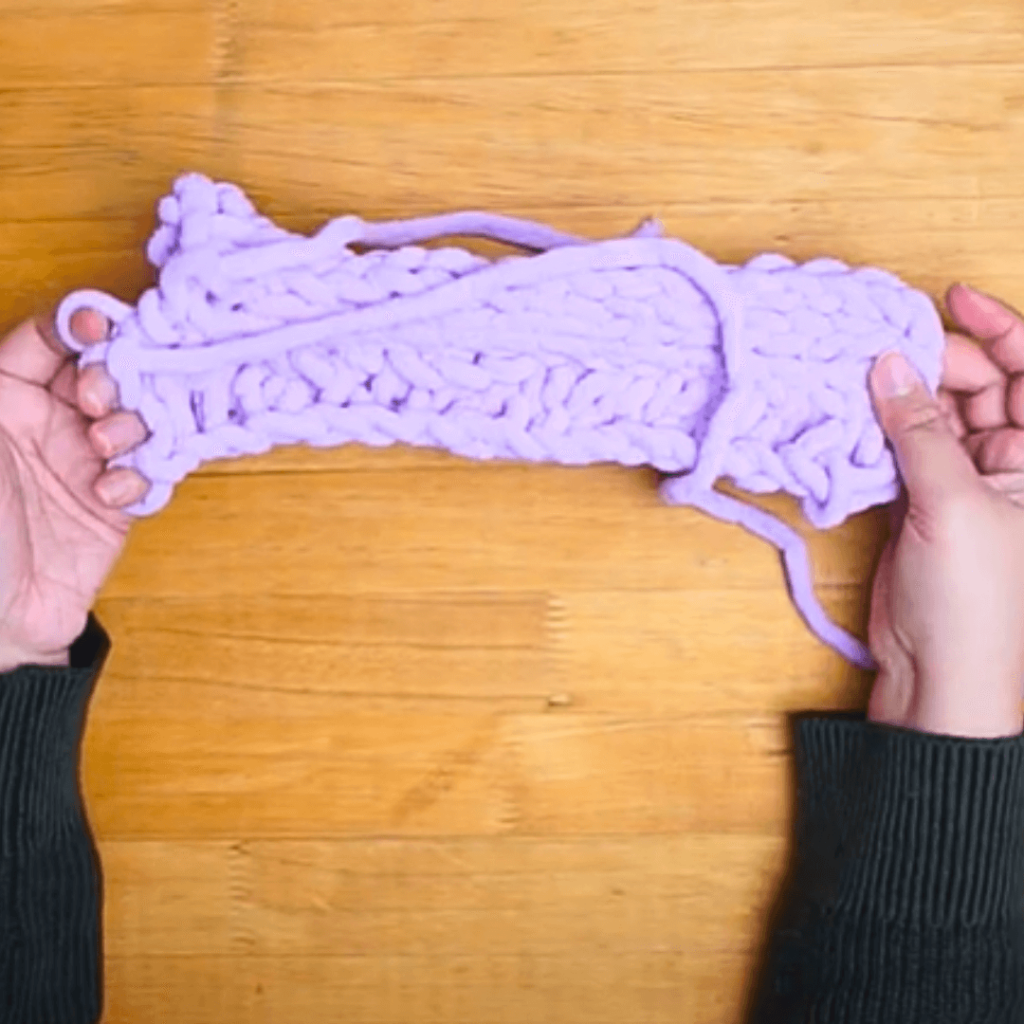
Repeat steps 4 & 5 until your second strip is the same length as the first.
Follow the steps above to knit as many strips as you need to create the finished piece!
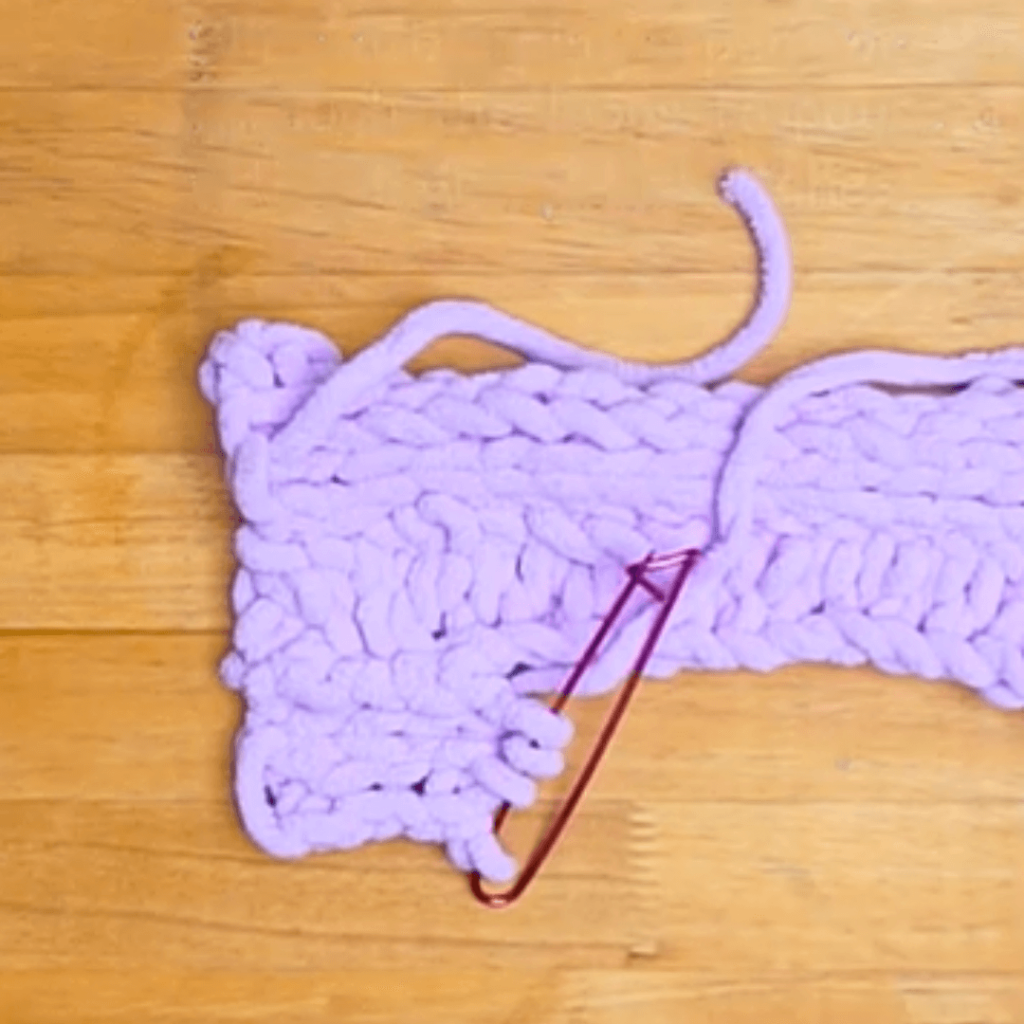
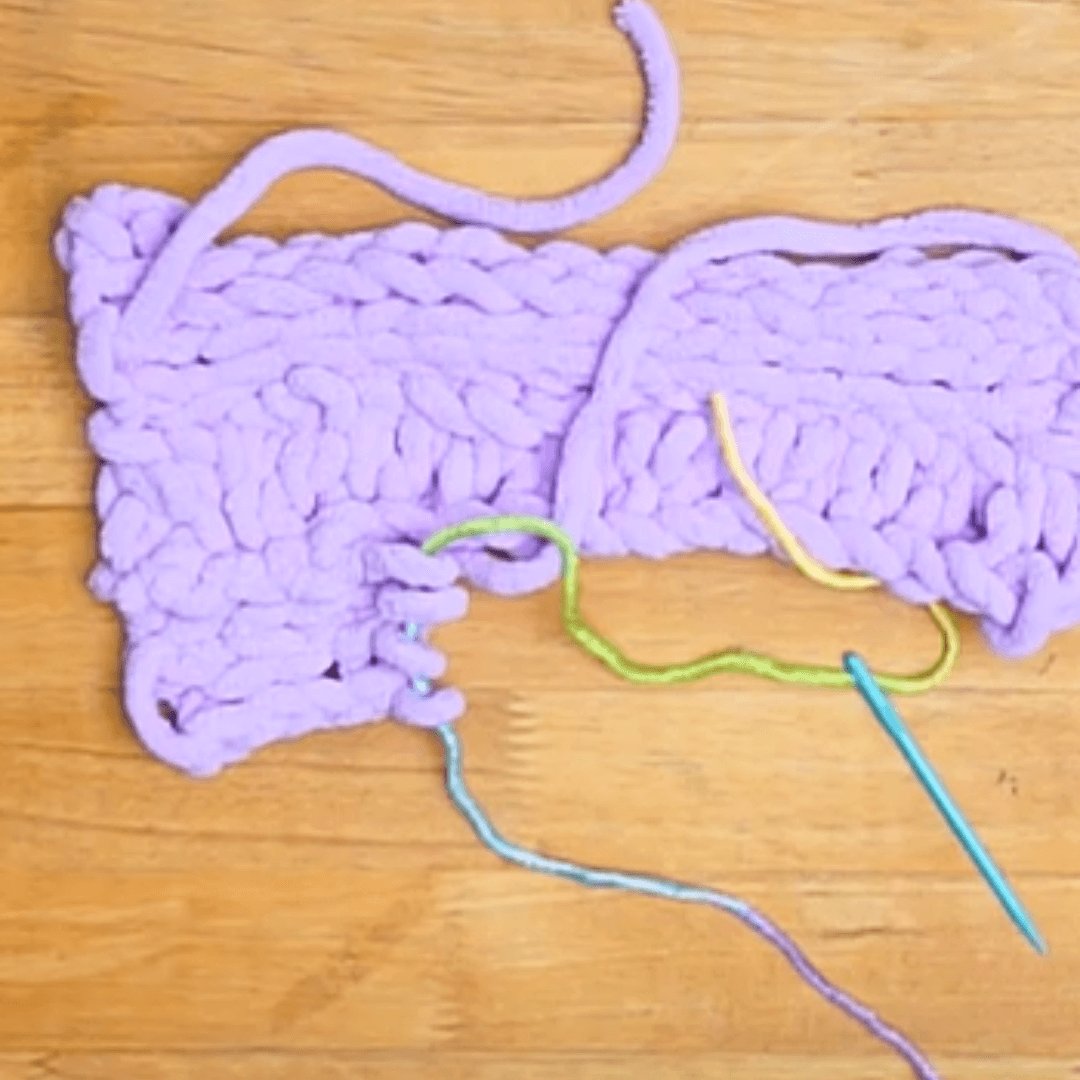
Using a large darning needle or your fingers, weave the yarn tail through the loops until it is fully hidden whenever you need to join new yarn. Weaving in your yarn tails will help secure them long-term so that your piece doesn’t unravel.
Pro tip: You can use a dollop of fabric glue to secure the end if it won’t stay put! You can also use a dollop of hot glue. Just be careful not to burn yourself.
Now that you know how to finger knit a blanket, are you ready to put your skills to the test? There are many creative designs for a finger-knit blanket and other fun ways to make them. If you want to check out other patterns for finger knitted blankets, then click the link below!
10 Fun Must-Try Finger Knitting Blanket Patterns

Need to take a break while you learn how to finger knit a blanket? Well, that’s easier than you think. All you need is a big stitch holder, a pen, or a piece of thread in a contrasting color!
Important note: Make sure to go through the stitches in the same direction. This will make it easier for you to put the loops back onto your fingers. Doing this will also avoid wonky stitches on your knits.
Holding your stitch with a giant stitch holder is one of the best ways to keep your finger knit blanket intact. Once you snap it shut, your stitches won’t be going anywhere — even if you move it around!
This is my favorite method since I often take long breaks in between projects. If you like working on multiple projects like me, then a stitch holder will be your best friend!
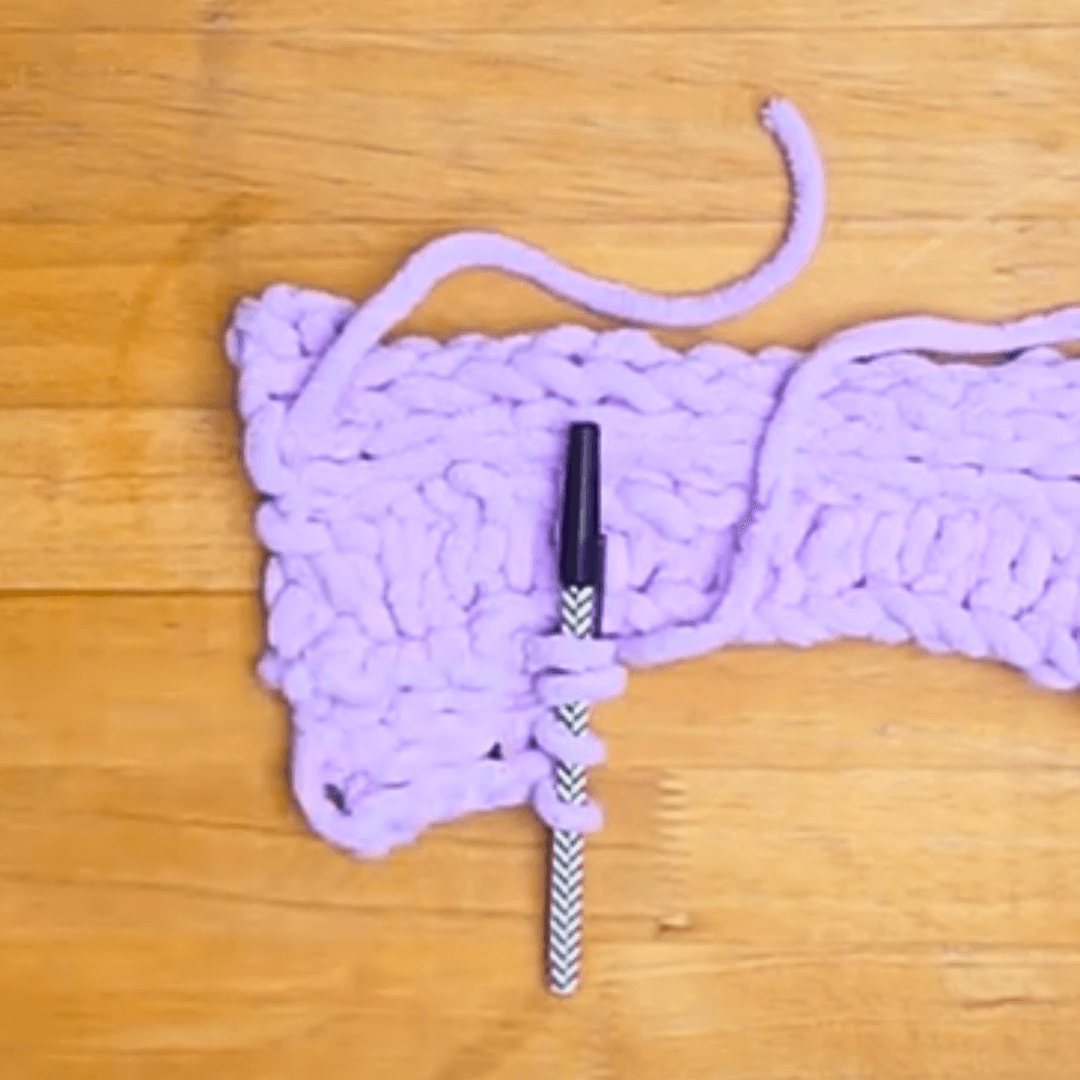
If you don’t have a stitch holder, you can use a pen, a crochet hook, or even a barbeque stick. Just make sure that it’s long enough to hold all of the stitches in place.
Be careful when moving your project. The live loops can slip off and become undone.
Need a break from learning how to finger knit a blanket? Grab a contrasting thread and weave it through the live loops. You can tie the ends in a loose knot to hold the stitches in place while you do other things.
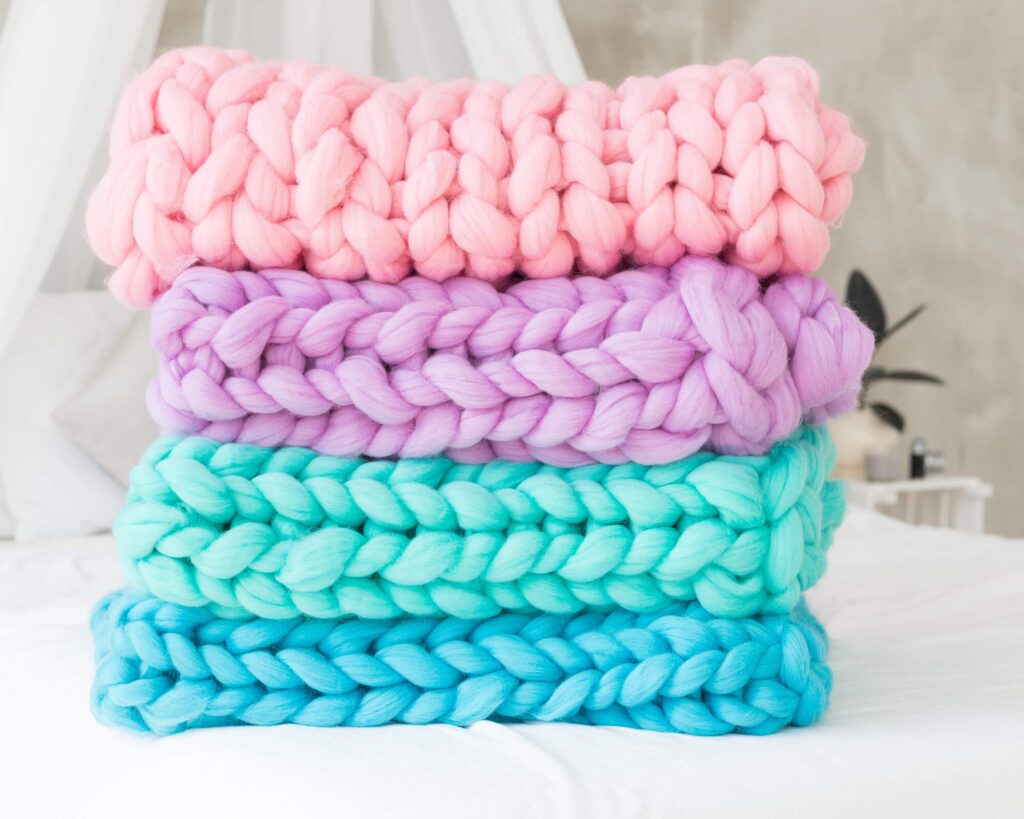
Want to know what yarn to use for the coziest finger knit blanket you’ll ever have in your life? Great! Well, we’re going to talk about a few fun yarn brands knitters often use for finger knitting projects and other cozy household knits!
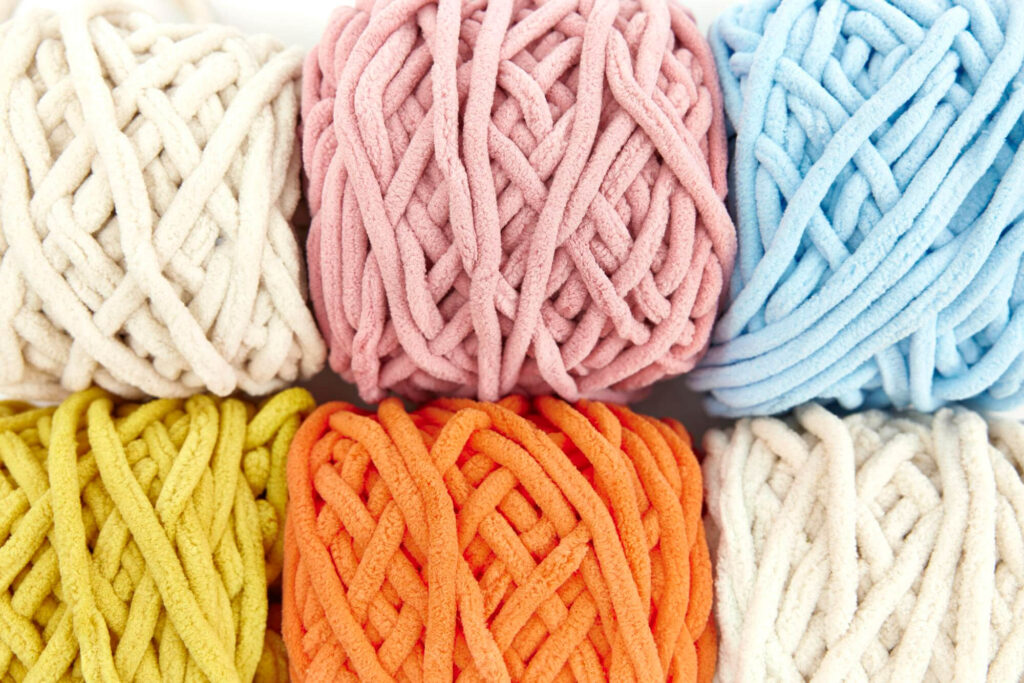
Most older kids and adults can pretty much use whatever yarn fiber for their finger knitting projects. You have tons of affordable options readily available for you to purchase.
The most popular yarn type to use in finger knit blankets is chenille yarn. This is a fluffy and chunky type of yarn perfect for those gigantic crochet and knitting projects.
What I love with chenille is how quickly it works up. Thanks to it’s chunkiness, you only need a few hours to complete an entire throw blanket for your living room or reading nook!
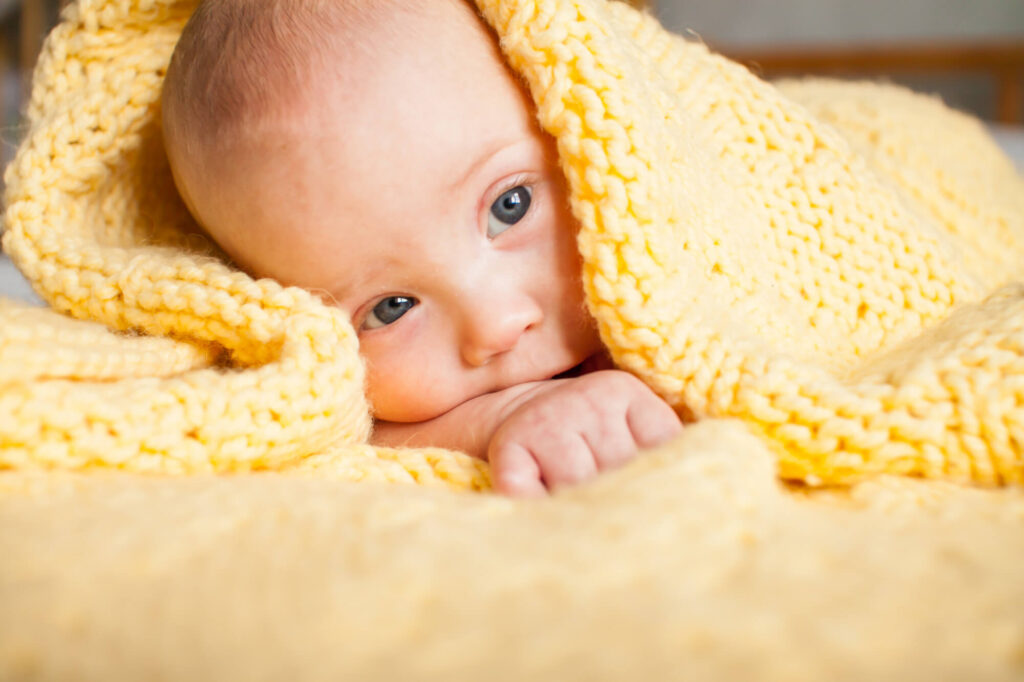
Whether you’re knitting for a baby or someone with skin allergies, you will have to be a bit more selective with the type of yarn you use on your project. Natural fibers are the way to go if you want to avoid scratchiness and skin irritation!
Yarns that are mostly made with cotton, bamboo, or acrylic, are the best to use for most people with sensitive skin.
There are a few brands that are super affordable, great for knitting big projects like blankets! So we made sure to list them down below!
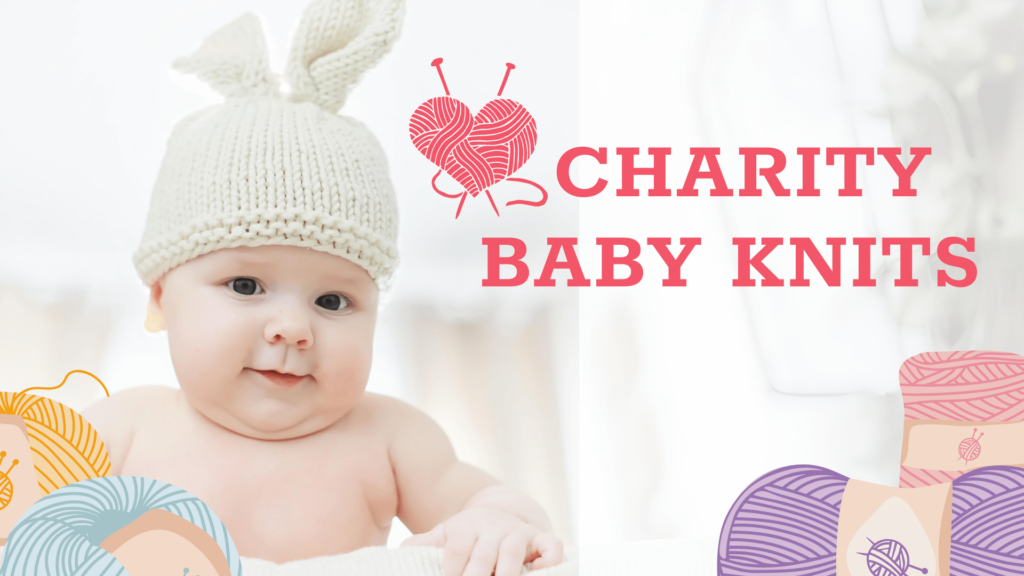
We went into a more in-depth discussion on the best yarn fibers for babies and people with allergies in the article linked below. So make sure to check it out!
Knitting for Charity: 5 Free Baby Hospital Hat Knitting Patterns!
There are some things I wish I knew when I first started to learn how to finger knit. So I made sure to list them down below. I hope these help you along in your own crafty journey!
Stitch tension is crucial for knitted blankets. To avoid wonky edges, make sure to keep your stitches tension loose. Instead of tugging on the yarn tail until it fits snug around your finger, try simply pulling it enough to leave a small gap between the yarn and your skin.
As you learn how to finger knit a blanket, you’ll notice that it covers the tips of your fingers. Don’t hesitate to slide the new stitches down to make way for new loops!
Want a straight edge? The stitches can look confusing if you are just learning how to finger knit a blanket. Use a few locking stitches markers on the very first row and the very last row of a new row!
To recap, we learned how to finger knit a blanket, what yarn materials to use, tips and tricks for beginners, and even some free finger knitting patterns. Wow! That’s kind of a lot, huh? I wouldn’t blame you if you need a few moments to process everything you just learned.
Juuust know that it’s completely fine to learn how to finger knit a blanket at your own pace. Sure, some projects can be finished within a single day, but you really don’t have to do that!
Sometimes it takes me a week a finish a simple knitting pattern that should have only taken me about an hour or so. So take your time!


