How to Make a Pom Pom
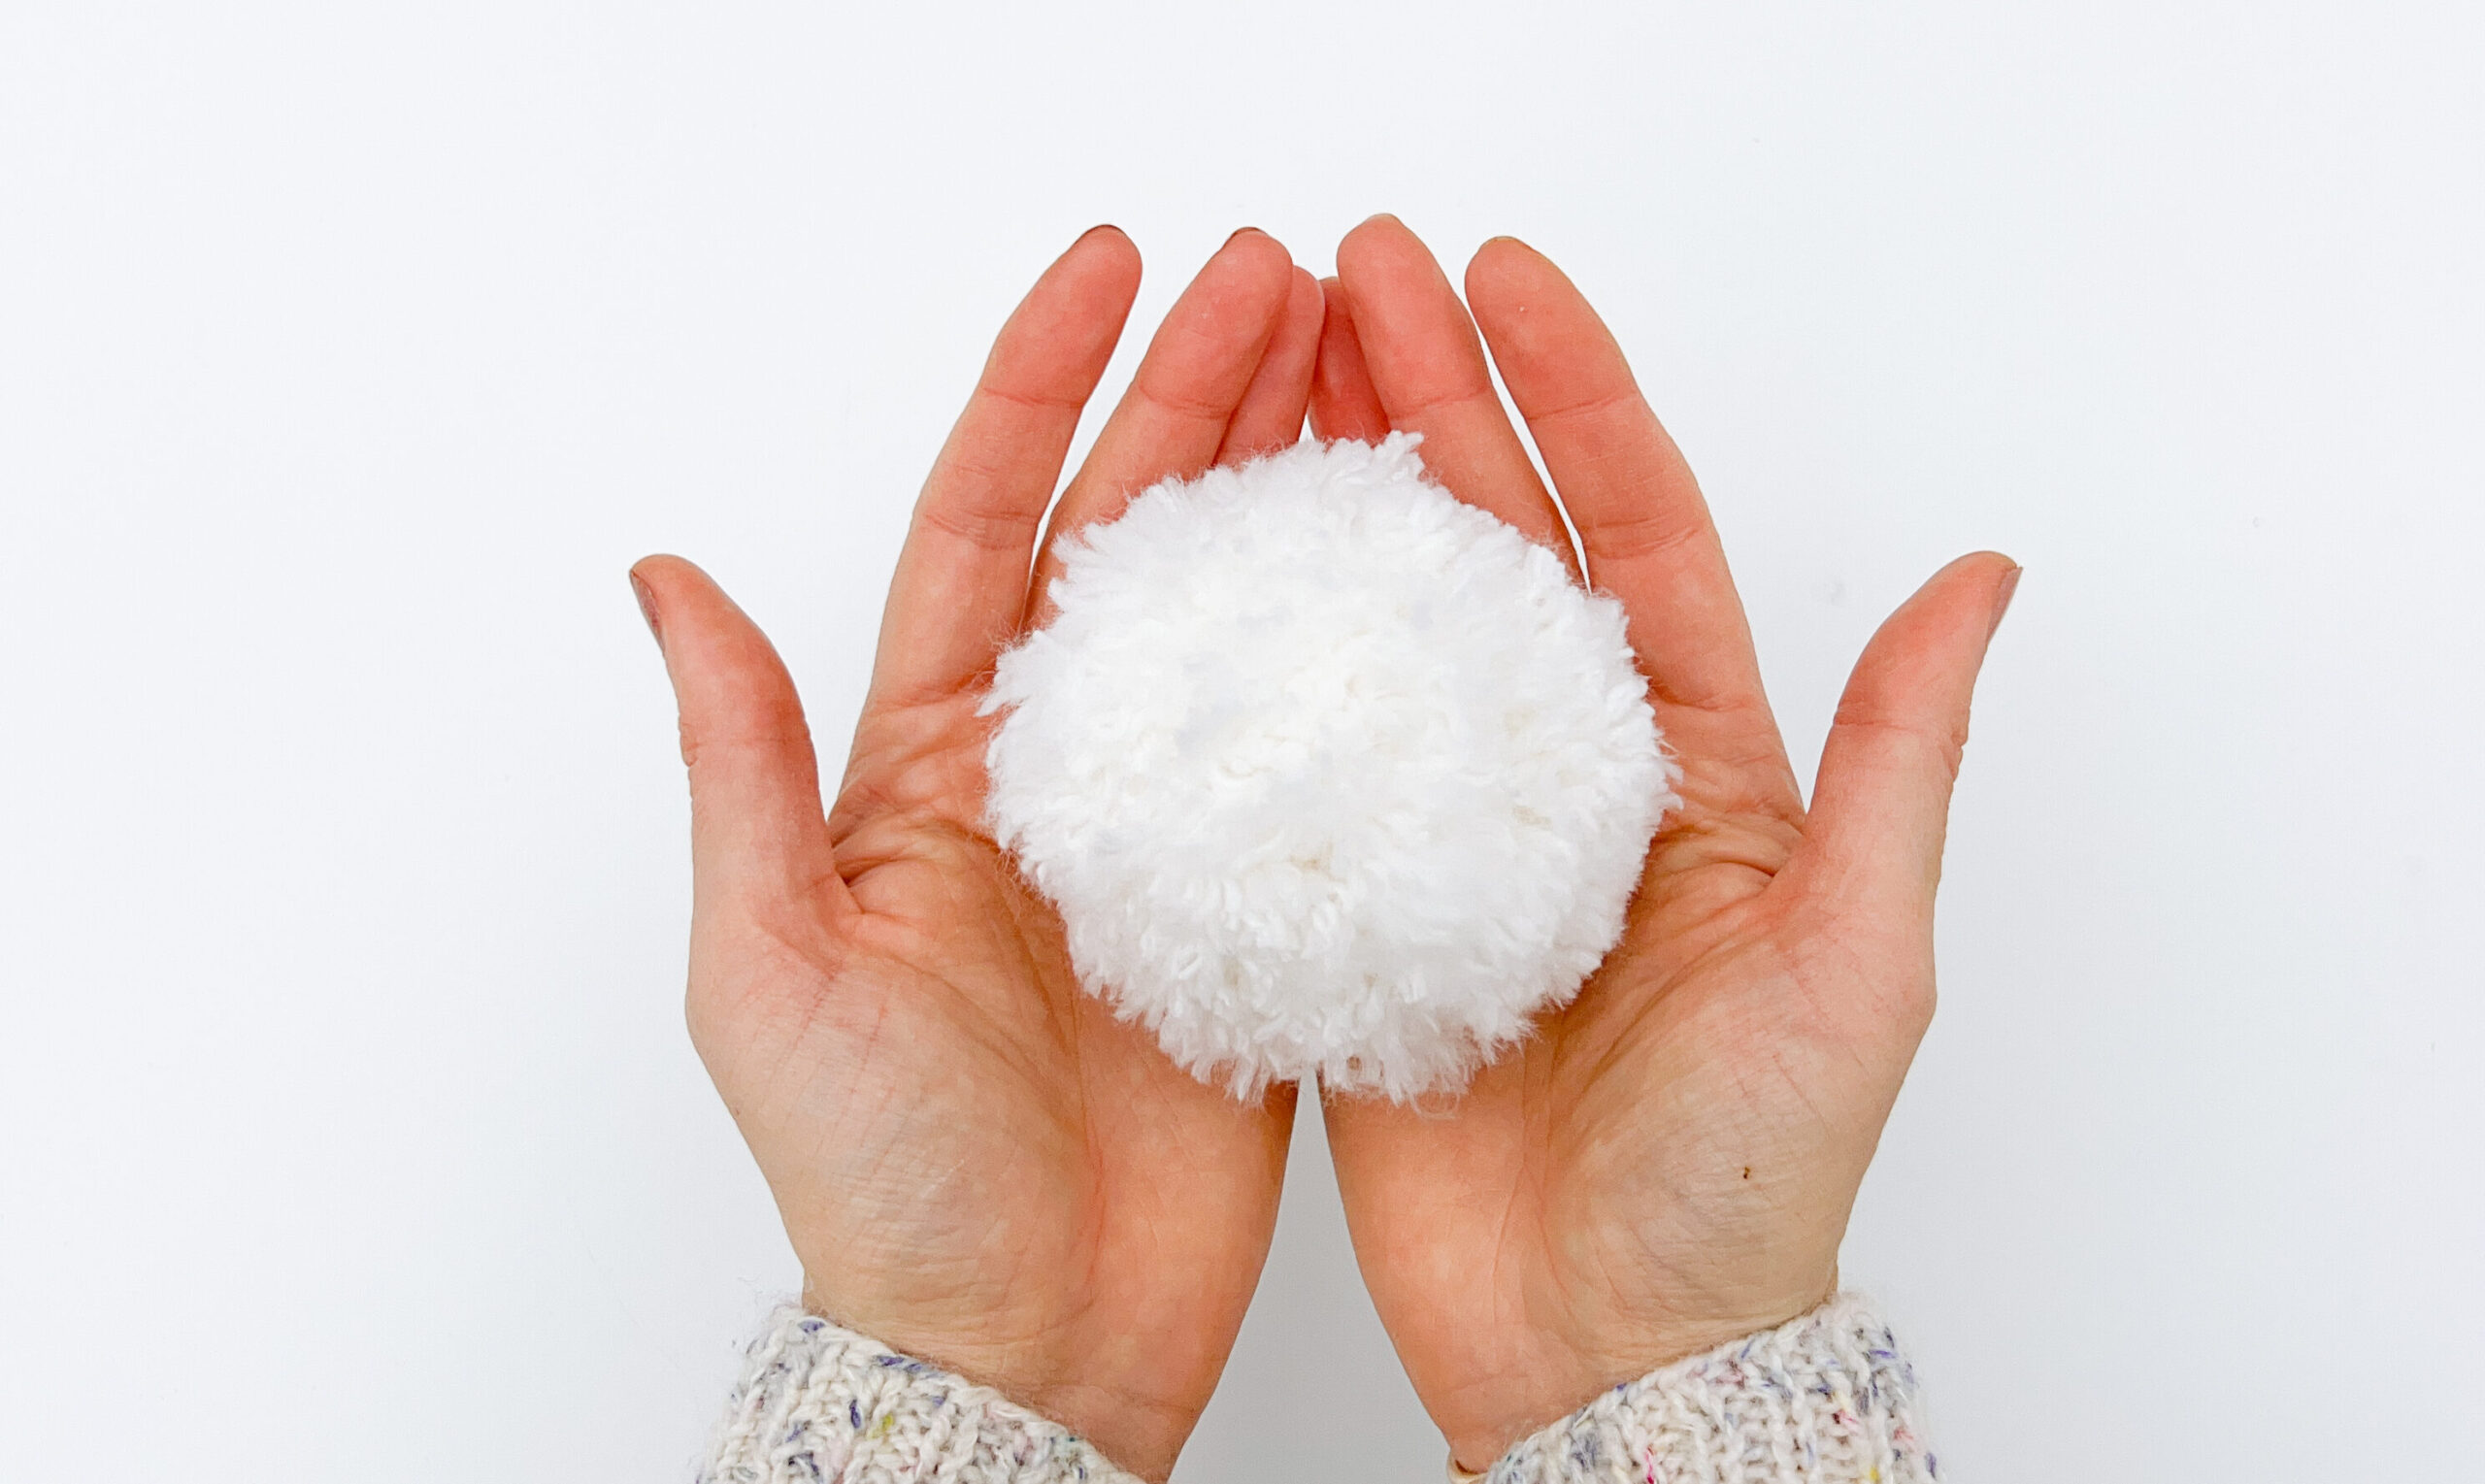
The quick and easy way to make super fluffy pom poms!
The quick and easy way to make super fluffy pom poms!
Yarn pom poms add a little bit of instant whimsy and a whole lot of cute to knit projects. They’re easy to make, help use up any leftover yarn from projects, and are a great way to get some instant craft-gratification.
This step-by-step tutorial will show you how to make a yarn pom pom and how to use a pom pom maker!
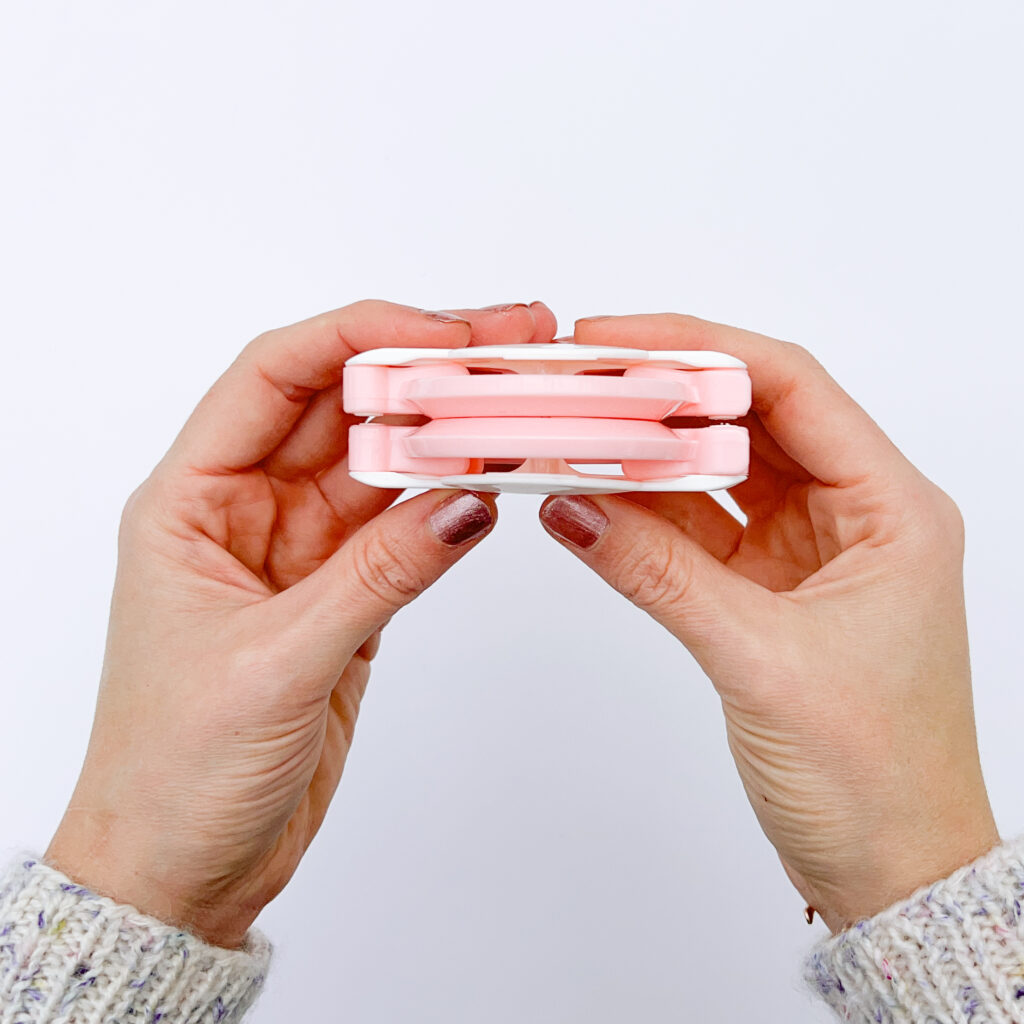
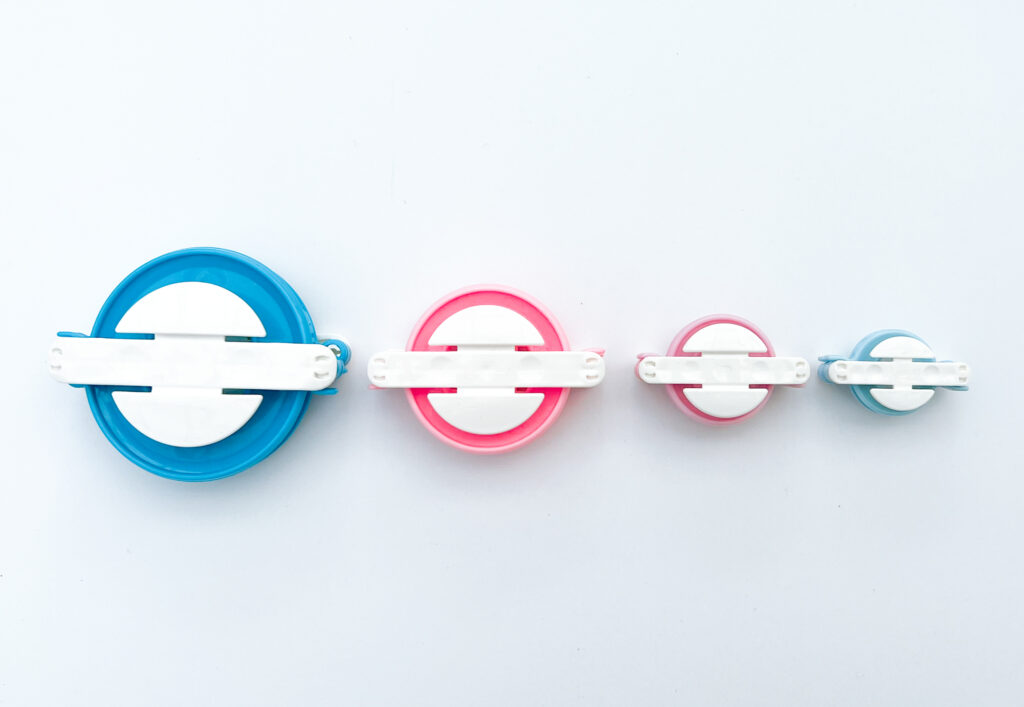
Plastic pom pom makers make it easy to use a huge amount of yarn to create extra dense pom poms. The most common pom pom maker comes in two pieces. The yarn is wrapped around both halves of the circle before the wraps are cut. A string is tied around the center and the pom pom maker is opened, releasing the yarn pom pom. These plastic pom pom makers are great for two reasons: they make a uniform shape every time and the rigid plastic can hold more yarn than other homemade or DIY pom pom tools.
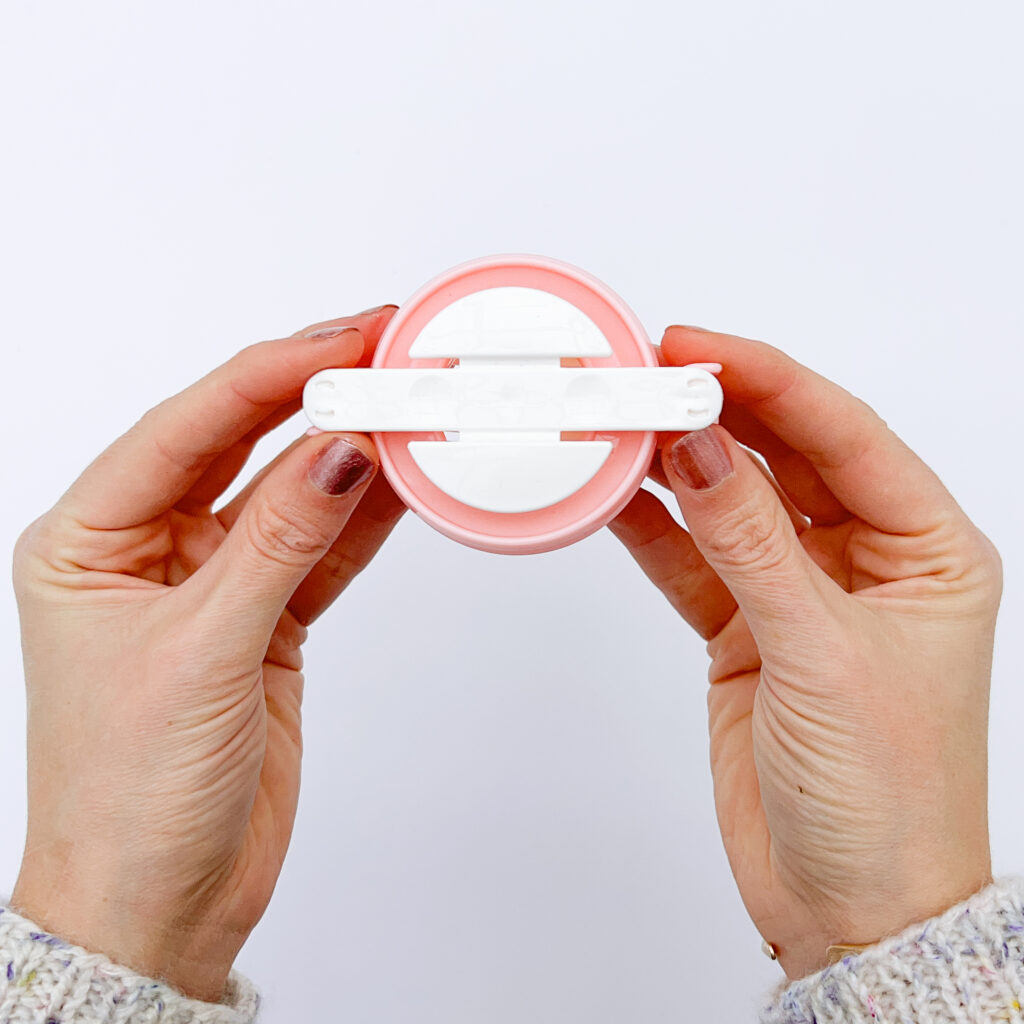
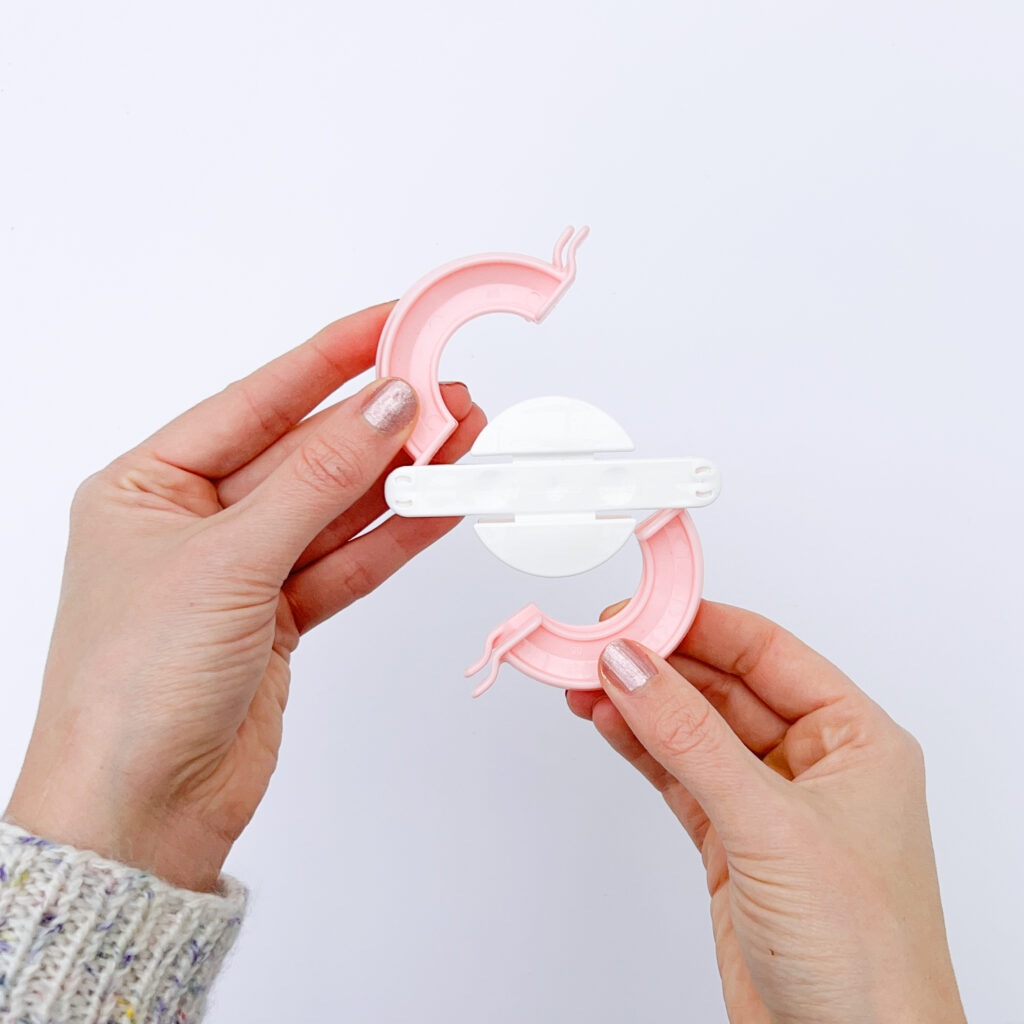
Before we get started learning how to make a pom pom, let’s take a look at a pom pom maker! These little gadgets are fantastic. Each one comes in two pieces with hinged arms that make creating a perfect pom pom easy and fast.
Now let’s get down to business! This step-by-step tutorial will show you how to make a yarn pom pom. Try using a single color as in the tutorial below or hold several strands of different yarns together for a super fun and squishy pom pom!

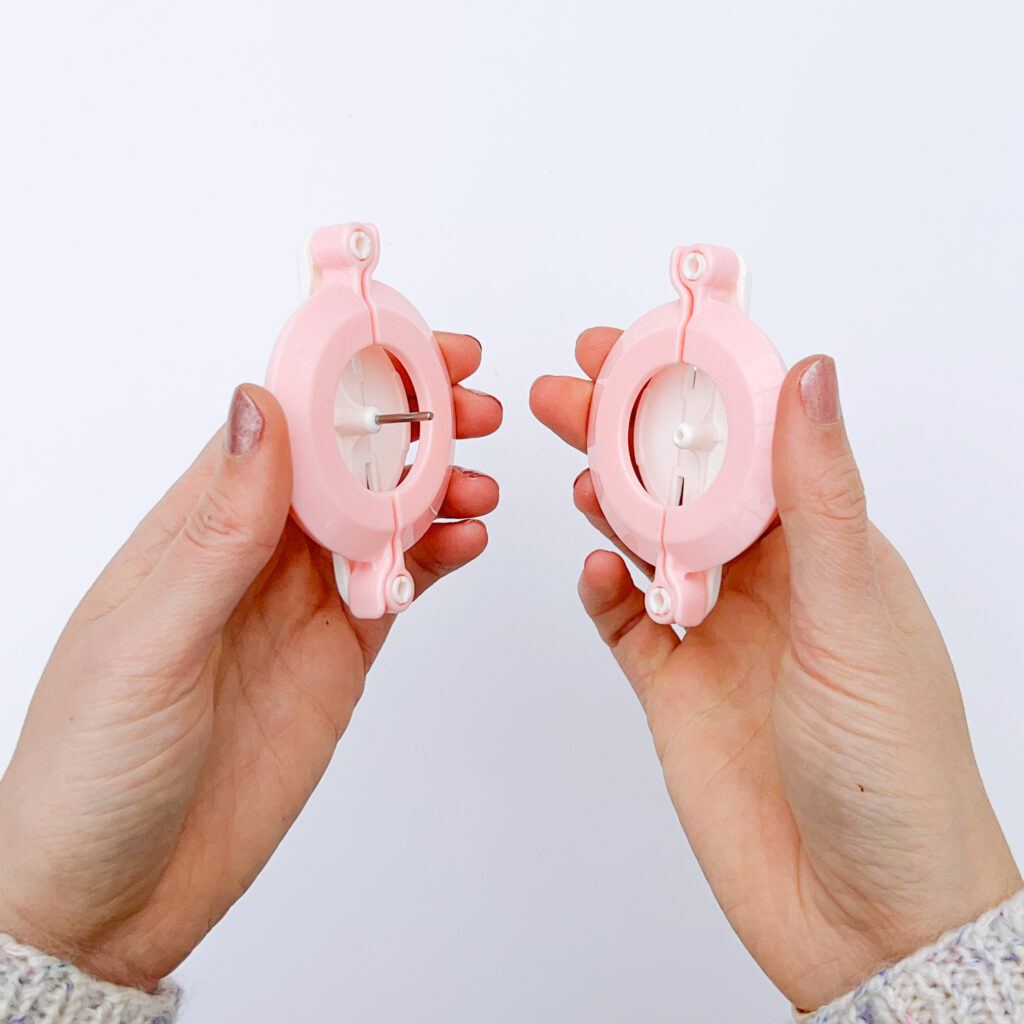
Step 1:
Open one pair of colored curved pieces.
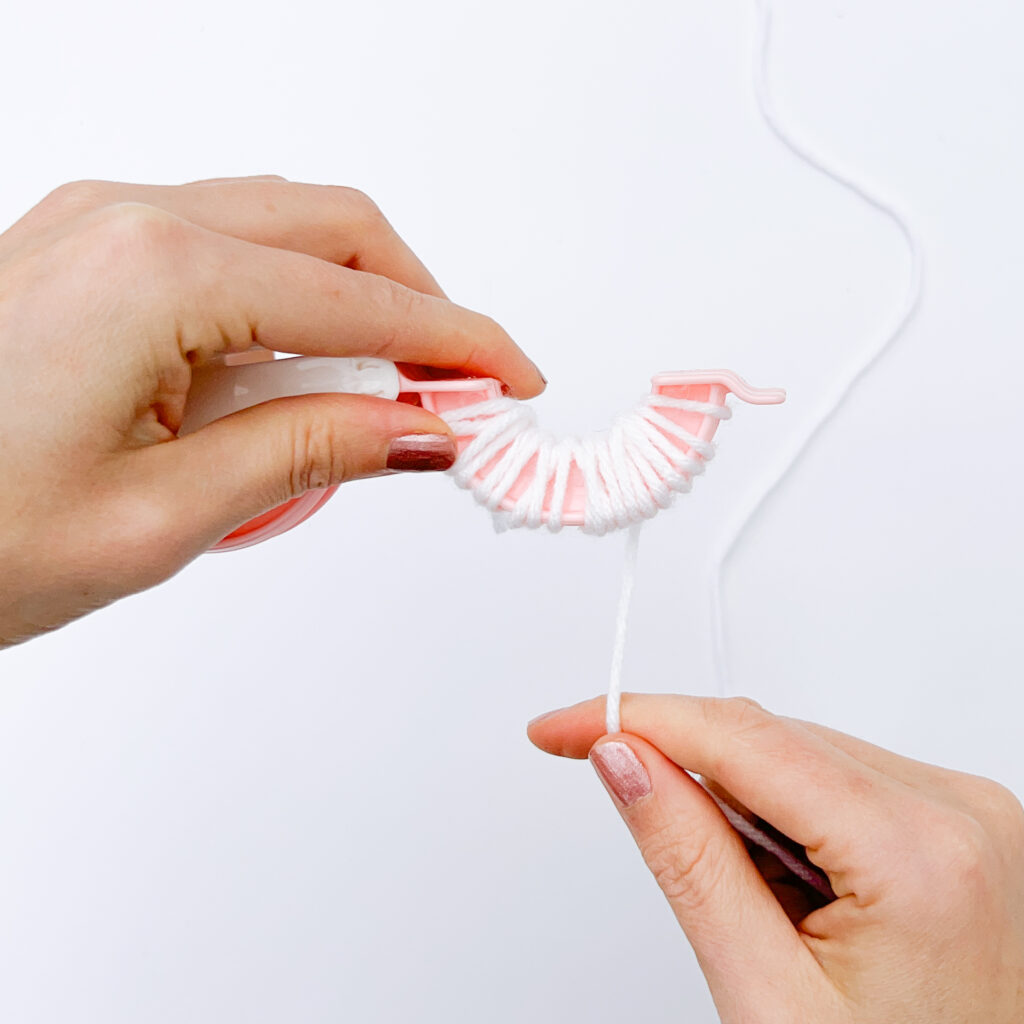
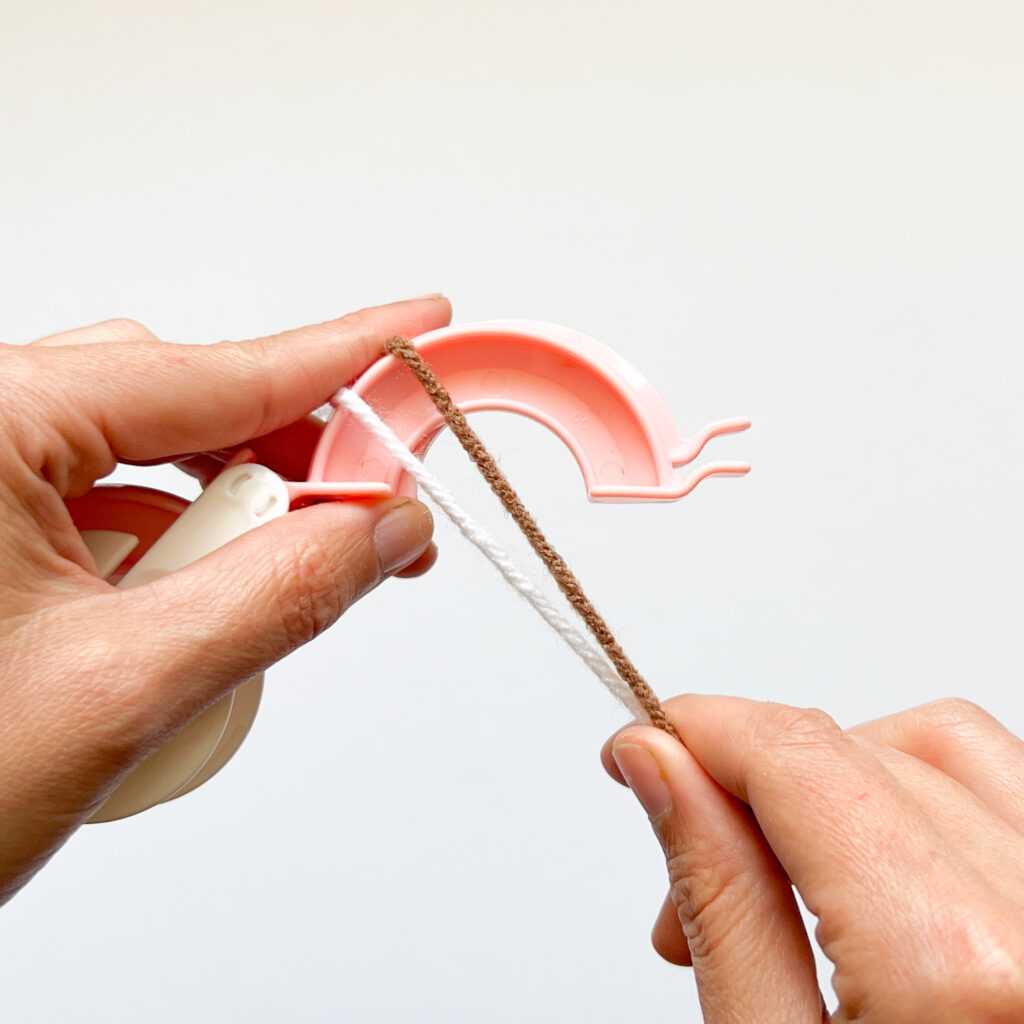
Step 2:
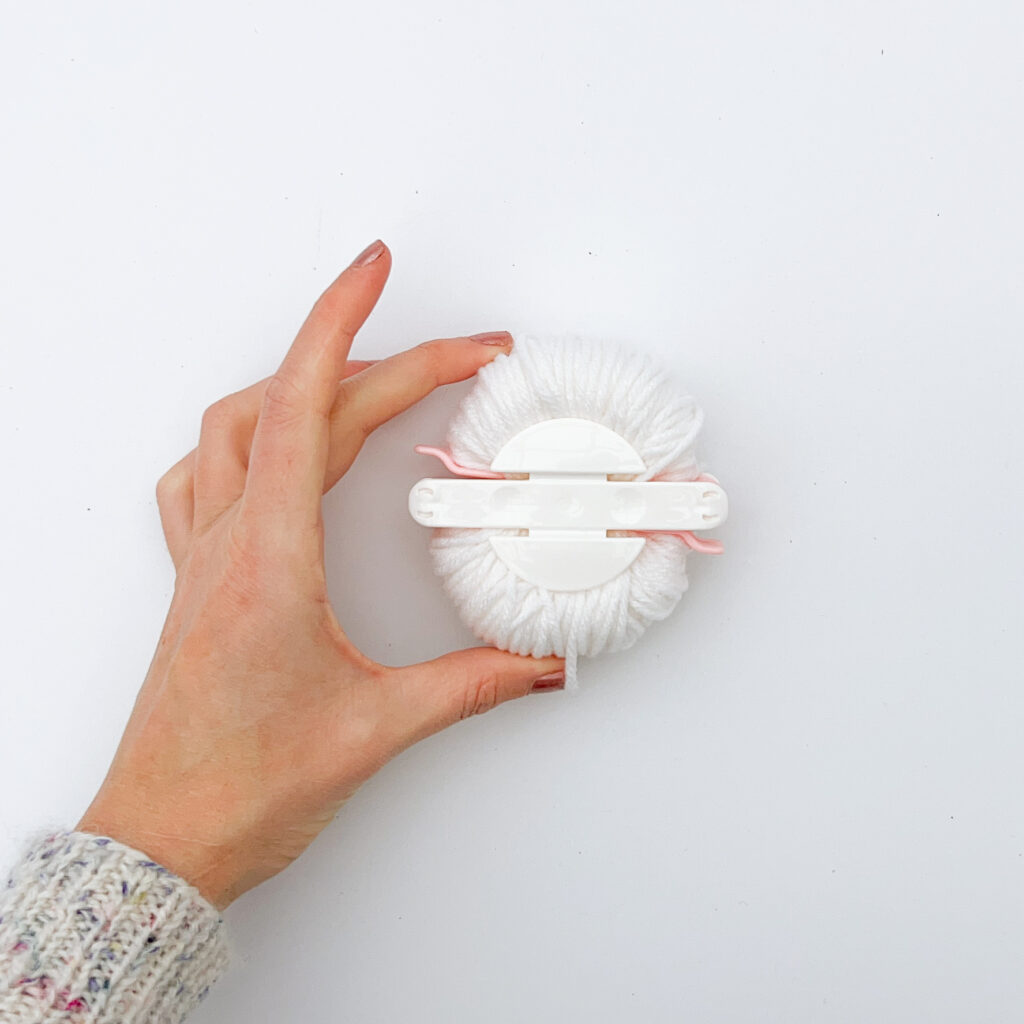
Holding both curved pieces together, wrap the yarn around the central arc. Wrap from one side to the other, back and forth, until the space is filled.
Fill the curved space until the yarn is even with the two flat sections and comes just above the flat sections in the center. Make sure to wrap as much yarn as can fit for a dense pom pom!
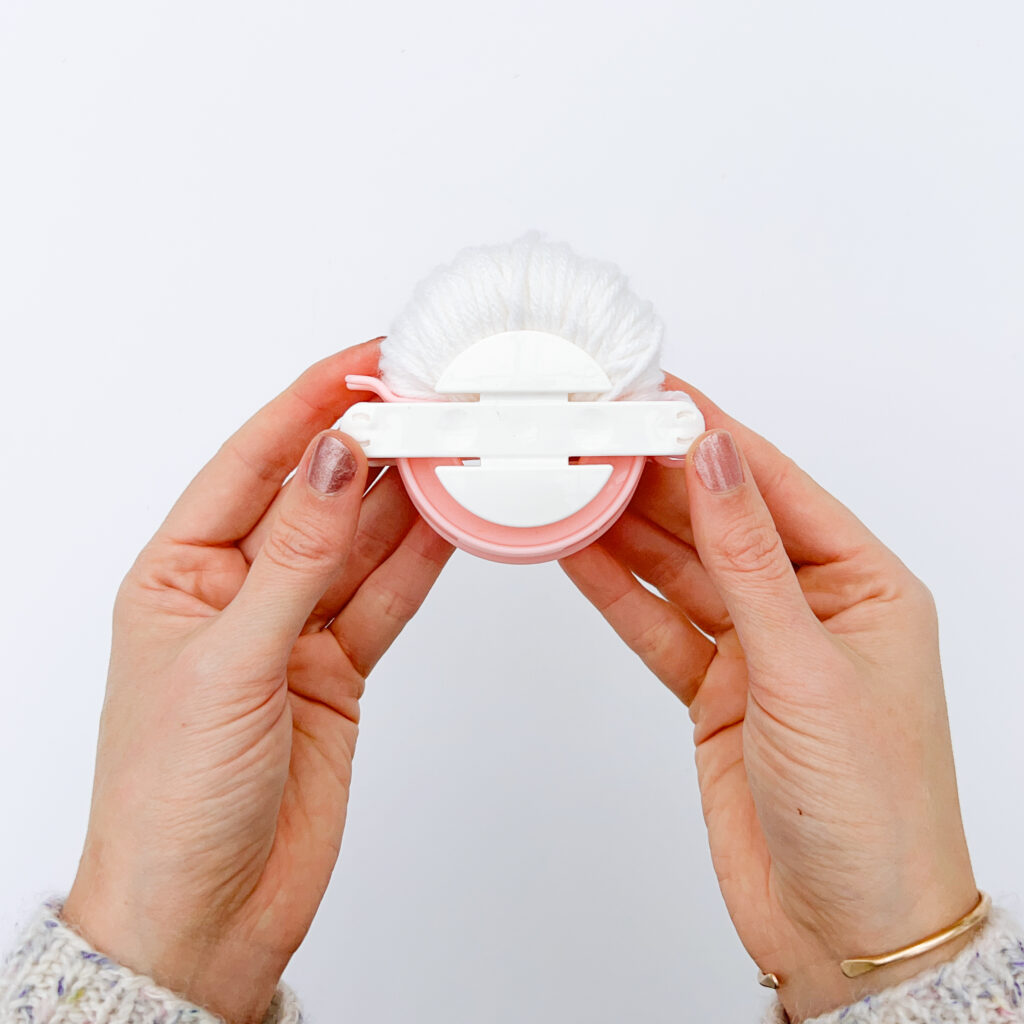
Step 3:
Close the first half of the pom pom and cut the yarn strand.
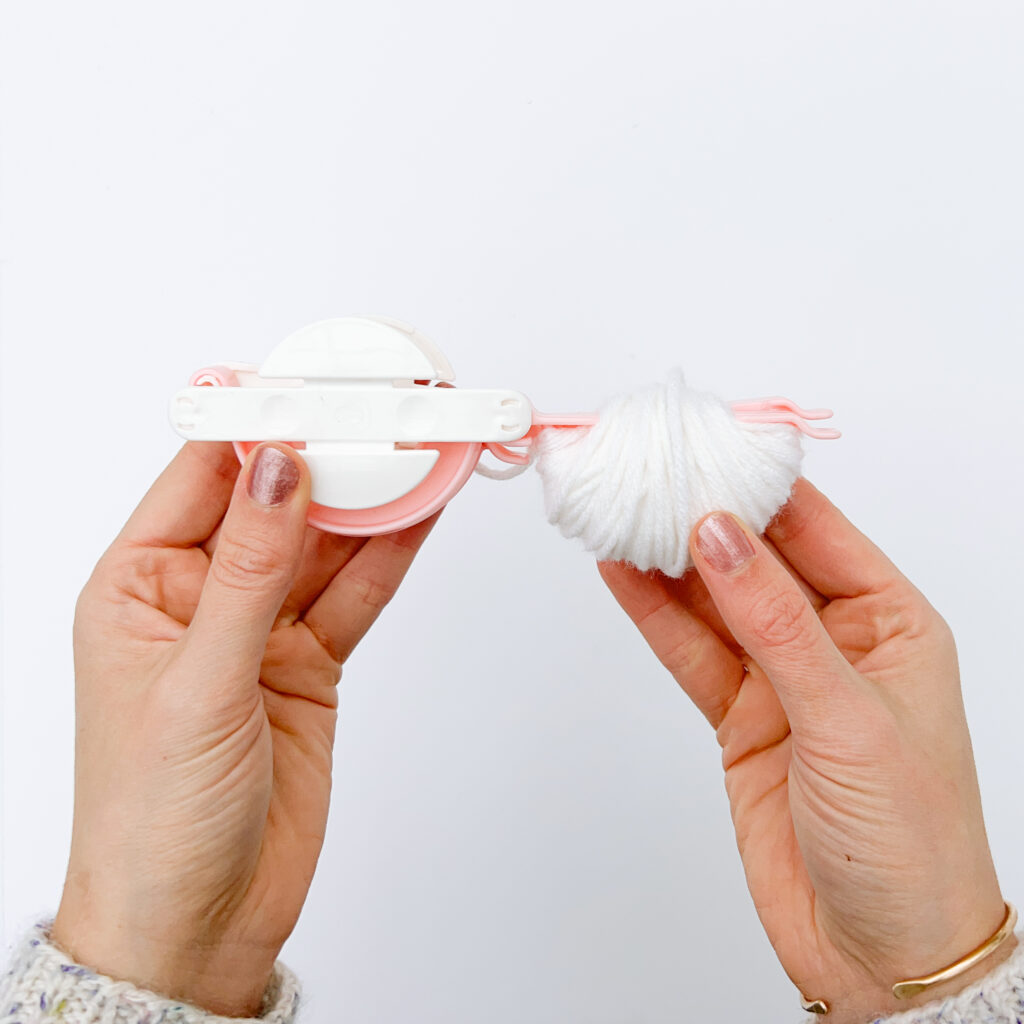
Step 4:
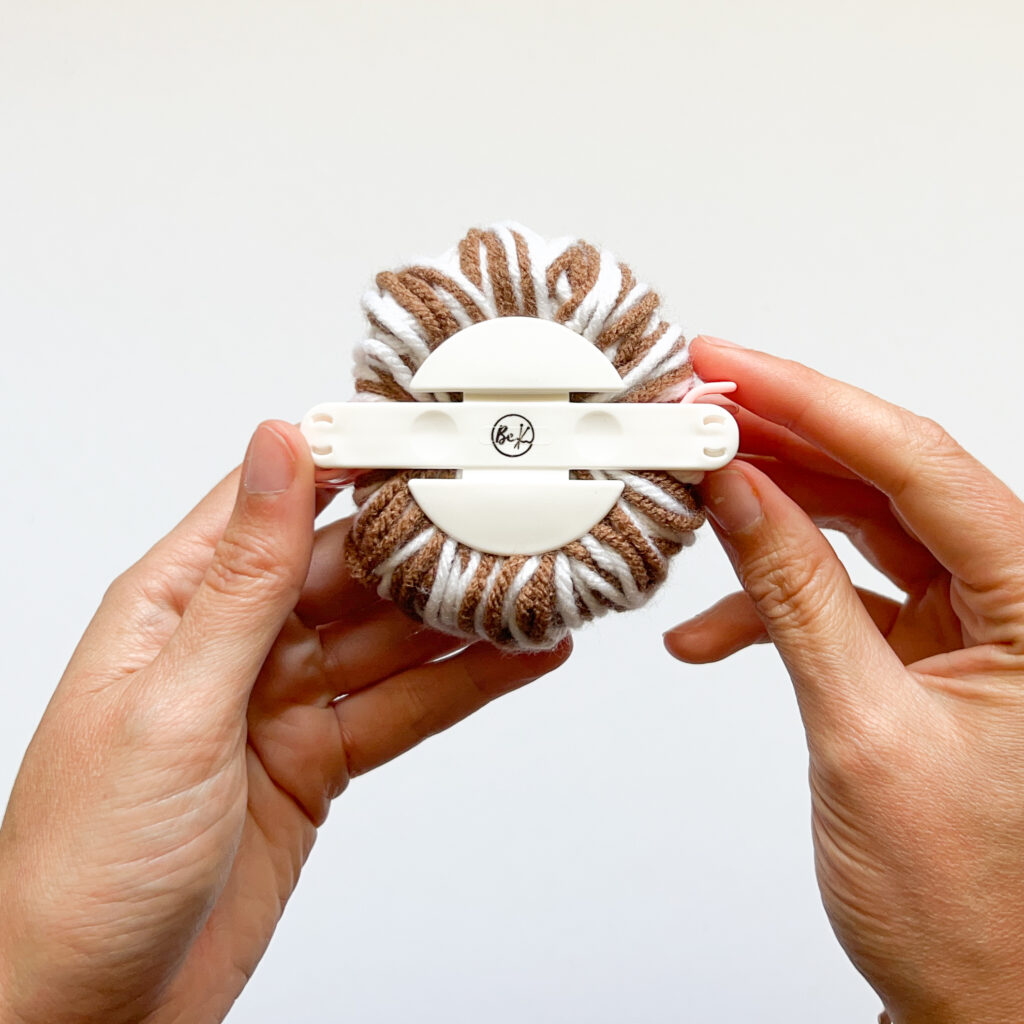
Repeat steps 2 & 3 for the second half. Both sides of the pom pom maker are now loaded with yarn!
Step 5:
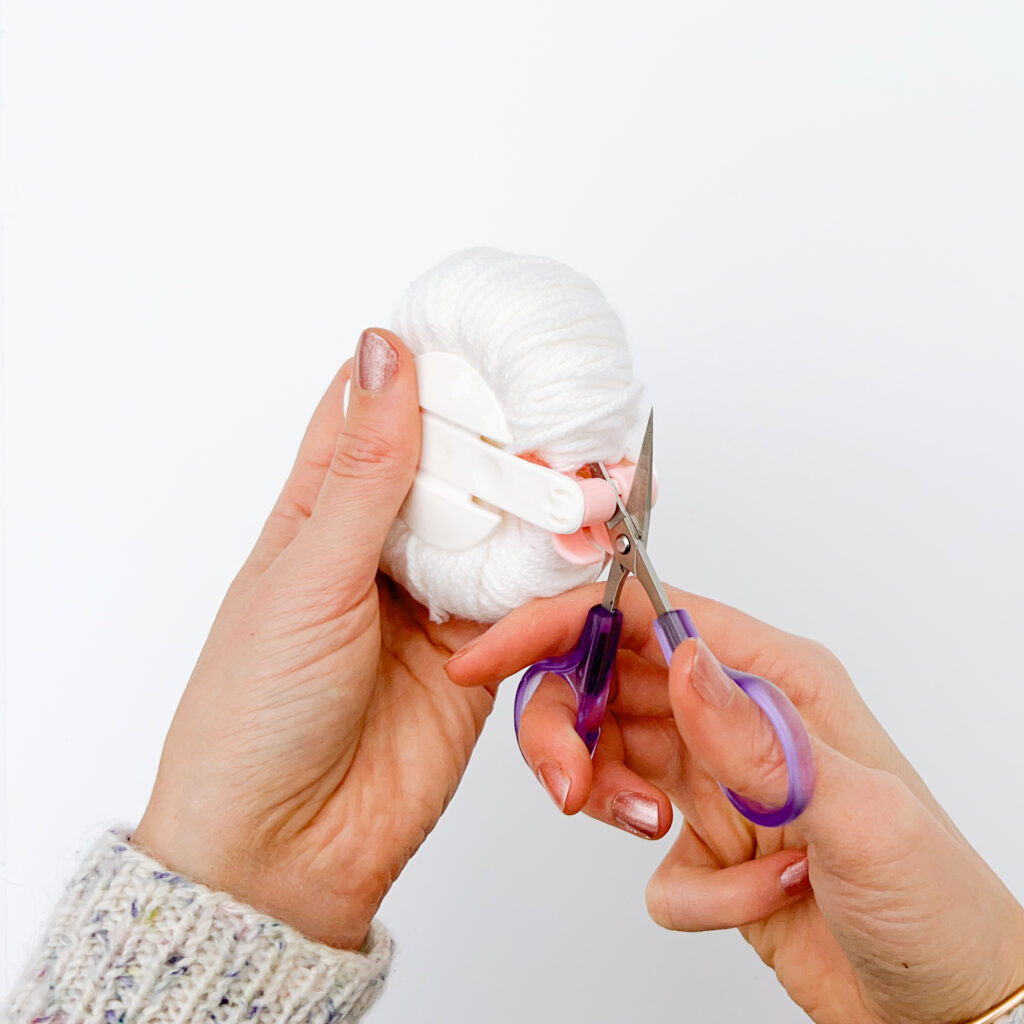
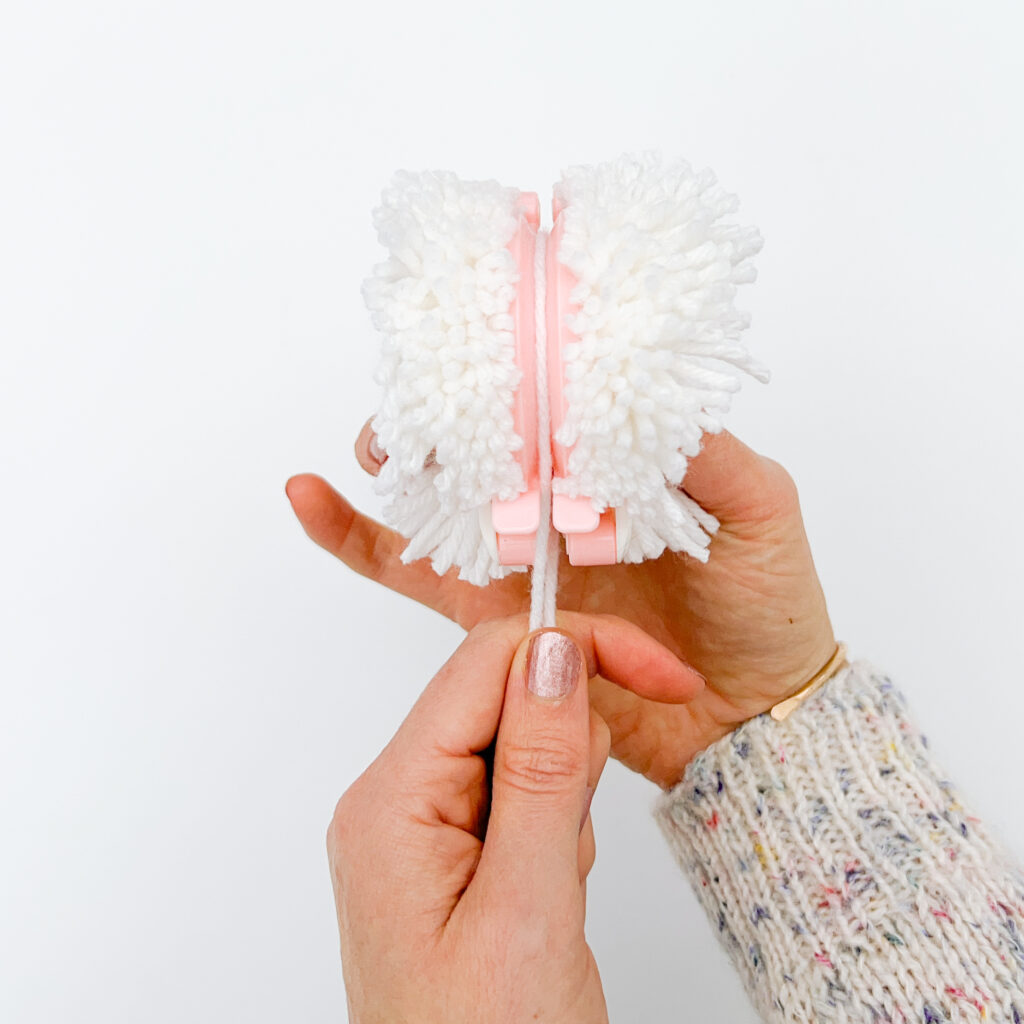
Starting at the hinge on one side (where the colored halves attach), use a pair of scissors to cut along the groove. Cut all the strands on the first half.
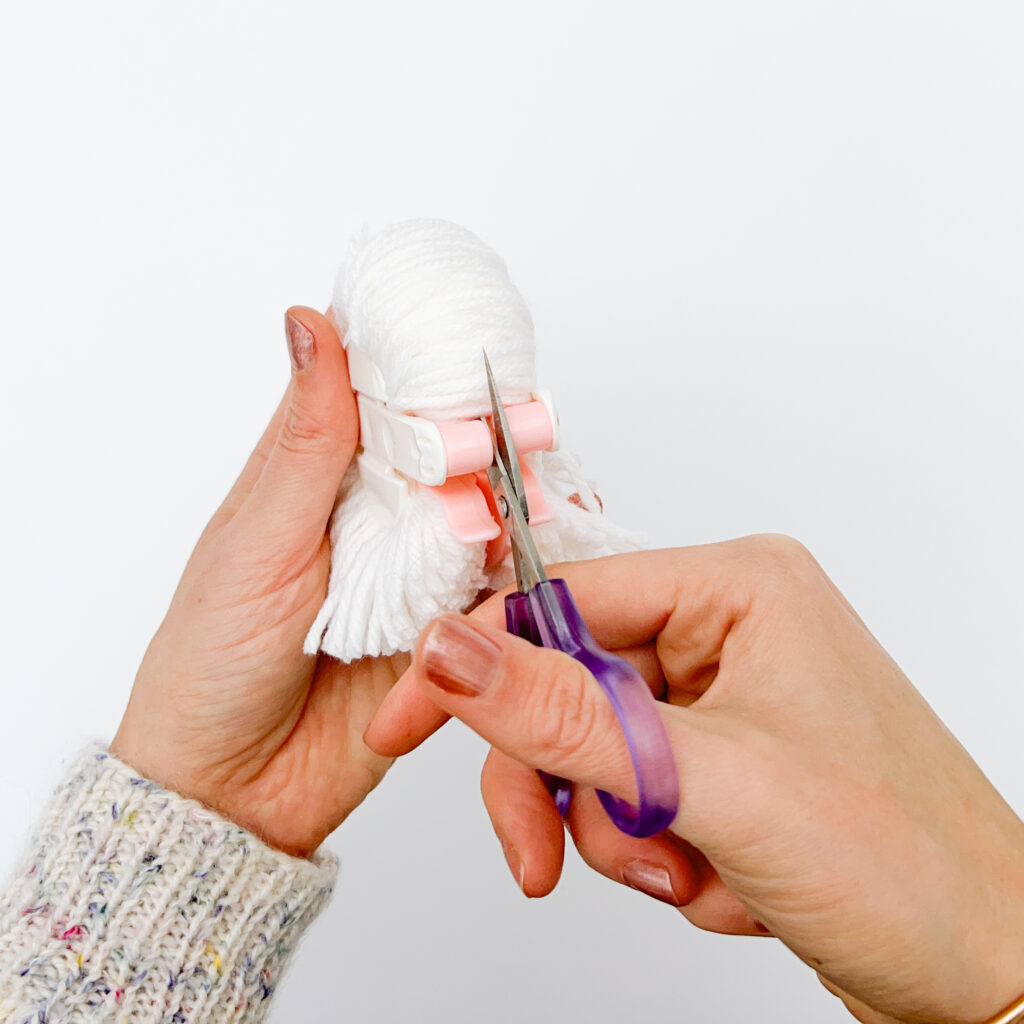
Cut the yarn on the second half starting at the second hinge.
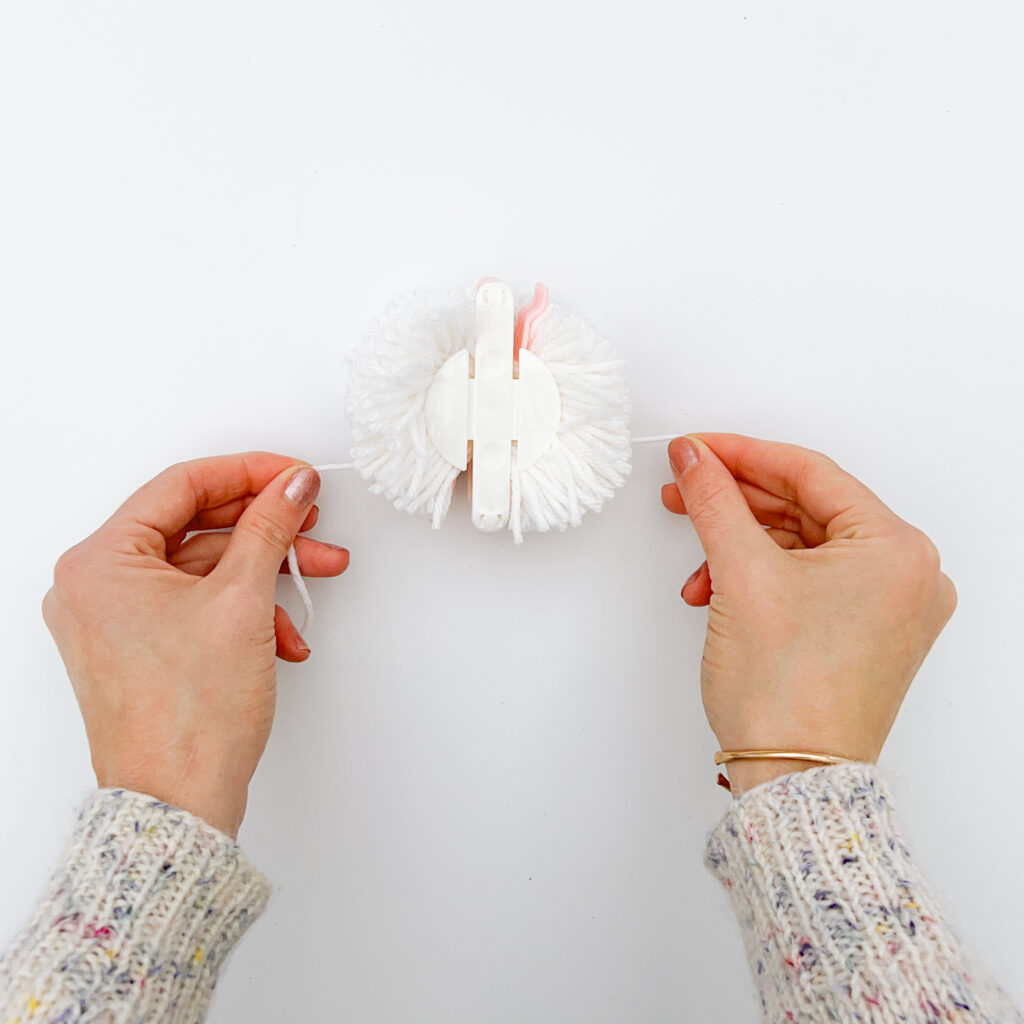
Step 6:
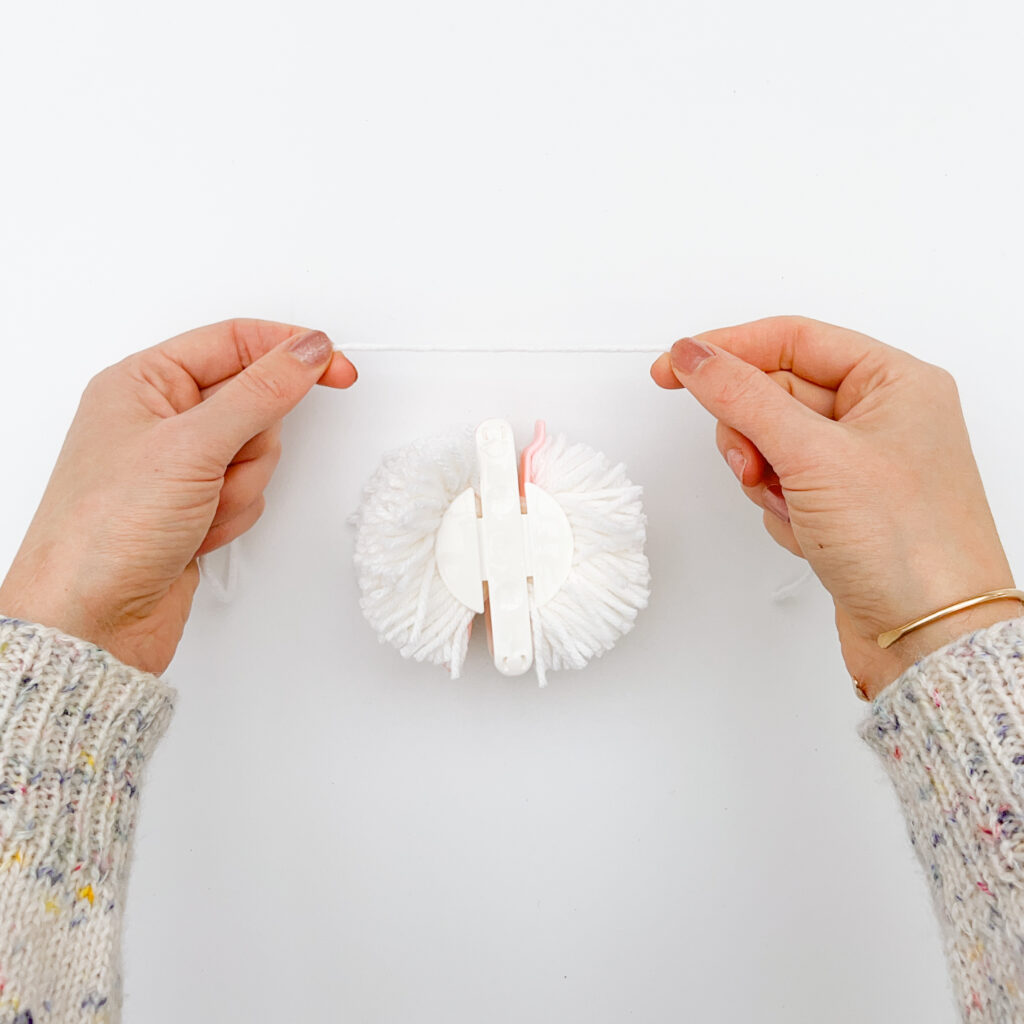
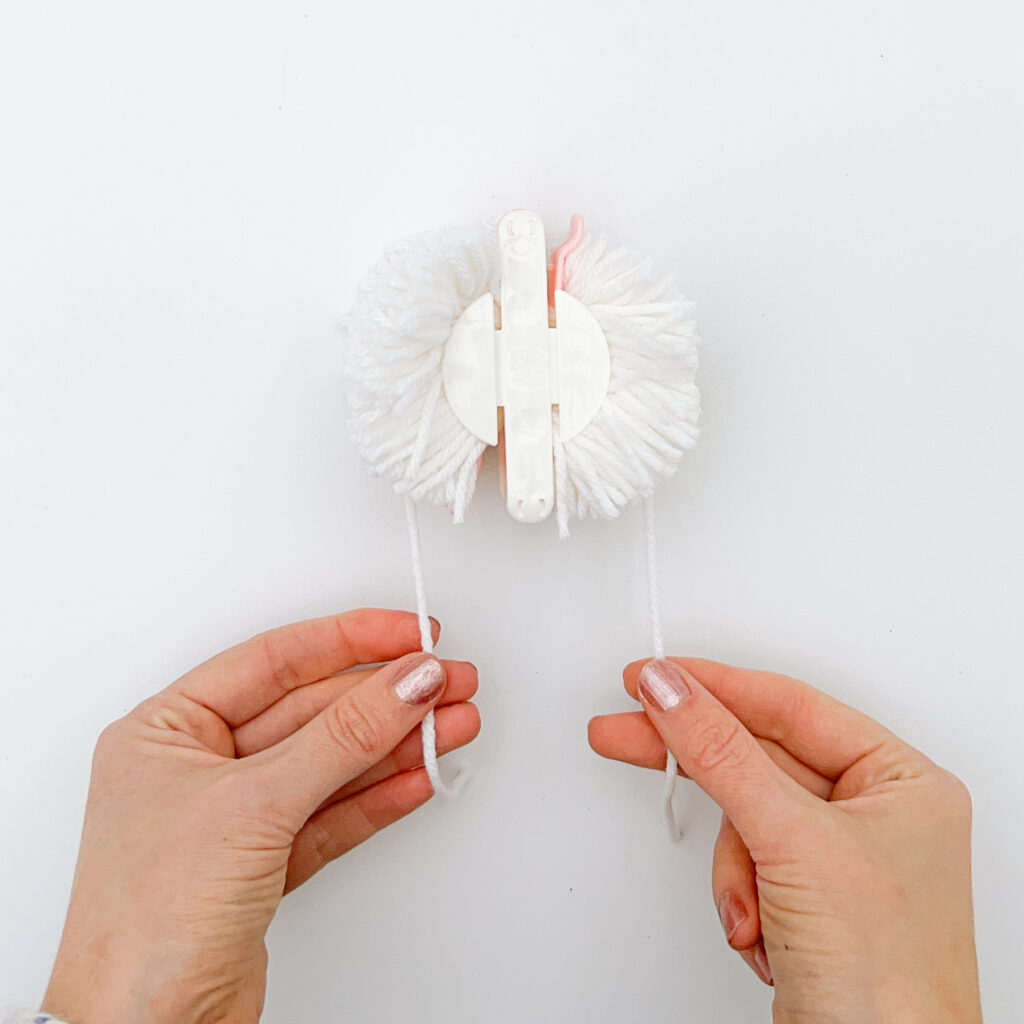
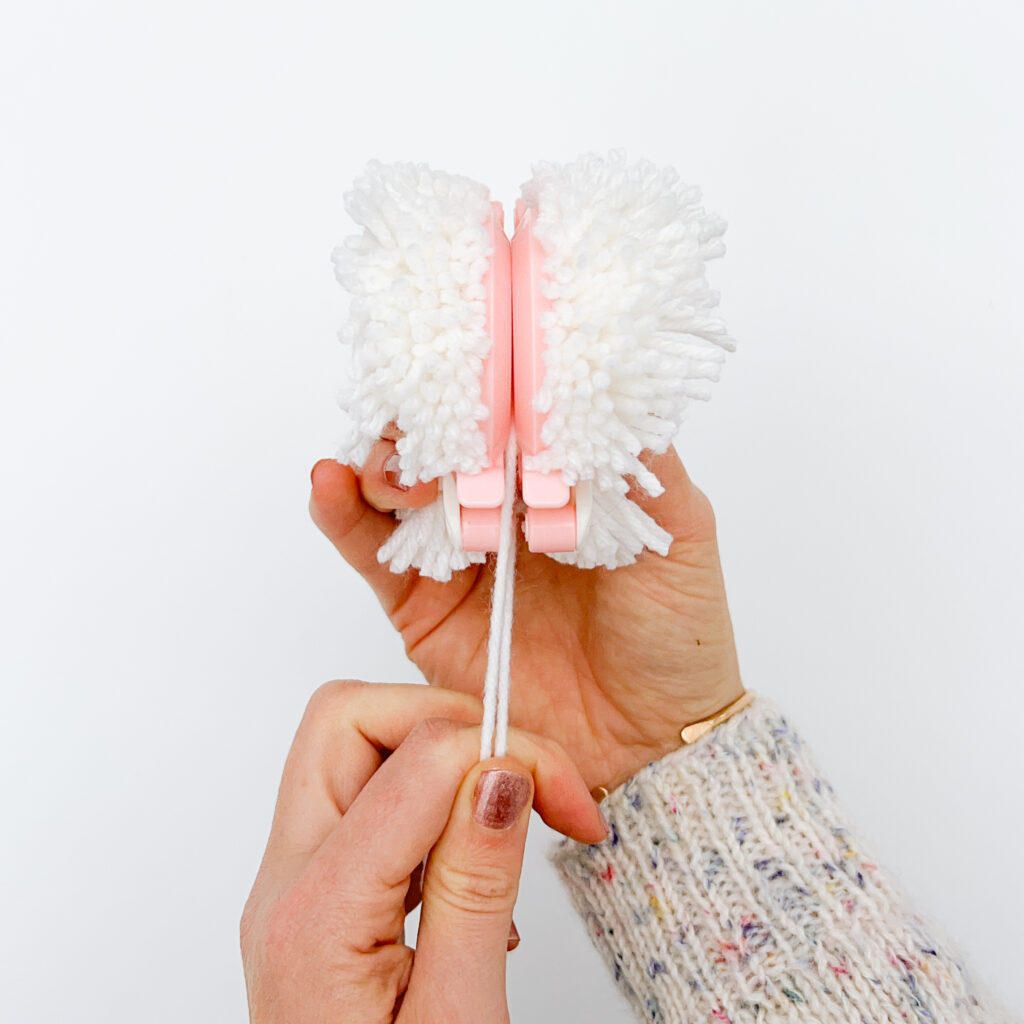
Cut a strand of yarn, about 10″ long. Loop the strand around the pompom so that it sits snuggly in the groove between each side. Pull tightly on the yarn ends until the yarn slides between the two halves.
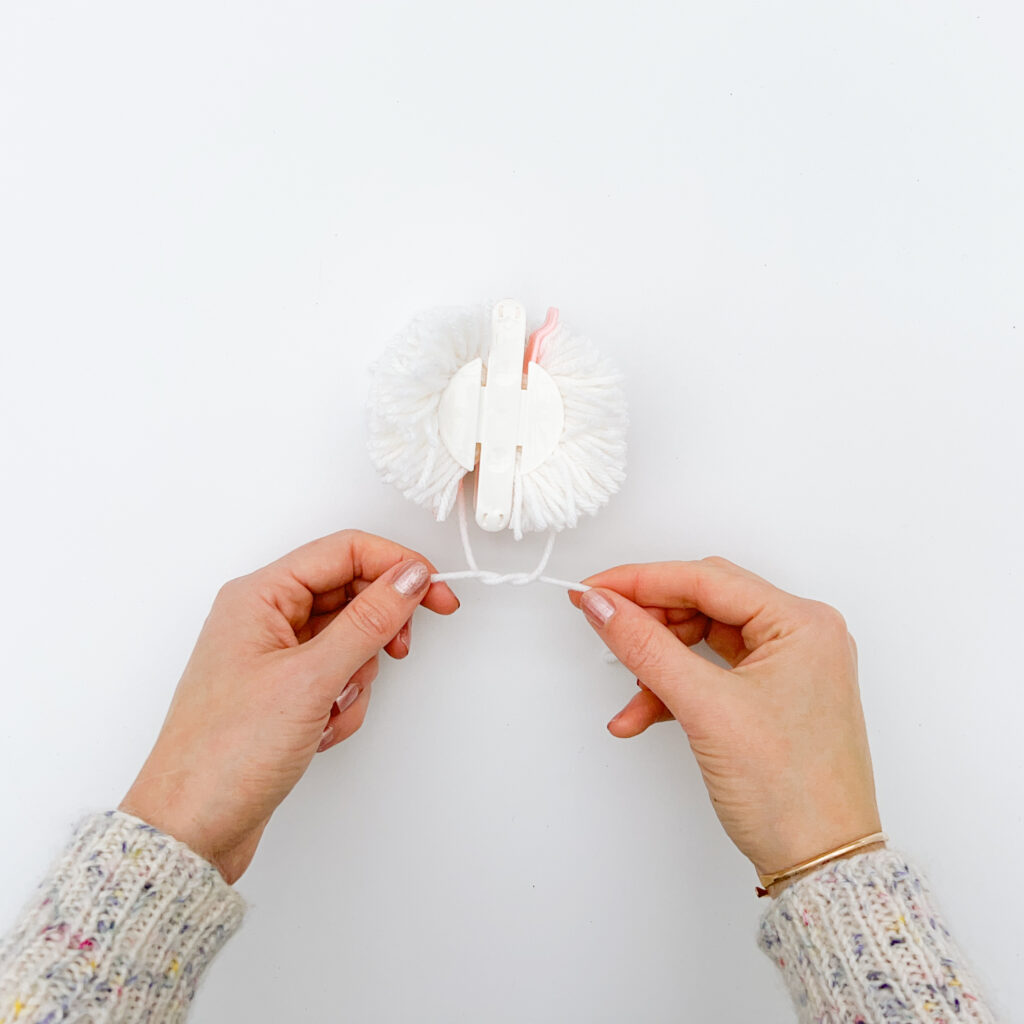
Step 7:
Tie the strand an overhand knot two times, making sure to tie it as tightly as possible. This tie is what holds the pom pom together!
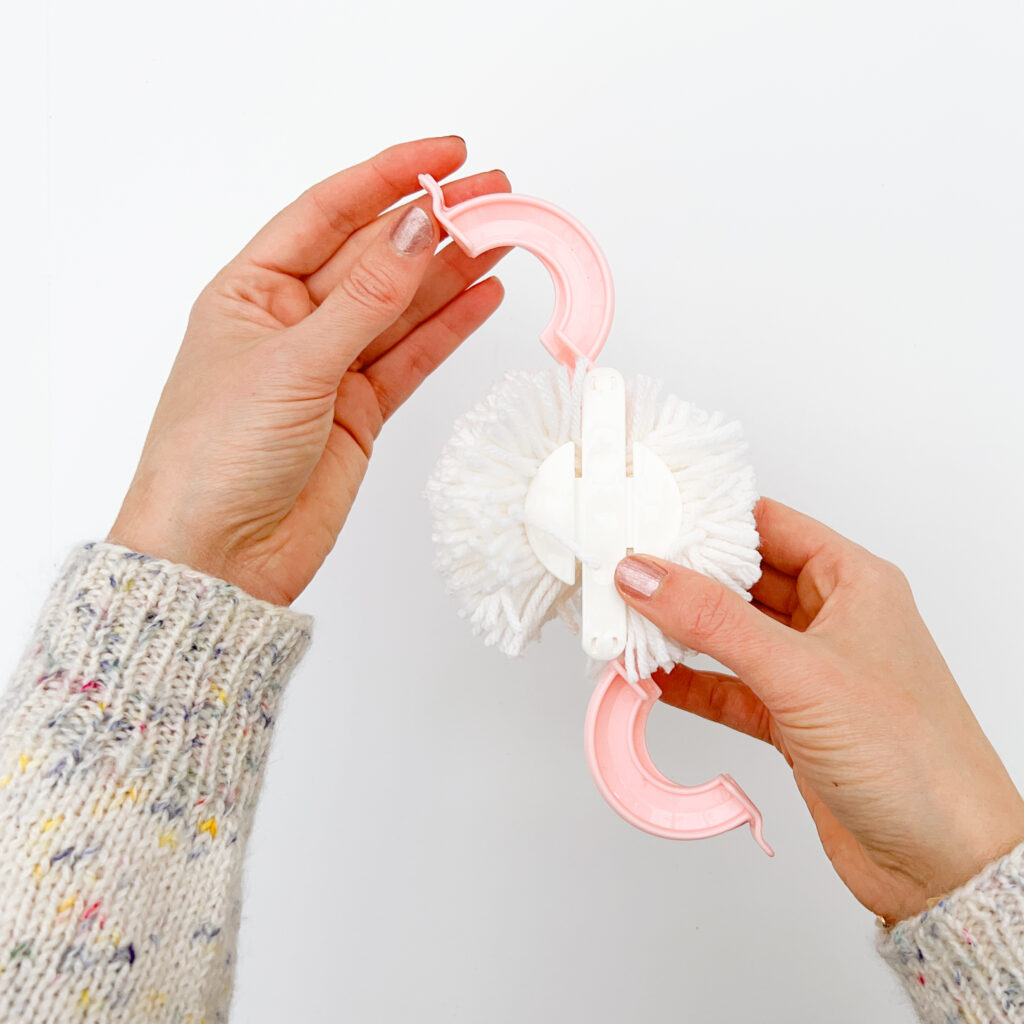
Step 8:
Open both pairs of curved colored arms.
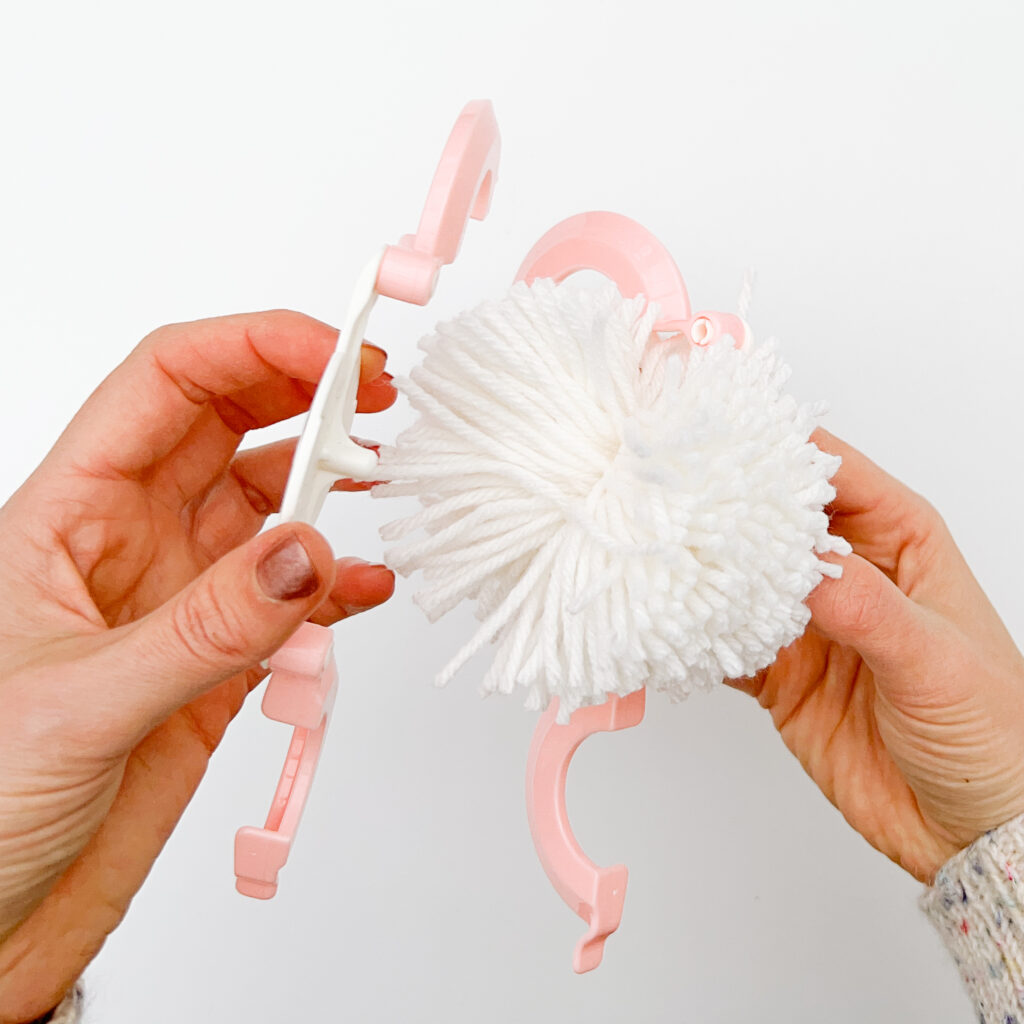
Step 9:
Remove the pom pom maker by pulling the center white circles apart.
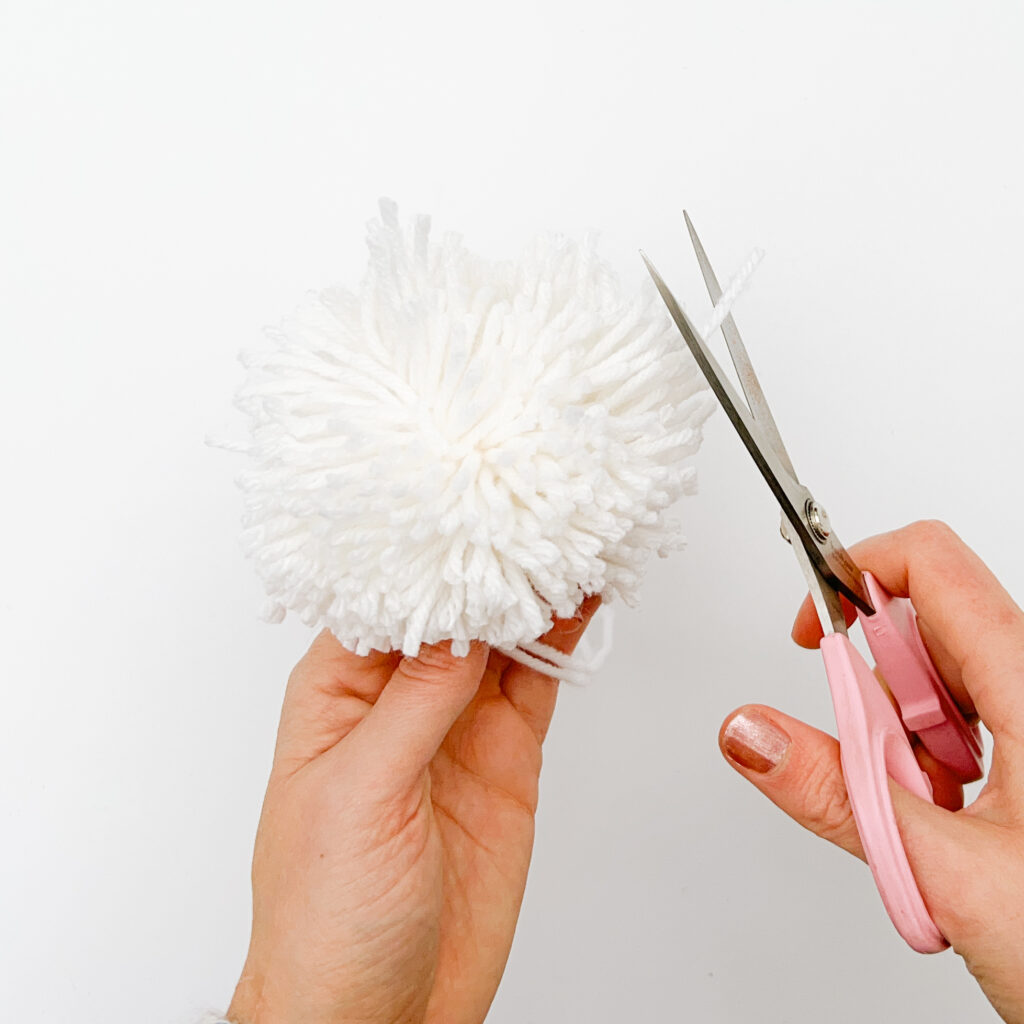
Step 10:
Grasp the pom pom by the yarn ties and trim the ends of the pom pom so that they’re tidy and even.
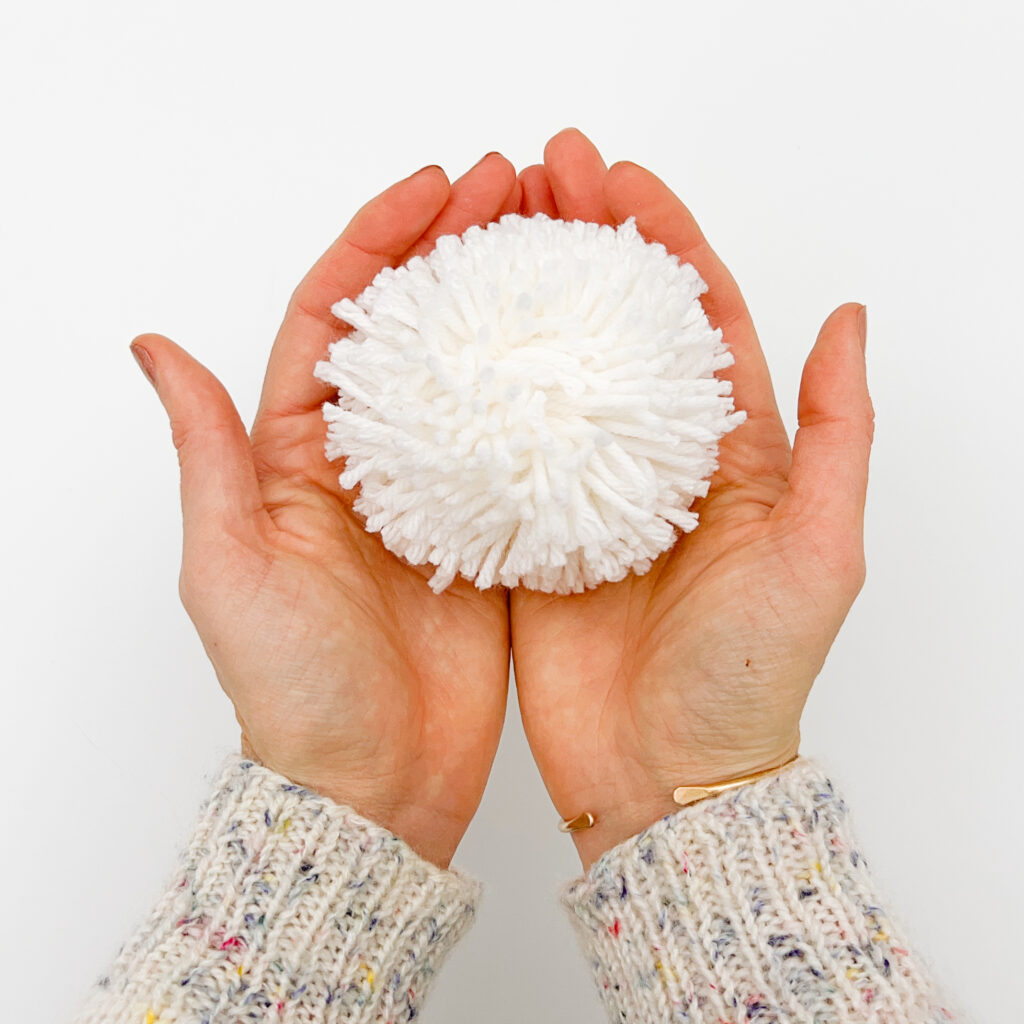
The closer you trim the pom pom, the denser the final shape will be!
Just make sure you don’t cut the yarn tails or the central yarn tie holding everything together in the process.
Now that you’ve learned how to use a pom pom maker and the basics of how to make a yarn pom pom, we’ve got a fun way to make them even better right away.
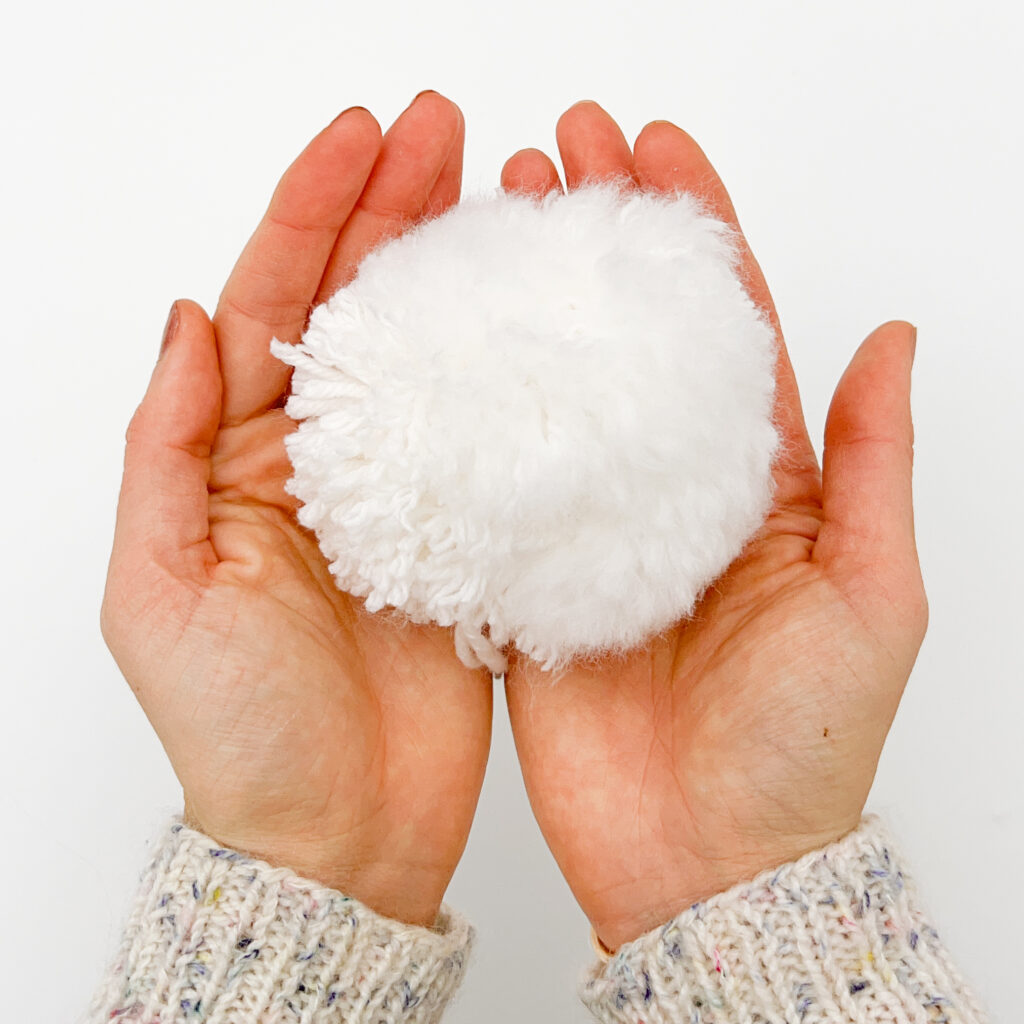
Basic yarn pom poms are lovely and you can certainly stop there. BUT! You can make a super fluffy version by combing the fibers out.
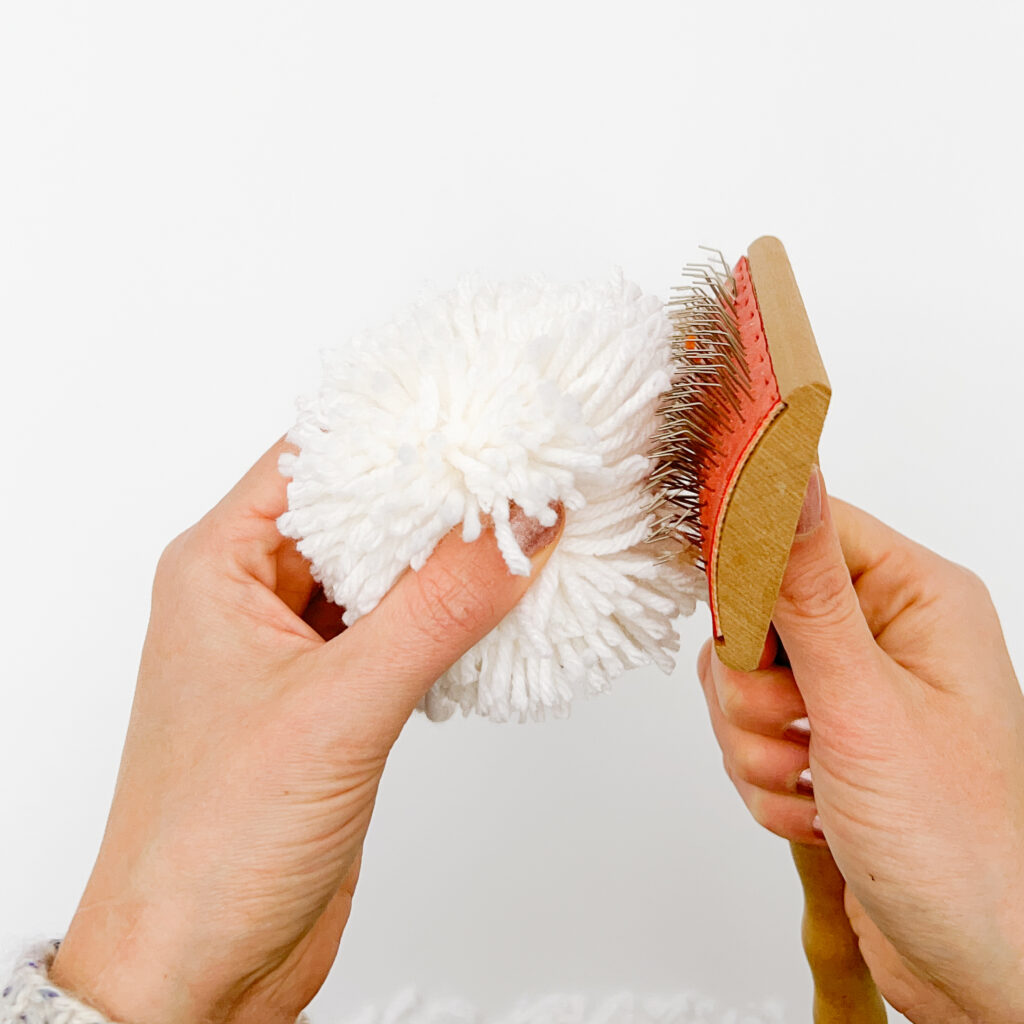
Our secret: a metal-toothed pet brush! Use the pet brush to tease the ends of the yarn out (just like those big beautiful 80’s hair styles). Make sure you pinch and hold the center of the pom pom FIRMLY while you brush. Be very careful not to pull any of the strands out of the pom pom with the comb. If this starts to happen stop!

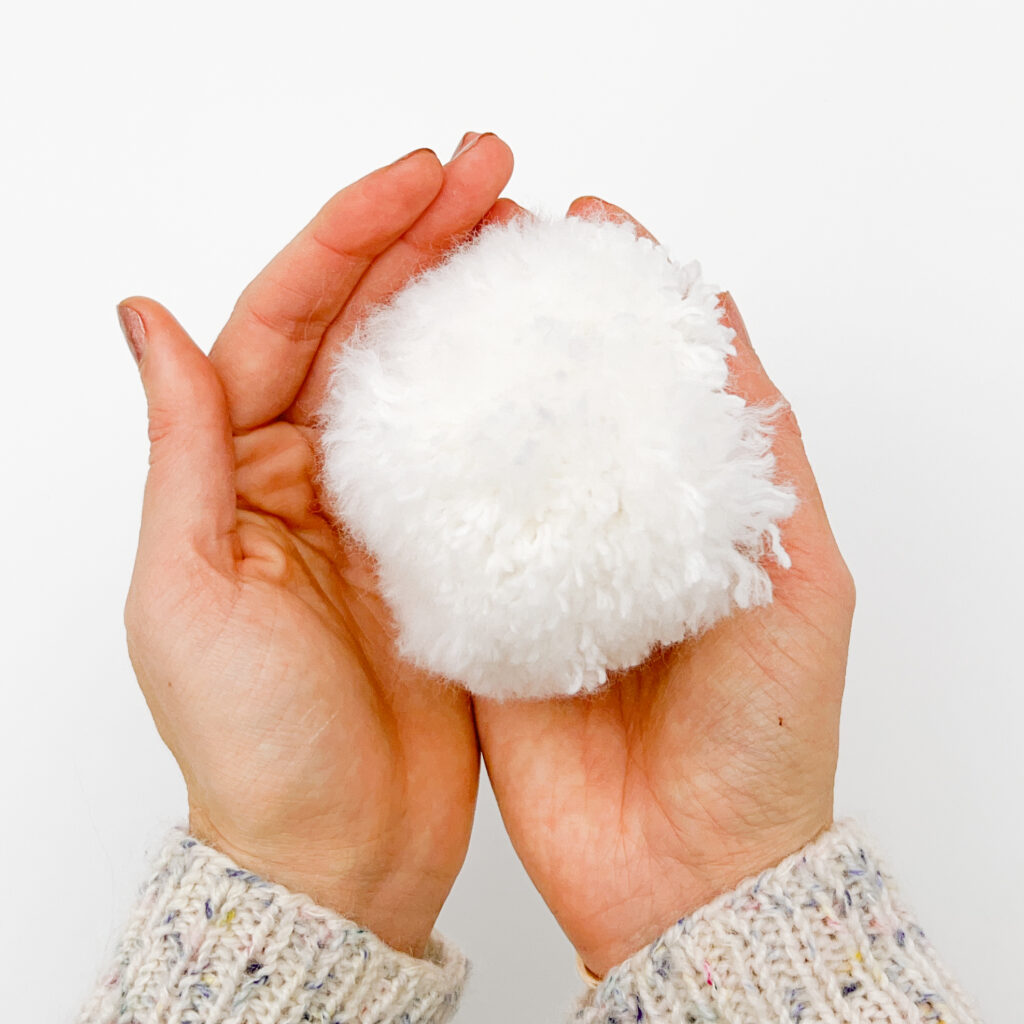
You might also need to do a second trim with scissors to make the sphere even all the way around. The nice part about combing the pom poms out is that you’ll have extra length you can trim back for a nice, dense surface.
You don’t have to use a pom pom maker to make fluffy pompoms! If you’re in a pinch you can use things you already have at home to make a whole pile of yarn pom poms. These are DIY pom pom techniques use a piece of cardboard, the tines of a fork, or even your fingers! Easy!
Pom pom makers and pom poms in general can be made in various sizes. Something to think about: the larger the pom pom the heavier it will be.
Figuring out how to make a pom pom for a hat is a common beginner knitter pom pom project. If you’re using at the top of a hat, a big pom pom might pull on the fabric over time or cause the hat to slip off. As a pom pom pulls on knits, it can create holes or distort the stitches.
You can choose any yarn you’d like! Keep in mind, however, that a slippery yarn might create a loose pom pom while a wooly textured yarn will create a fluffier, denser pom pom.
You can always use one color to make a pom pom. You can also hold a bunch of strands from different yarns together at once to create a confetti style pompom. Try wrapping different colors in sections to create patches too!
Learning how to make a pom pom for a hat isn’t any different than making a basic pom pom! The only change is that you’ll want to leave the yarn ties on the pom pom. You’ll thread the yarn ties through the fabric at the top of the hat and tie it in a knot (use two for security!) on the inside of the hat. Ta dah! All done!
Because pom poms can be made using any yarn including super bulky yarns, finding easy ways to attach the finished pom pom to a project can be a little tricky. Luckily, we have a handy trick for easily threading a yarn needle with any kind of yarn. See the tutorial here!