Beginner Loom Knitting Tutorial: The E-Wrap Knit Stitch
A step-by-step tutorial on the loom knitting stitch!
A step-by-step tutorial on the loom knitting stitch!
Previously, we touched briefly about the basics of loom knitting stitches. We tackled how to create the E-Wrap Cast On and for this tutorial, I’m going to walk you through the steps in creating the E-Wrap Knit Stitch for knitting looms!

Creating the knit stitch in the loom is quite different from traditional knitting. Instead of using a pair of knitting needles to knit your stitches, you use a loom hook.
The resulting stitches come out looking quite identical to the “normal” flat knits. But how the loom stitches are created is not at all close to how you would make them using needles!
Before we get started, let’s talk about how the “E-Wrap” version of the knit stitch is different than a regular knit stitch on the loom! The e-wrap knit stitch wraps the yarn around each peg in a shape like the letter “e”. This technique creates a looser and larger stitch that makes it easier for beginners to hook and a much stretchier fabric than the “regular” knit stitch.
On the other hand, the regular knit stitch is made by bringing the yarn across each peg and lifting the bottom loop over that straight length of yarn. This technique produces a tighter and denser stitch, resulting in a firmer and more structured fabric.
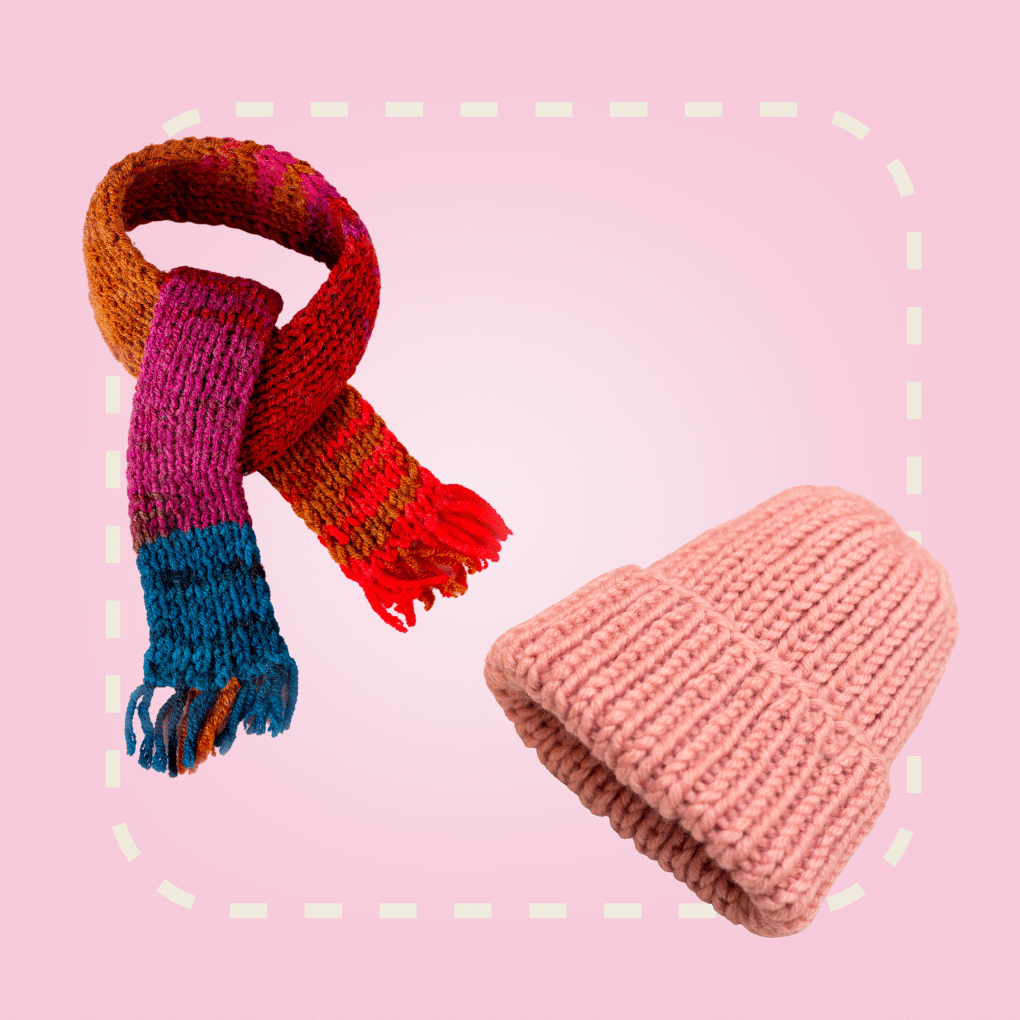
While the e-wrap stitch is often preferred for projects that require elasticity, such as hats or socks, the regular knit stitch is commonly used for creating scarves, blankets, or other items where a tighter weave is desired. The choice between these two stitches depends on the specific project requirements and the desired outcome in terms of texture and drape.
Excited to learn more? Let’s get started!
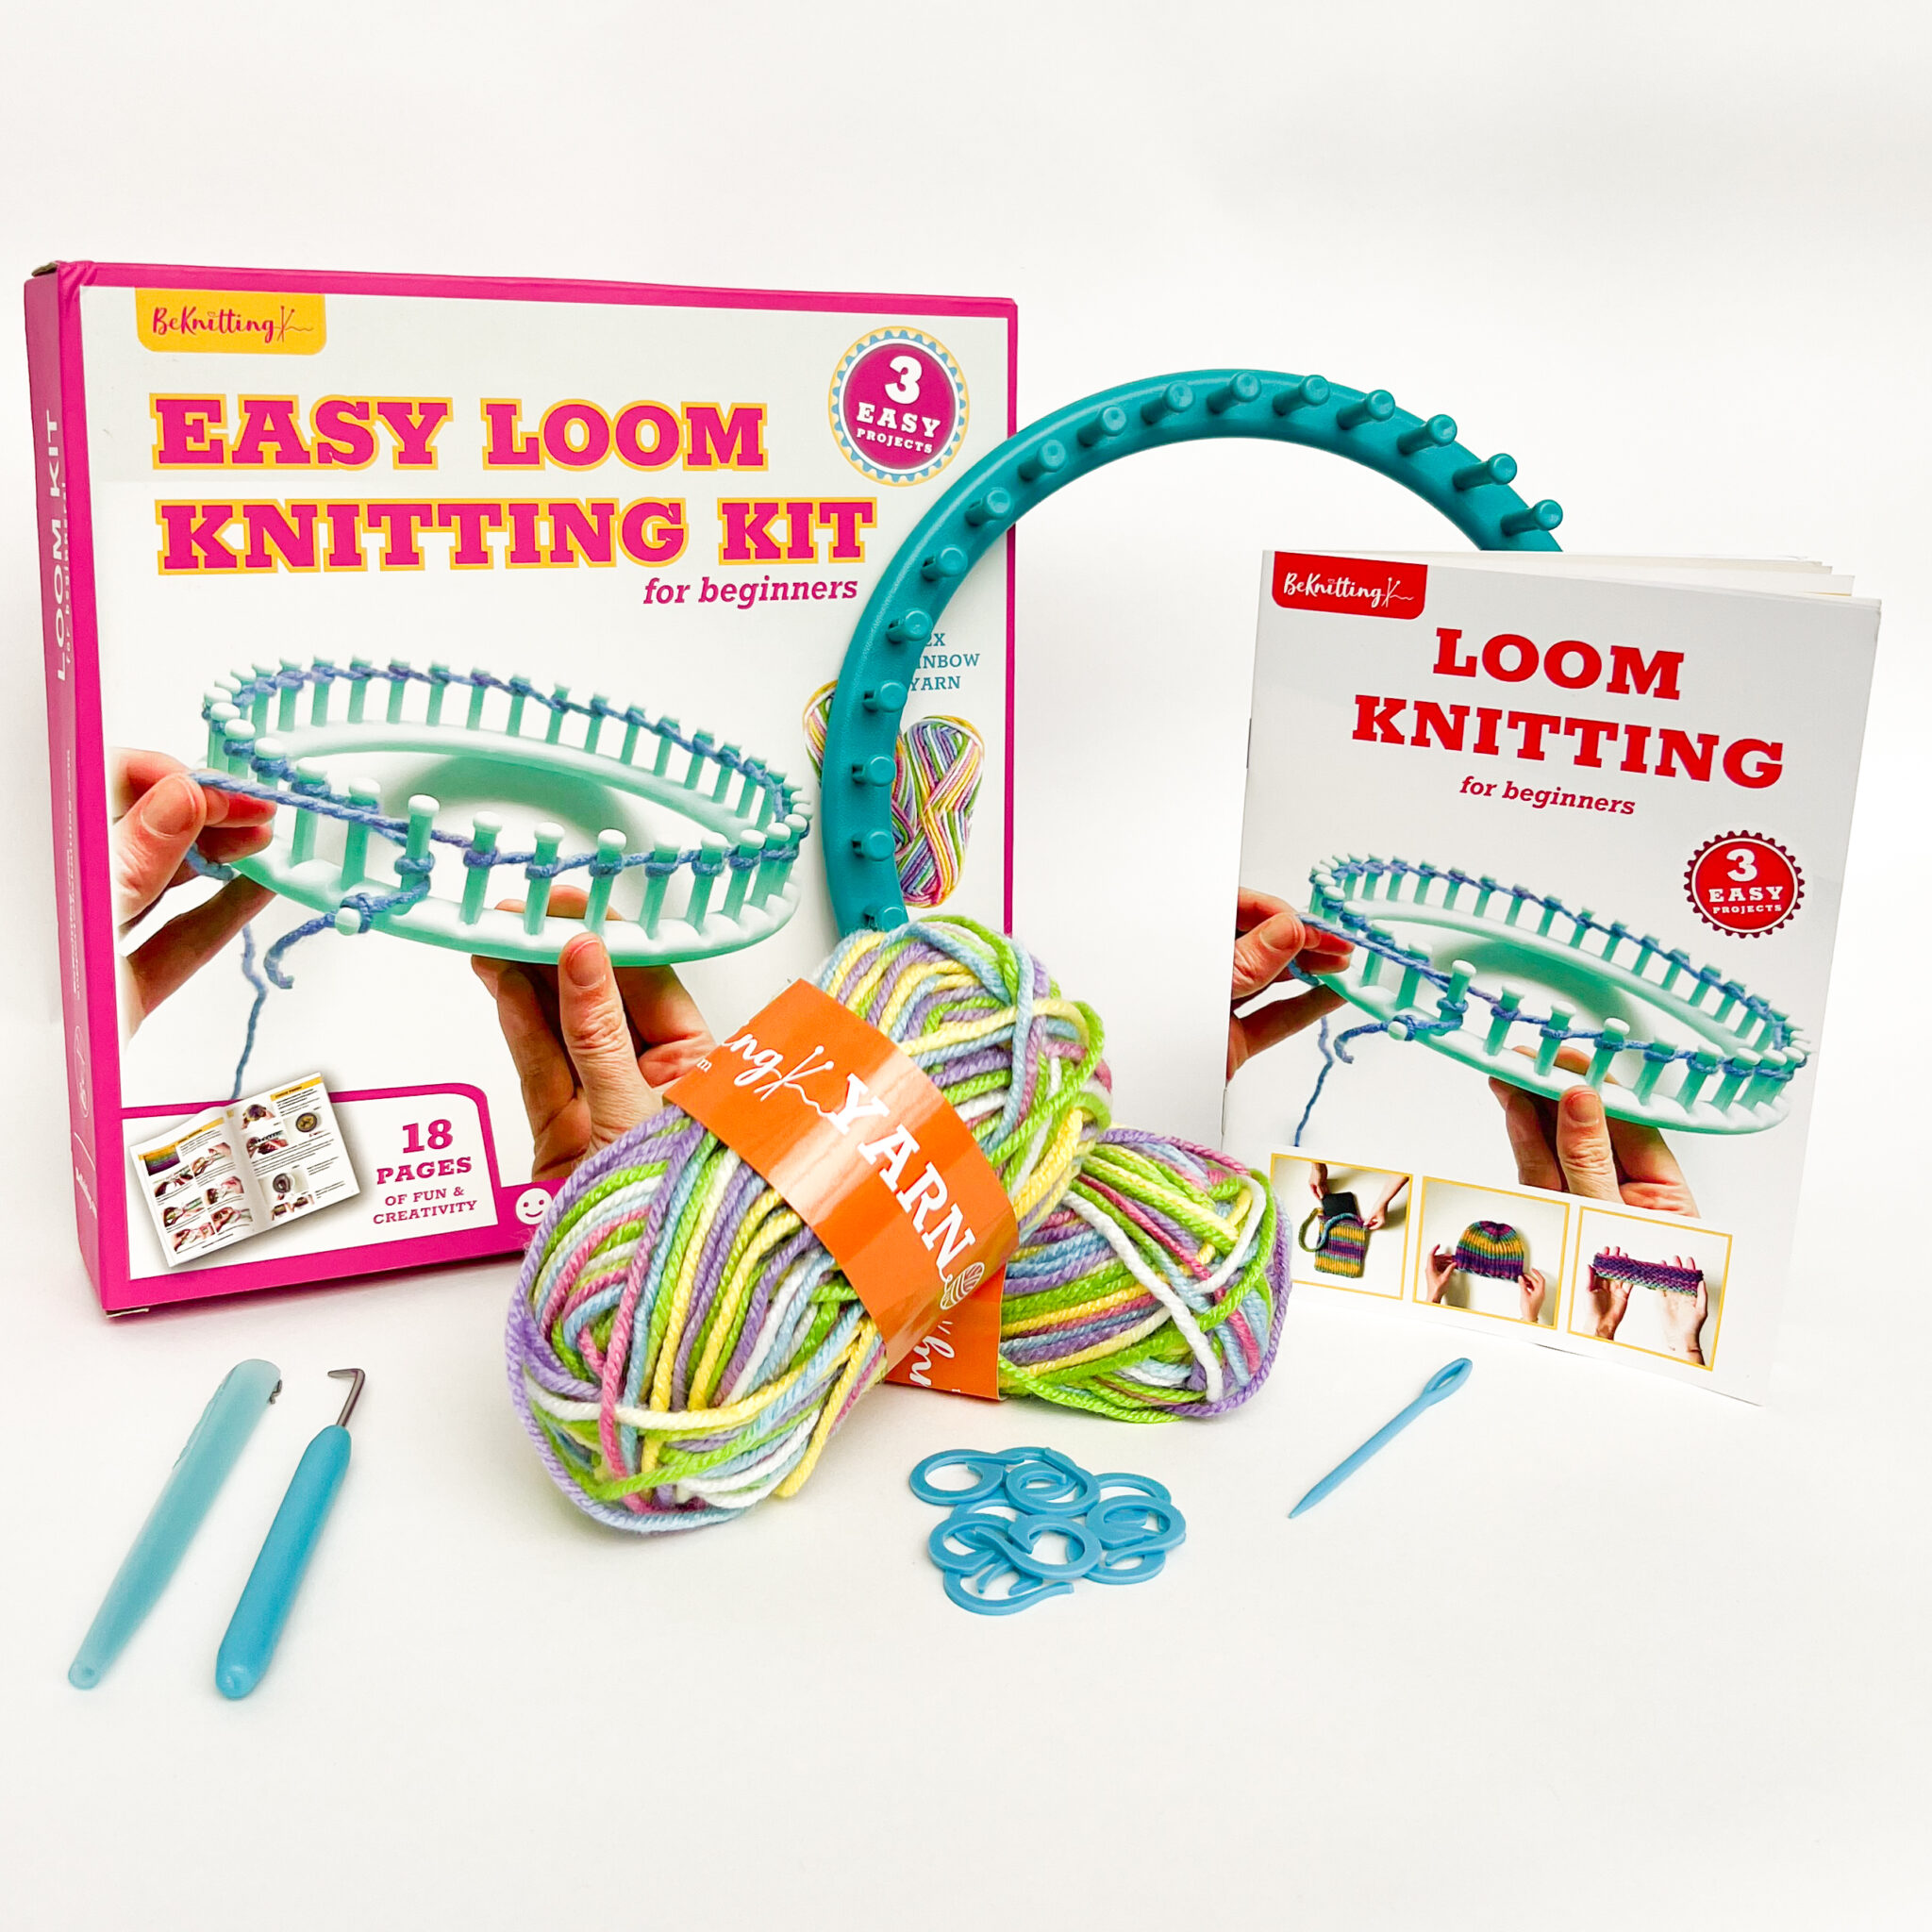
You can find the BeKnitting Easy Loom Knitting Kit on Amazon! 3 fun projects teach you how to use a knitting loom and are designed with new crafters in mind.
Never touched a knitting loom? We’ve got you covered!
Each kit comes with two balls of worsted weight (medium) yarn, one instruction booklet, a yarn needle, a loom hook, a loom pen, stitch markers and, of course, a knitting loom!
The first step to any project is casting on! Once you’ve familiarized yourself with the E-Wrap Cast On for loom knitting, it’s time to introduce another basic stitch called: The E-Wrap Knit Stitch. This stitch makes fabric on the loom using flat, smooth “v” shapes.
It’s very different from your usual knit, so get cozy and grab your loom kit to follow along as I show you the steps! Don’t worry, I’ll walk you through each step here too!
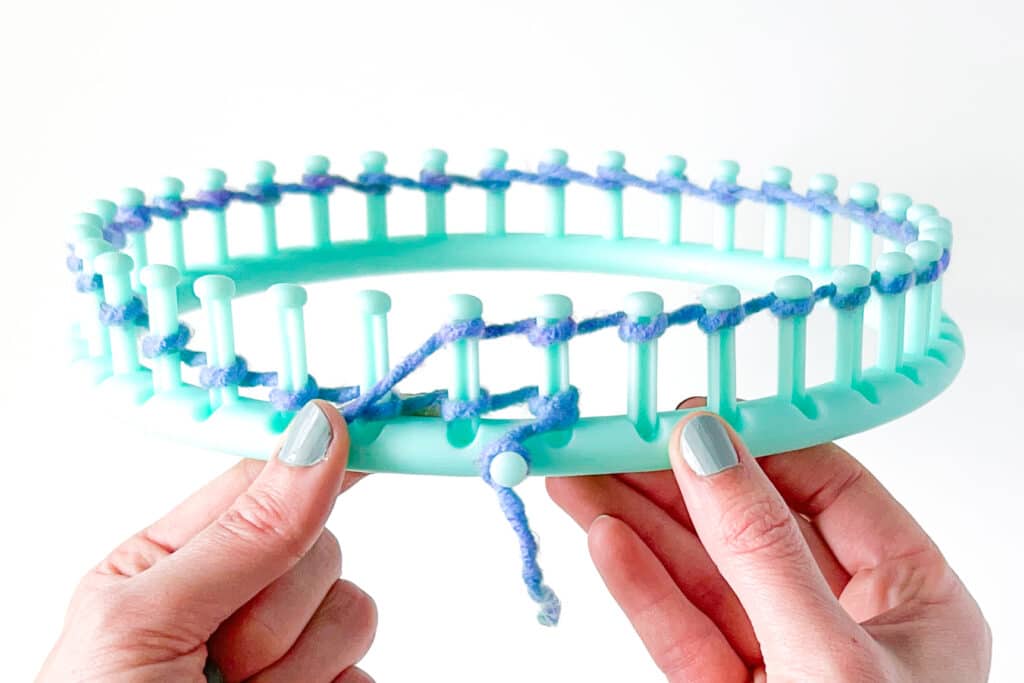
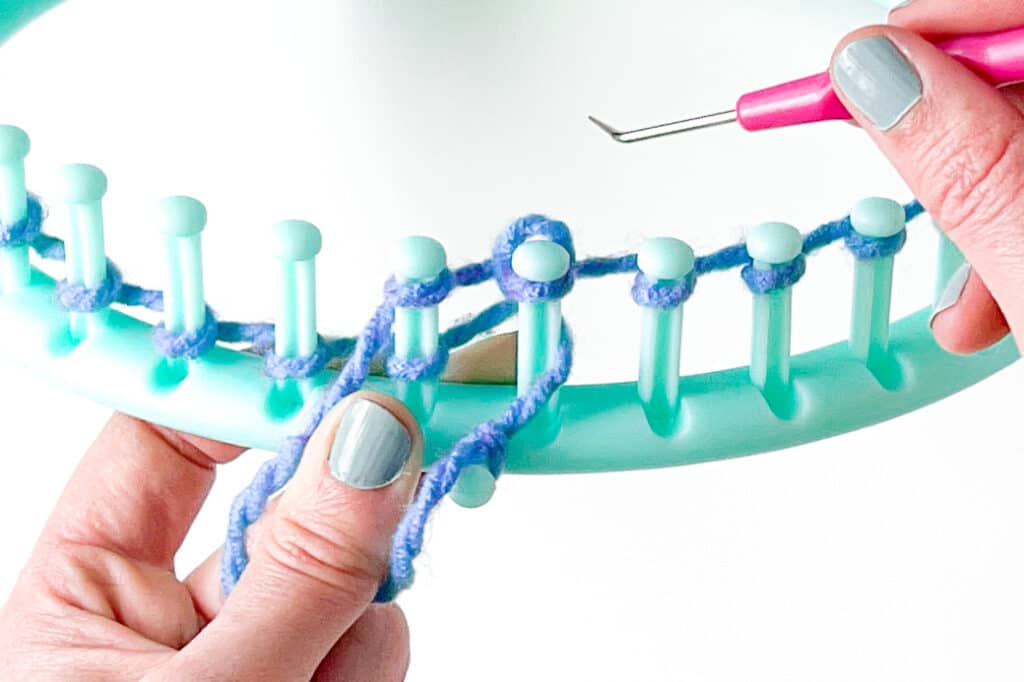
Step 1: Starting the Knit Stitch
Loop the yarn around the tops of the pegs in a second row, wrapping counterclockwise. This is the same way as the E-Wrap Cast On!
Pro tip: You can either wrap each peg as you come to it or wrap a bunch of them at once. Either way, don’t let go of your yarn or it will spring off the pegs and unravel before you can make stitches.
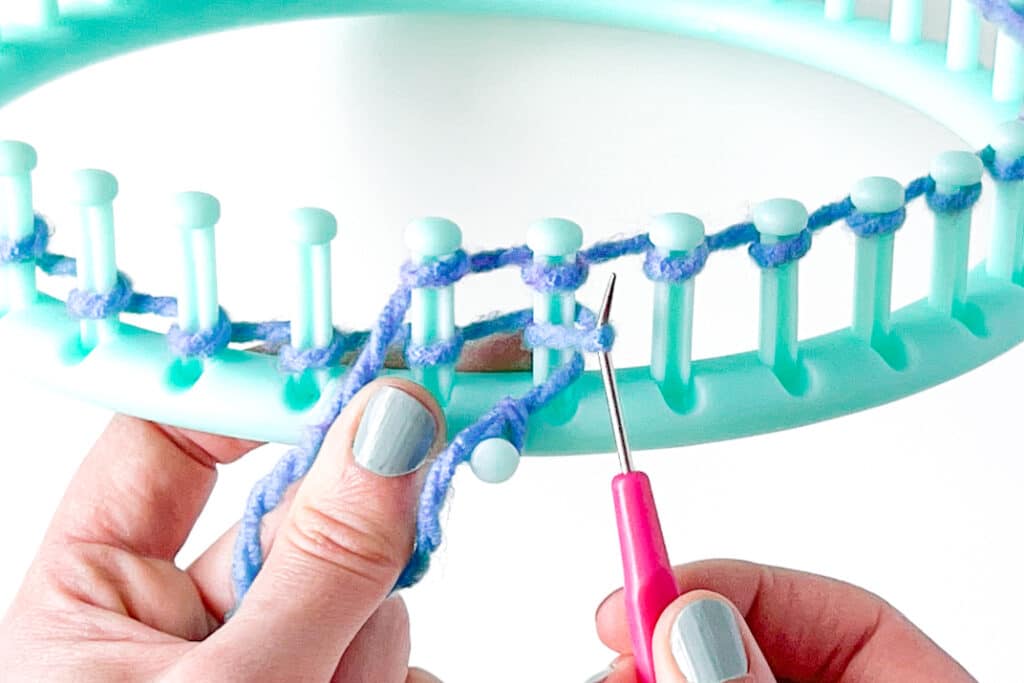
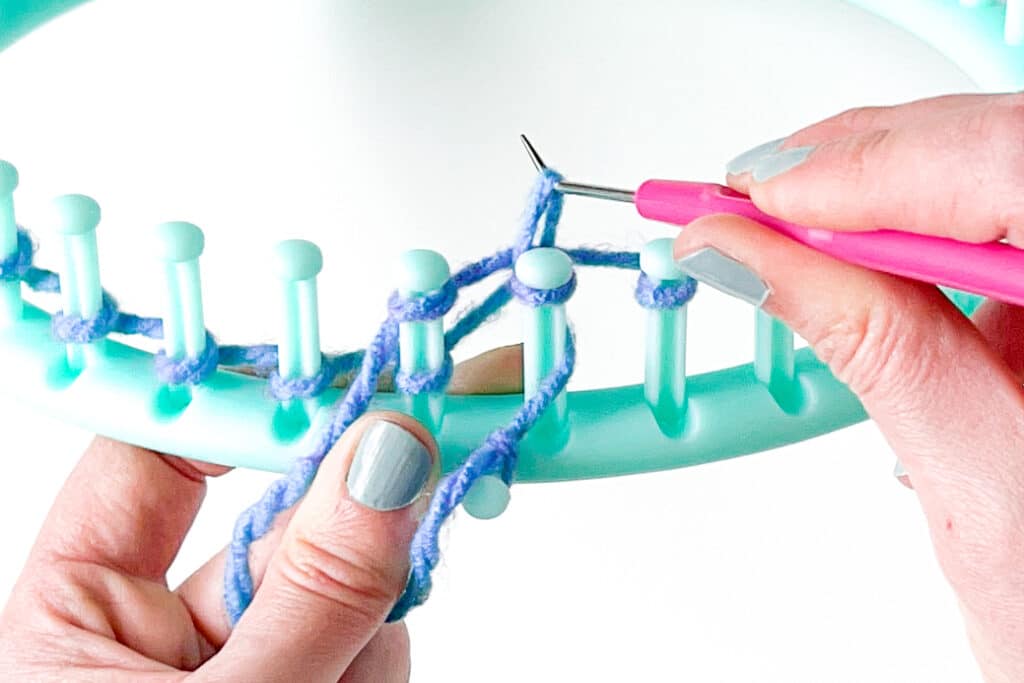
Step 2: Creating the Knit Stitch
Next, use the loom hook to lift the bottom loop from the first row up and over the
second loop. To lift the stitch, insert the hook up under the bottom loop, pulling the loop up and over the top yarn strand and up over the top of the peg. Drop it off the hook toward the inside of the loom.
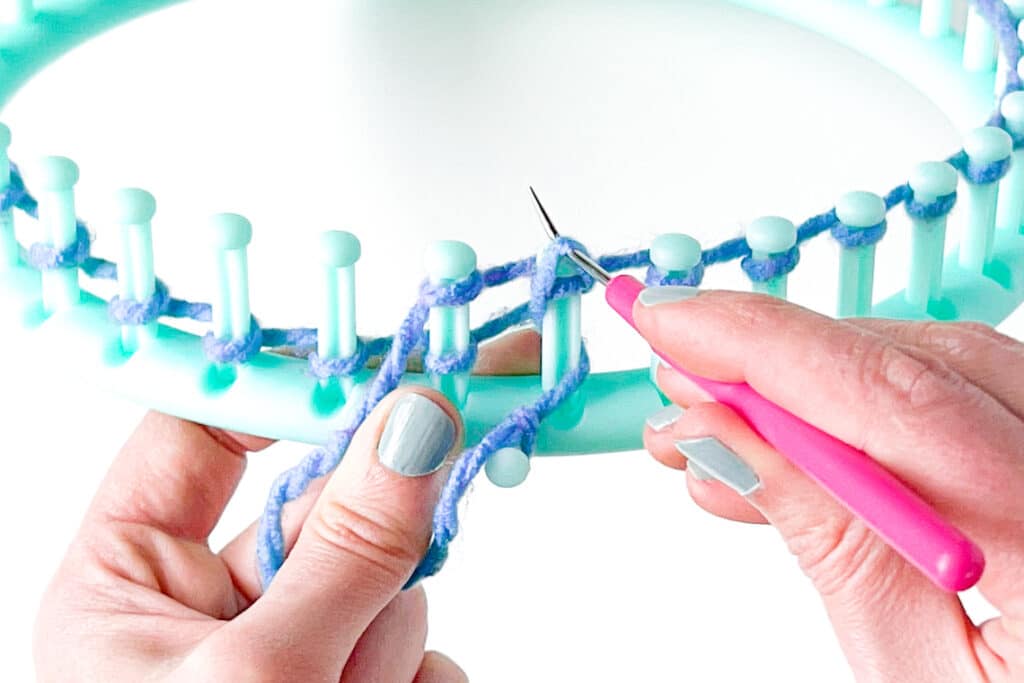
Repeat Steps 1-2:
Continue to wrap the pegs all the way around the loom. Remember, the anchor peg on the outside edge of the loom marks the beginning/end of your round!
Pro Tip: Your loom hook might split the stitches while you knit. To avoid this, align the tip of your hook into the groove in the stem of each peg. Then carefully slide up your hook to grab the loop. Then you can slip it off to create your stitch!
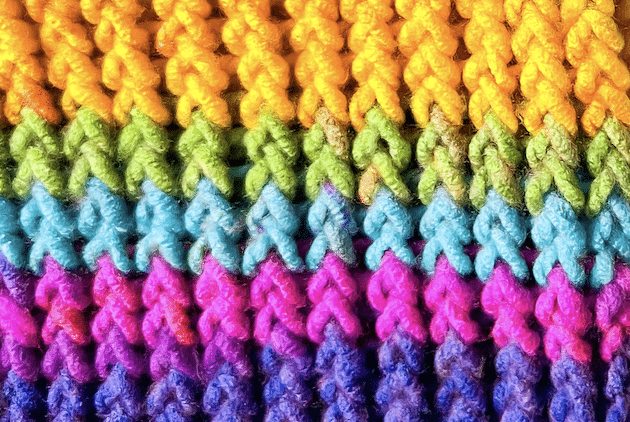
The finished stitches should look like the basic knit. If it looks a bit wonky and uneven, that’s fine! That’s very normal for most of us who are trying out a new craft.
My first few spins on the loom — pun intended — did not come out looking the best and there’s nothing to be ashamed of!
If you’re thinking, “Well, that was….different…”, I don’t blame you. That was my frame of thought when I first started learning about the different loom knitting stitches. It’s just so different from the traditional form of knitting that it gave me a short moment of cognitive dissonance!
Alright, that was a bit dramatic. But you know what I mean.
However, loom knitting is quite an interesting craft. When I first looked into this method of knitting, I found that you could make blankets, scarves, and even sweaters with a single loom. That’s so cool!

Need a refresher on the other loom knitting stitches? Don’t worry, you can find everything you need and more on our website!
Casting On: How to start the yarn on your knitting loom. Read the Post…
How to do the Purl Stitch on a Knitting Loom! Read the Post…
Casting Off: How to take the project off the knitting loom. Read the Post…
Before you go, I would like to dish out on the upcoming loom kit tutorials. Our team is on the hunt for beautiful beginner-friendly loom patterns, so be sure to stay tuned for those!
Not sure if you like loom knitting stitches? That’s fine, we also have other patterns and tutorials on our website. Check out these Chunky Knit Cardigan Patterns!


