Beginner Loom Knitting Tutorial: The E-Wrap Cast On
How to start the yarn on a knitting loom!
How to start the yarn on a knitting loom!
Just as you thought that knitting stops with two needles, you find out about loom knitting!
Yes, there is more than one way to knit. Each technique results in a unique, but beautiful piece that you can use, gift, and treasure for years to come.
The way loom knitting works is a little bit different compared to traditional knitting.
Instead of using a pair of knitting needles to create stitches, you will loop the yarn around the pegs of a knitting loom. Next, you use a loom hook to pull these loops off the pegs to create new stitches!
Loom knit items can look almost identical to traditionally knitted items. The only difference is how they are made and that loom knitting can sometimes limit the shapes or kinds of projects you can make.
Now, it might sound complicated, but loom knitting is actually a very beginner-friendly craft! You just need a step-by-step walkthrough and I’m here to give that to you.
Ready to get knitting? Let’s begin!
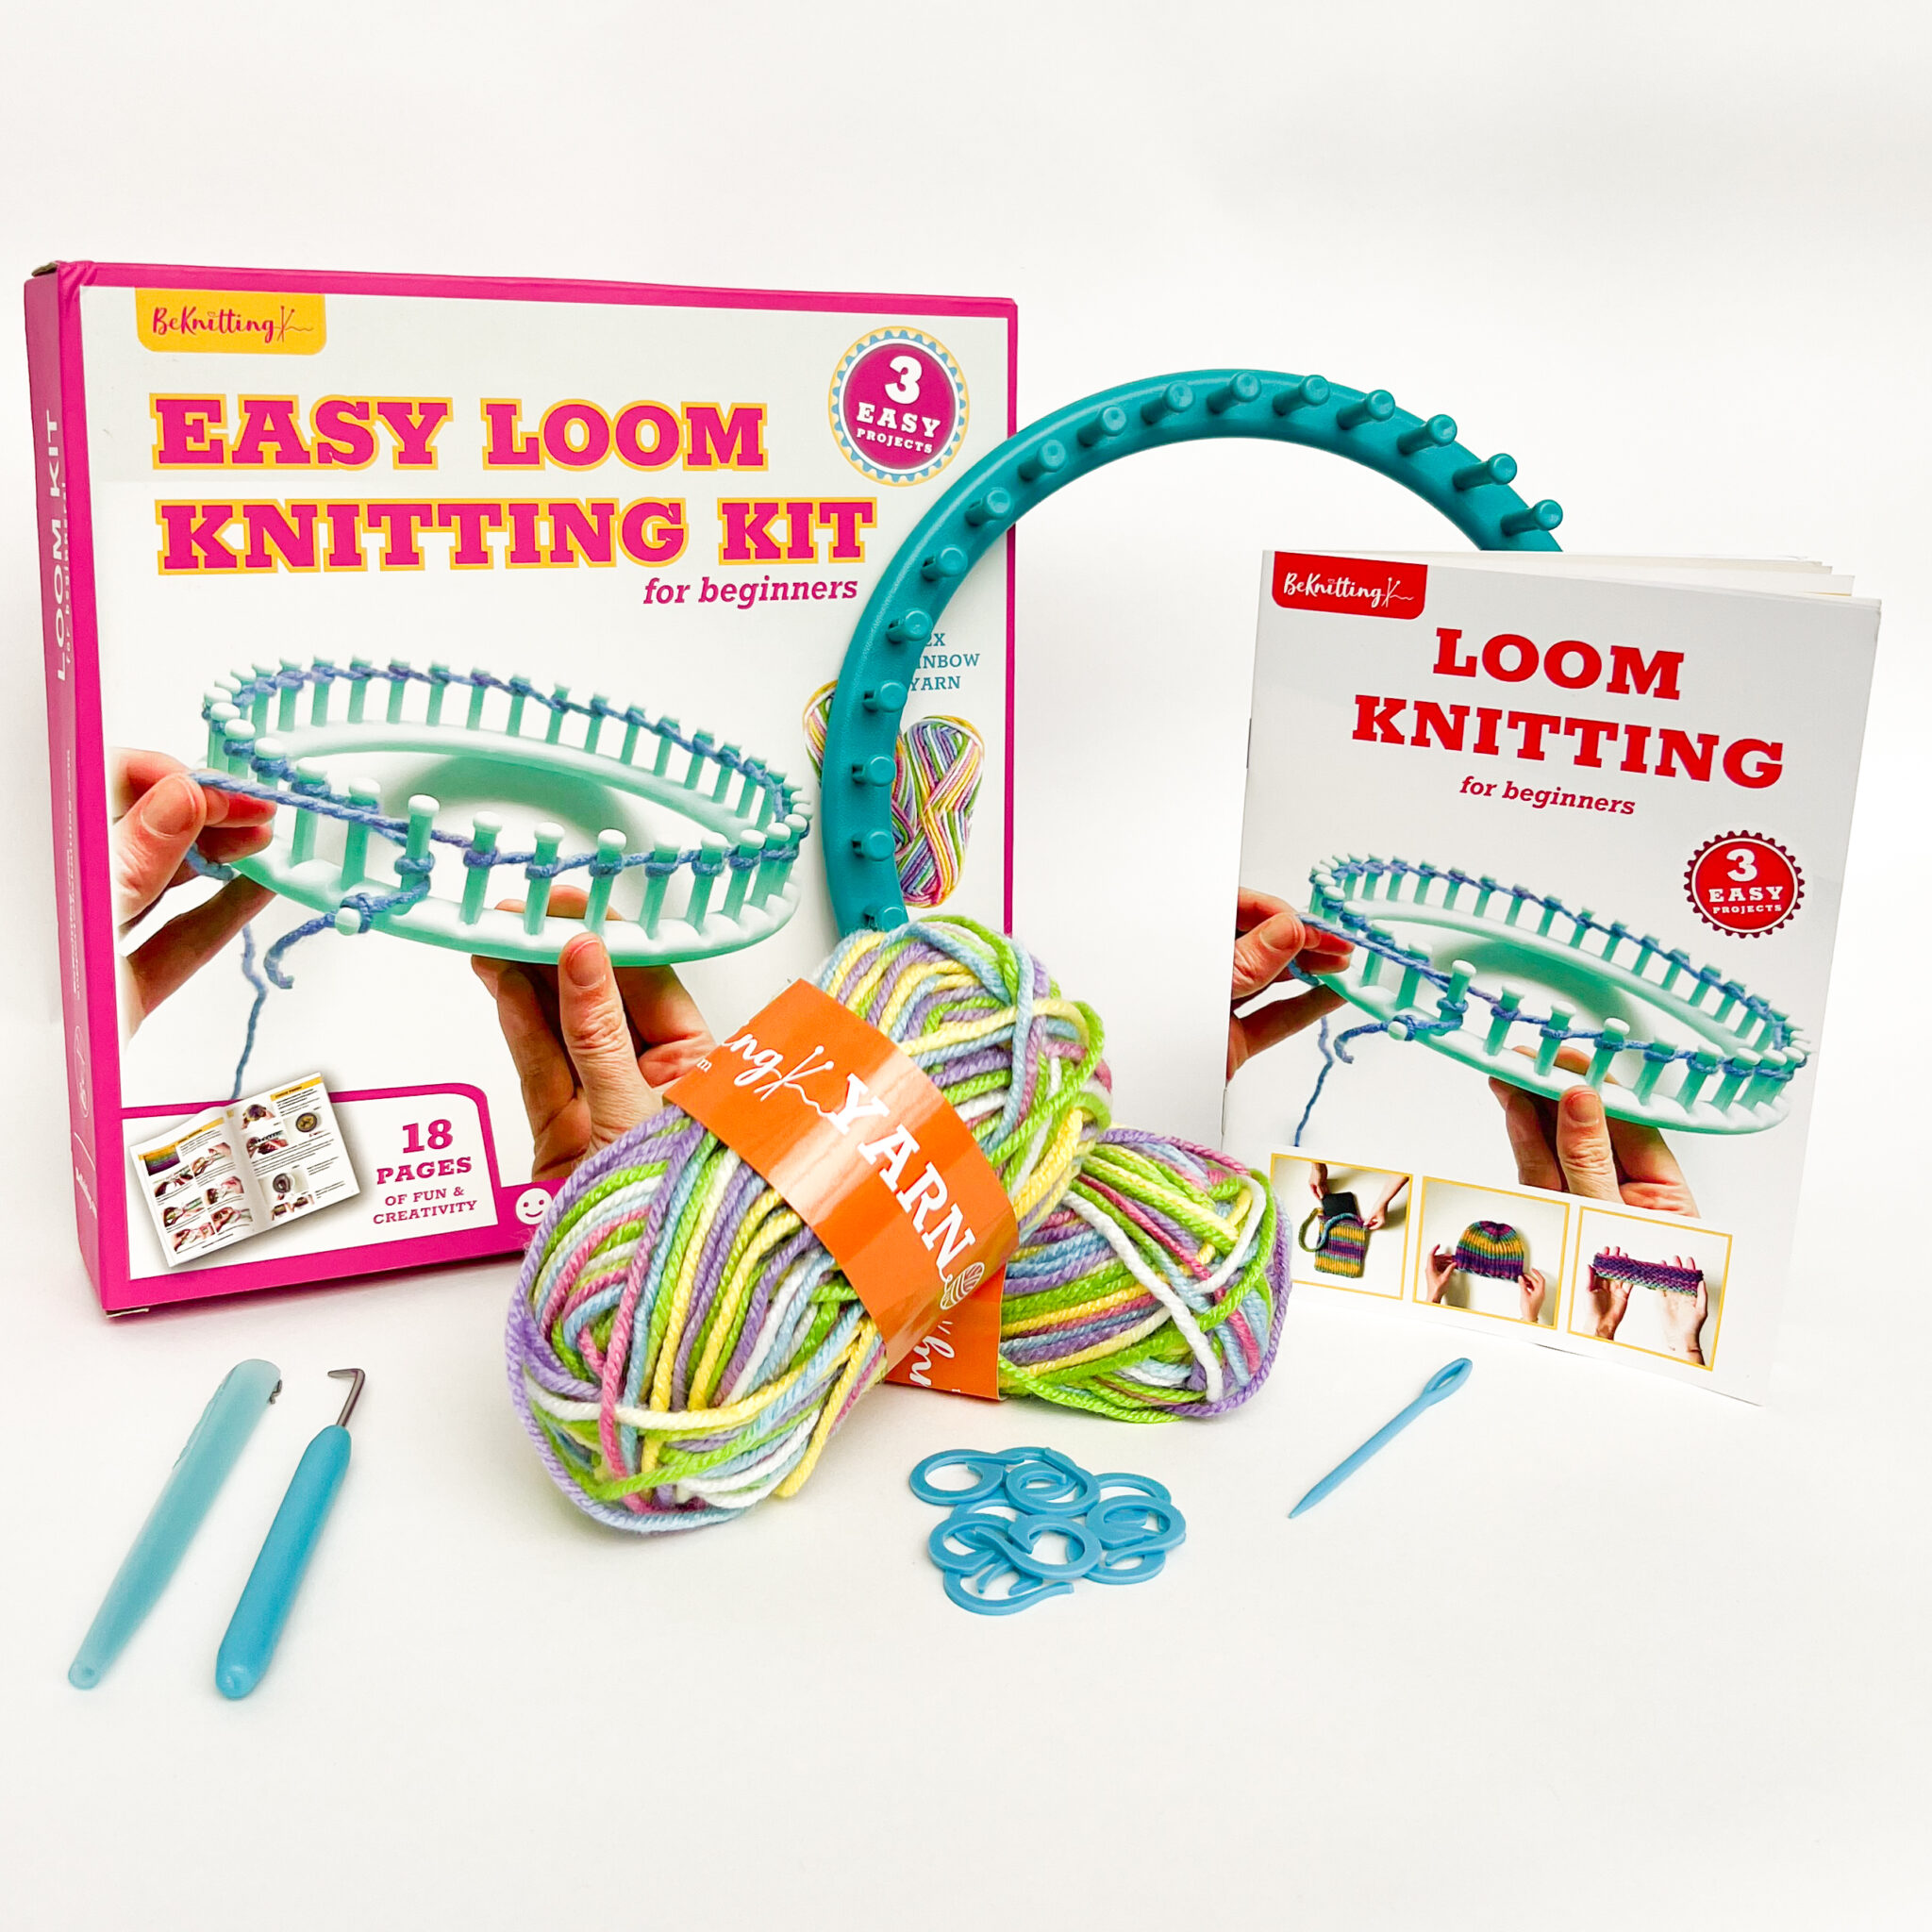
You can find the BeKnitting Easy Loom Knitting Kit on Amazon! 3 fun projects teach you how to use a knitting loom and are designed with new crafters in mind.
Never touched a knitting loom? We’ve got you covered!
Each kit comes with two balls of worsted weight (medium) yarn, one instruction booklet, a yarn needle, a loom hook, a loom pen, stitch markers and, of course, a knitting loom!
Before we check out loom knitting patterns, we need to go through the basics.
Despite being considered as another knitting method, the process of loom knitting is actually quite different from traditional knitting.
To knit using a loom you’ll be using you use a loom hook to create new stitches and the pegs of the loom will hold your active stitches, rather than two knitting needles.
“Casting On” is the term used to describe starting the yarn on the pegs of the loom. There are different ways to start casting on loom knitting projects (some are stretchy, other are sturdy, etc.). Today we’ll show you the stretchiest way to wrap the yarn around the pegs. This step is different than knitting so pay close attention!

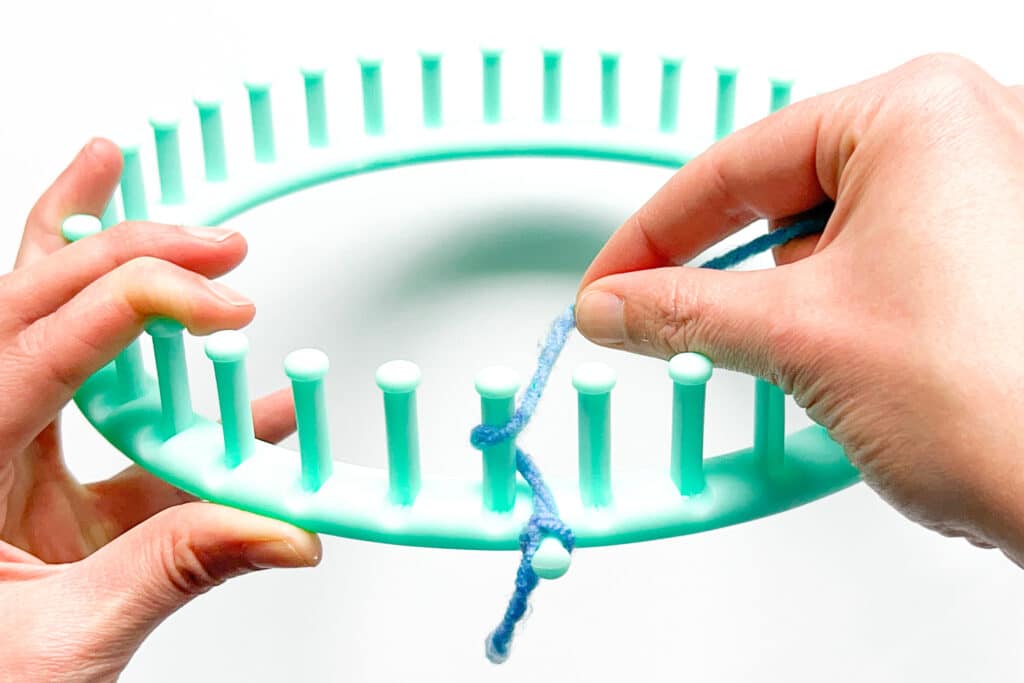
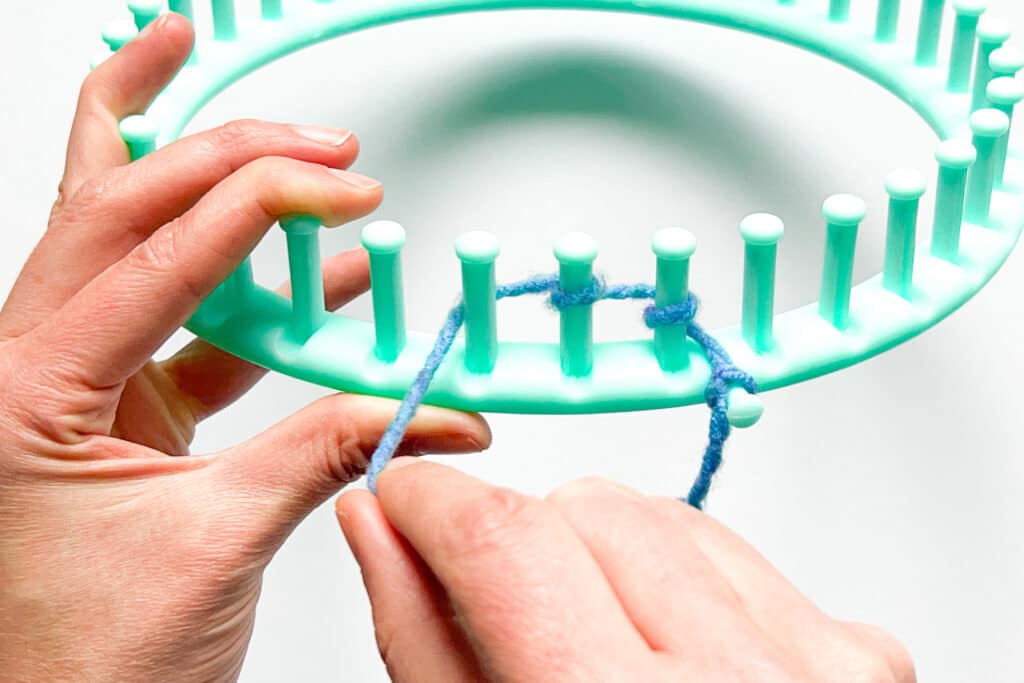
Tie the yarn in a quick knot
around the side peg to
anchor it for the first few rounds.
NOTE: If you are using a loom pen, make sure to thread the yarn through before this step.


Step 1: Bring the yarn to the back, between two pegs. Next, loop the yarn around the back of a peg, bringing it back to the front between the next set of pegs.
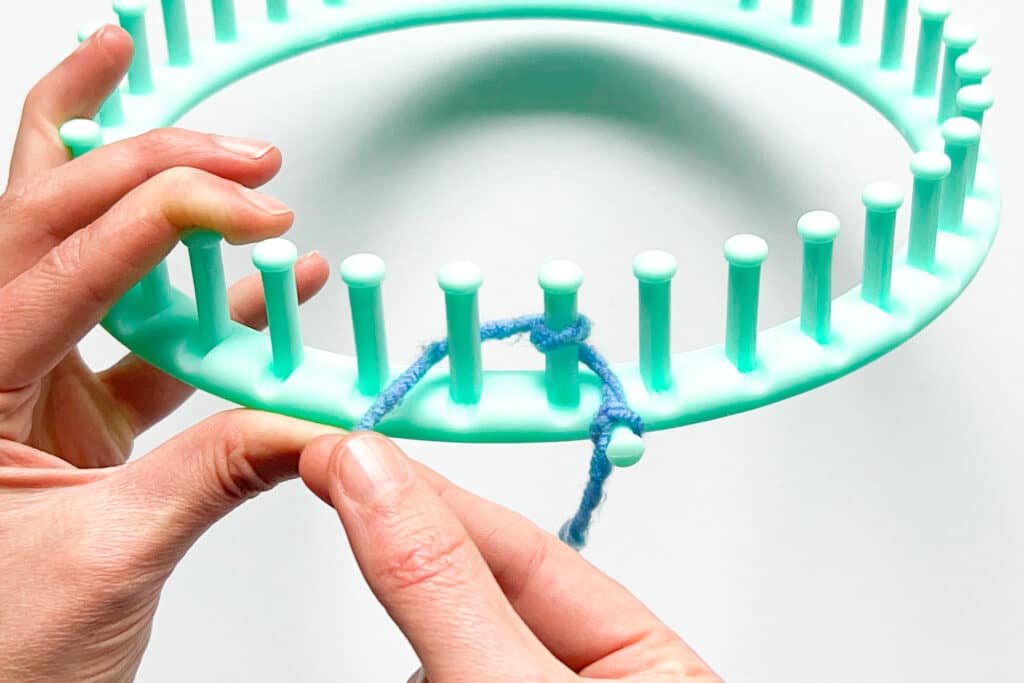
Step 2: Loop the yarn all the way around the peg bringing the yarn around the back of the next peg. The yarn stretching between the two pegs should be towards the inside of the loom.

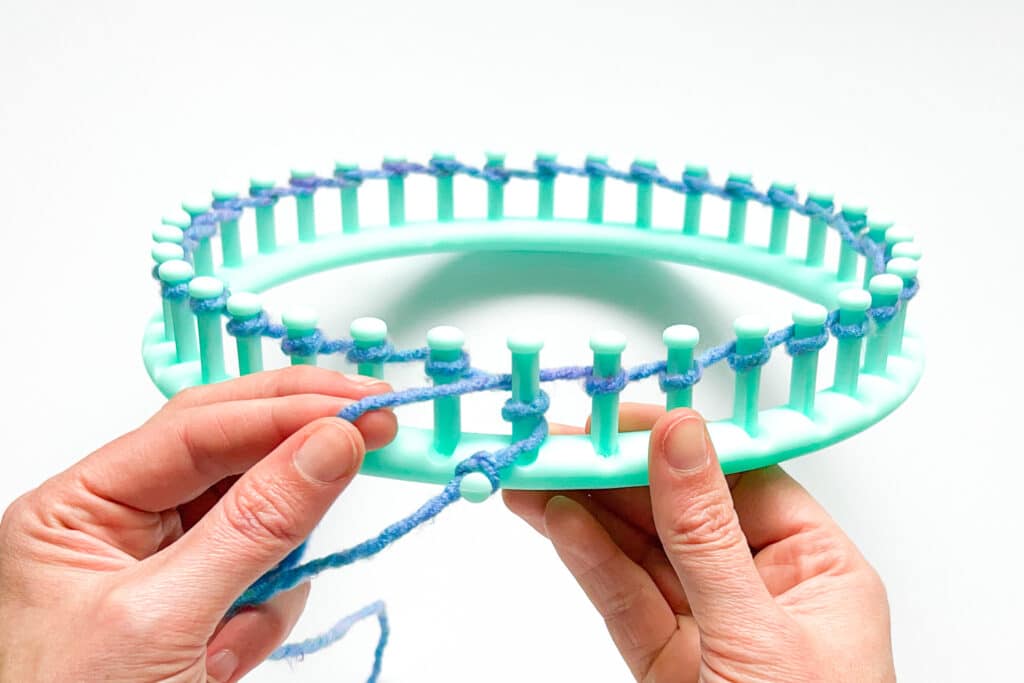
Step 3: Continue to loop the yarn around the pegs counterclockwise one at a time until you’re back to the anchor peg.
Once you’re back at the first peg, wrap the pegs for that round following the instructions for the particular stitch you want.
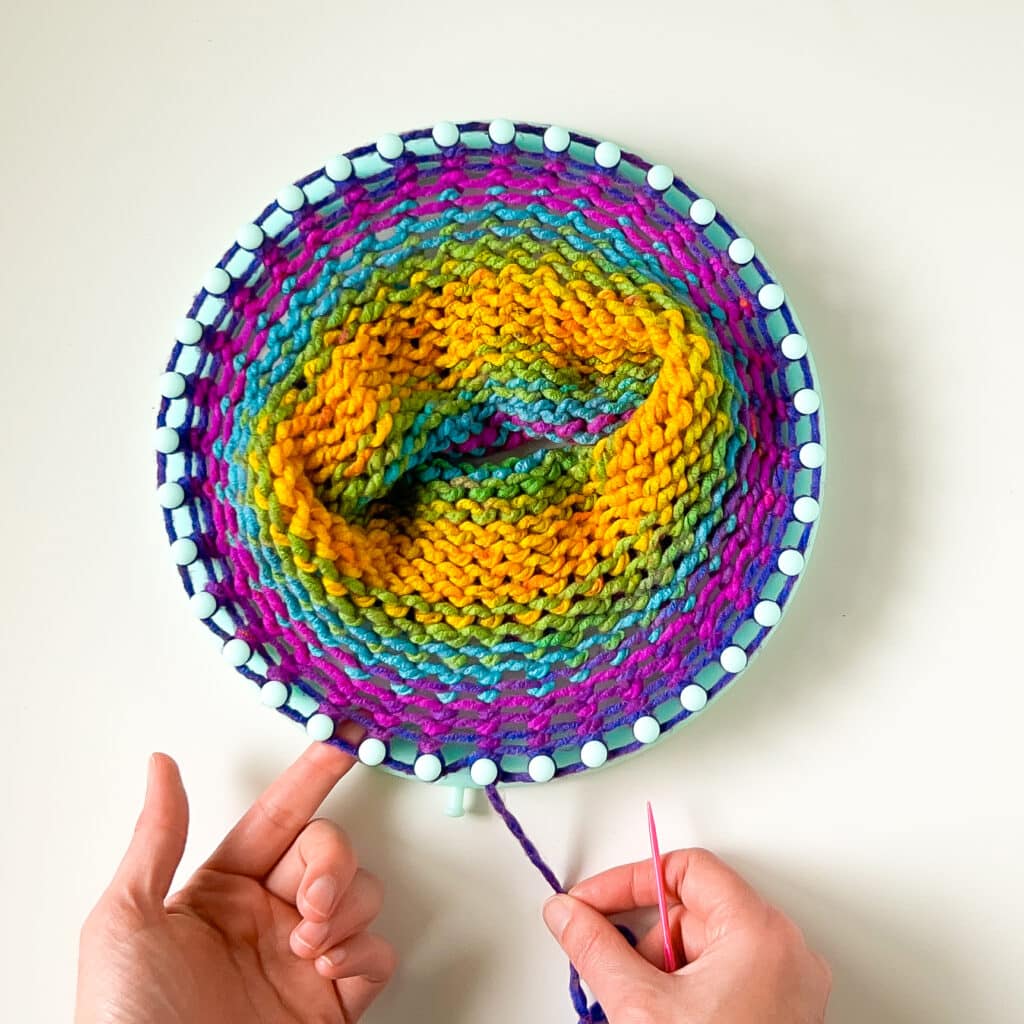
After a project, you naturally want to weave ends in. Here’s a quick tutorial on how to clean up your knitted project!
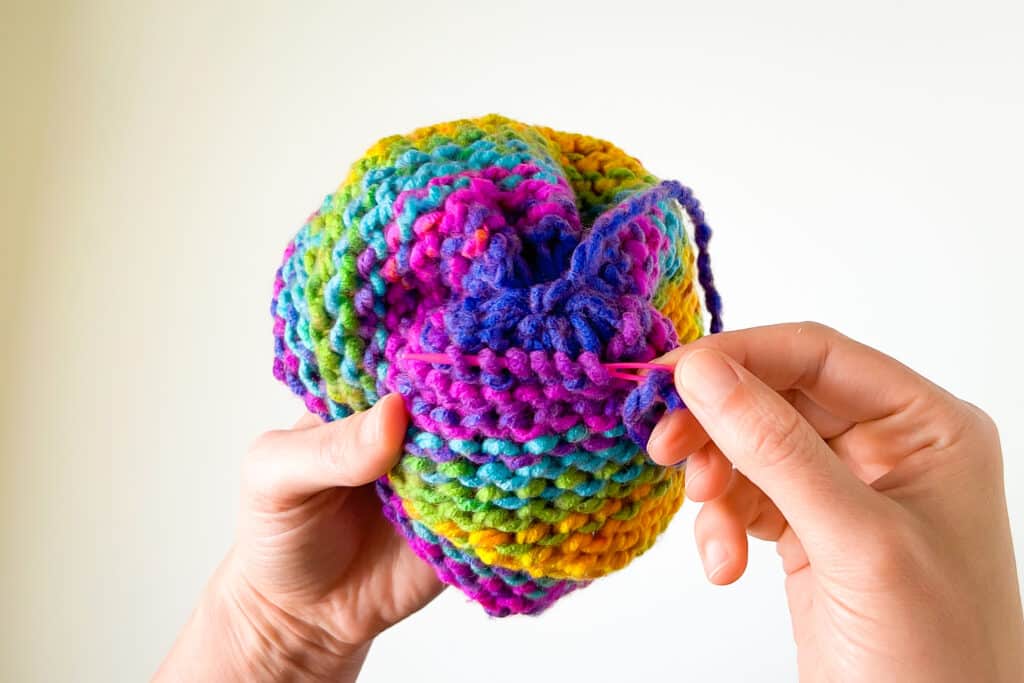
Turn the project inside out. Thread the yarn tail through the yarn needle. Weave the
needle through either a row of stitches or column of stitches for 1-2”. Pull the yarn
through the stitches and trim close to the fabric.
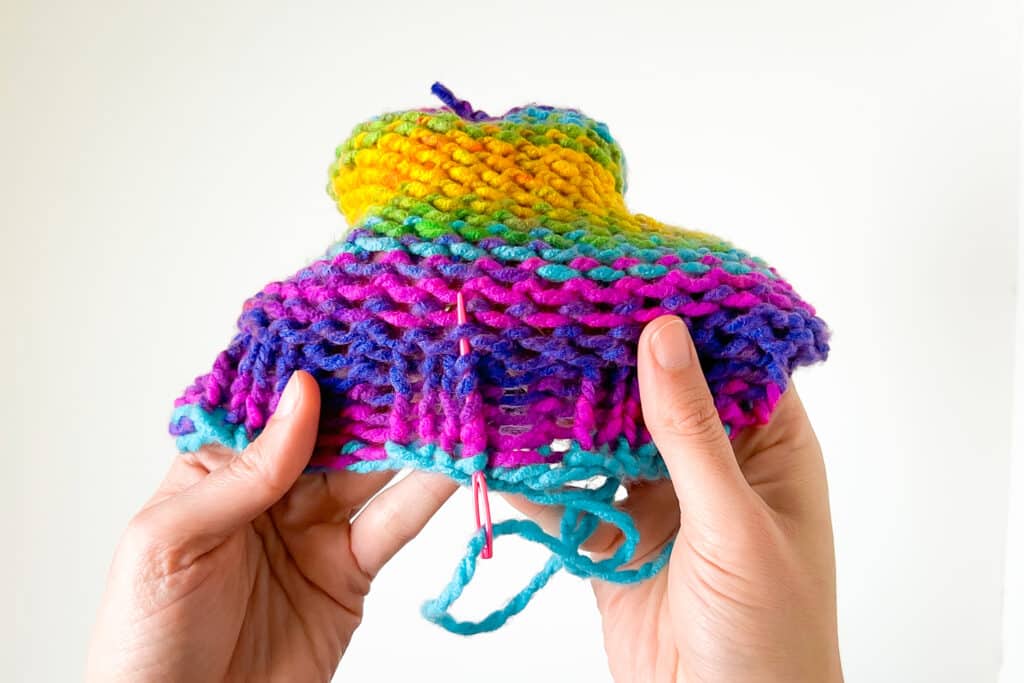
Weaving in the ends for “traditionally” knitted items and items that are knitted in a loom is practically the same. But remember to knit at the wrong side of your work!
BONUS TIP: If you don’t want your yarn end to slowly unravel as you use your knit item, add a dab of fabric glue to keep it in place. That yarn tail is not going anywhere!
I know, finding out about a new knitting technique can be overwhelming. A while back, I also thought that the only way to knit was to use traditional knitting needles to make beautiful knitwear.
I was pleasantly surprised that this method of knitting exists too!
What I absolutely love about knitting in looms is that it’s easy to learn. Loom knitting for beginners is not as complicated as it looks!
Need a refresher on the other loom knitting stitches? Don’t worry, you can find everything you need and more on our website!
How to do the Knit Stitch on a Knitting Loom! Read the Post…
How to do the Purl Stitch on a Knitting Loom! Read the Post…
Casting Off: How to take the project off the knitting loom. Read the Post…
If you’re not into loom knitting, that’s fine too! We all have our preferences. You can still check out other beginner-friendly knitting patterns that are made using traditional knitting needles: 12 Free Easy Beanie Knitting Patterns and 10 Free Knit Blanket Patterns!


