Beginner Loom Knitting Tutorial: The Purl Stitch
Creating Purls Stitches On the Loom!
Creating Purls Stitches On the Loom!
You may have seen our two previous posts on the E-Wrap Cast On and E-Wrap Knit Stitch. This time, I’m going to walk you through the E-Wrap Purl Stitch!
This is another important stitch to learn when it comes to knitting with a loom for beginners. Well, purl stitches are also quite important in “traditional” knitting too.
Though, if I’m being honest, purling in knitting is not my favorite part even though it does create beautiful textures!
Despite having the same name as the traditional version of the purl stitch, the E-wrap purl stitch is created very differently! You’ll see that in a bit. I have a step-by-step guide on how to create this stitch just for you…

The wrap purl stitch is sturdy and features a “bump” in the fabric rather than a “v” like knit stitches. It’s practically identical to the “traditional” purl stitch that is created using two knitting needles!
Paired with a knit stitch you can get several different textures and patterns like ribbing or garter stitch.

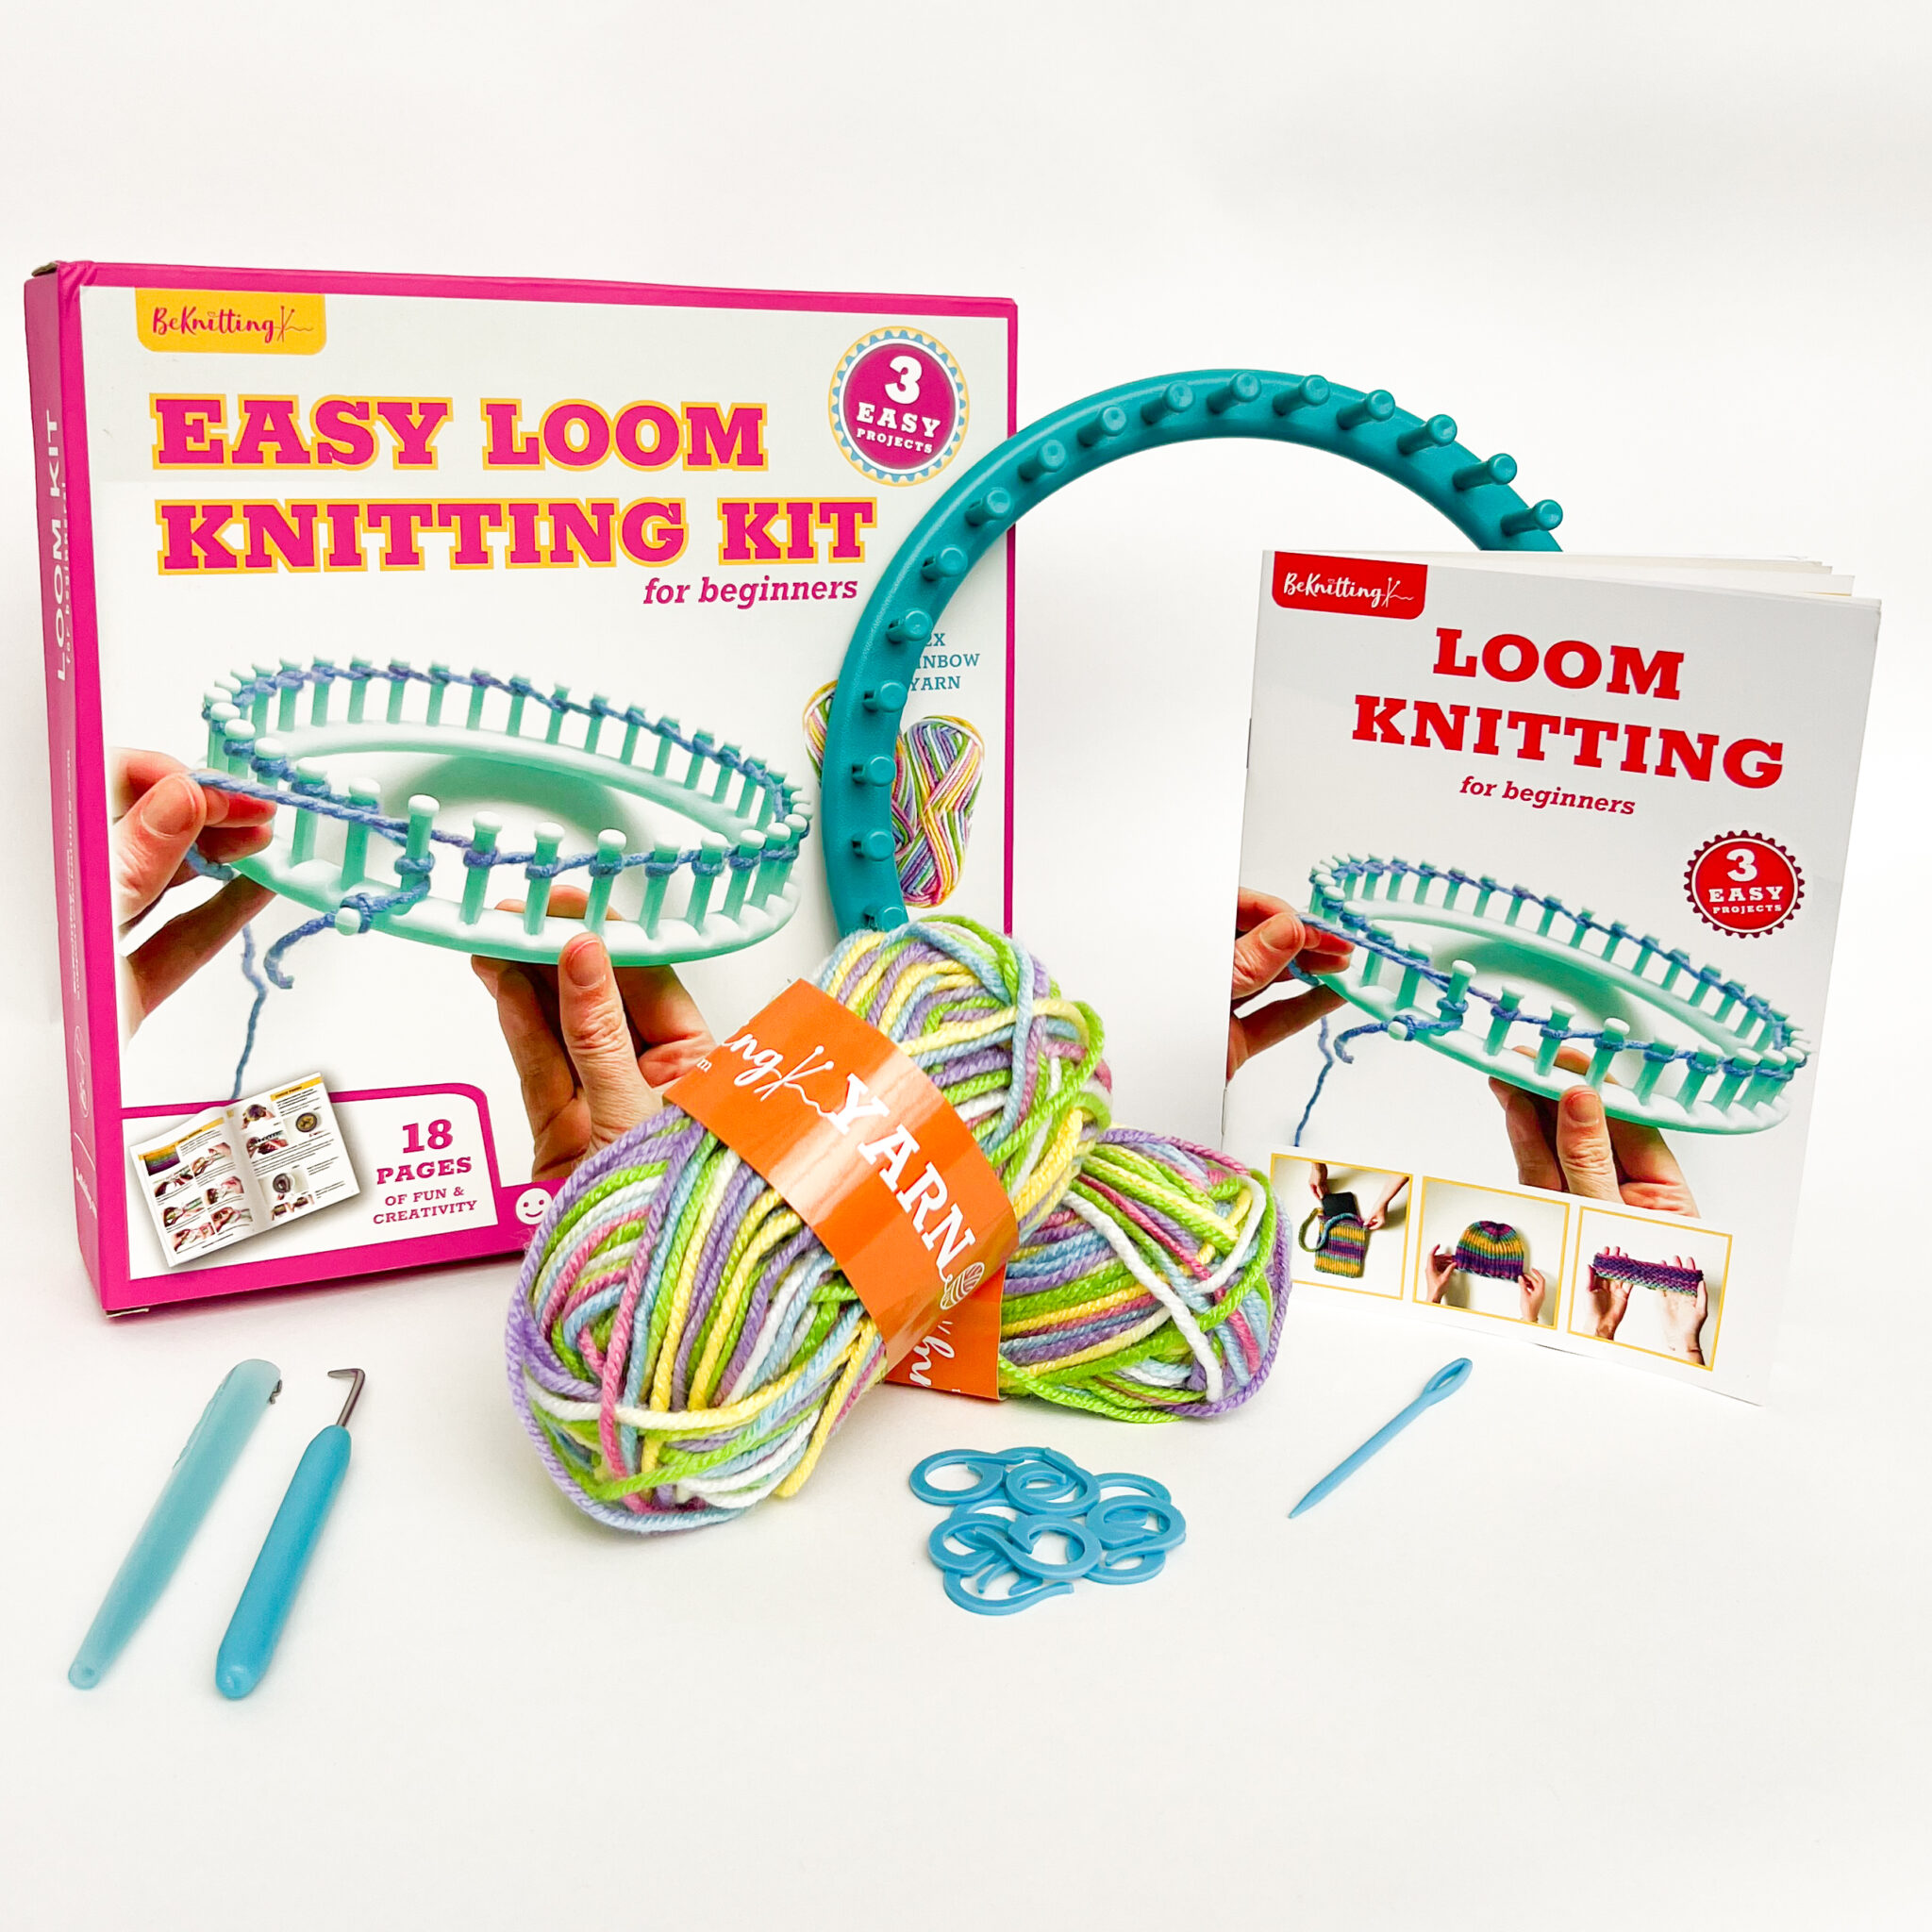
You can find the BeKnitting Easy Loom Knitting Kit on Amazon! 3 fun projects teach you how to use a knitting loom and are designed with new crafters in mind.
Never touched a knitting loom? We’ve got you covered!
Each kit comes with two balls of worsted weight (medium) yarn, one instruction booklet, a yarn needle, a loom hook, a loom pen, stitch markers and, of course, a knitting loom!
Quirky and a little fiddly, the E-wrap purl stitch is another loom knitting stitch that you must learn about too. Aside from ribbing, creating knitting purl stitches on looms is a great way to add texture and character toy our knitted projects.
As with any new hobby, knitting with a loom for beginners can be confusing too. Especially when it comes to the stitches. Learning how to purl knit is another hurdle that you need to jump over.
Luckily, creating a purl stitch on a loom is quite easy to learn—though creating it does take some getting used to!
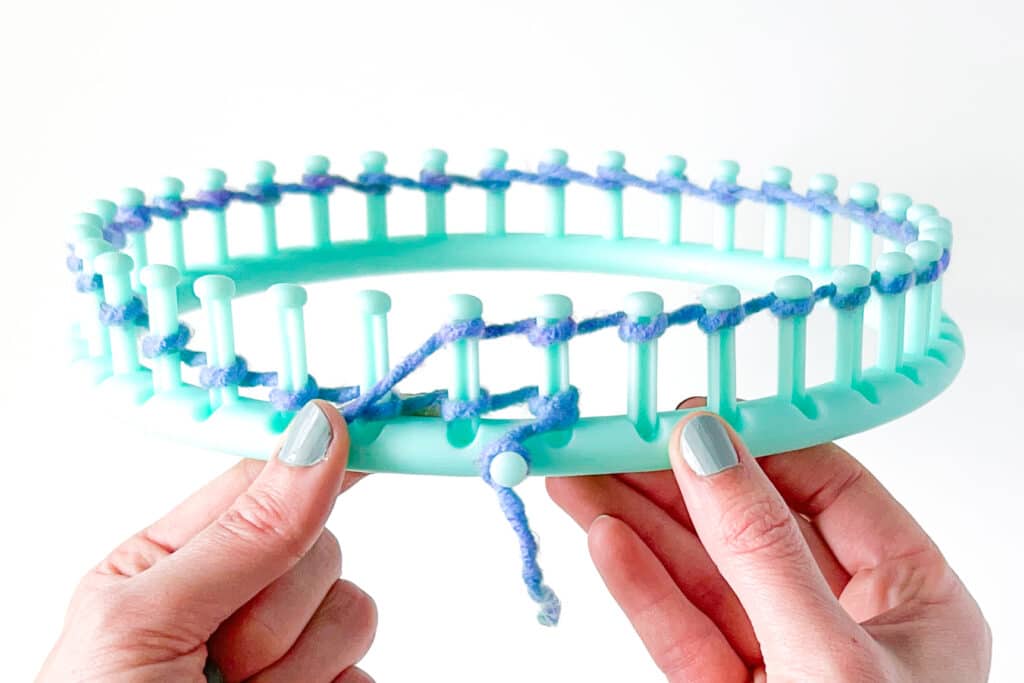
The first step to any project is casting on! Once you’ve familiarized yourself with the E-Wrap Cast On gets the yarn onto each peg before you start making fabric. Check out the full tutorial before you get started!
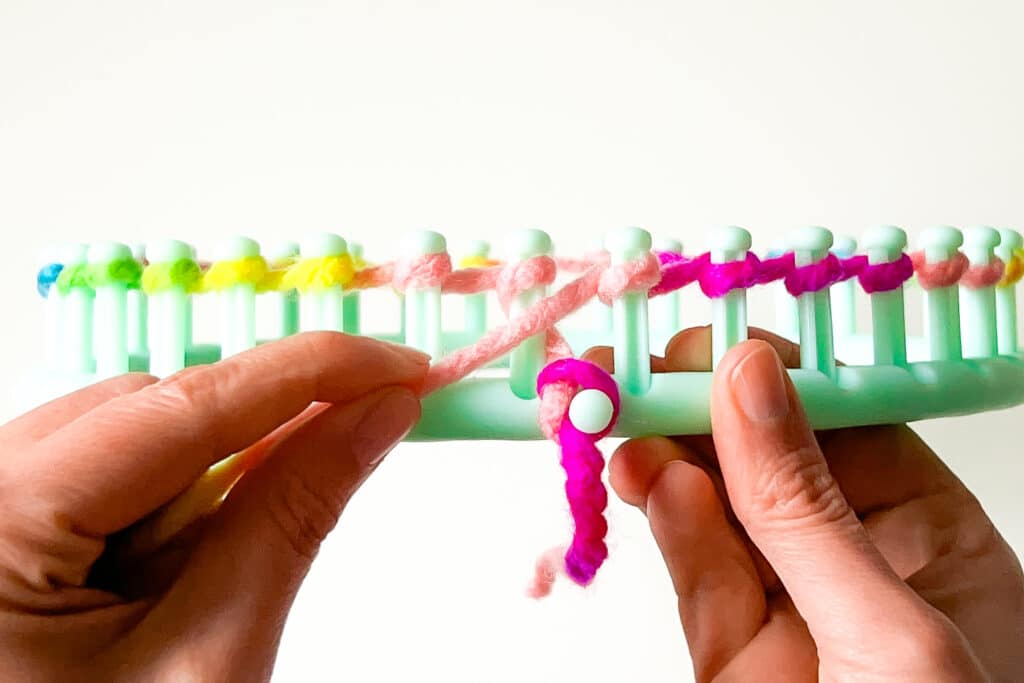

Step 1: Bring the yarn across the front of the peg below the looped yarn already on the peg.
Step 2: Insert the loom hook down through the looped yarn with the hook facing the peg. The hook should come in front/on top of the lower yarn strand.
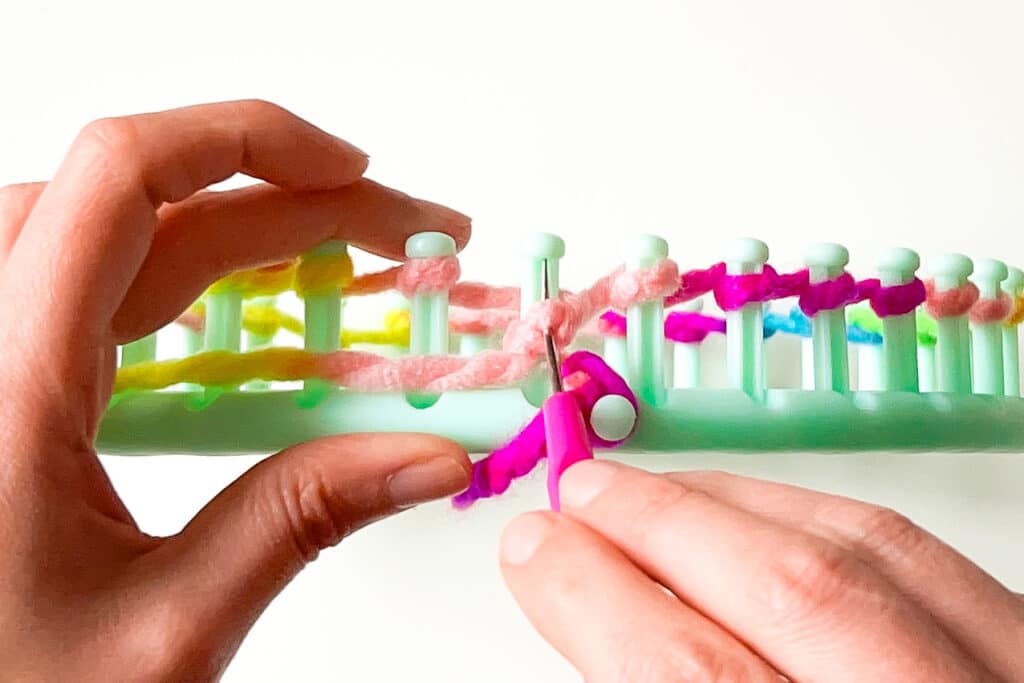

Step 3: Pivot the hook downward, pulling the yarn strand up through the top looped yarn.
Step 4: Continue pulling the the hooked yarn up until it slips the stitch off the peg.
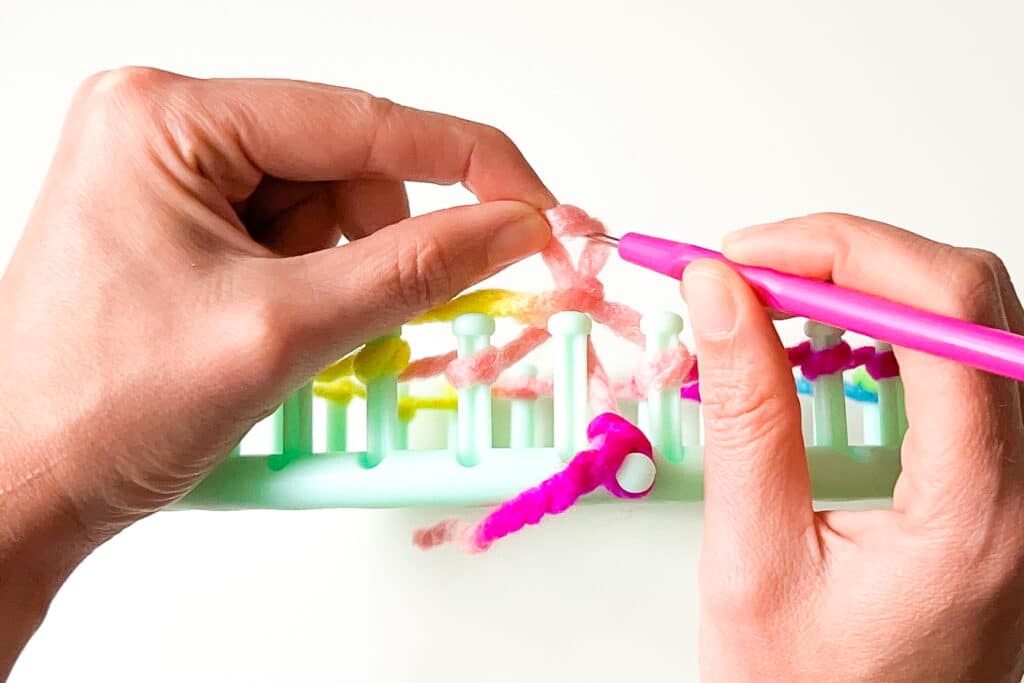

Step 5: Open the loop on the hook.
Step 6: Slide the new loop down onto the peg.
Repeat steps 1-6 to knit each peg.
Well that was a wild ride! Loom knitting is a very interesting variation of the usual fiber-on-needle stitching—even the stitches are created way differently than traditional knitting!
Okay, sure. Making a purl stitch on looms are a little fidgety. But the more you do it, the faster you become at stitching.
—And if you’ve tried out the tutorial but wound up (hehehe) with a not-so-pretty round of E-wrap purl stitches, that’s cool! Every new hobby has its ugly ducking phase and just like that cute little bird, your purling in knitting will emerge as a beautiful yarn swan!

Need a refresher on the other loom knitting stitches? Don’t worry, you can find everything you need and more on our website!
Casting On: How to start the yarn on your knitting loom. Read the Post…
How to do the Knit Stitch on a Knitting Loom! Read the Post…
Casting Off: How to take the project off the knitting loom. Read the Post…

Not that fond of loom knitting? Well, that’s completely fine too! There are other ways to knit aside from the usual two needles. There’s finger knitting and even arm knitting that you can definitely check out.


