How to Loom Knit a Scarf: 5-Step Easy Loom Knit Scarf Pattern for Beginners!
Let's make a chic and cozy scarf!
Let's make a chic and cozy scarf!
Let me teach you how to make The Berry Row Scarf with just a knitting loom! Just one knitting loom is all you need to make many amazing things like this loom knit scarf pattern. It’s the perfect tool for beginners who want an alternative way to knit without the needles.
As fun as using knitting needles are, some have a harder time using them. So here’s another cool way to make your next favorite scarf!
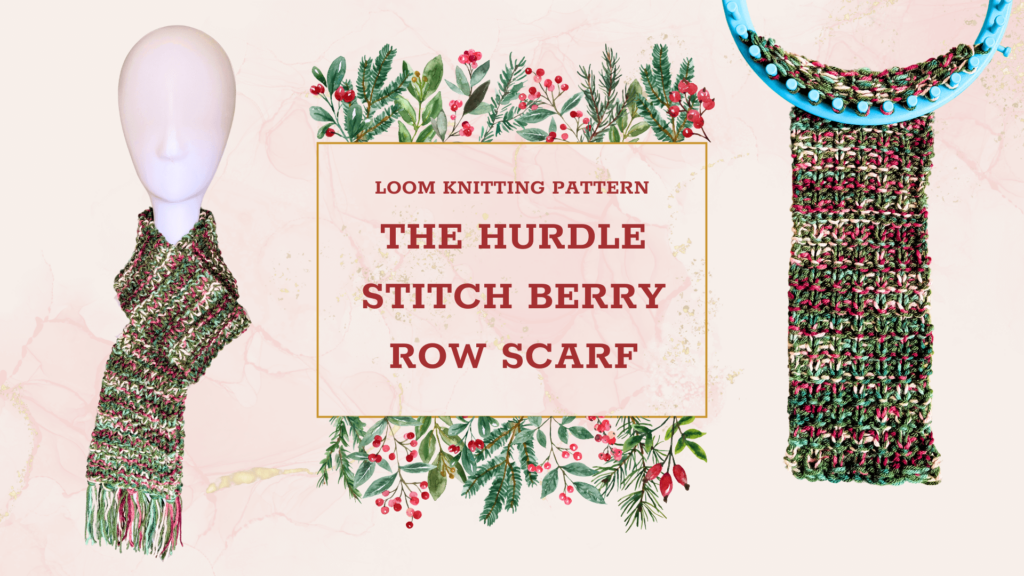
This round loom knitting pattern starts off with a row of knit stitches, then a row of purl stitches. Then you will alternate the knit and purl stitches in a single row for 2 rows. Then repeat the whole cycle you reach your desired scarf length.
Time to prep! Here are the things you’ll need to loom knit this scarf:
The loom knit hurdle stitch is a fun and easy stitch to learn. Plus, it’s a really pretty pattern. So you’ll enjoy making this elegant scarf! Check out the pattern below:
L = 60″ x W = 5″
HELPFUL TIP: Use cheap nail polish to paint the tip of the loom’s pegs where you Purl so it’s easier to track your stitches. Don’t worry. You can remove the polish using an acetone-soaked cotton ball!
CAST ON (Step 1): E-wrap knit stitch on 13 pegs.
Step 2: Purl the whole row
Step 3 – Step 4: *K1, P1* until the end of the row
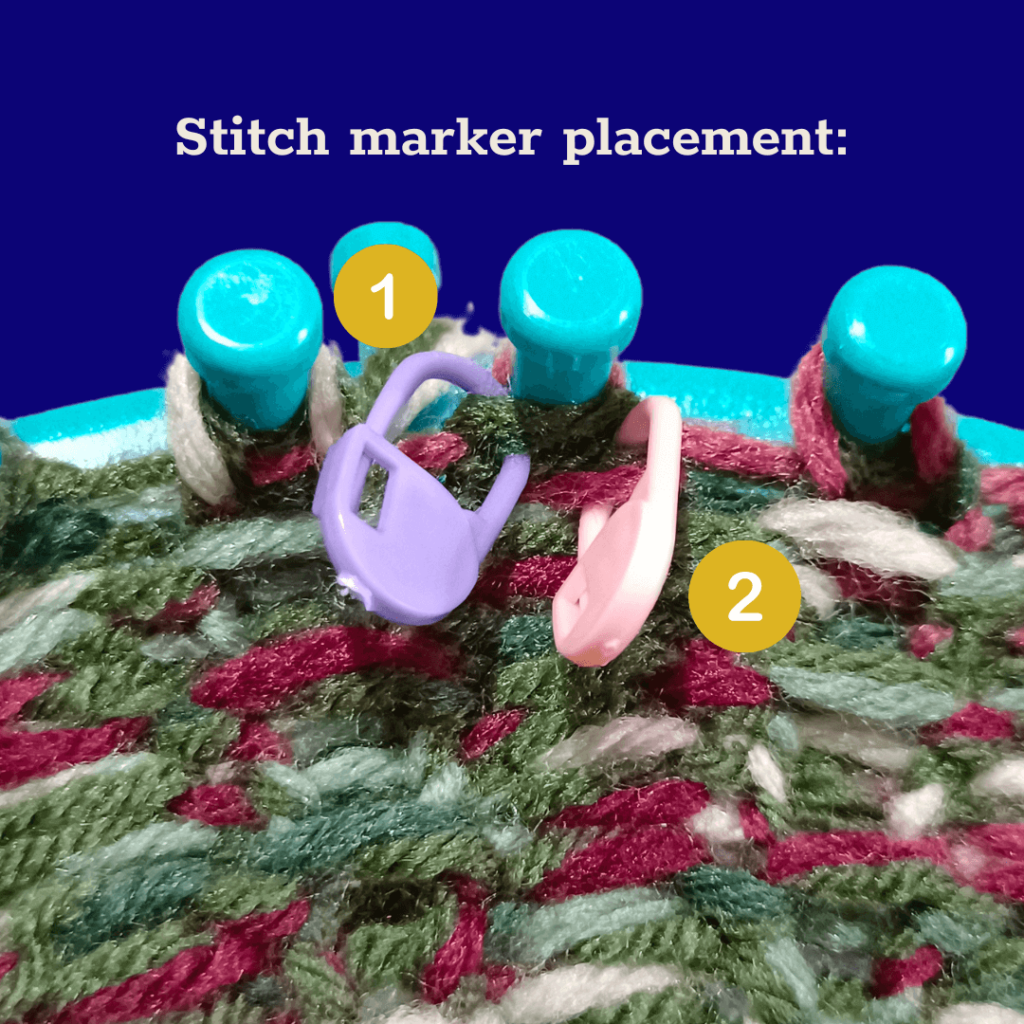
TIP: Keep track of your ribbed (K1, P1) rows by adding a brightly-colored stitch marker on the very first knit stitch you make for that row. Once you have 2 stitch markers stacked on top of each other, you’ll know that it’s time to make another row of all knit stitches!
Step 5: Repeat Rows 1 – Row 4 until you reach about 60” from the cast on row.
Once your scarf is long enough, it’s time to weave in your ends!
Note: The image below is from the Berry Row toque pattern. It only serves as a visual aid of how two stitch markers would look stacked on top of each other for the loom knit hurdle stitch!
CAST OFF: Flat Edge Bind Off
The Flat Edge Bind Off is super easy to make. It’s perfect for loom knitting patterns that require a flat edge like headbands and scarves. Check out this in-depth blog tutorial to learn all about it!
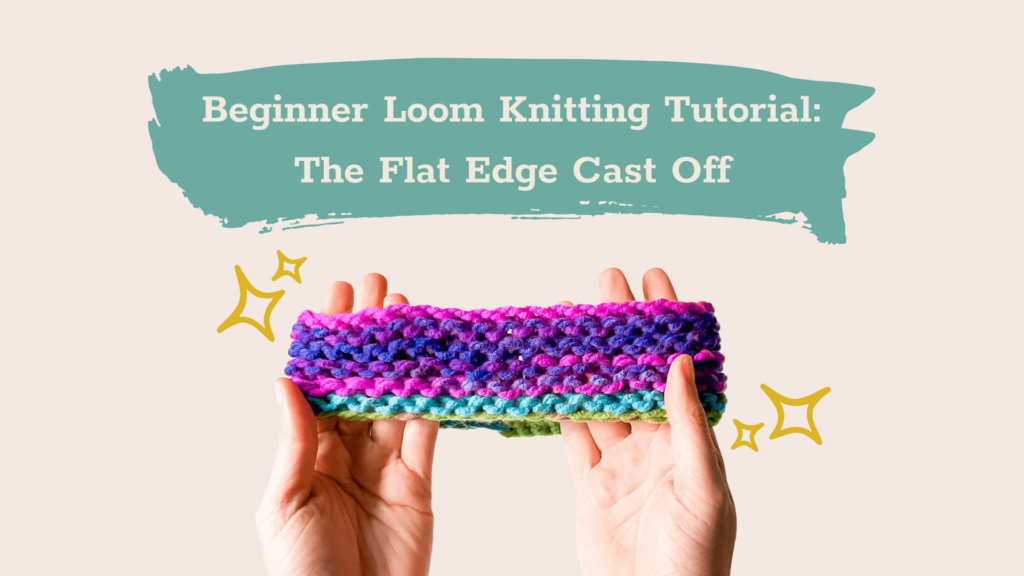
Beginner Loom Knitting Tutorial: The Flat Edge Cast Off
Scarf edges can sometimes look unfinished. So why not add some fringe? Fringes are one of the quickest ways to add some spice to plain knits and here’s how you can do it:
Note: This portion contains photos from the “traditionally” knit scarf. However, the captions have been edited to match the loom knit scarf pattern’s measurements.
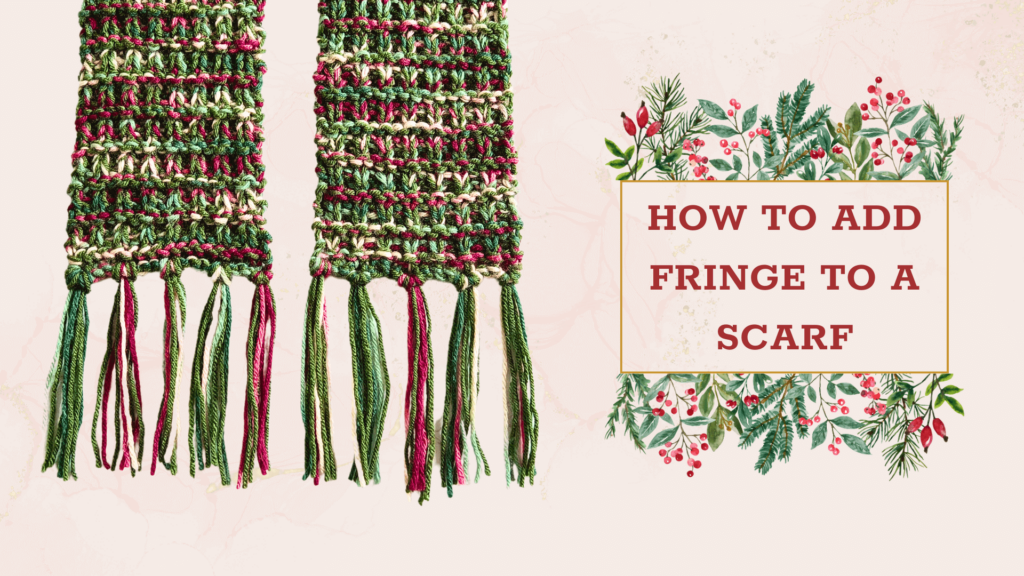
HELPFUL TIP: You can use the same colors as the rest of your scarf or opt for a contrasting shade for extra spice!
Step 1: Cut a 12” long strand of yarn.
Fold it in half and see if you’re satisfied with the length. If you are, cut 19 more for a total of 4 strands in each fringe piece.
Step 2: Divide your loom knit scarf edge by 5.
Add a fringe on the first stitch. Starting from the edge, count 2 stitches. Attach the fringe on the 2nd stitch. Repeat this until you reach the end of your scarf.
Tip: Use your stitch marker to mark the edge of the scarf. Count 2 stitches in and mark the 2nd stitch. Repeat this until you reach the other edge. You should have a total of 5 markers from one edge to the other.
Step 3: Add the fringes
Take 4 strands, make sure they line up perfectly, and fold them in half. Take a crochet hook or the a spare stitch marker and use that to hook the loop through one stitch of the scarf.
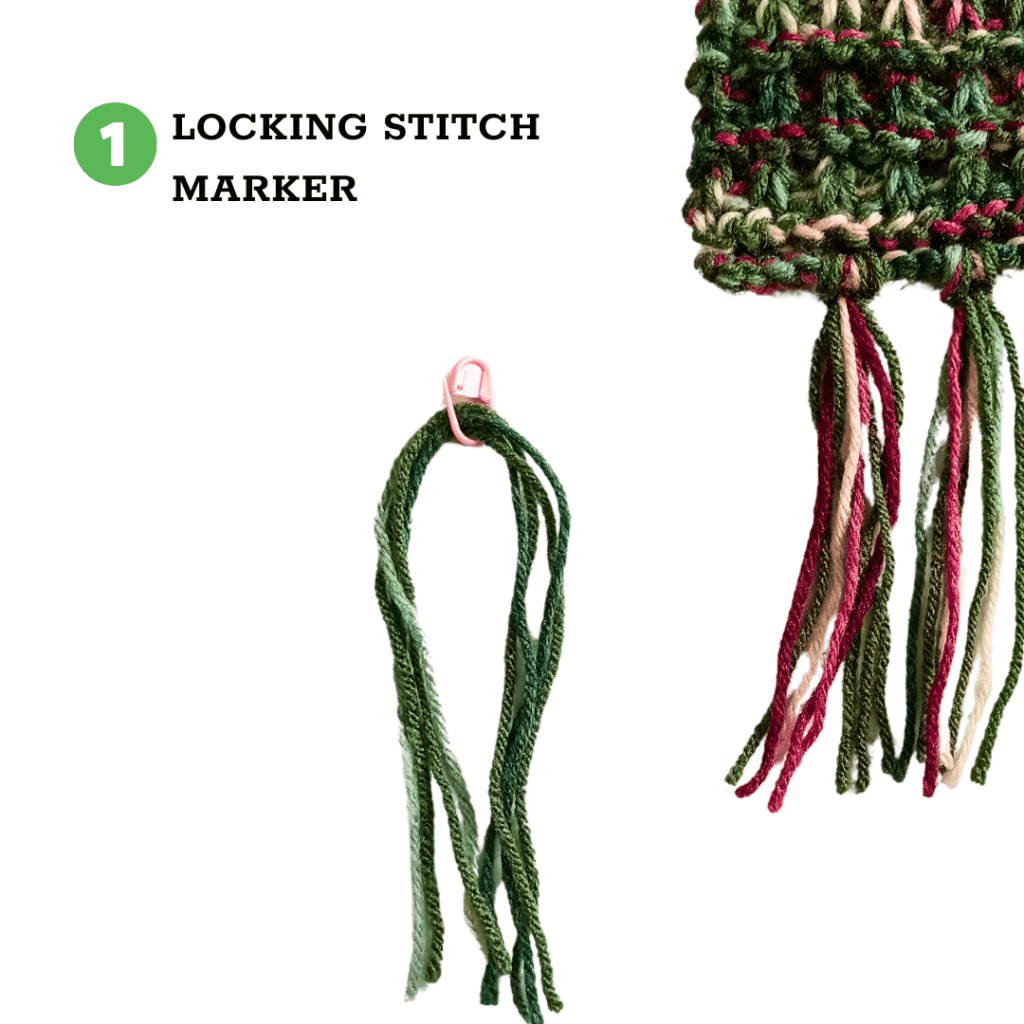
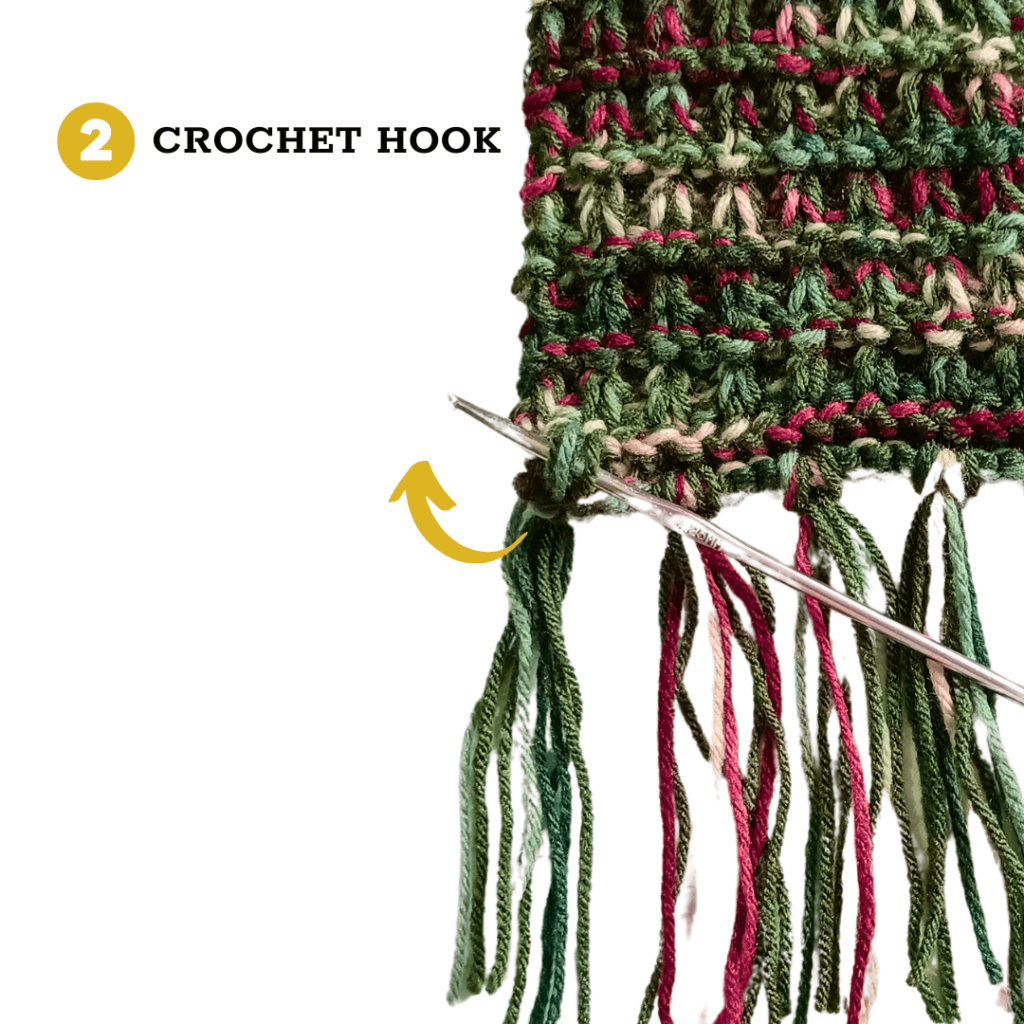
Tie on the fringe the same way shown in the photo tutorial below!
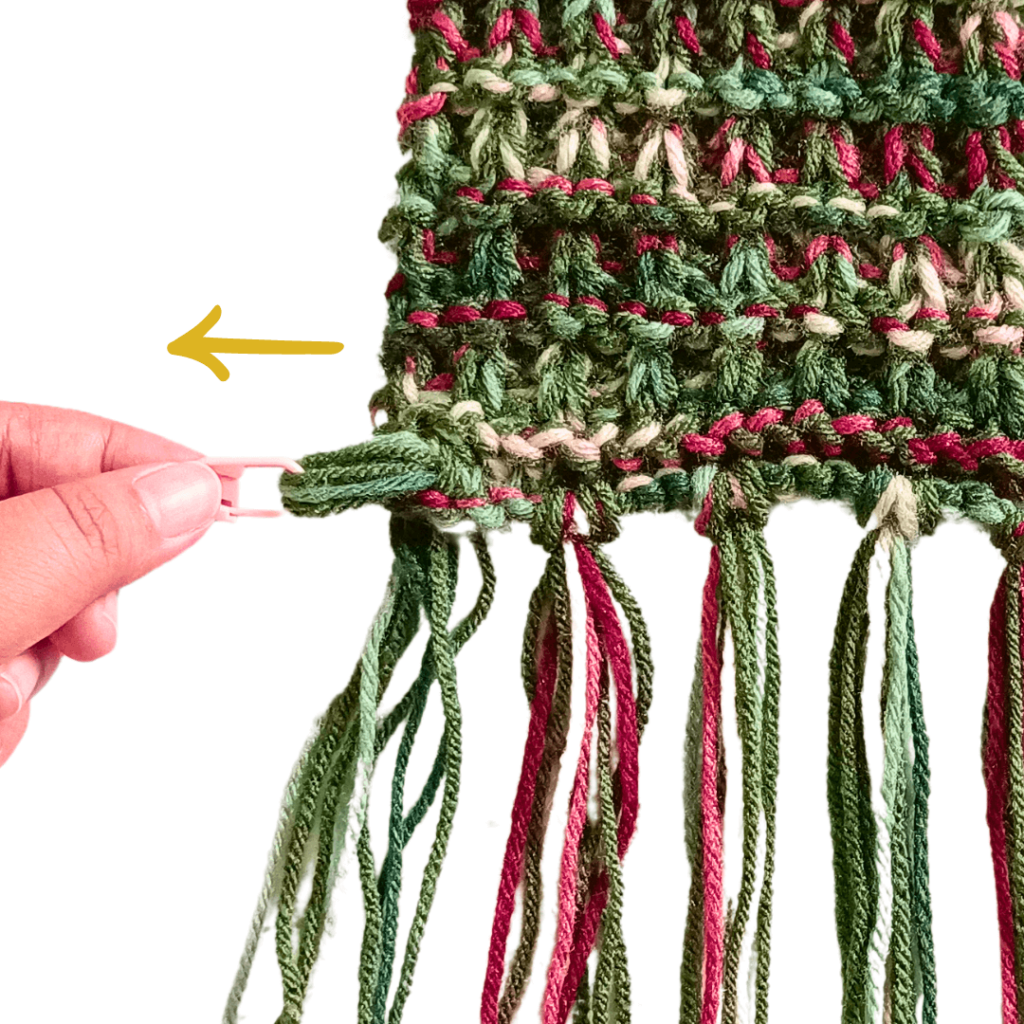
Pull the yarn halfway through the first stitch in the corner.
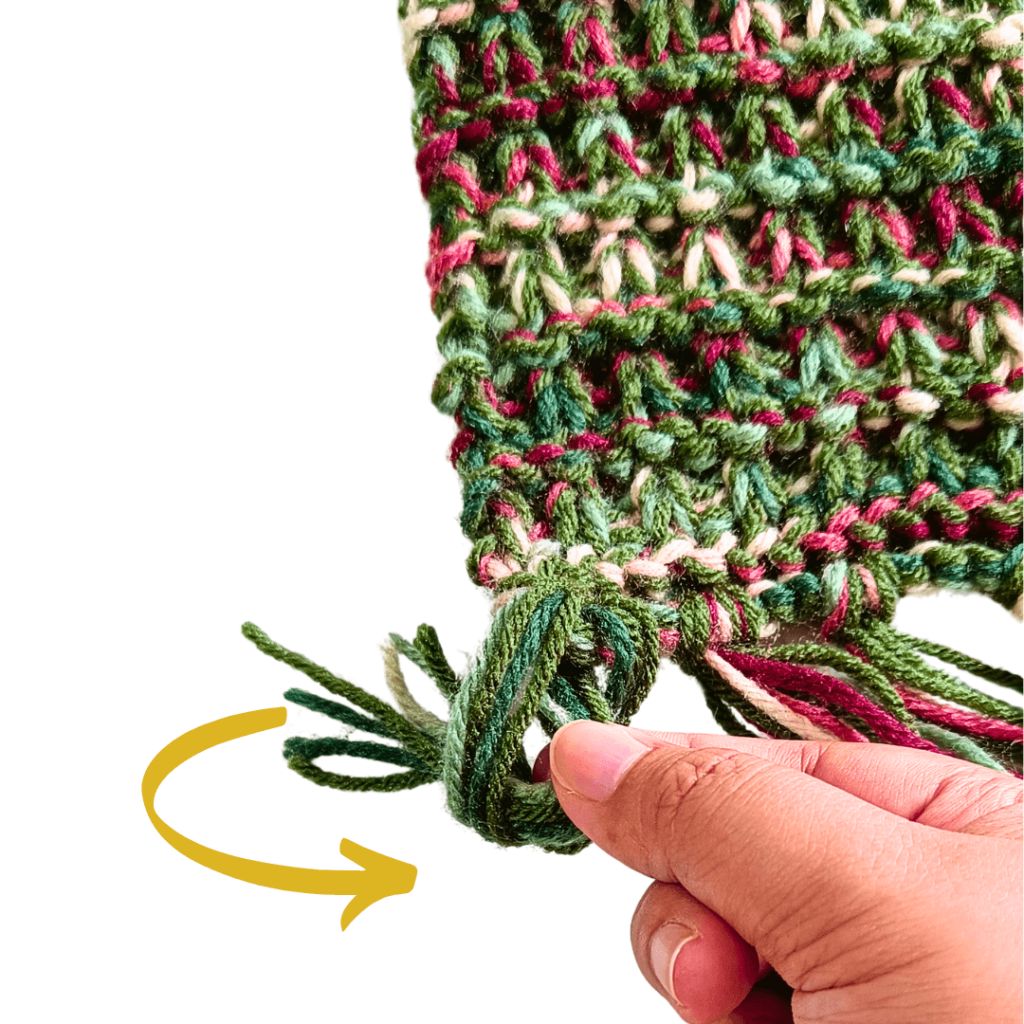
Remove your stitch marker or crochet hook and open the loop.
Pull the other half of the fringe through the loop.
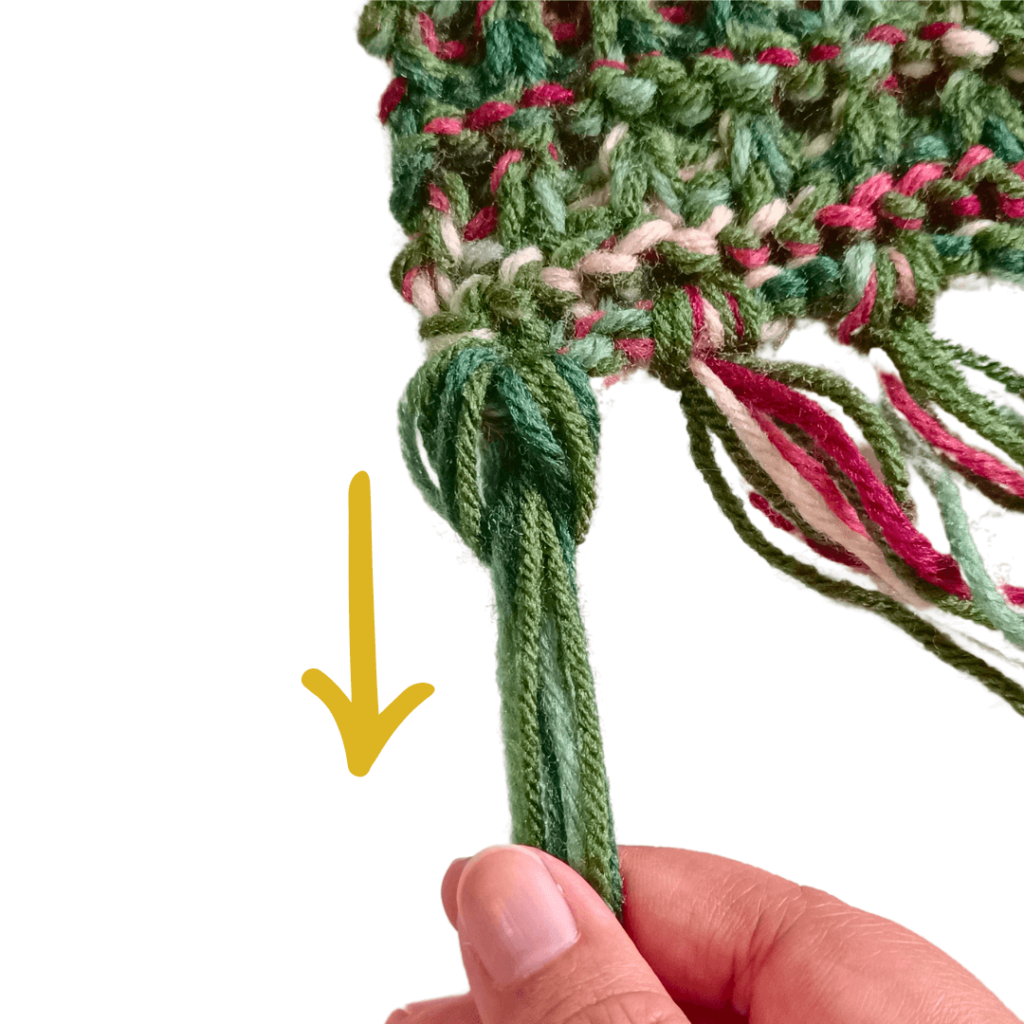
Tug the tails to lock in the fringe.
Your scarf’s fringes should look like the photo below! Make sure not to tug on the tails too much so it doesn’t warp the edge of your knit.
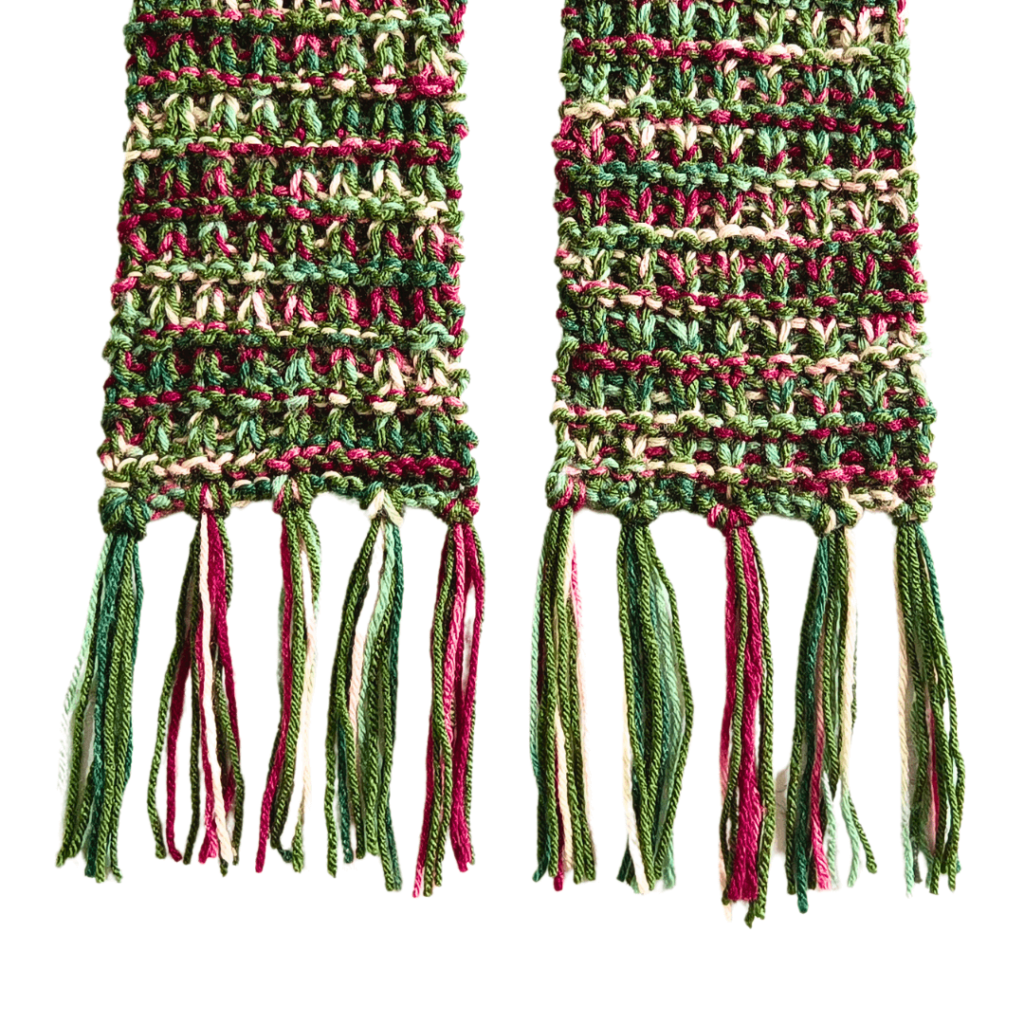
Your loom knit scarf should look like the image below! It’s chic, cozy, and the perfect touch of color to any outfit. Feel free to use whatever color combination you feel like adding in. The hurdle stitch is a versatile pattern that will look gorgeous in whatever palette it’s used with.
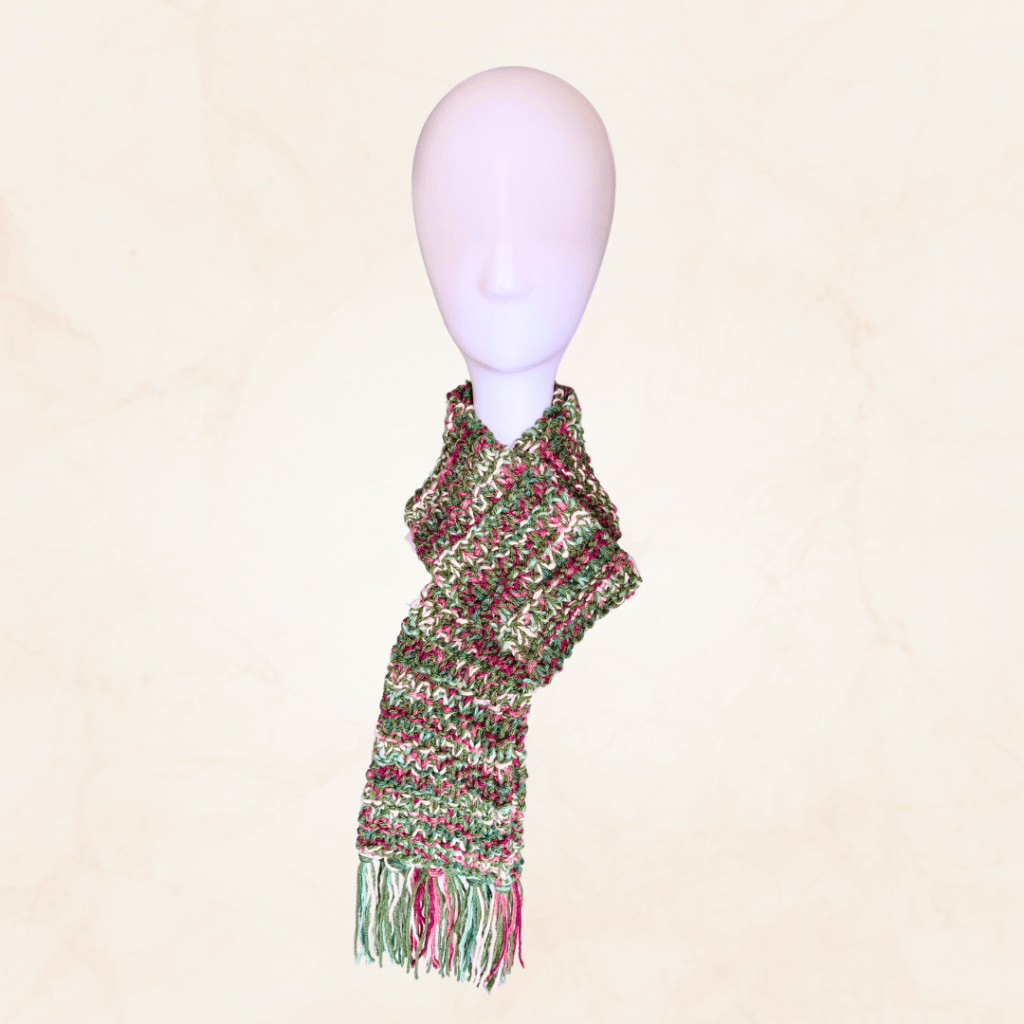
For teens to adults, you can use the usual acrylic yarn or acrylic mix. If you have sensitive skin, make sure to use natural fibers like cotton and bamboo yarn. This will help prevent any skin irritation.
Check out our yarn guide for more details on baby-friendly fibers!
Well, this was fun! The loom knit hurdle stitch is a fun pattern to work with and it gives you an interesting textured finish. The alternating rows of ribbed stitches make for an eye-catching detail.
I hope you enjoyed making this scarf as much as I did. I love the colors I used for The Berry Row Pattern Bundle (yes, that’s what I’m calling it now lol!). But I am a bit sad that Red Heart’s Holly & Ivy was discontinued. This was a favorite of mine for many knitting projects.
On the upside, you can use whatever colors you feel like using! I can’t wait to see your berry row scarf. Make sure to tag us on Instagram!
Learn more about the types of knitting looms for you:
A stylish scarf wouldn’t be complete without an equally stylish hat. Check out the toque version of this round loom knitting pattern!
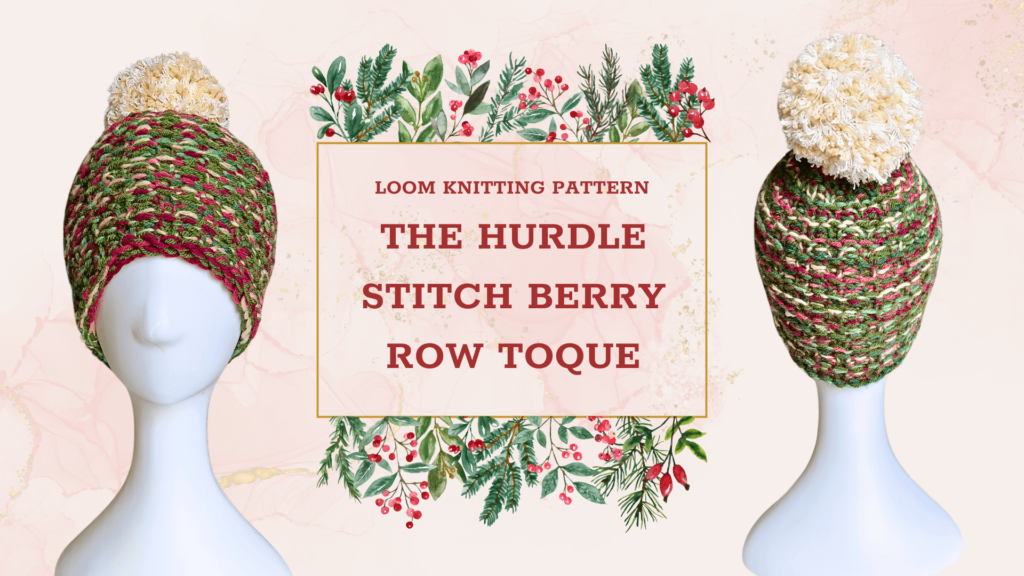
GET THE LOOM KNIT HURDLE STITCH BERRY ROW TOQUE PATTERN!
Check out more free loom knitting patterns:
