FREE Beginner Loom Knit Beanie Pattern: 5 Simple Steps!
A simple loom knit beanie recipe for beginners!
A simple loom knit beanie recipe for beginners!
Loom knit beanie patterns are SUCH fun beginner-friendly projects! Beanies are great projects for practicing new loom knitting techniques and getting the hang of all the cool loom knitting tools too. Even a day-old loom knitter can make a beanie!
We’ve made a great simple loom knitting pattern to help you learn all the knit beanie basics! This loom knit beanie pattern is here to prove that YOU have what it takes to make a fun hat even if you’ve just picked up your first knitting loom.

We used this pattern to knit our Santa hat last December but worry not! Even though this pattern is Christmas-themed, you can still experiment with other fun color combinations to knit a whole pile of beanies that range from basic-to-bonkers!
This is a completely beginner-friendly pattern. All you will need are the basic materials that come with the typical loom knitting kit, some yarn, and a little bit of know-how!
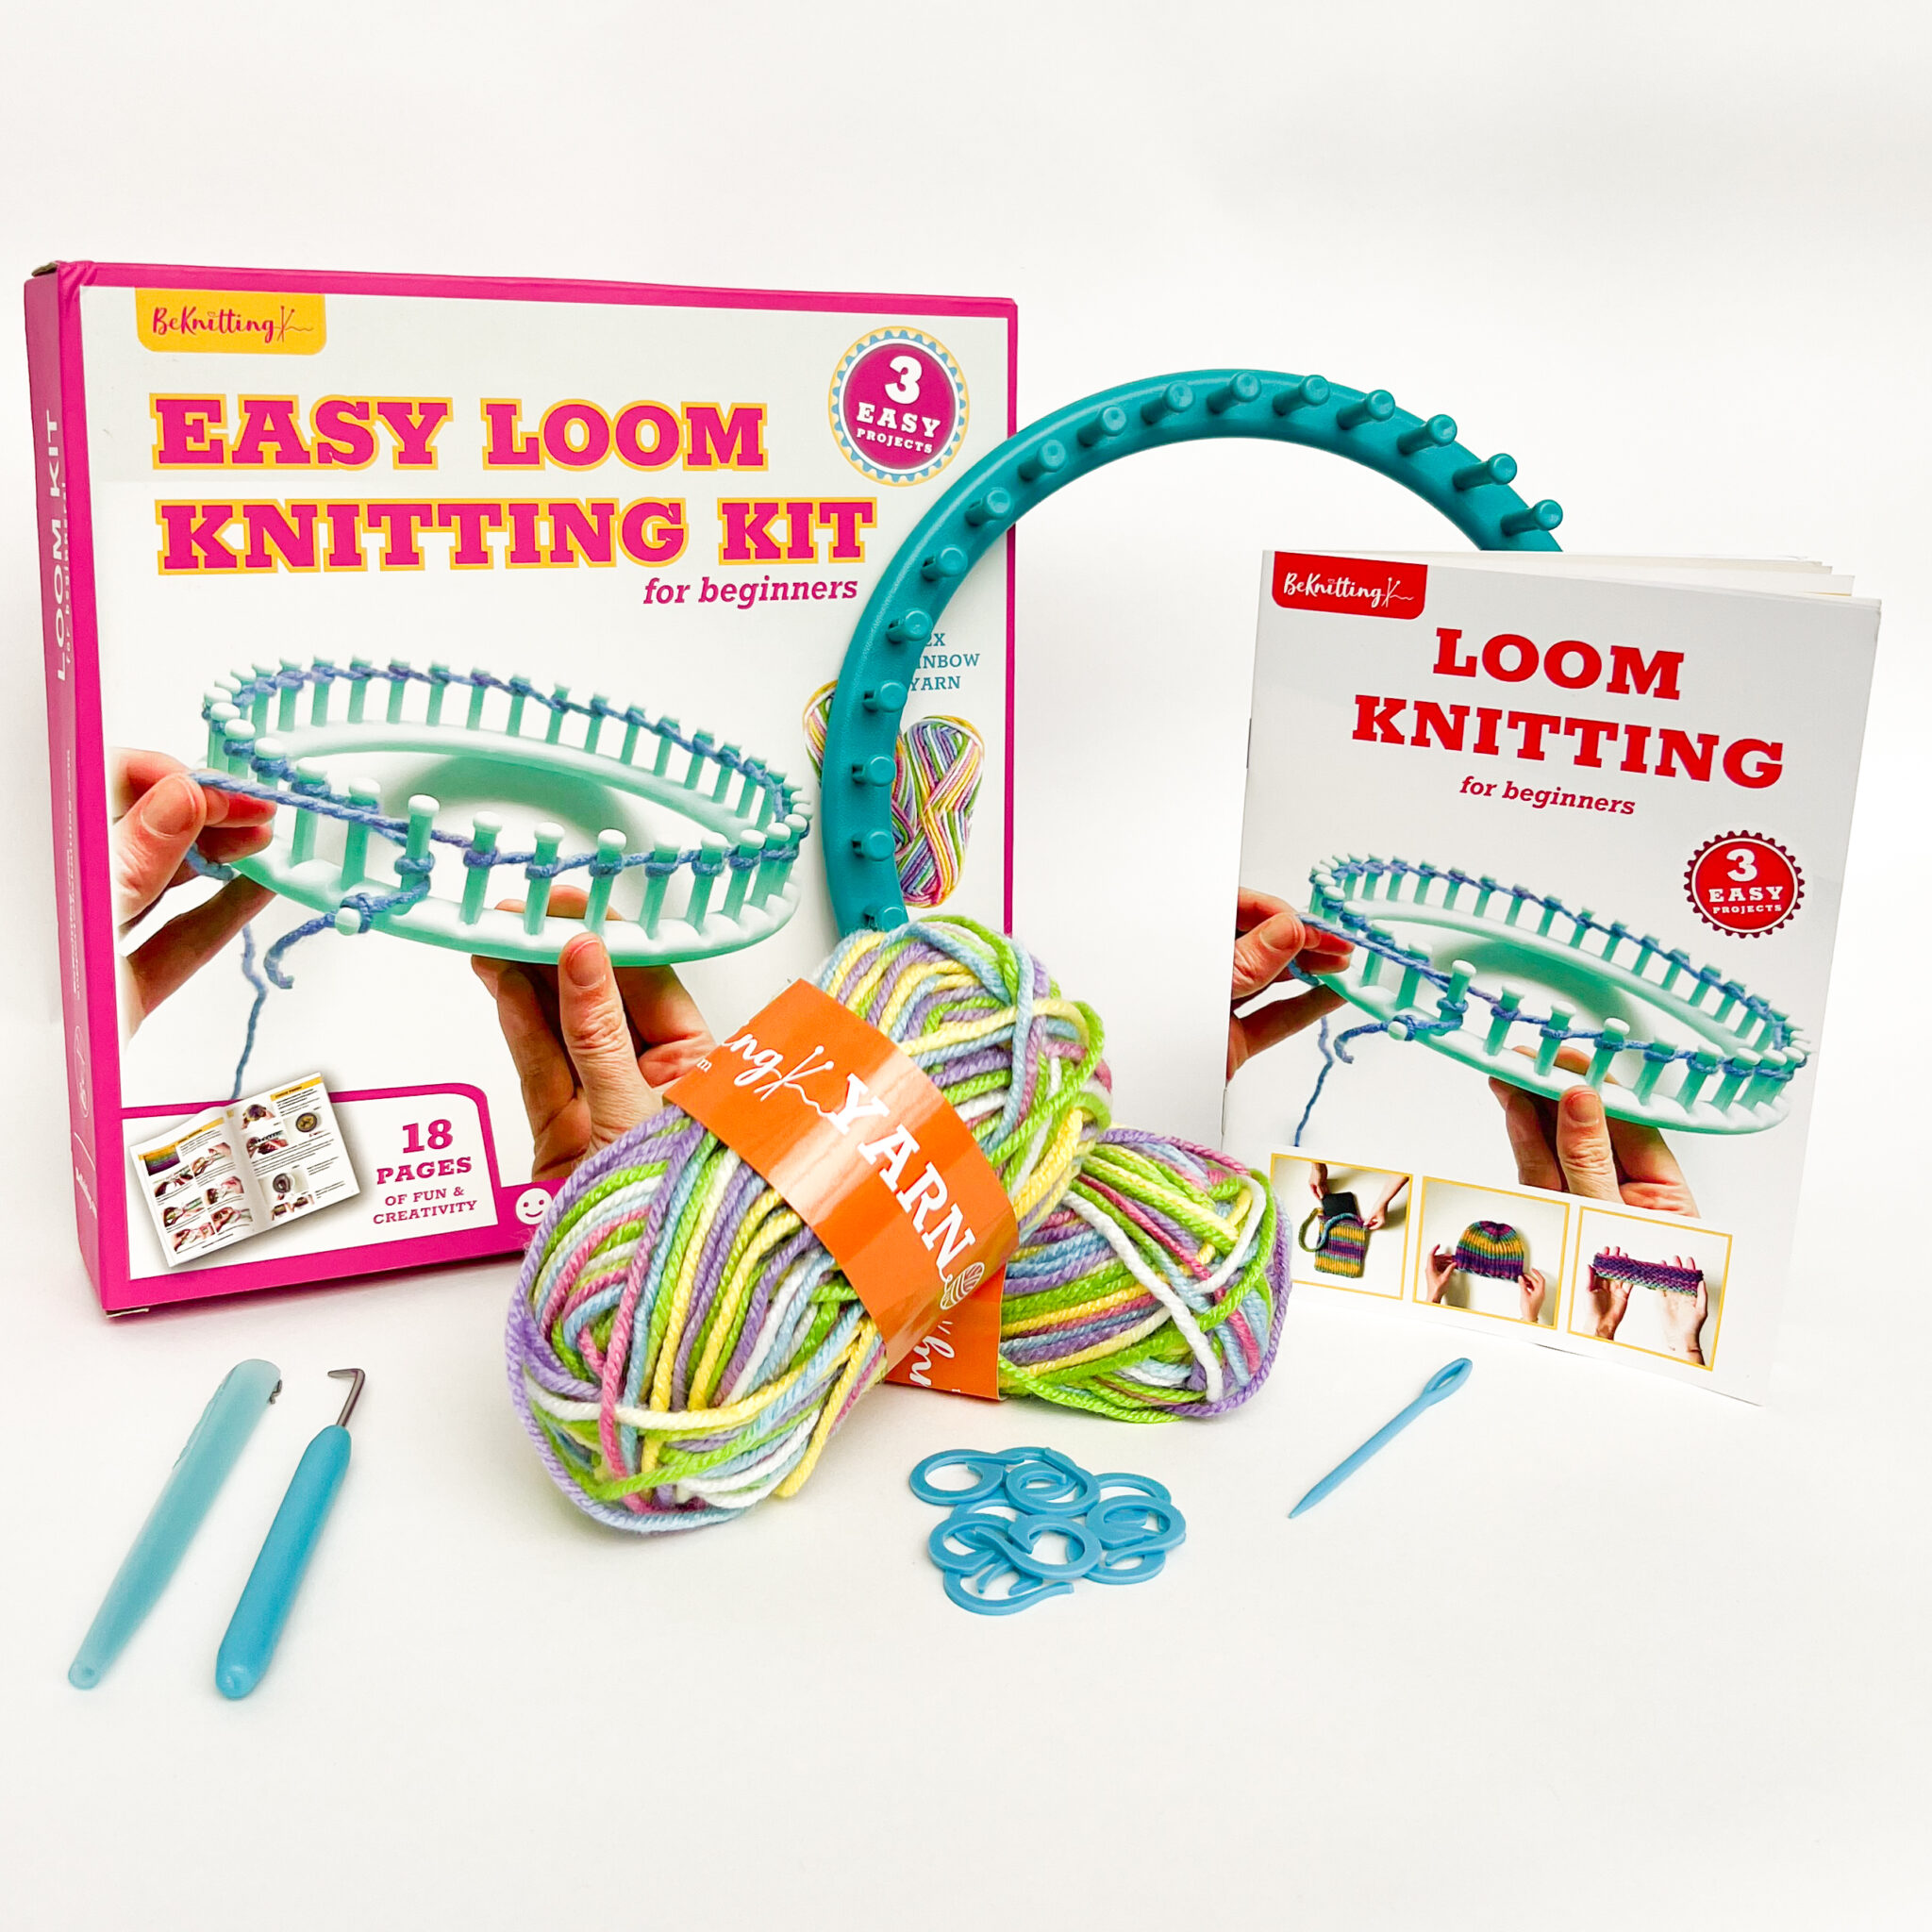
You can find the BeKnitting Easy Loom Knitting Kit on Amazon! 3 fun projects teach you how to use a knitting loom and are designed with new crafters in mind.
Never touched a knitting loom? We’ve got you covered!
Each kit comes with two balls of worsted weight (medium) yarn, one instruction booklet, a yarn needle, a loom hook, a loom pen, stitch markers and, of course, a knitting loom!
If you prefer to learn by WATCHING then you can follow all the steps in this tutorial in this quick video!
If you like to learn by studying photos and reading about each step then we’ve got the written pattern down below too!
Loom knitting sounds like a complicated skill. But it’s much easier to learn than you think! Ready to learn how to loom knit?
Here’s a fun step-by-step loom knitting beanie pattern for you!

Loom Pens: for an easier loom knitting experience, make sure to use a loom pen! If you do, make sure to thread the yarn through the loom pen before you do anything else.
Attaching the yarn: Tie the yarn to the starting peg using a simple slip knot.

Casting on: this is what you call the first row of loops on each peg!
Using the yarn color for your brim wrap the yarn around each peg using the E-Wrap Cast On (check out the full tutorial!).

Wrap a second row of loops on each peg using the E-Wrap Knit Stitch (check out the full tutorial!).
Next, use the loom hook to pull the bottom set of loops up over the top row. Drop the stitches, one-at-a-time off each peg all the way around.

Keep wrapping pegs and looping stitches over each other around the loom until you have 5″ of fabric!

Now it’s time to loop the cast on row back up on to it’s starting peg!
Starting with the first stitch, follow the column of stitches down to the cast on edge.
Hook cast-on edge stitch up onto its starting peg. Do this for all of the stitches around until you’ve looped all the edge stitches onto all of the pegs.

Loop the bottom stitch on each peg up and over the top stitch, this joins the two edges together and leaves just one stitch on each peg.


Cut your brim color leaving a 6″ long tail.
Next, Wrap the next row using your second color (main hat color).
Helpful hint: You can tie a temporary knot between the brim color and the base color for extra stability.
Keep knitting using the e-wrap knit stitch until your hat is long enough!
For a slouchy loom knit beanie, knit 10″ of fabric measured from the folded brim edge.
For a fitted beanie hat, knit 8″ of fabric measured from the folded brim edge.


Time to take your beanie off the knitting loom!
Cut your yarn leaving a long tail of 20″ – 30″.
Sew up through each loop, dropping each stitch off the pegs as you go using the Cinch Bind Off method (check out the full tutorial!)
Pull the yarn tail to cinch the opening shut.

Thread the yarn tail on your darning needle and thread the tail into the inside (wrong side) of your beanie.
Make 2 knots and weave in (check out the tutorial!) all of the remaining yarn tails! Trim the excess yarn close to the surface of the fabric.
This part is optional. But if you want to add a touch of fluff to your beanie, sewing a pom pom to the top is a good way to go! I used the medium sized pom pom maker from BeKnitting’s Pom Pom Maker Kit for this project.
Pom pom’s are reeaallyy easy to make. Here’s a quick tutorial to help you out:
All you have to do here is to make sure that the yarn tail is long enough to sew the pom pom on the top your beanie — about 15″ should be enough — and voila!

Thread one end of the yarn tail connected to your pom pom.
Take your newly made pom pom and position it to the top of your beanie (right side) where the cinch bind off was done.
Push your darning needle and yarn tail through one side of the bind off.
Thread the other yarn tail and do the same on the opposite side.

Carefully flip your beanie inside-out (wrong side out).
Weave one tail into the cinched hole and make a double knot.
It doesn’t have to be too clean as the pom pom will be hiding it anyways!
Repeat this on the other yarn tail.
Weave the remaining yarn ends into the cinched hole, cut, and you’re done!
This is how your beanie should look like at the end. Cute right? Of course, this is just one example of the many other color combinations you can use! Don’t be afraid to experiment with as many colors as you like.

You can even use this loom knit beanie pattern as a gift for your loved ones or perhaps to sell on your next maker’s market or craft fare!
Are you just starting out with loom knitting? Let’s talk about two super cool techniques: the e-wrap knit stitch and e-wrap cast on. These are awesome because they make your knitting extra stretchy!

First, let’s talk about the e-wrap cast on! This is how you start your knitting project and creates a super stretchy edge.
Both the e-wrap knit stitch and cast-on are simple: the yarn is wrapped around each peg on your loom counterclockwise. That’s it! This makes your loom knit fabric stretchy but still keeps its shape nicely. It’s perfect for making things like socks, hats, and even sweaters.
What’s really cool is that these techniques work with all kinds of yarn and are easy to learn, even if you’re new to loom knitting. So, if you want your knitted stuff to be super comfy and fit just right, give the e-wrap stitch and cast on a try. You’ll love the stretchy magic they bring to your projects!
There are some hurdles with picking up a new hobby. I get it, we want all our first-attempts to go as perfectly as possible. But that’s not usually how things go! Sometimes, our first projects just look ugly — and that’s completely normal.
Loom knitting is a skill that should be enjoyed by the knitter. So don’t feel pressured to master this medium overnight.
Want more loom knitting tutorials? Tells use what you want to see next in the comments sections below!
Check out other loom knitting patterns here:


