How to Tie a Slip Knot for Knitting
A simple slip knot gets the yarn started on your needles!
A simple slip knot gets the yarn started on your needles!
Learning how to tie a slip knot is the very first thing to start with as a beginner knitter! A simple slip knot is used to attach your yarn to your knitting needles before you cast on for your project. This technique is super easy to learn and memorize. This tutorial is a great refresher just in case you need to brush up on your slip knot skills.
The slip knot is also known as a running knot or a sliding knot. The best part of this technique is that it’s adjustable! This means you can make it tighter or looser on your knitting needle. You can also join your yarn together using a slip knot, also known as a magic knot.
In this tutorial, you’ll learn how to tie a slip knot for knitting. You’ll also get a quick guide to yarn tails and why they’re important. Make sure to read all the way through!
Not sure where to get your materials? You can start with a beginner’s knitting kit and work your way up from there!
We’ve condensed the instructions above into a text-only set of instructions to make it easy to practice how to tie a slip knot for knitting! Use the steps below for a quick refresher on each step.
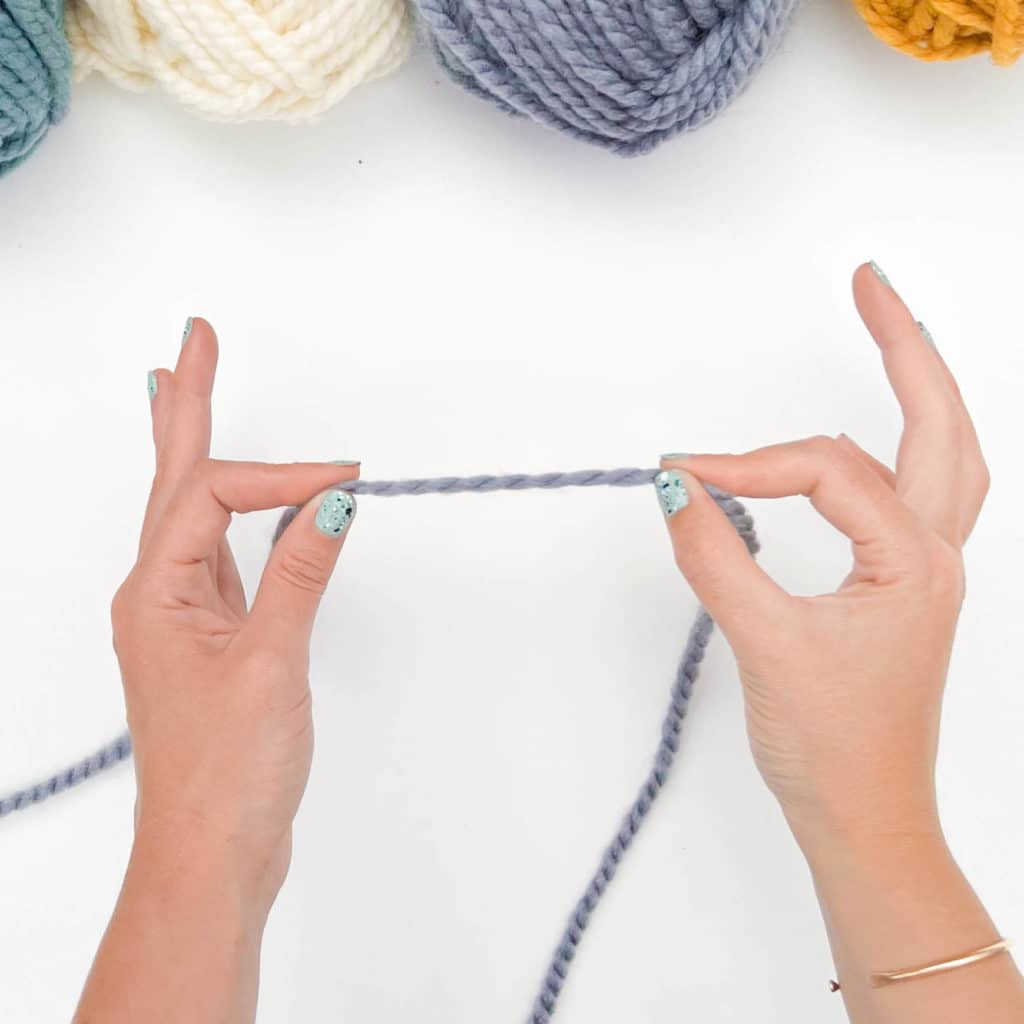
STEP 1
Pulling about a 10″ length of yarn from the ball, measure 8″ down and use one hand to pinch the strand.
Use your other hand to pinch the yarn as well so that you have a section in the middle that measures 2”.
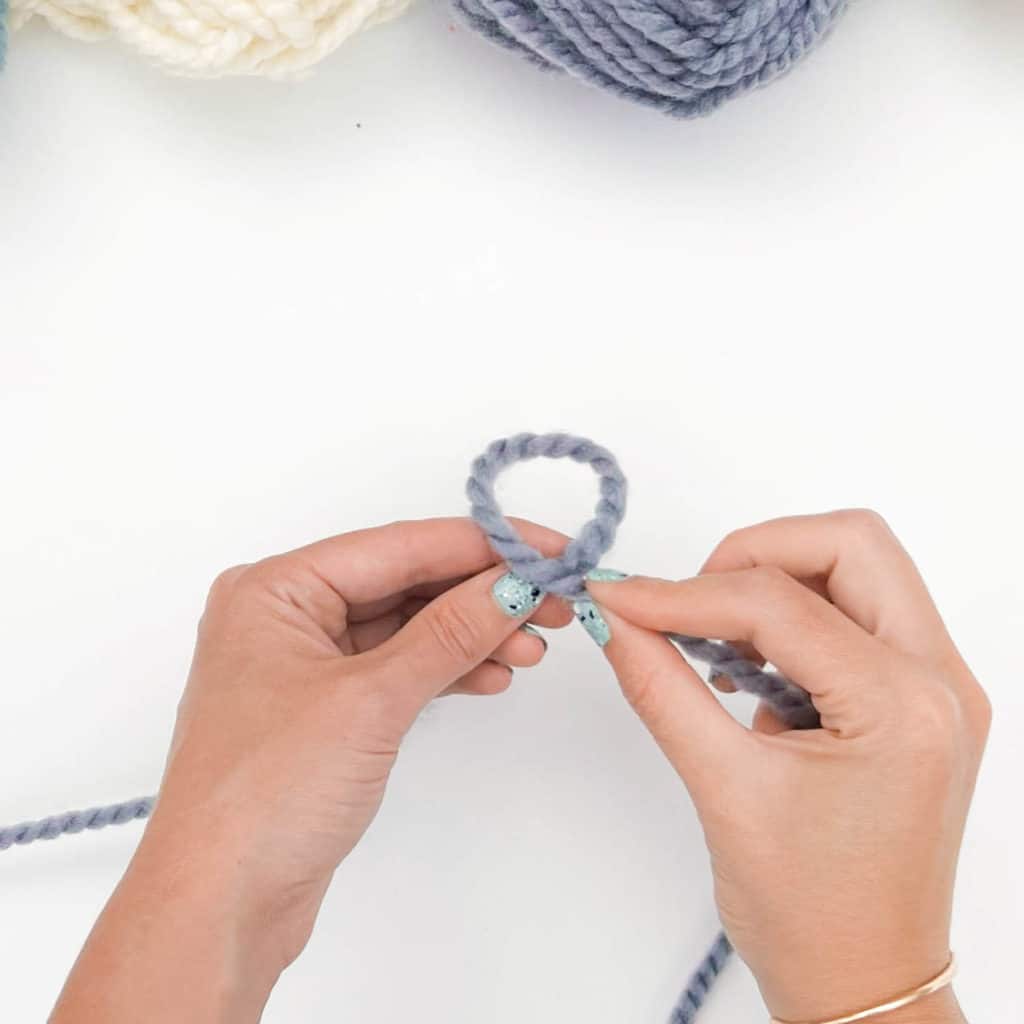
STEP 2
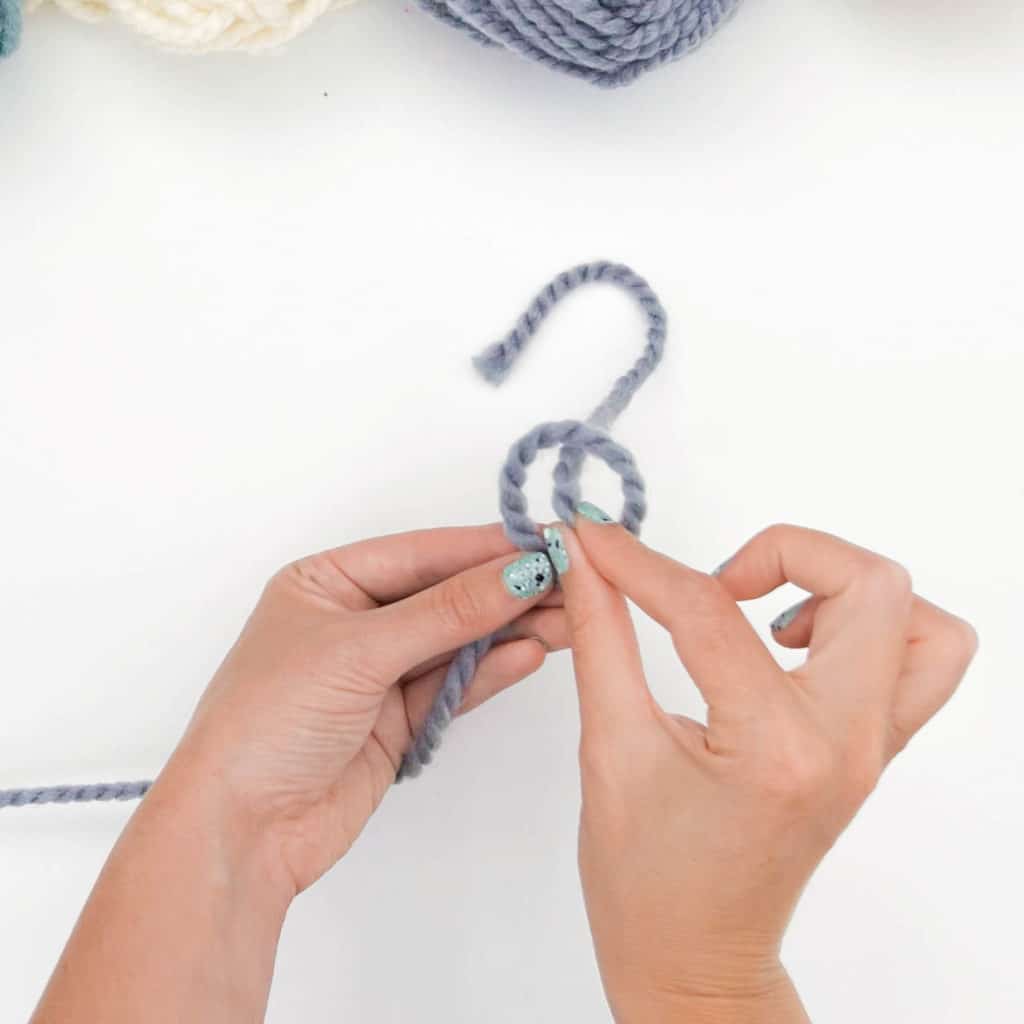
Bring your hands together, crossing one hand over the other to form a loop.
STEP 3
Pinch the loop where the yarn crosses, you should have a loop that’s about 1” wide.
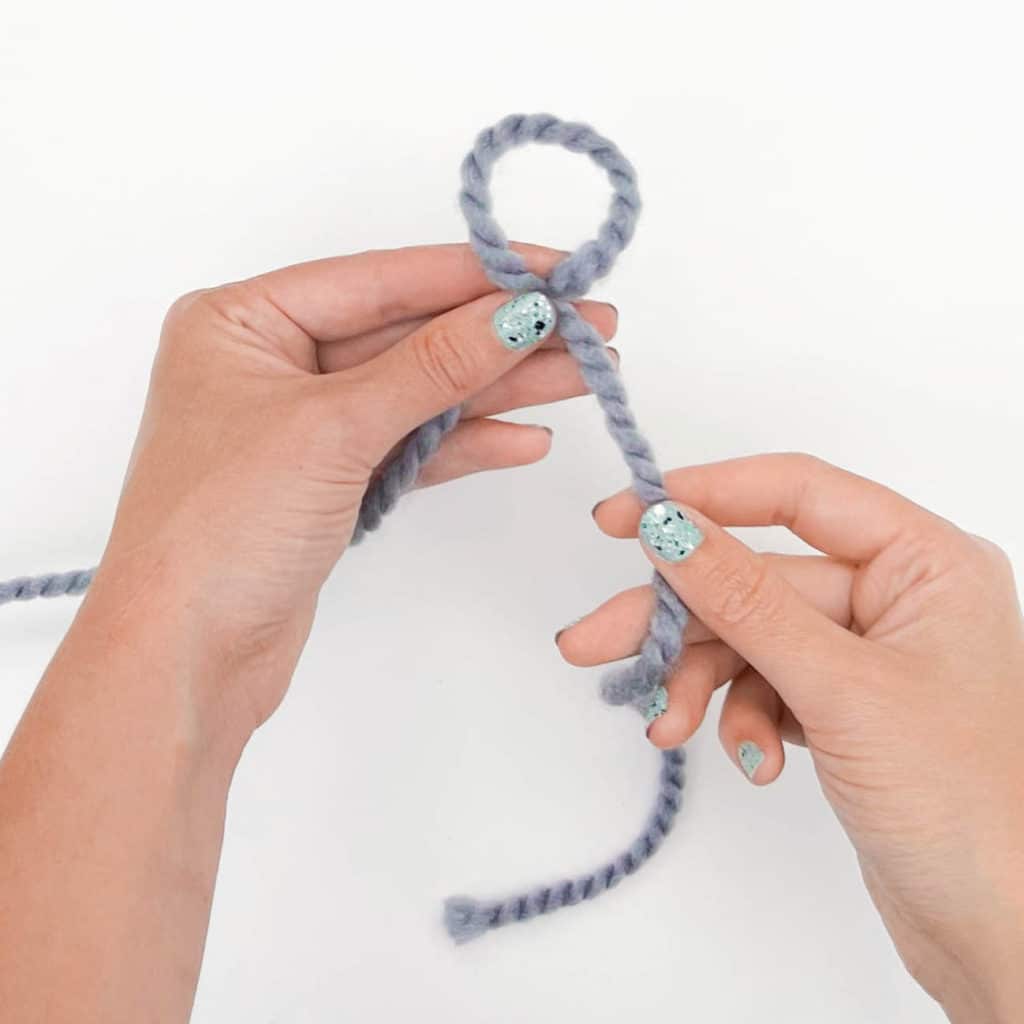
STEP 4
Bring the yarn tail up so that the strand lies behind the loop. Pinch the tail strand and pull it through the circle, creating a second loop.
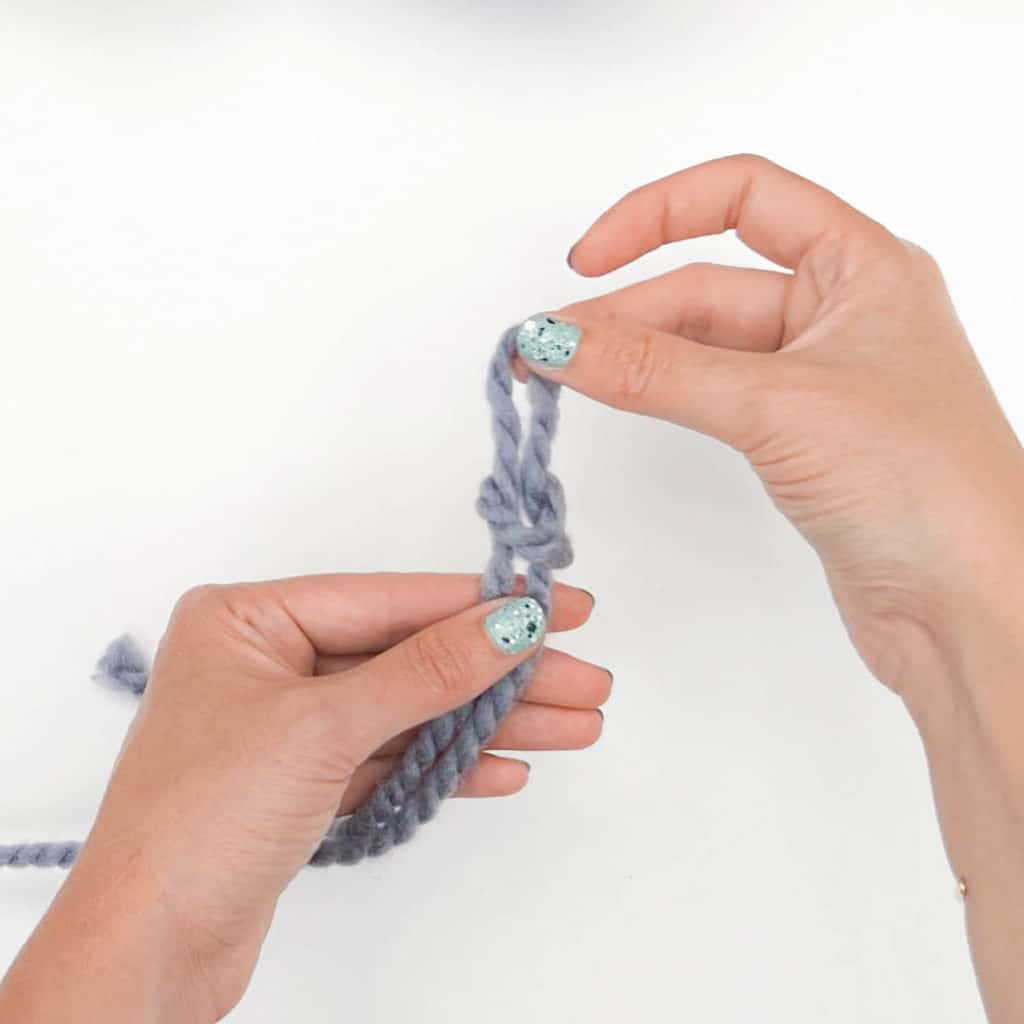
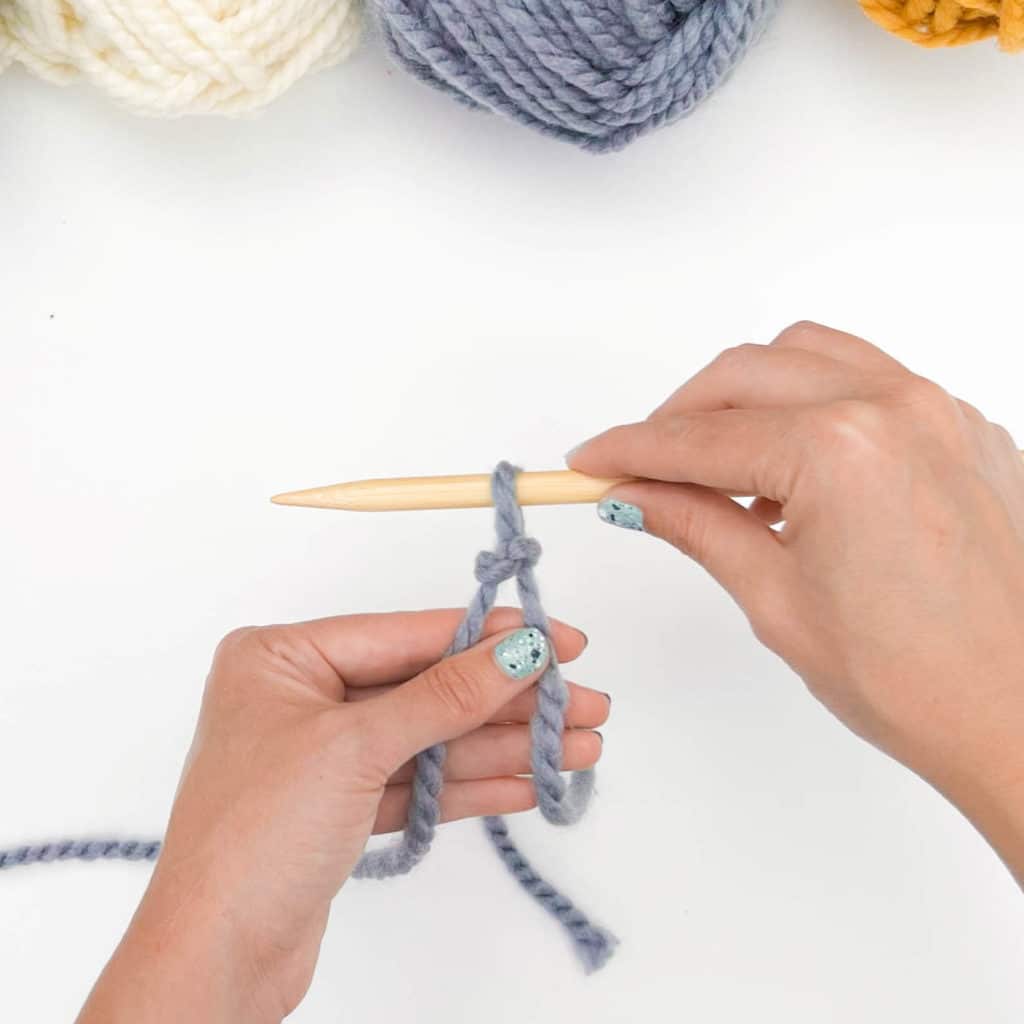
STEP 5
Gently tug the strands down while holding the new loop.
Now, you can slip this knot onto your knitting needles, using the tail to tighten it fully.
Set up: Pull about 10″ of yarn from your ball. Pinch the yarn about 8″ from the end between two fingers roughly 2” apart.
Step 1: Bring your hands together, crossing one hand over until the strand twists, forming a loop.
Step 2: Pinching the loop where the yarn crosses in one hand, position the yarn tail strand behind the circle.
Step 3: Pinch and pull a section of the yarn tail through the circle forming about a 1″ loop of yarn.
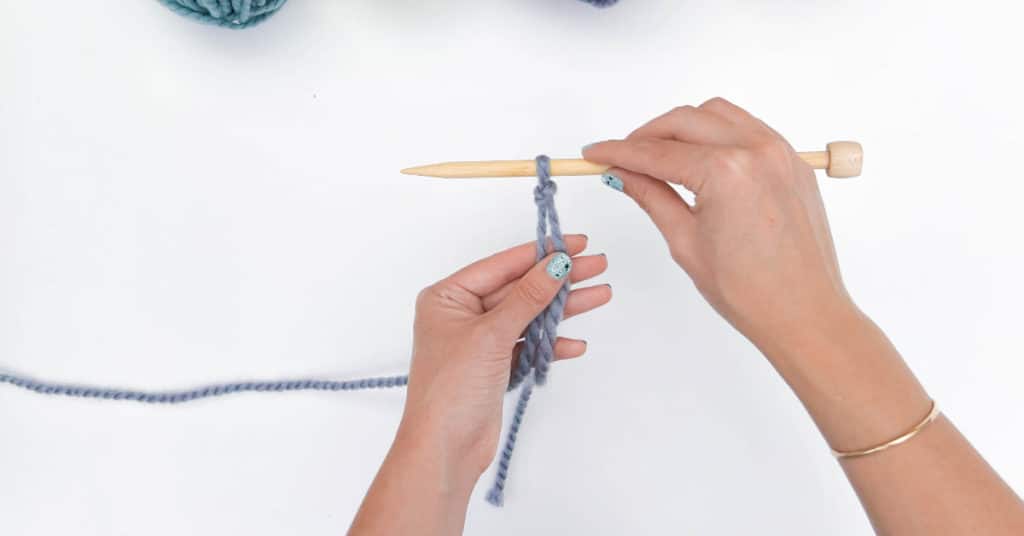
Step 4: Insert a knitting needle through the yarn tail loop. Tug the strands (working yarn and yarn tail) coming down off the knot to tighten the loop so that it rests against your knitting needle.
Now you’re ready to cast on the rest of your stitches!
An important part of tying a slip knot is deciding how long to leave your yarn tail. You’ll need to leave a different amount of yarn for your tail depending upon whether you’re using the tail to seam your knits, work a specialty cast on method, or just need to leave enough to weave in your ends.
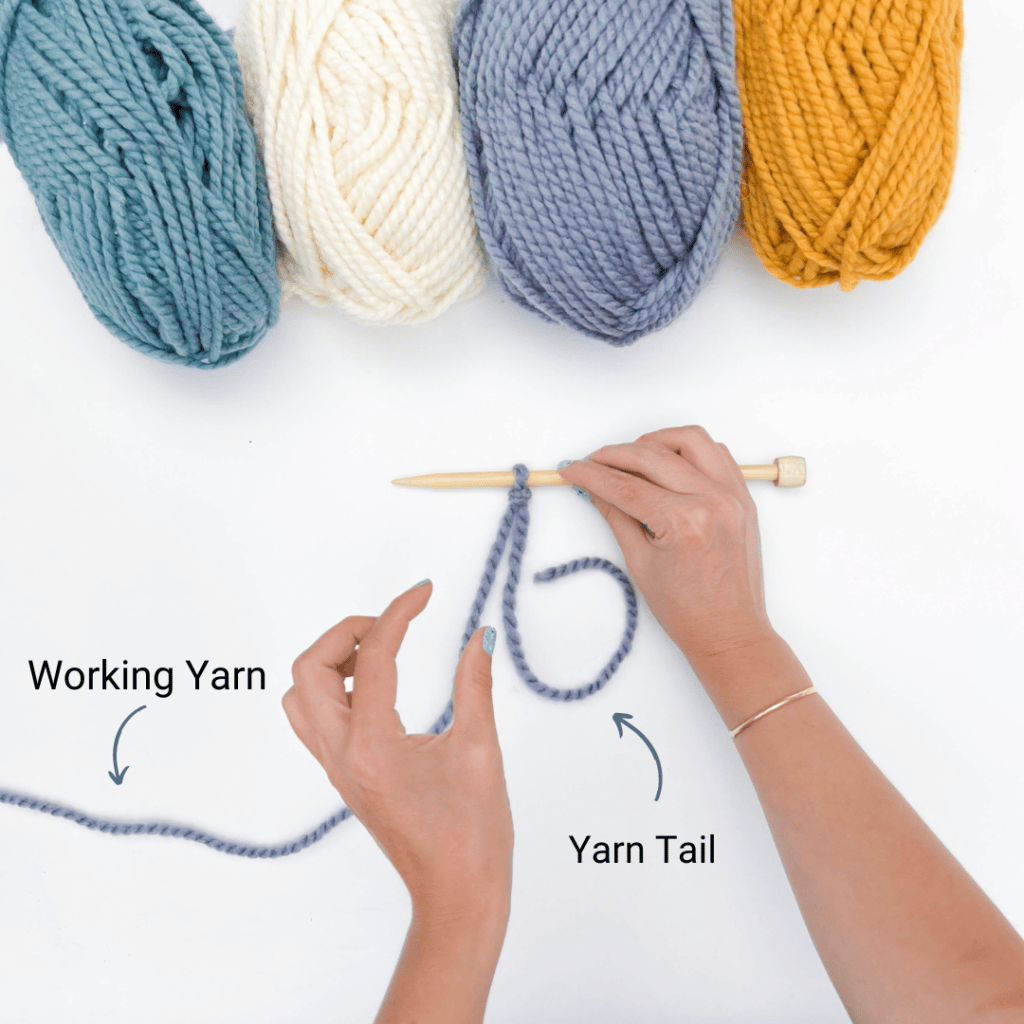
As you’re knitting, the yarn from a ball of yarn turns into two strands: the “working yarn” and the “yarn tail”. The working yarn is the part of the strand that is attached to the ball and is what you use to create new stitches. The yarn tail is the cut end of the yarn not attached to the ball.
If you’re simply weaving your yarn tail in at the end, we recommend leaving 6-8” of yarn. This means you have plenty of yarn to weave in making it easy to trim off the extra once you’re done. You can also use a yarn tail to seam pieces together. In this case, leave at least 2x the length of yarn as the edges you’d like to seam together.
A long tail cast on uses both the yarn tail and the working yarn to create the first row of stitches. Making sure you leave plenty of yarn to work a long tail cast on takes practice. Some quick math: you need to leave 3x the length of yarn as your finished edge is meant to be.
YES! When you’re casting on stitches for a project, the slip knot counts as one of the stitches in your first row. For example, when a pattern asks you to cast on ten (10) stitches, you’ll make one (1) slip knot and cast on nine (9) additional stitches before working your first row!
The slip knot should be tight enough that it’s touching the needle but not so tight that the fibers look stretched. A slip knot that is too tight on the needle will be hard to work on the next row, and one that is too loose might not look smooth and even on your finished edge. It’s worth practicing until it looks just right!
There are a few ways to tell if your slip knot is tied correctly. First, the loop of the slip knot should be lying flat against the standing part of the rope. Second, you should be able to pull on the standing part of the rope and the loop should tighten around it. Third, the loop should be able to rotate around the standing part of the rope. If all of these things are true, then your slip knot is most likely tied correctly.
The slip knot should be tight enough that it’s touching the needle but not so tight that the fibers look stretched. A slip knot that is too tight on the needle will be hard to work on the next row, and one that is too loose might not look smooth and even on your finished edge. It’s worth practicing until it looks just right!
Also known as the “magic knot” technique, you can use a slip knot to join two pieces of yarn together! This is handy when you run out of yarn in the middle of a project and need to add a new ball, or you’re doing stripes in a project. Using a slip knot will leave you with a small knot in your project. If you want a more seamless join you can either splice your yarn or leave yarn tails to weave in later.