Garter Stitch
This simple stitch is cozy and easy!
This simple stitch is cozy and easy!
Garter stitch is not only the easiest stitch to learn it’s also one of the most popular! Many knitters’ first projects use garter stitch because it’s super squishy, durable, and elastic making it the perfect stitch for all sorts of easy projects. Try a dishcloth, blanket, or cozy scarf! Today, we’ll show you how to knit garter stitch flat (back and forth).
This is the easiest beginner knitting stitch to learn! When knit flat you’ll be using just the basic knit stitch for all stitches and all rows. We also like garter because it’s easy to spot mistakes which makes this a great way to get used to “reading” your knit fabric.
We love using garter stitch in a variety of projects. It’s a stitch that’s easy to memorize, lies flat, and is totally reversible! We especially love garter stitch for infinity scarves or cowls because it can stretch to fit comfortably and both sides are tidy when worn wrapped a few times.
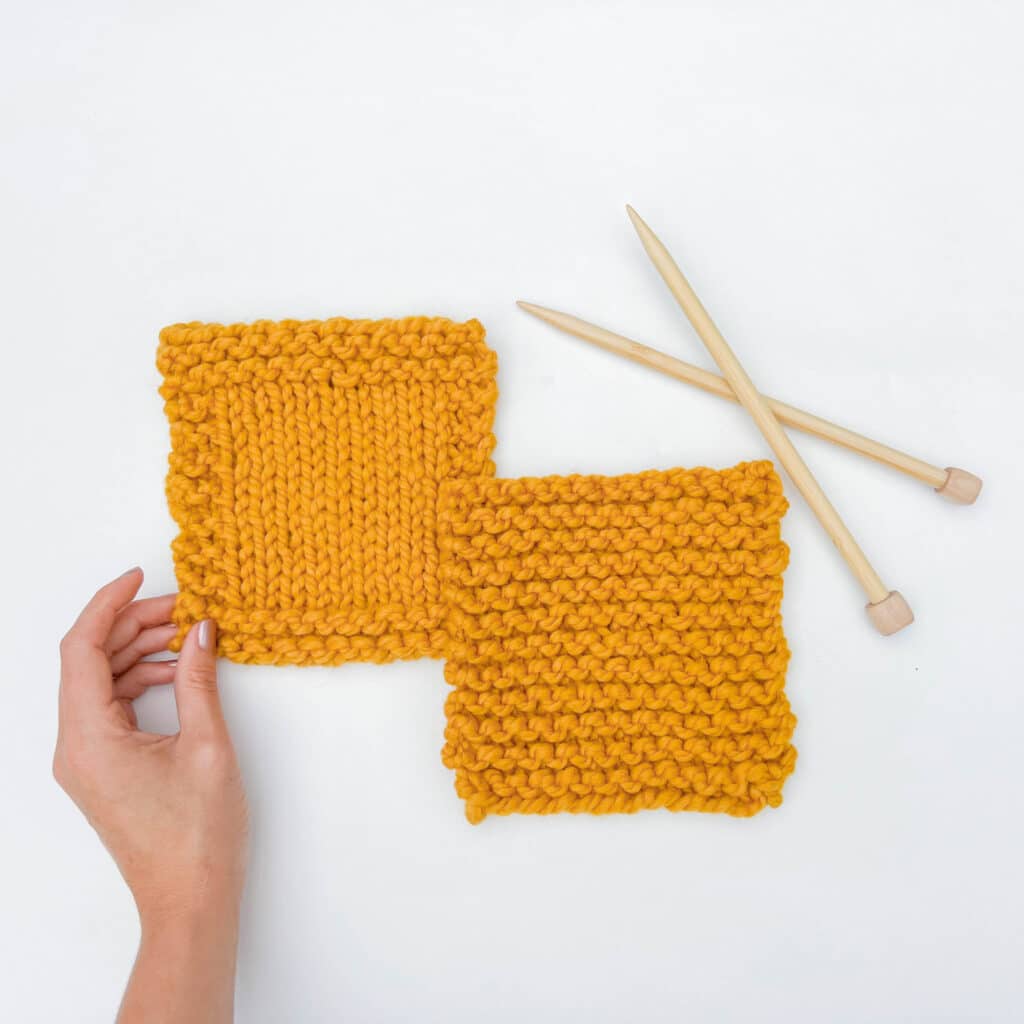
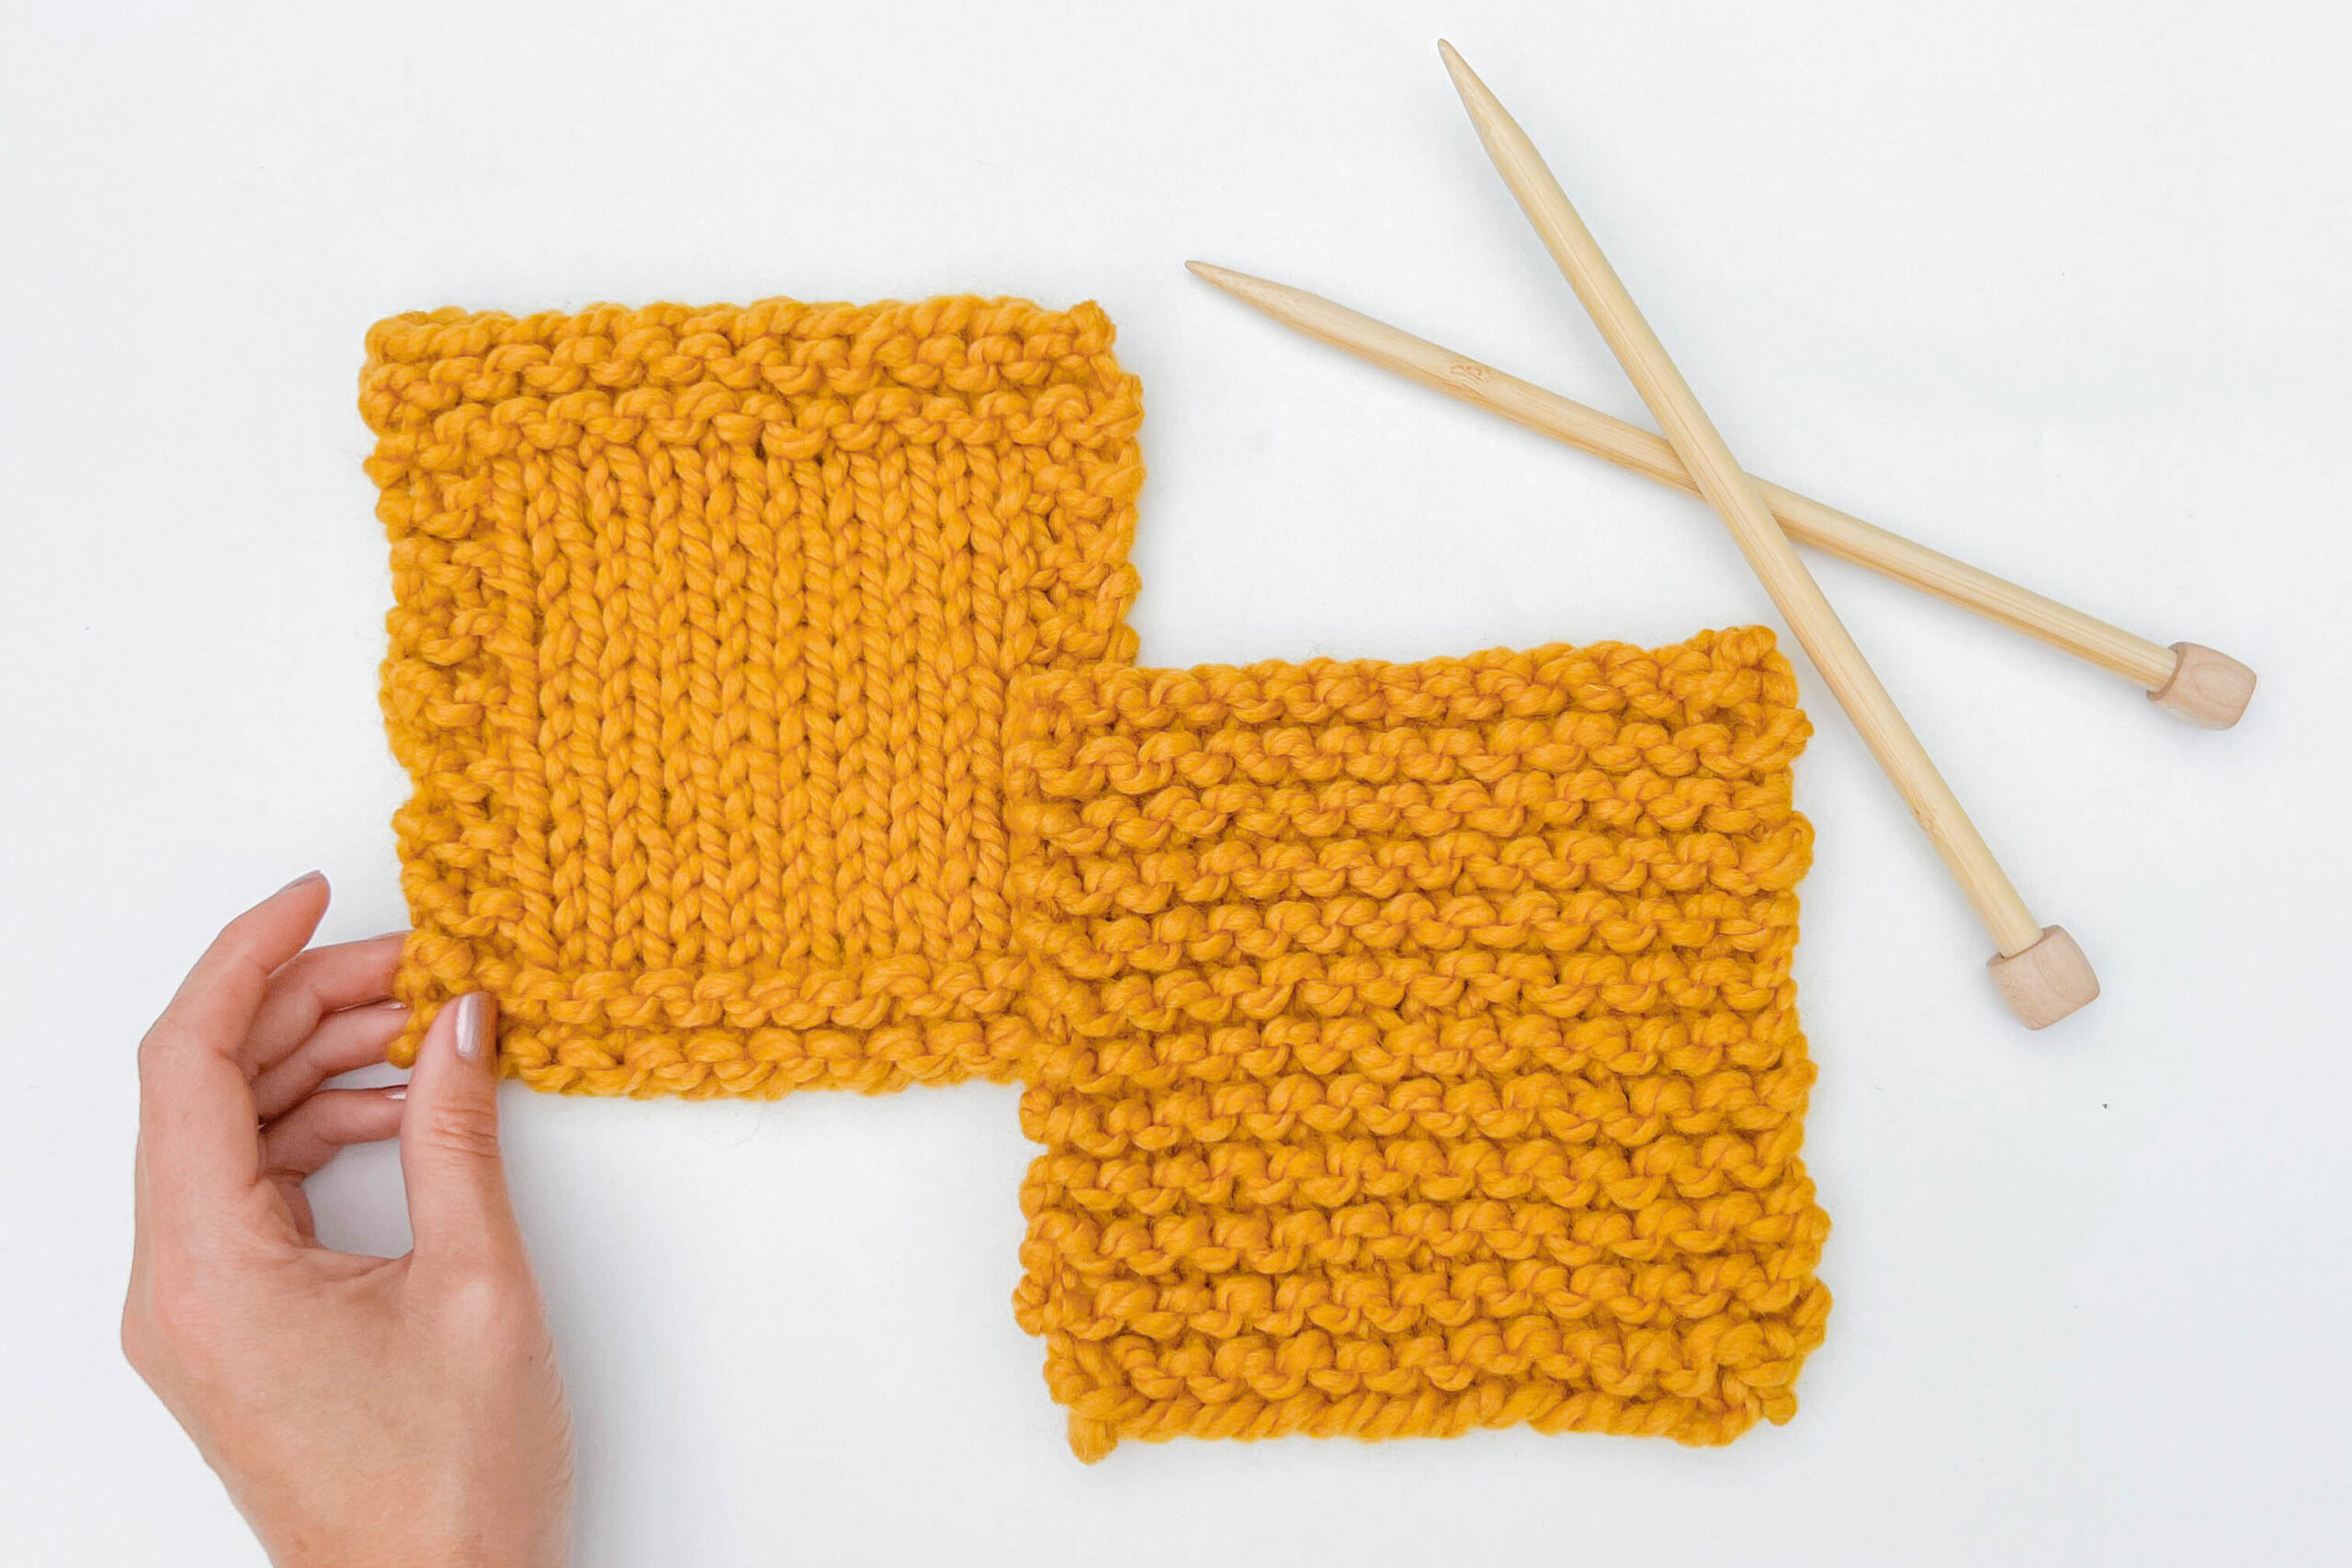
This stitch is also great as a useful border to prevent curling around the edges in different stitch patterns. You may notice that many dishcloths, shawl patterns, and even swatches use a small garter stitch border (see the photo above!). This stitch naturally lies flat which encourages the rest of the piece to lie flat when it’s used as a small border on a project.
For a fun twist and extra challenge, try doing stripes of color! The bumpy ridges in this fabric helps colors blend into one another as you switch from one ball to another.
Garter stitch is made differently depending upon whether it was knit in the round or flat. When knit flat (back and forth), garter stitch fabric is made using just the knit stitch for every stitch and every row. Garter stitch knit in the round is made by alternating rows of knit and purl stitches. This tutorial will show you how to knit garter stitch flat.
Every project starts with a cast on row. If you’re following a pattern, cast on the number of stitches noted in your project. If you’re simply knitting a swatch or test piece, go ahead and cast on enough stitches for a 4” fabric using the needles and yarn of your choice.
All yarn ball labels should note how many stitches per inch you’re likely to get on certain needles (see a handy guide here!). It’s likely you will need to cast on a few extra stitches than the yarn label recommends because garter stitch is such a stretchy, squishy fabric.
Garter stitch knit flat is one of the most basic stitches you can make in knitting. In flat garter every stitch and every row is knit! That’s it! If you’d like more support and some photos to help you along the tutorial below walks you through forming a knit stitch and how to turn your work in order to begin a new row.
These step-by-step instructions show you how to form a knit stitch! Note: This tutorial was written for right-handed knitters.
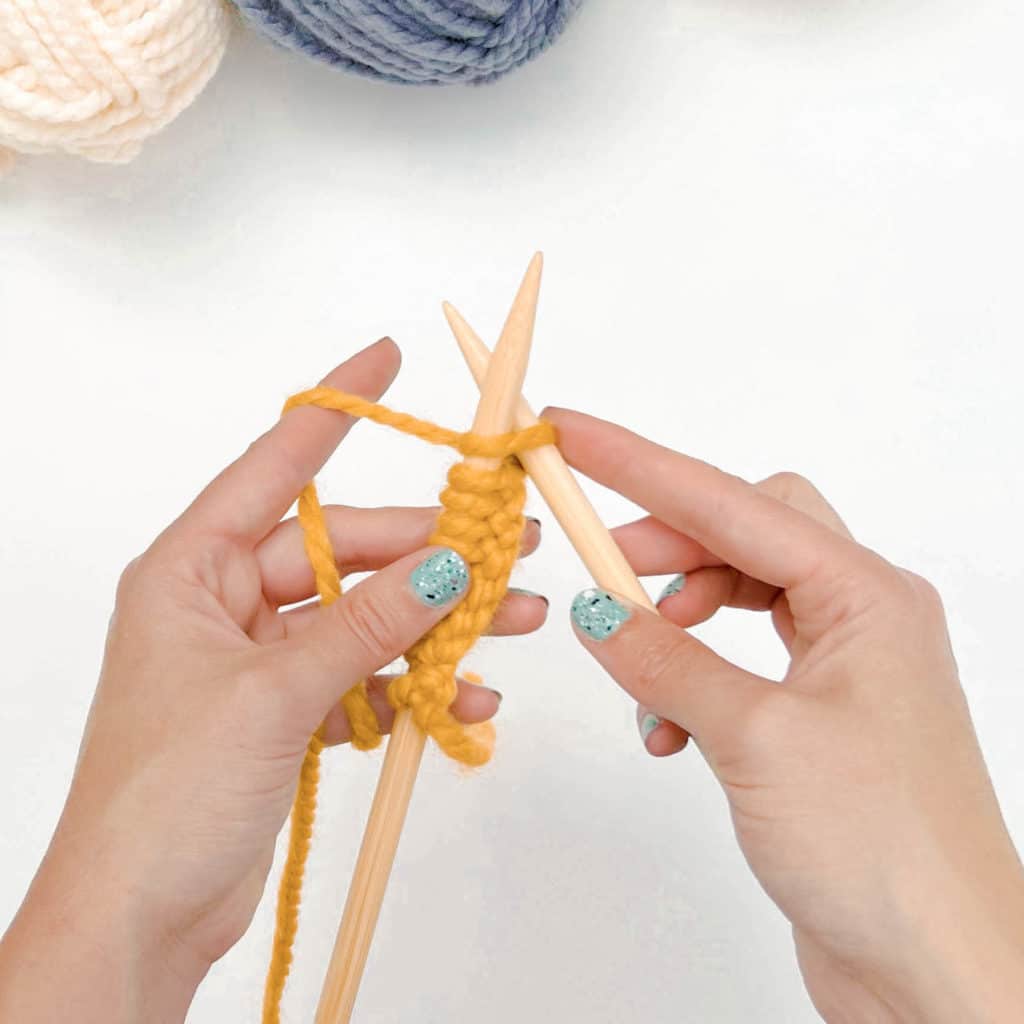
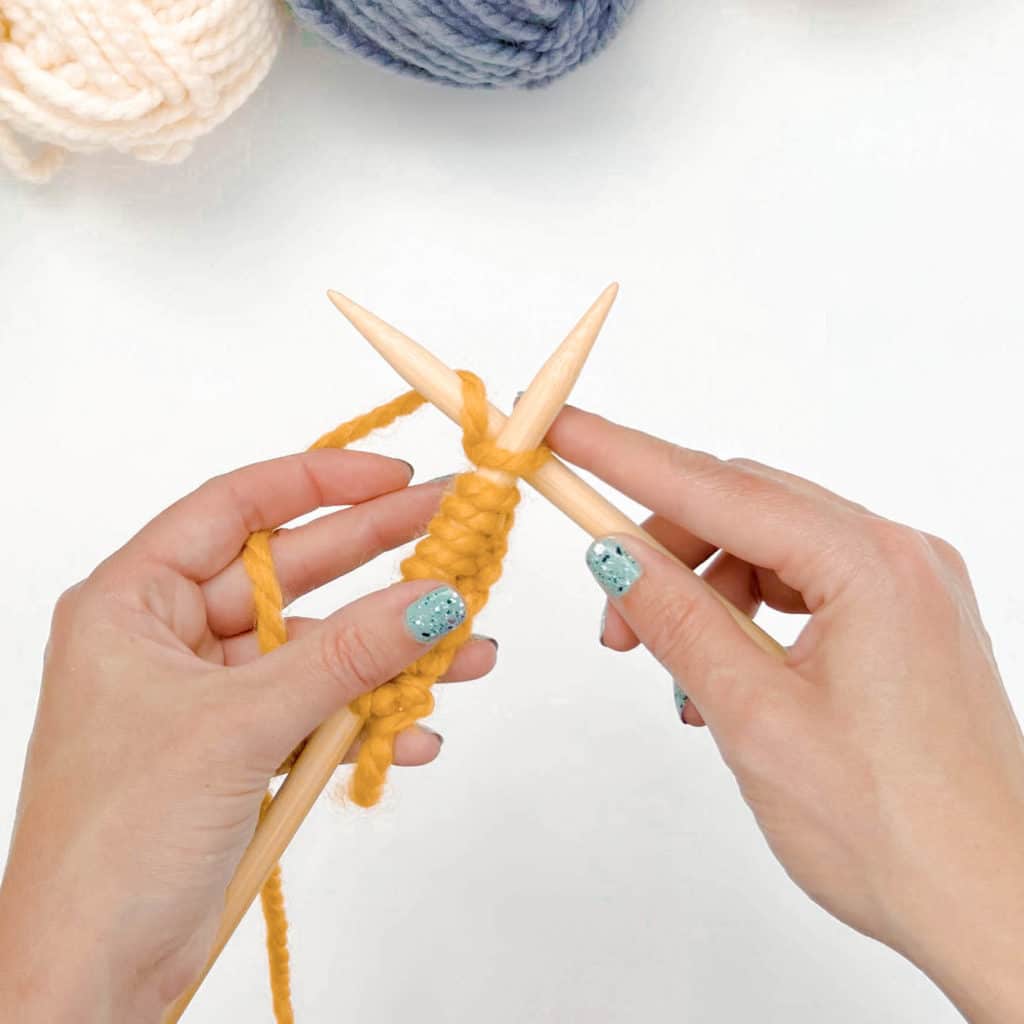
Step 1: Insert the right needle through the first stitch upwards from right to left through the front loop.
Step 2: Bring the yarn up between the two needles, looping it over the right needle.
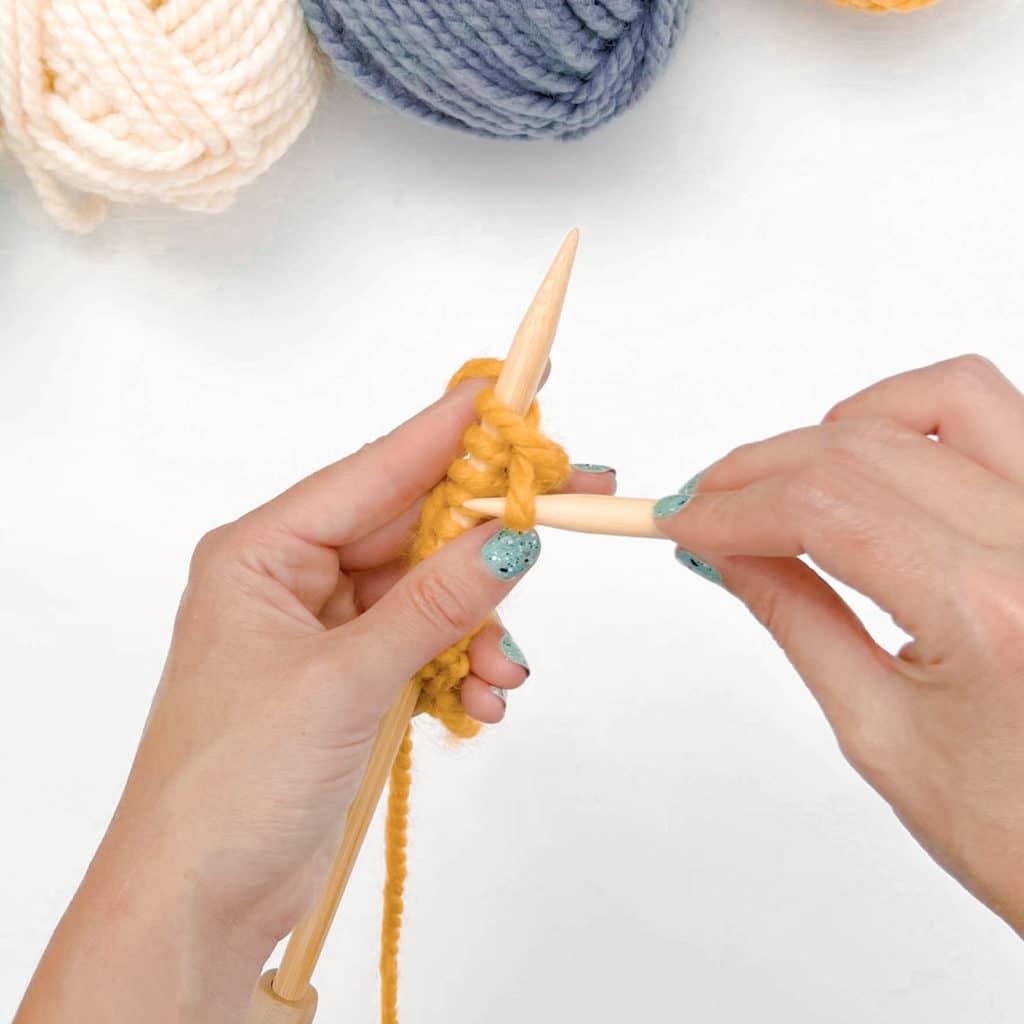
Step 3: Hook the yarn through the stitch by pivoting your right needle downward, pinning the yarn between the needles as you go.

Step 4: Drop the stitch off your left needle once the new knit stitch is resting fully on your right-hand needle.
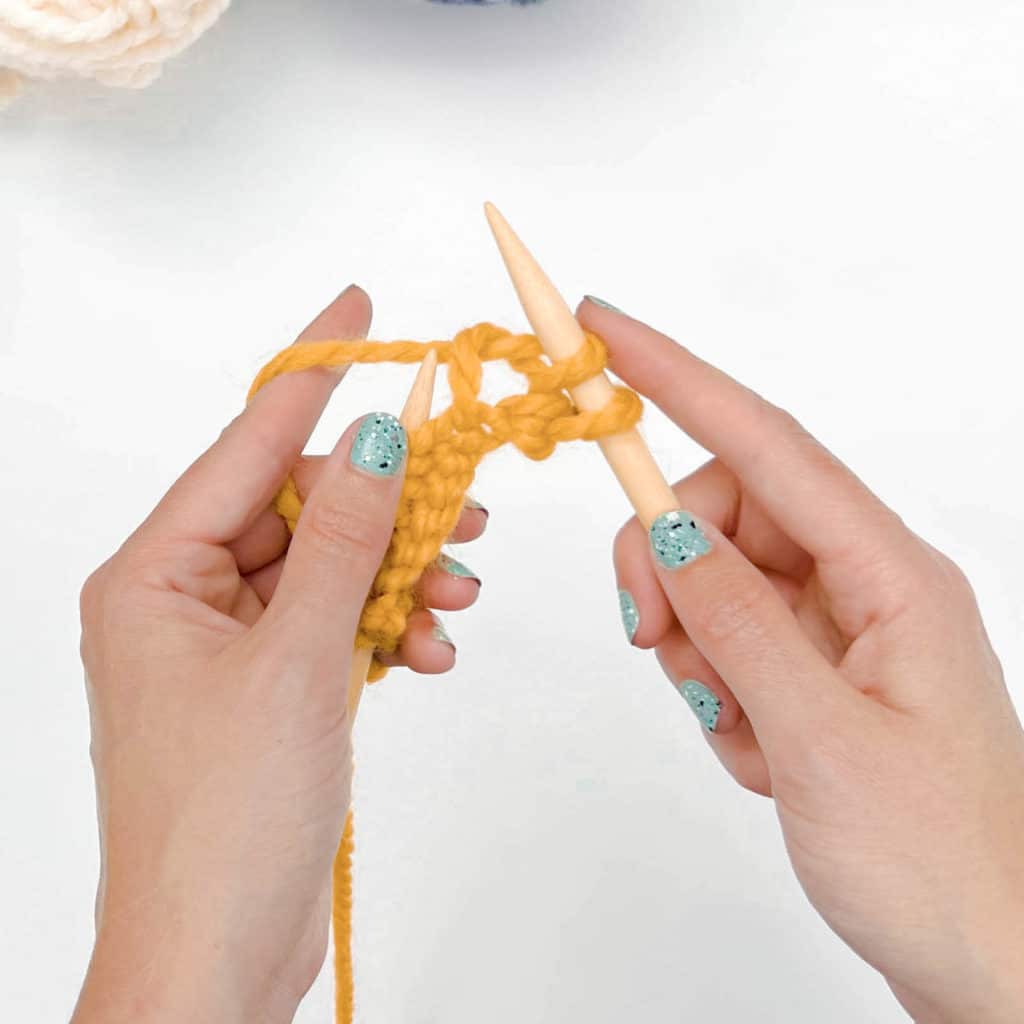
Repeat steps 1-4 until the end of the row.
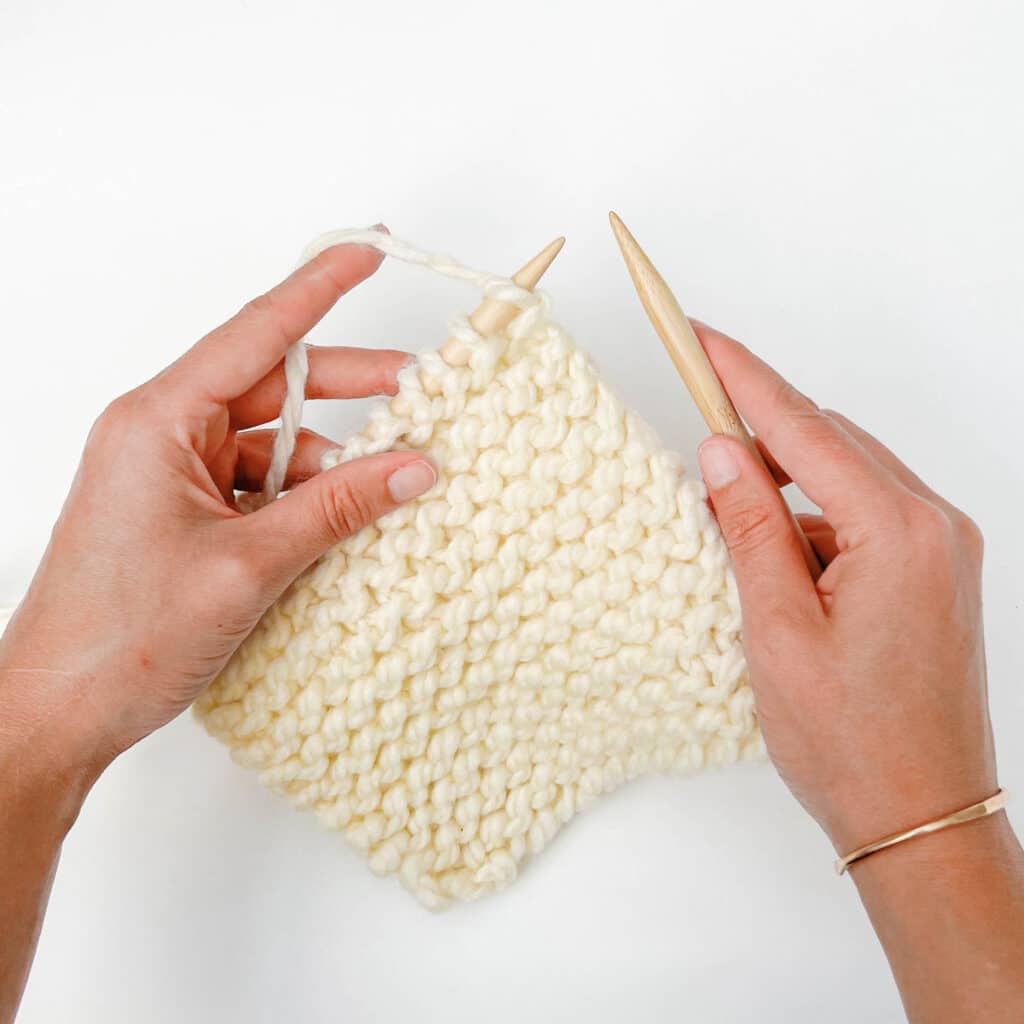
When knitting back and forth flat, you’ll need to turn your project to work in the other direction once your needle is empty!
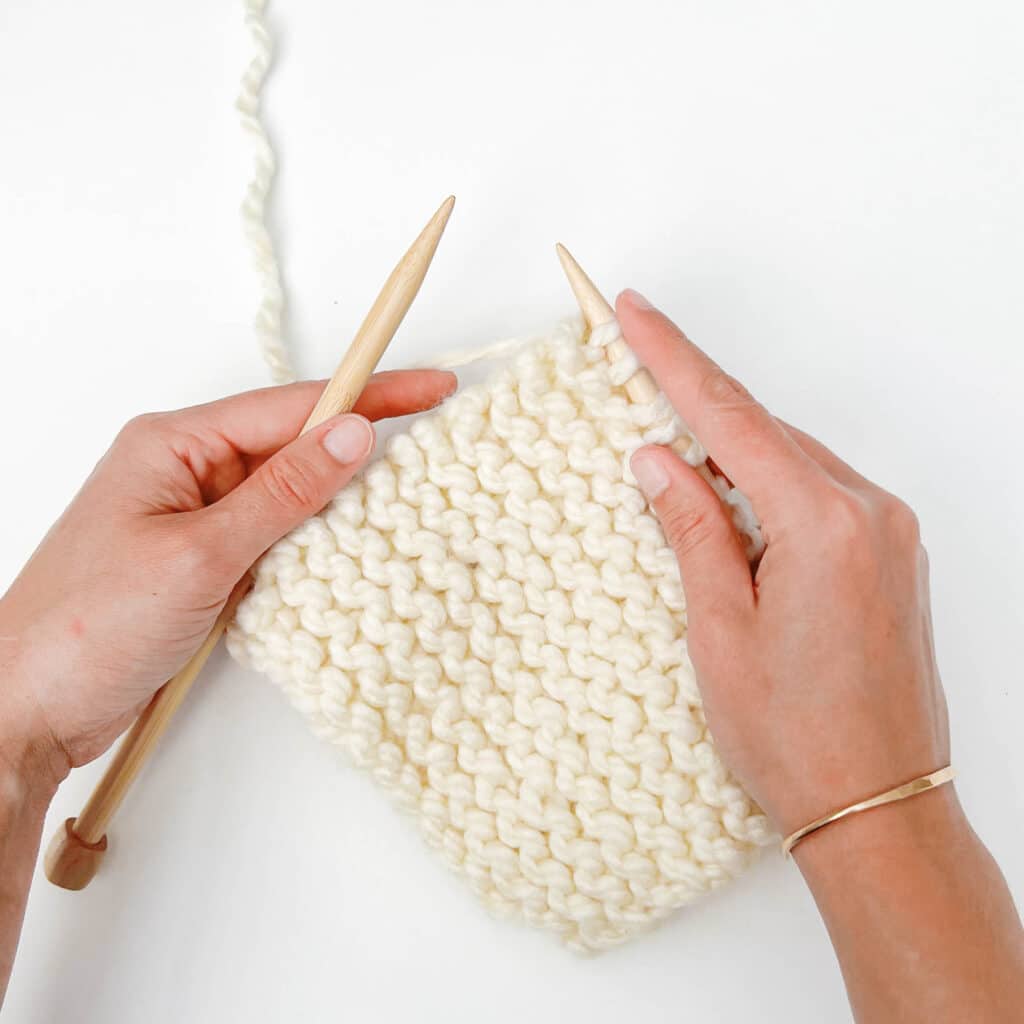
Time to turn!
Once you’ve knit all the way across the row and your left hand needle is empty it’s time to turn your work to get ready to knit the next row!
Move your right-hand needle to your left hand, turning it as you do so that the yarn strand is on the right-hand side of the piece.
Knit across this row (the same as the last row) until the left hand needle is empty once more. Turn again!
Repeat until you’ve knit as much fabric as you’d like before binding off.
Now that you know how to do the knit stitch and turn your project to knit the next row, you’re all set to do the garter stitch! This pattern is created by knitting every row until you reach the desired length for your project. Just keep knitting all the stitches and turning once you reach the end of your row. That’s it!
Need a refresher on how to bind off knits? Check out our beginner knit bind off video and the full tutorial here!
Ah! You’ve got a hole in your knit row! This can happen a few ways, you may have accidentally looped the yarn up and over a needle between knit stitches. You could also have inserted your needle between two stitches rather than through one, creating a new stitch where there wasn’t one in the previous row.
It’s always a good idea to check your row before turning to start the next one to spot any mistakes.