I Cord Edging
Sturdy rolled edges create the perfect finish for any knit!
Sturdy rolled edges create the perfect finish for any knit!
Applied I cord is a great way to create a smooth, rolled edge on flat-knit projects. This no-fuss technique integrates a finished edge at the ends of a row as you knit. No extra steps needed!
Whether you’re looking for a simple decorative element or want to add functional structure and shape to a finished edge this simple technique is something you can add easily to any pattern!
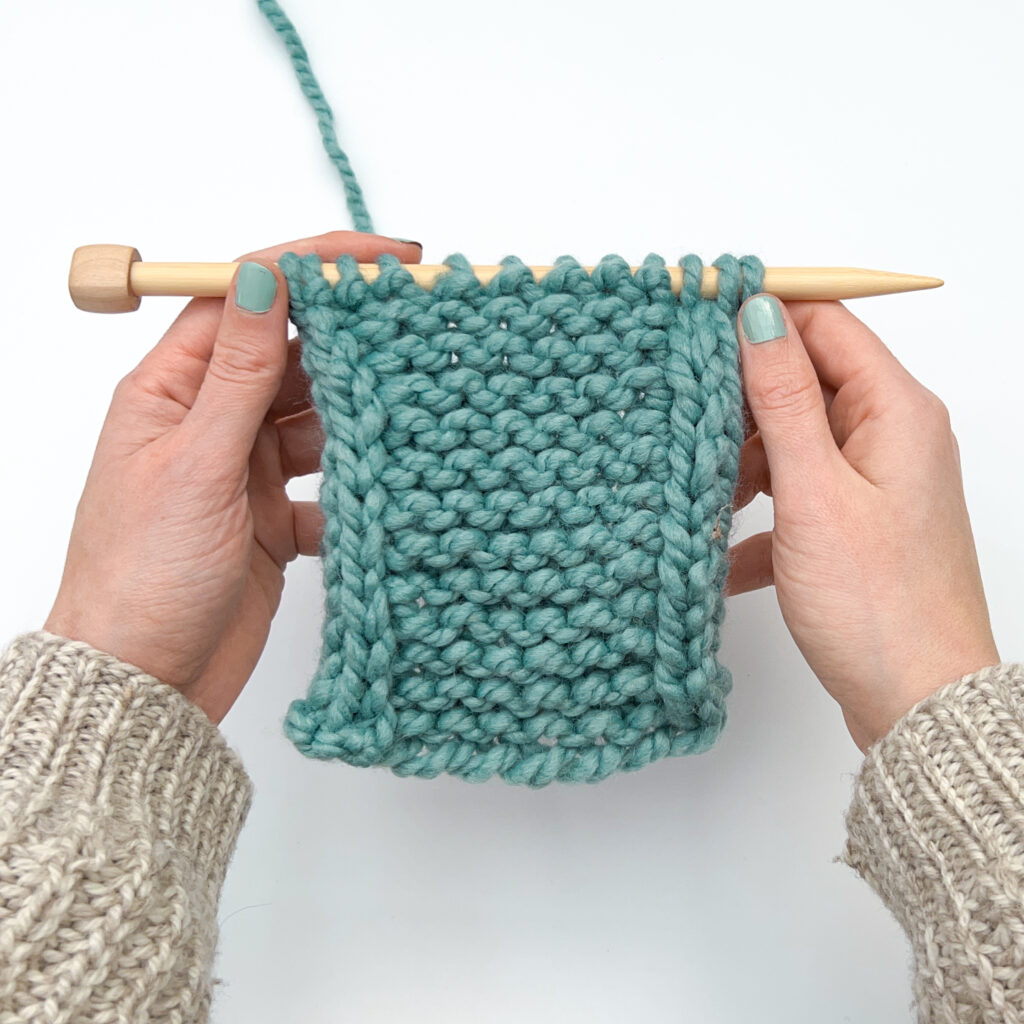
The I cord edging is created by slipping stitches at the edge before knitting them on the next row. These slipped stitches wrap around the edge, creating a sturdy tube of stockinette stitches.
You can use applied I cord on one or two vertical sides of a project, but it does need to be done while working flat, back and forth. This technique doesn’t work for projects knit in the round.
We love using I cord edging on flat projects that need to have edges that lie flat and look polished. Blankets, dishtowels, scarves, and headbands are all great projects to add I cord edging. In every case, the applied I cord technique creates an extra smooth, extra stable edge that won’t stretch or sag with heavy-duty use.
If you’d like to add an attached i cord edge to a pattern that doesn’t specify this finish then you’ll need to add the extra stitches before working this technique. Typically an i cord finish uses 3 extra stitches on each side it’s worked. If you’re working along just one side, cast on 3 stitches. If you’re working it along two edges then you’ll need a total of 6 extra stitches!
If your pattern calls for i cord edging then it already has the extra stitches added.

Don’t you just hate when yarn slips off your knitting needles?
Introducing BeKnitting’s Set of 9 Straight Bamboo Knitting Needles! Sleek, sturdy, and slip-proof, these needles will give you the smoothest knitting experience ever.
Find them on Amazon!
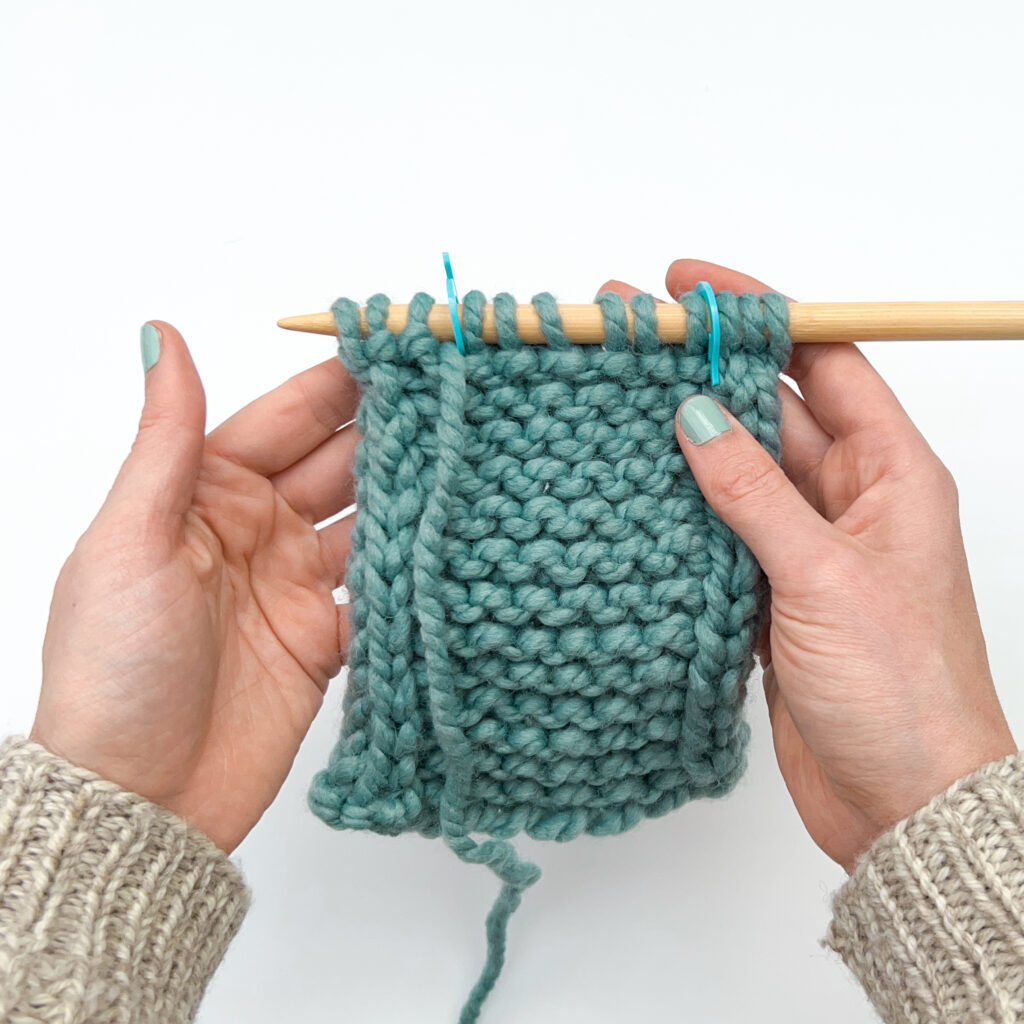
To start: cast on the number of stitches you need for your project, or want for a practice swatch. Remember, you need 3 stitches for each applied I cord edge. In this tutorial, the I cord is on two sides which means that 6 stitches have been cast on for the I cord in addition to the center stitch pattern.
Note: this tutorial shows garter stitch used as the central stitch pattern between the two I cord edges. You can choose any pattern you’d like in your swatch or project, just make sure you cast on the correct number of stitches.
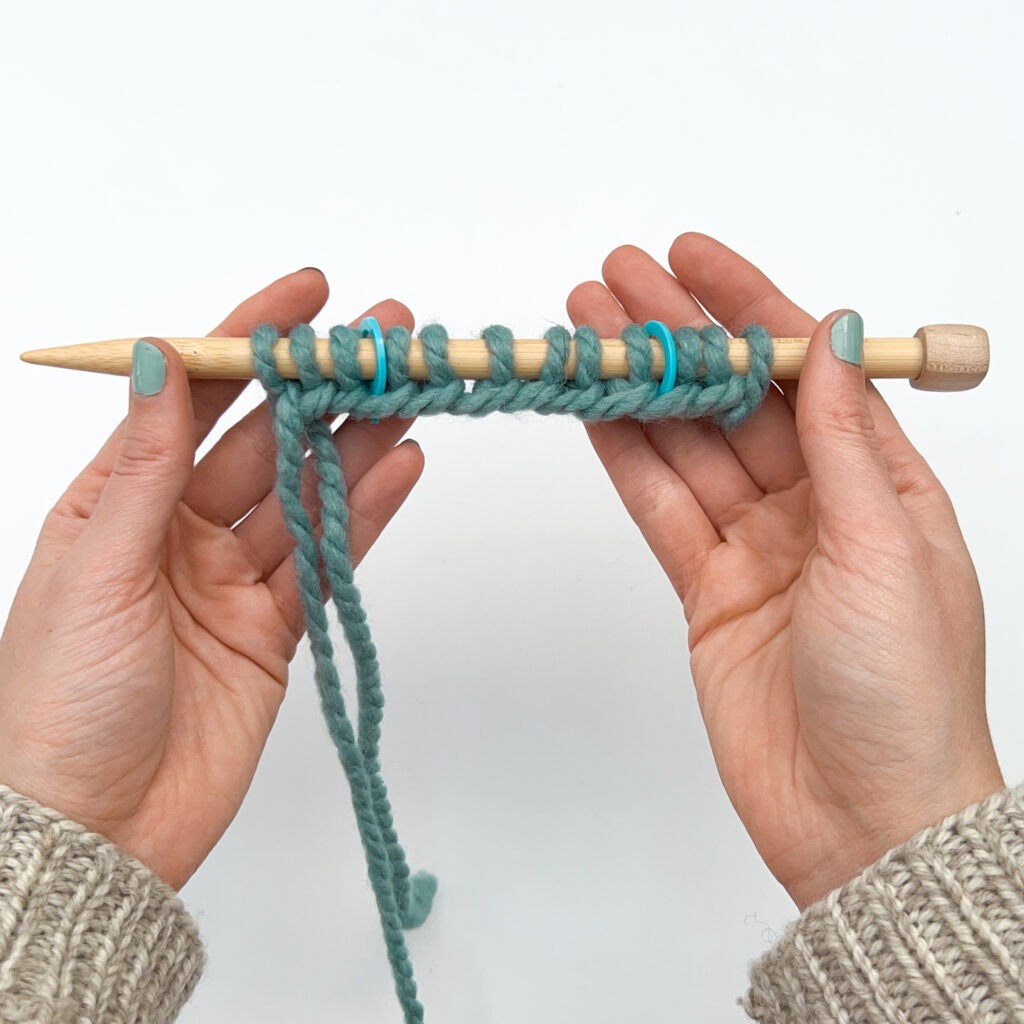
Optional: use stitch markers to indicate the 3 i-cord stitches at both ends of the row.
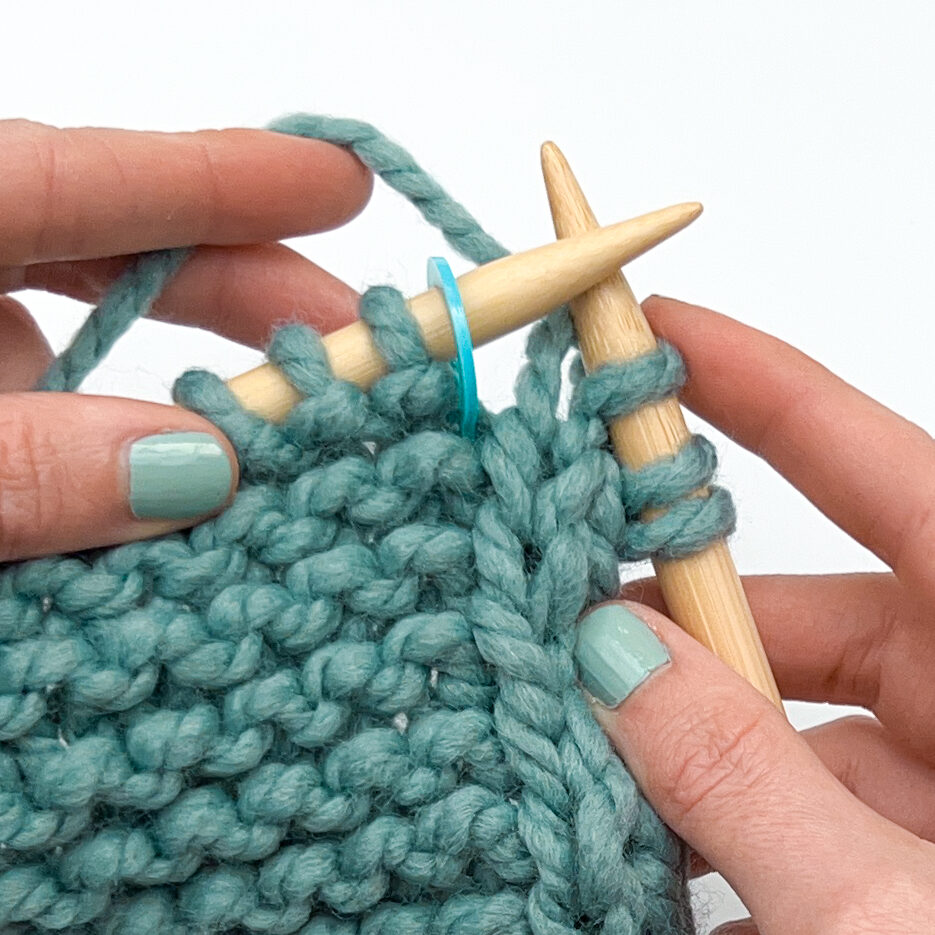
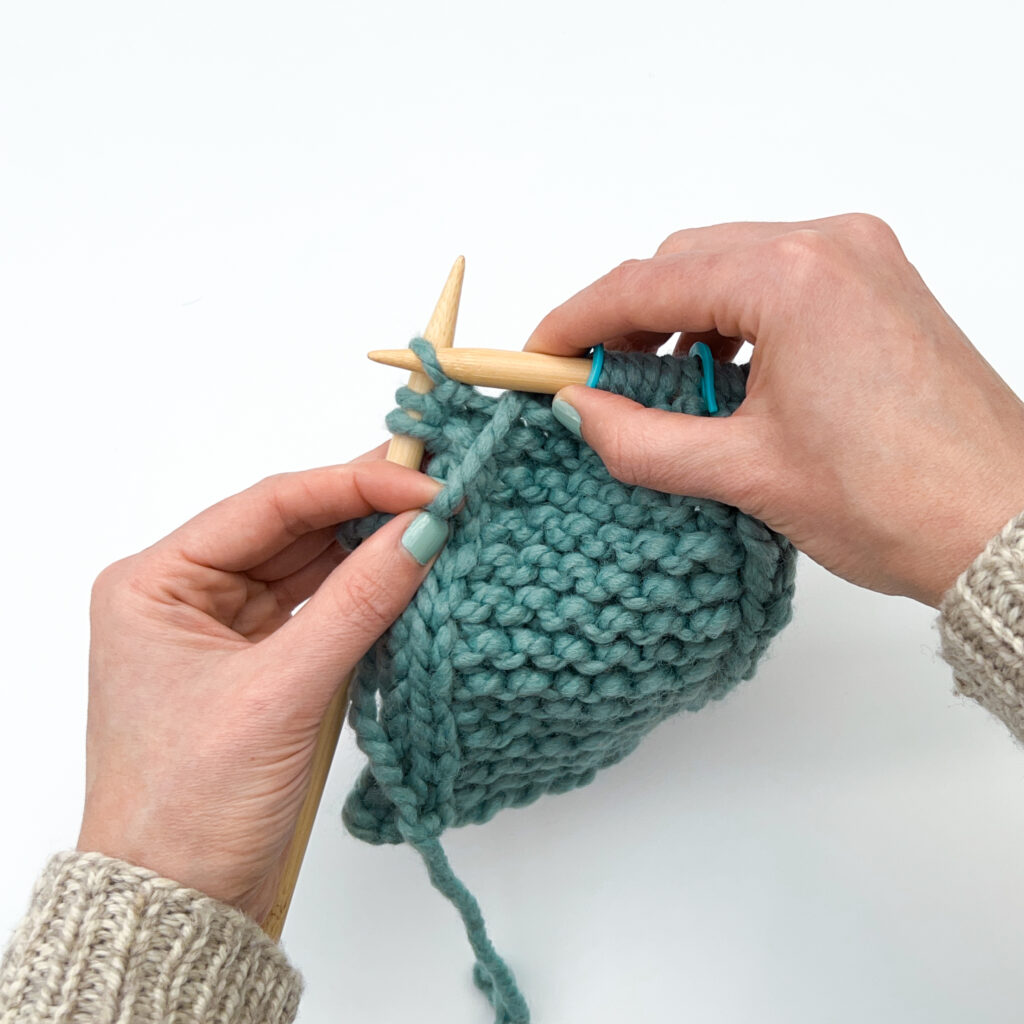
Step 1:
Knit the first 3 stitches.
Slip the stitch marker (if using) from the left to the right needle.

Step 2:
Knit across the row until you get to the second stitch marker (if using markers) before the last 3 stitches.
Note: if you’re using a stitch pattern that isn’t garter stitch, work that stitch pattern across the center stitches between the stitch markers.
Slip the second marker from the left to the right needle (if using markers).
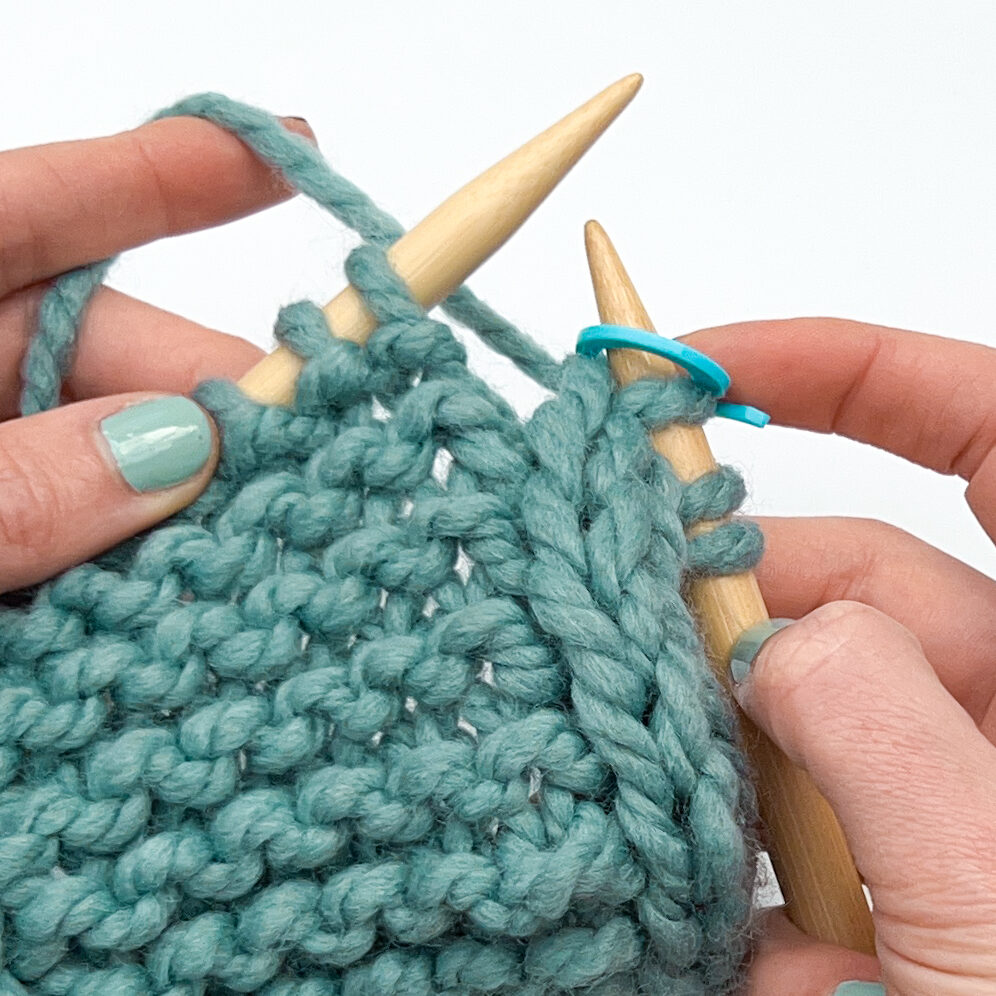
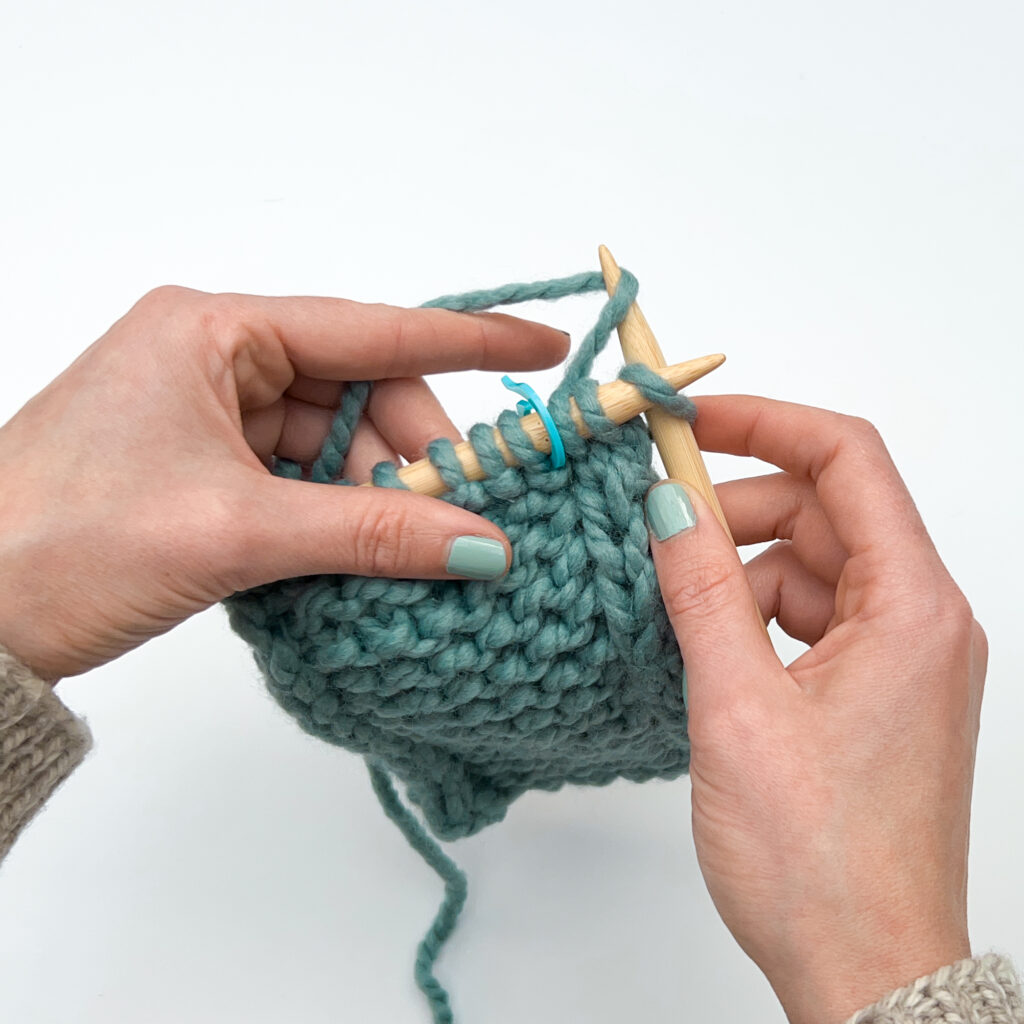
Step 3:
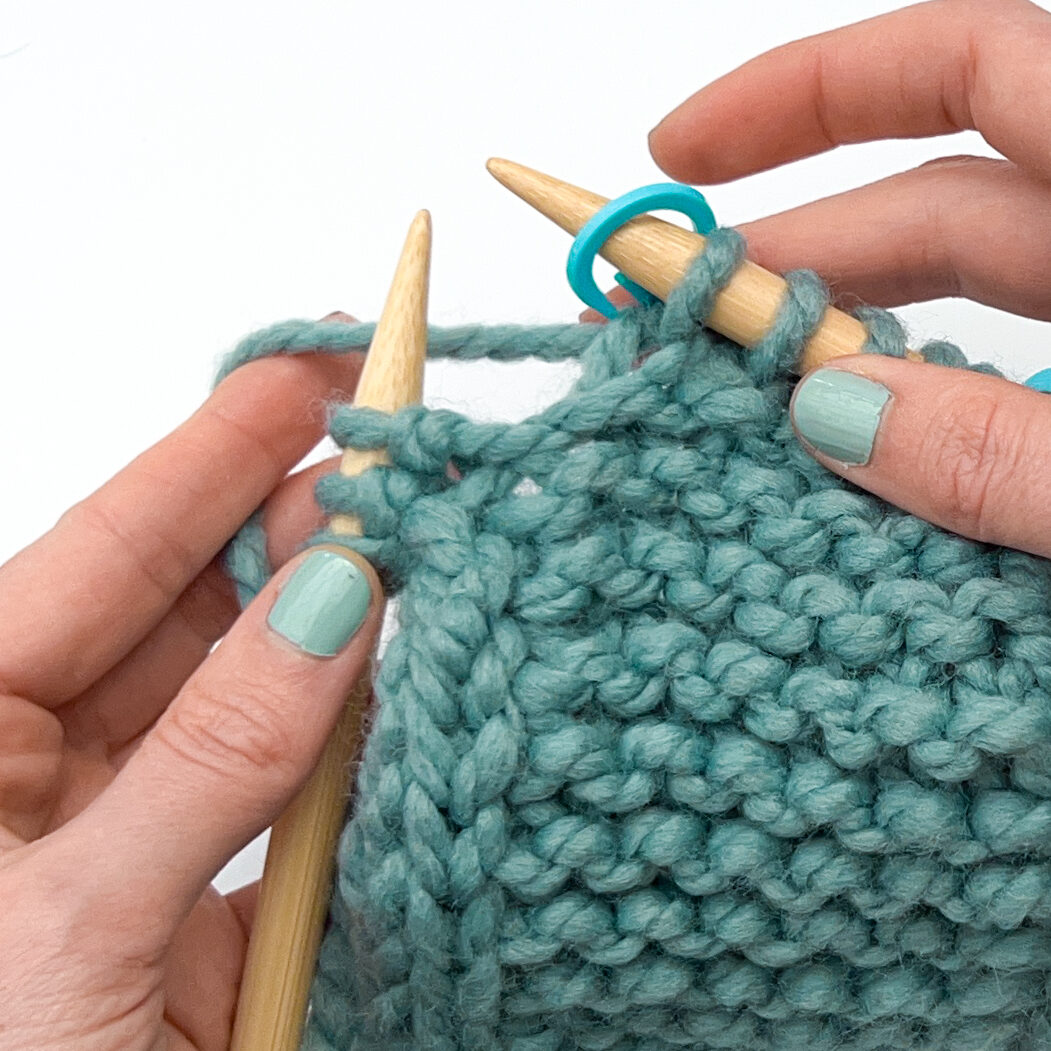
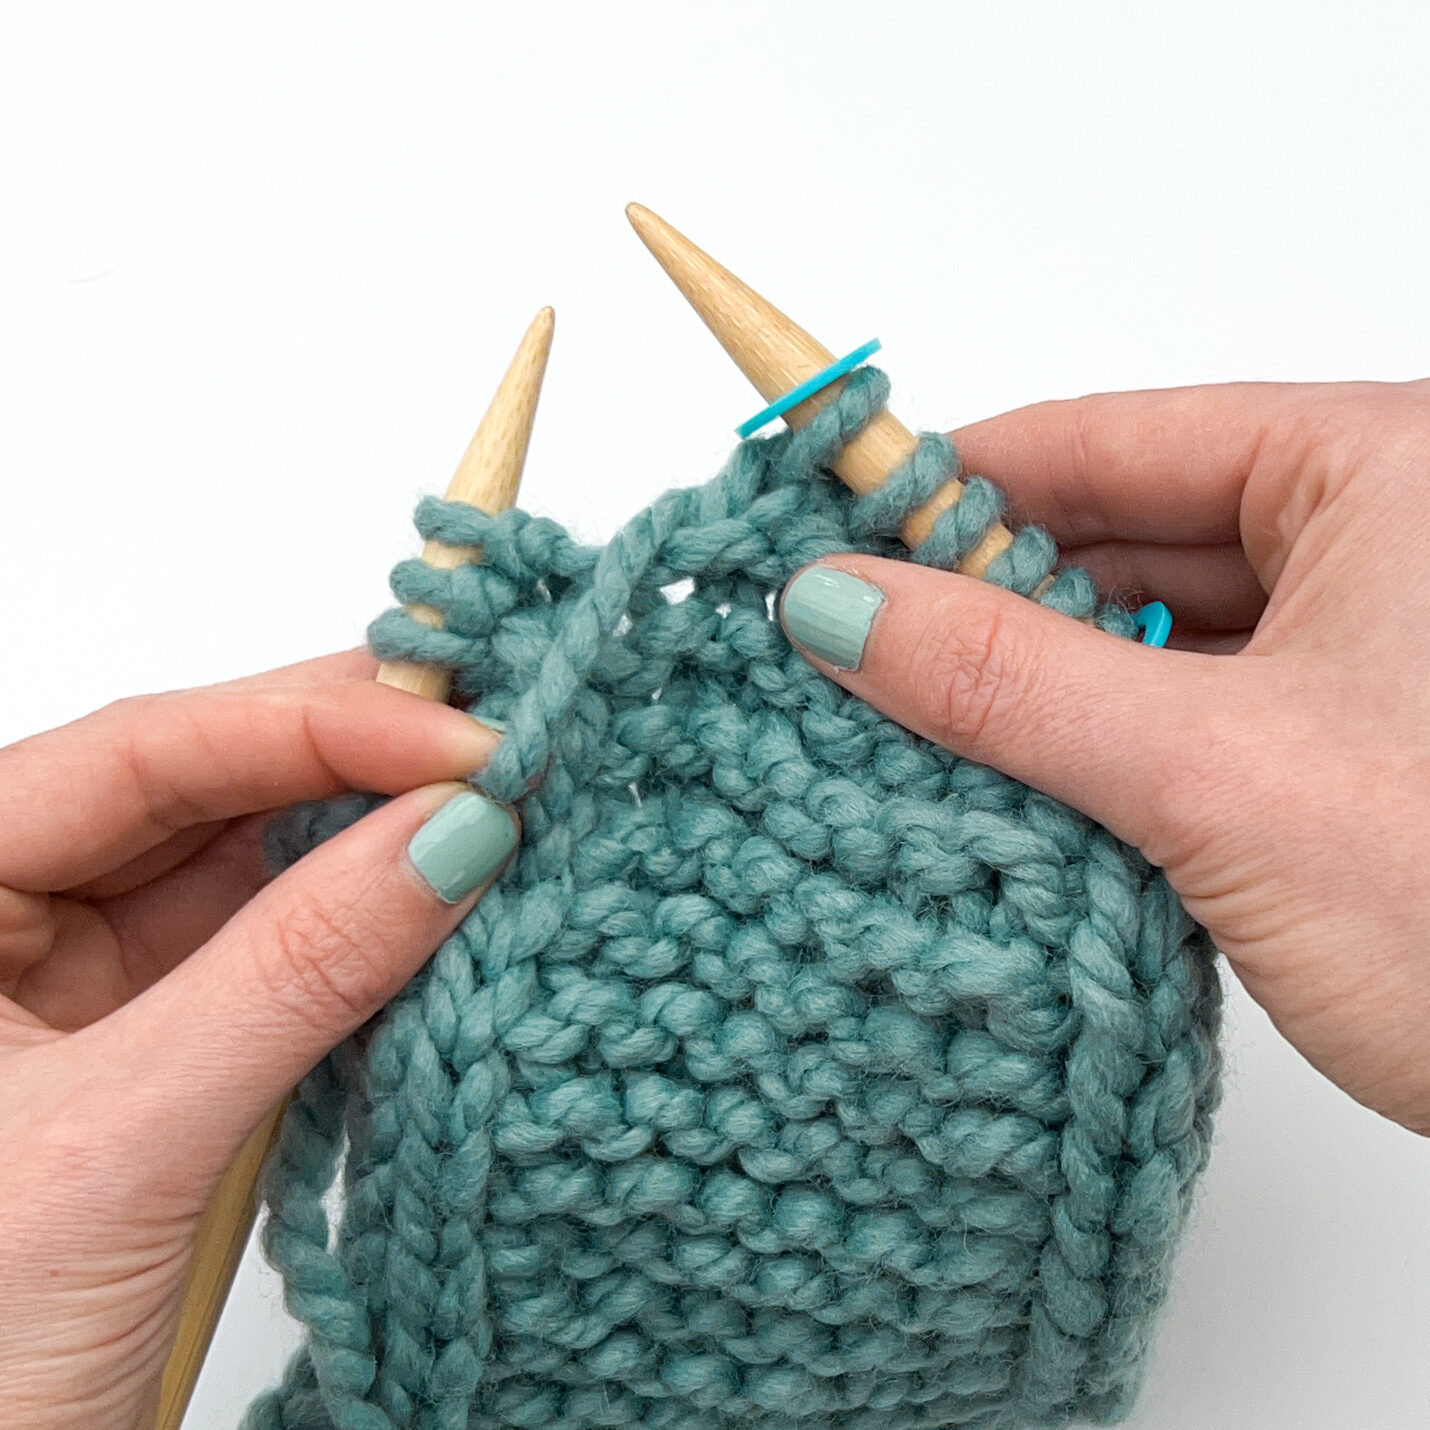
Bring the yarn to the front of your work between the two needles.
Slip the last 3 stitches purlwise.
To slip purlwise: insert the right needle as if to purl (downward, from right to left) through the stitch on the left needle, slipping the stitch from the left to right needle.
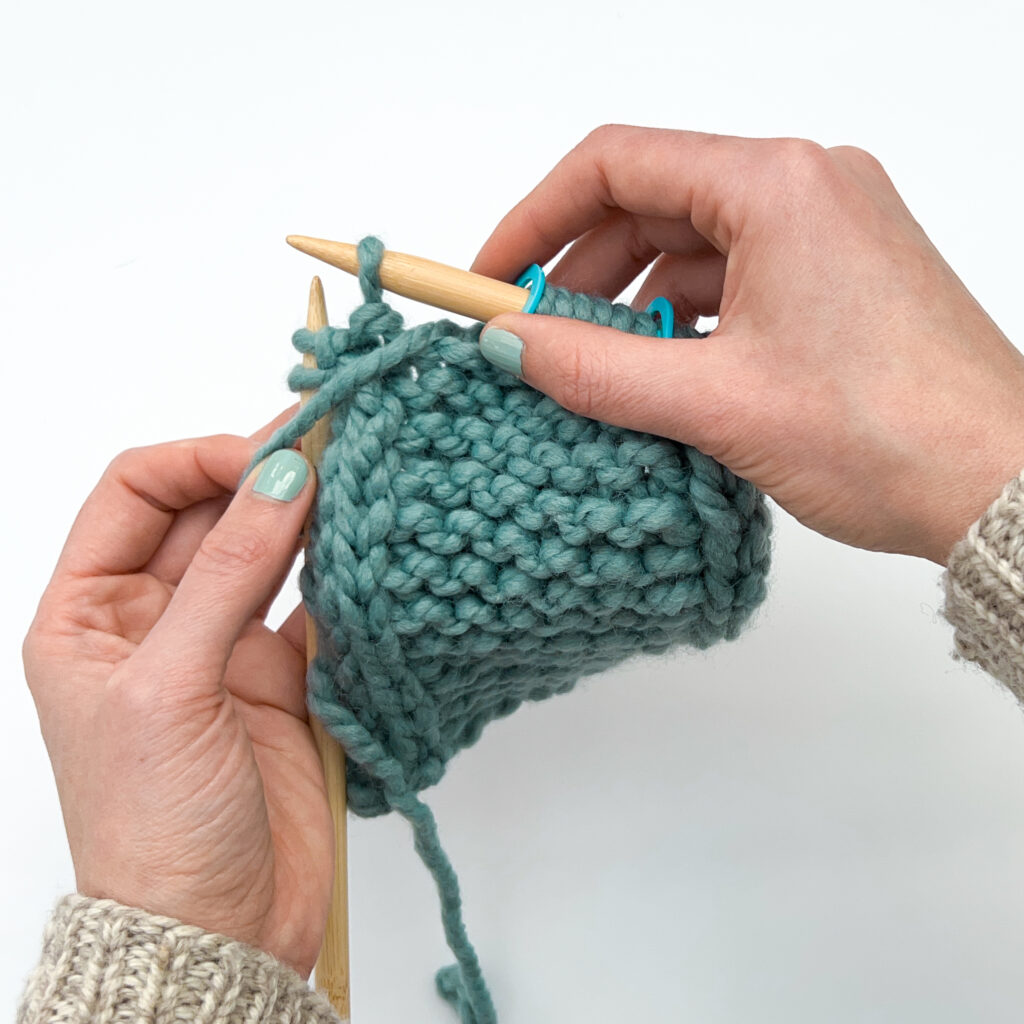
You’ve now worked one row of applied I cord!
Repeat steps 1-3 every row until the piece is as long as you’d like.

Because the last 3 stitches are slipped, your yarn will be positioned three stitches from the outer edge of the fabric. To knit the first stitch of every row you’ll pull the yarn across the back of those slipped stitches, this is what creates the curled edge!
Row 1: Knit 3 stitches, work in chosen stitch pattern to the last 3 stitches, with yarn in front, slip 3 stitches purlwise. Turn.
Repeat Row 1 until your piece is the desired length!
Yes! Applied I cord can be a good project for beginner knitters, as it requires only basic knitting skills and can be a fun and simple way to add a decorative touch to a knitted or crocheted item.
Knit I cord as a category of techniques covers a range of methods that create a rolled stockinette stitch edge on a piece of knitting. How, when, and where you use it can vary!
Luckily, there’s a technique for every situation you can imagine needing an I cord edge (and a few we bet you’d never thought of as well). Try mixing-and-matching these techniques to get just the right finish for every project.


