Rib Stitch
Stretchy stitch patterns for snug, fitted knits.
Stretchy stitch patterns for snug, fitted knits.

As a beginner knitter, it’s essential to learn different stitch patterns to expand your repertoire and create versatile and textured projects. One popular stitch pattern you’ll encounter is ribbing. Ribbing is a simple yet effective technique that adds stretch and elasticity to a project. In this article, we’ll explore the basics of ribbing, including the difference between 1×1 and 2×2 ribbing, and the projects where ribbing is commonly used.
Ribbing stitch knitting is a type of stitch pattern that alternates between knit stitches (often abbreviated as “K”) and purl stitches (often abbreviated as “P”) in the same row or round. Different types of ribbing are created by changing the number of knit and purl stitches in the repeat. For an even tighter fabric, try the twisted rib stitch! This pattern is created by knitting the stitches through the back loop rather than the front loop.
Ribbing is a versatile stitch pattern that can be used in a wide range of knitting projects. It’s commonly used in cuffs, collars, and hems of sweaters, hats, and socks to create stretchy and snug-fitting edges. Ribbing is also popular in scarves, blankets, and other accessories to add texture and to keep the edges of projects from curling.
Learning how to knit rib stitch starts with choosing the right stitch pattern for your project! Today we’ll learn how to work two kinds of ribbing: 1×1 and 2×2.
The numbers in 1×1 and 2×2 ribbing refer to the number of knit stitches and purl stitches in each repeat! In 1×1 ribbing, you alternate between one knit stitch and one purl stitch, while in 2×2 ribbing, you alternate between two knit stitches and two purl stitches. Let’s take a closer look at these stitch patterns.
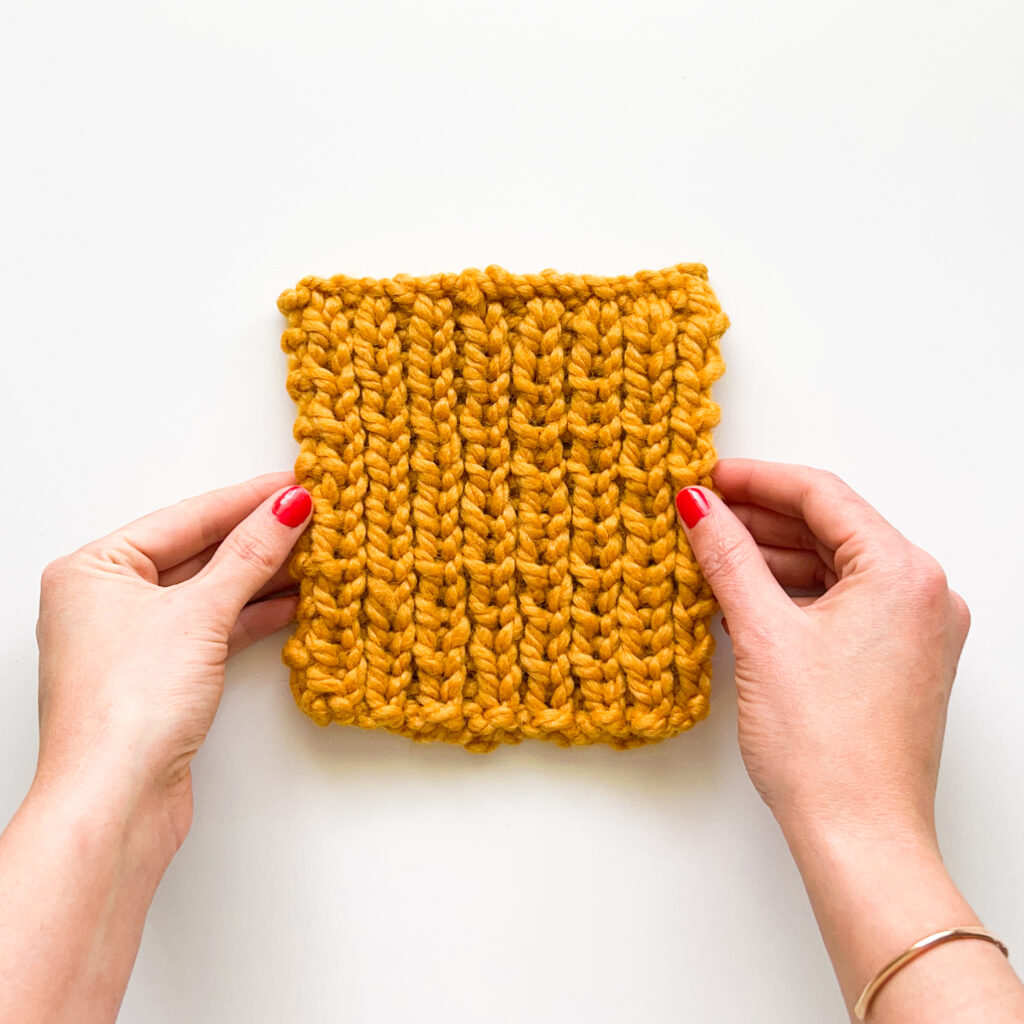

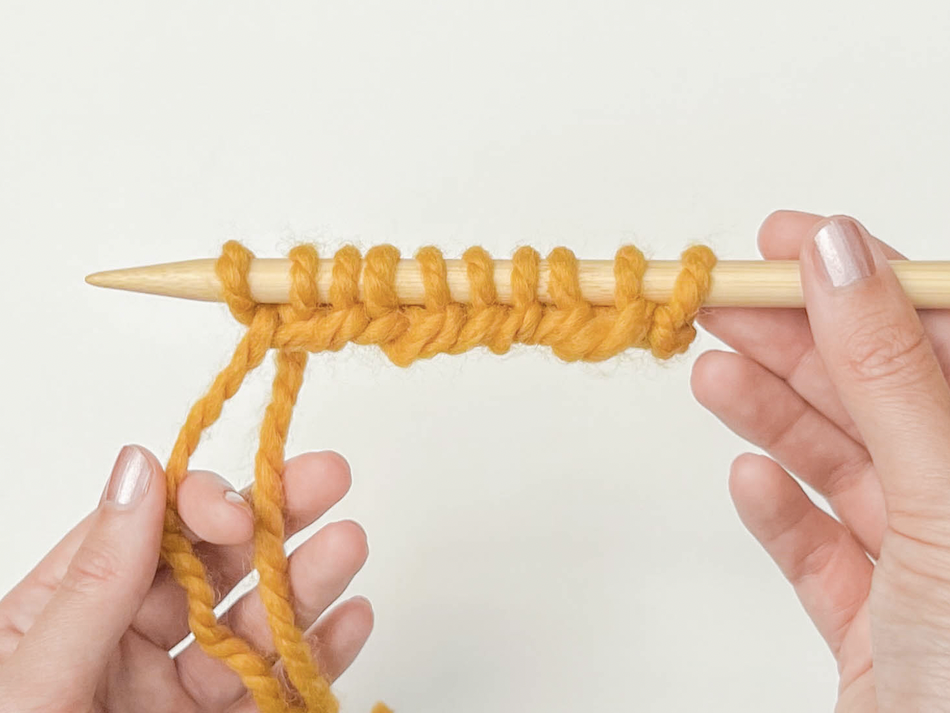
For this 1×1 ribbing stitch you alternate a single knit with a single purl stitch. Knit, purl, knit, purl, knit, purl…. well you get the idea. This knit ribbing stitch is very stretchy and creates a smoother fabric.
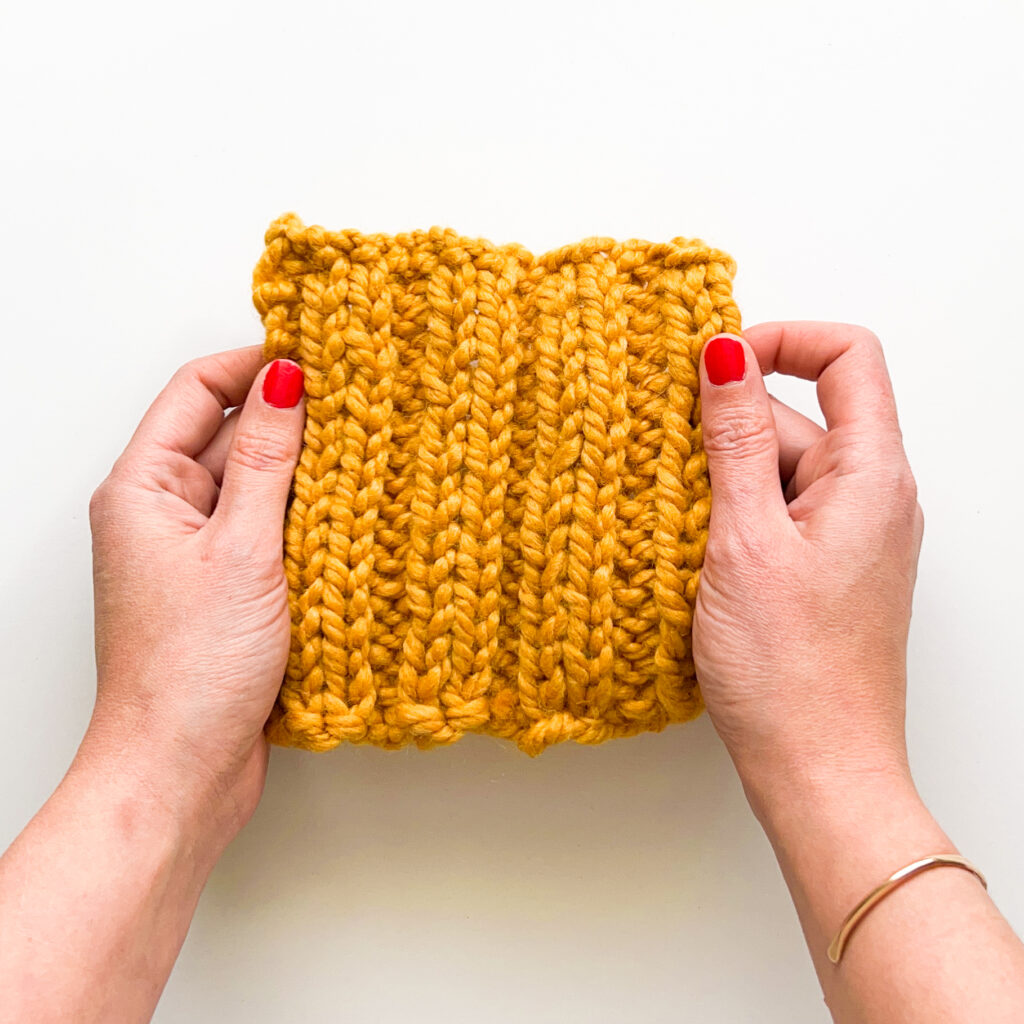
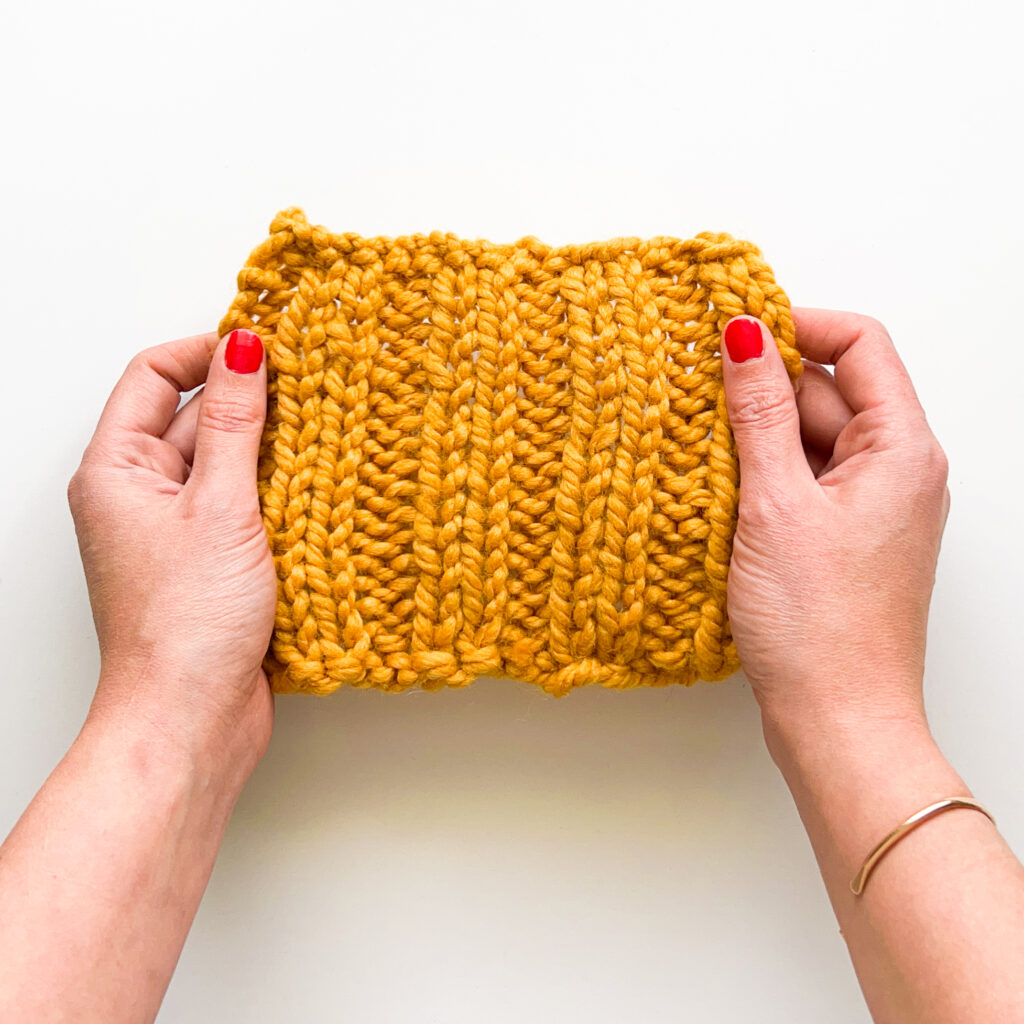
For this 2×2 ribbing stitch you alternate two knit stitches with two purl stitches. Knit 2, purl 2, knit 2, purl 2… etc. This knit ribbing stitch is very stretchy and creates a high contrast rib with big, bold columns of knit and purl stitches.
To knit ribbing, you’ll need to know how to knit and purl stitches. That’s it! If you need a refresher, don’t worry, we’ll give you a quick reminder for both knitting and purling below.
These instructions work for both knitting flat (back and forth) as well as knitting in the round.
These instructions work for both knitting flat (back and forth) as well as knitting in the round.
Learning how to knit rib stitch starts with the very basics: knitting and purling! These two stitches are used together to create this super stretchy fabric. Below, you’ll find the short versions of the knit and purl stitch patterns. Make sure to click through to see the full tutorials for each one if you need extra help!
These step-by-step instructions show you how to form a knit stitch. Click here for the full-length step-by-step knit stitch tutorial!
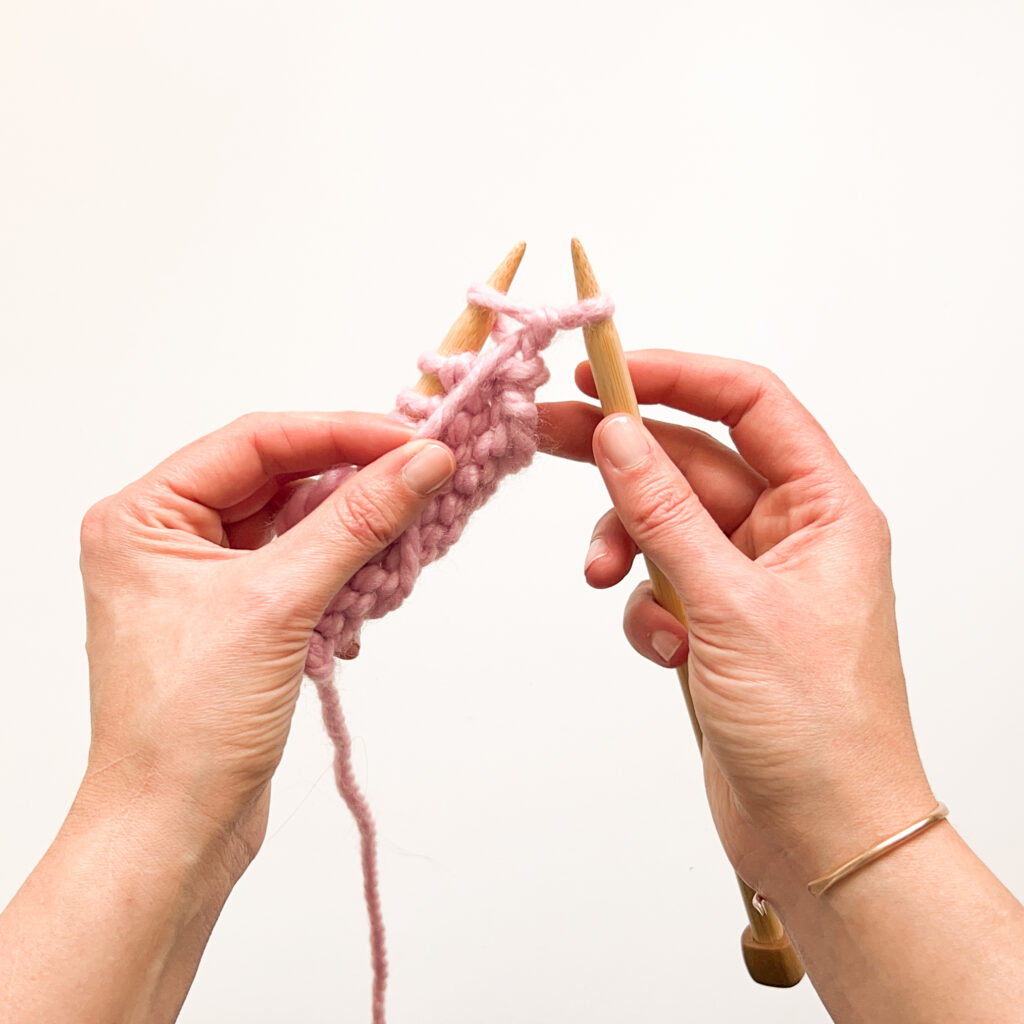
Step 1: Insert the right needle through the first stitch upwards from right to left through the front loop.
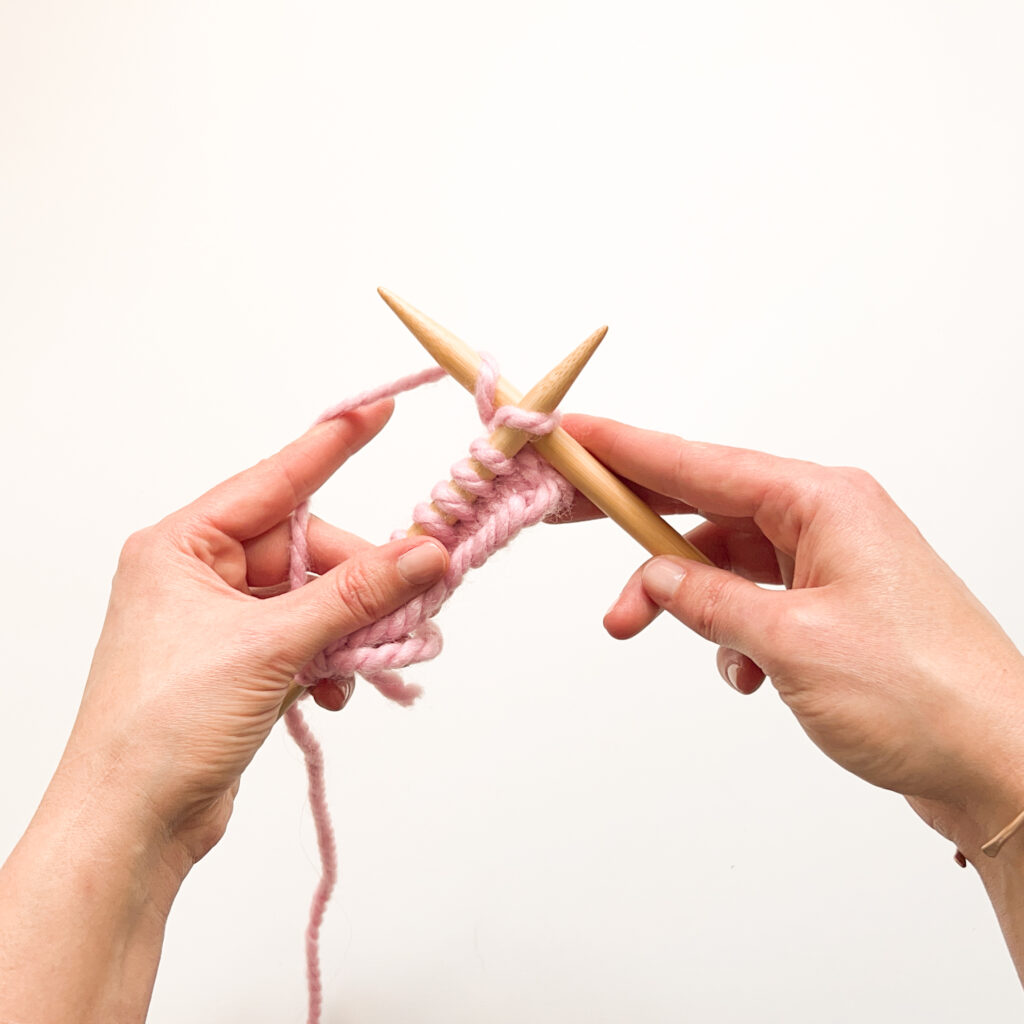
Step 2: Wrap the yarn up and over the right needle counterclockwise.

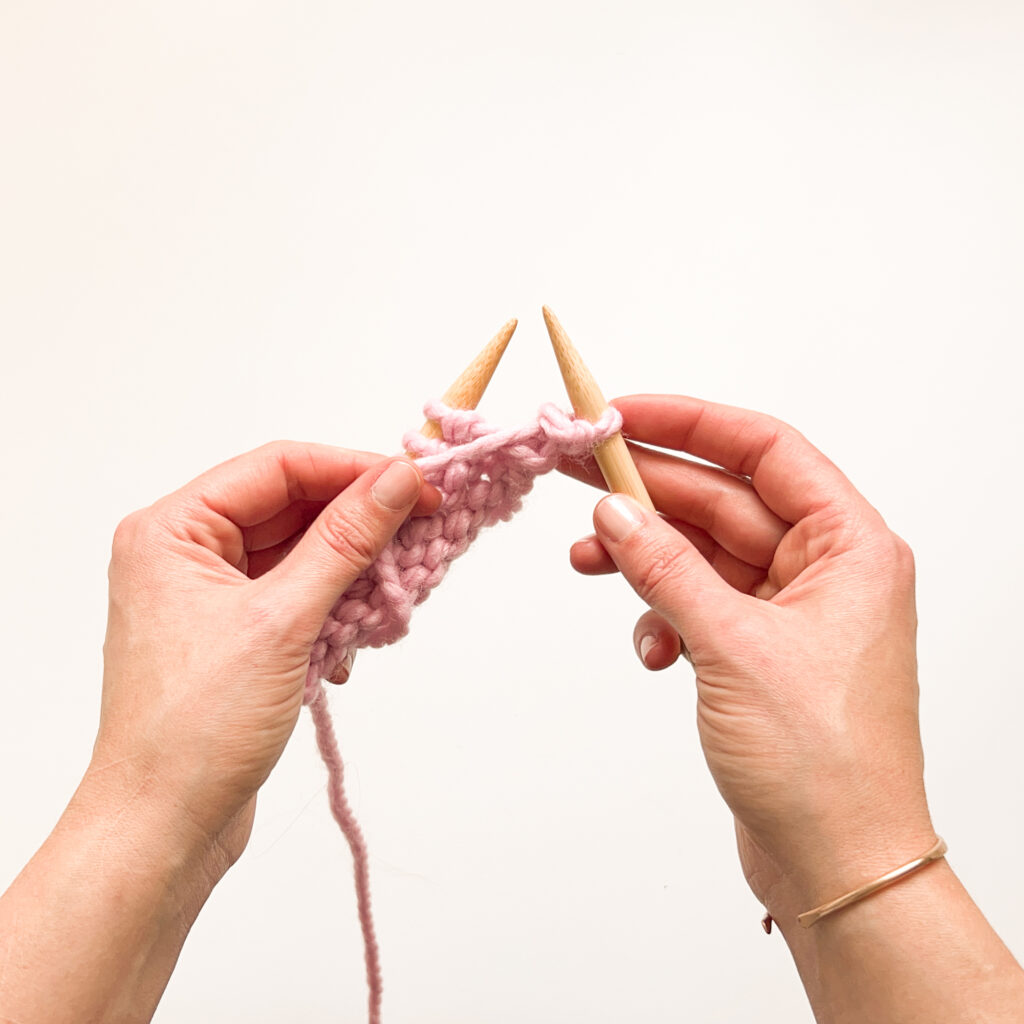
Step 3: Pull the yarn through the stitch by pivoting your right needle downward toward the left.
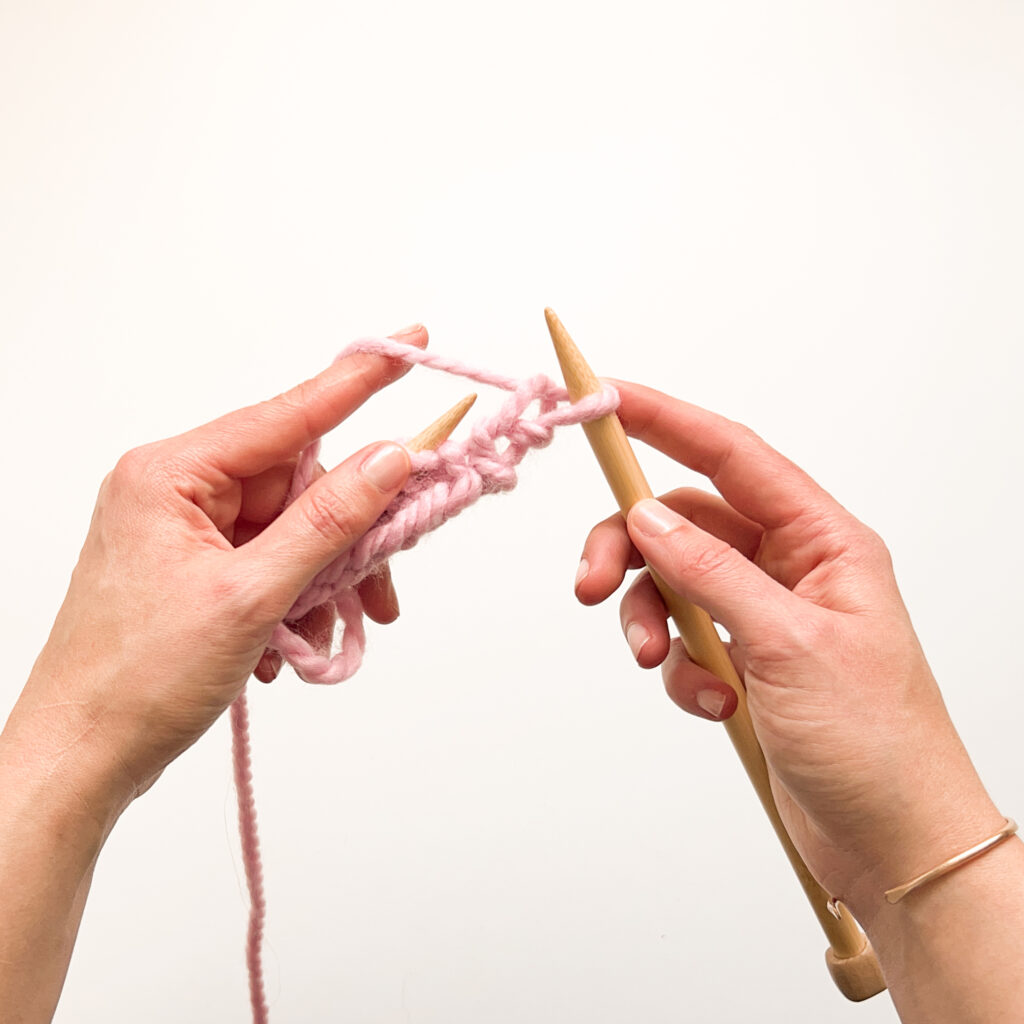
Step 4: Slip the stitch off of the left needle.
These step-by-step instructions show you how to form a purl stitch. Click here for the full-length step-by-step purl stitch tutorial!
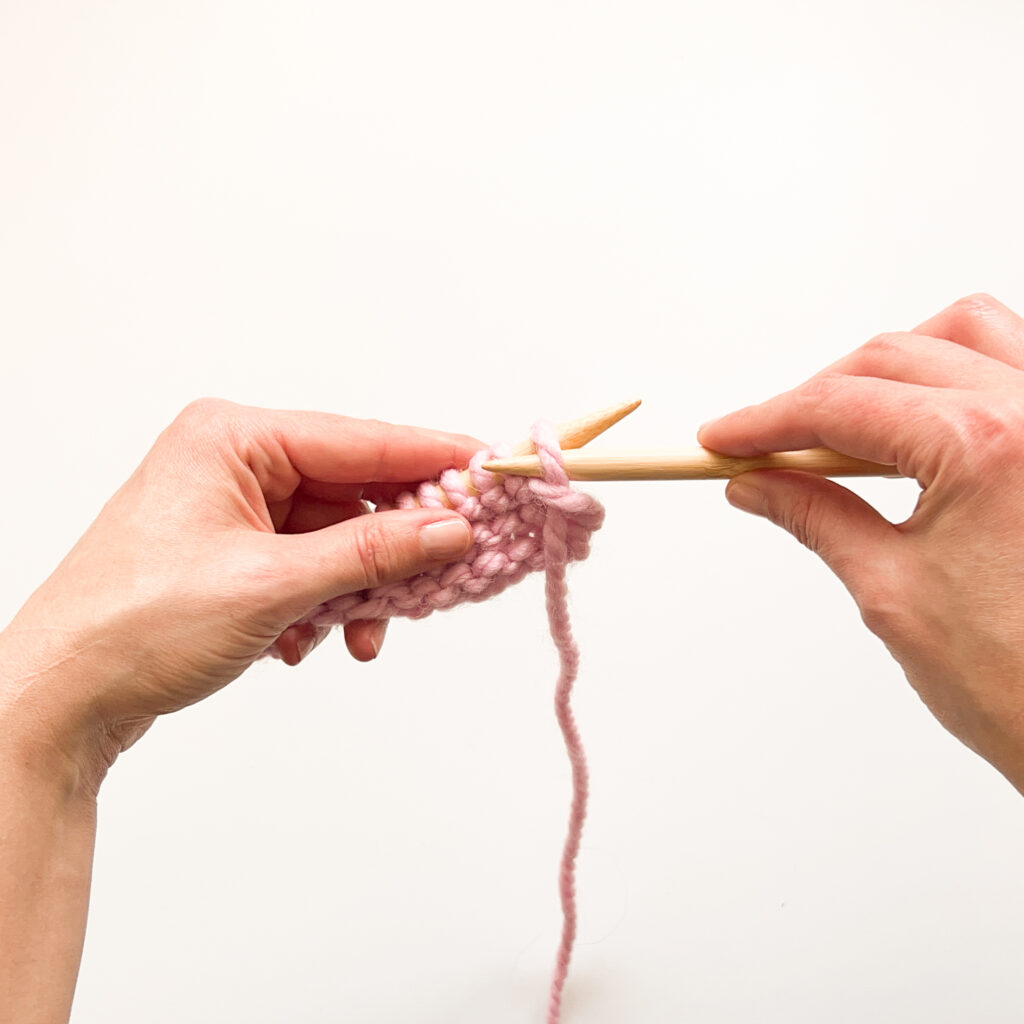
Step 1: Insert the right needle downward through the front leg of the stitch, from right to left.
Step 2: Wrap the yarn counterclockwise up and over the right needle.
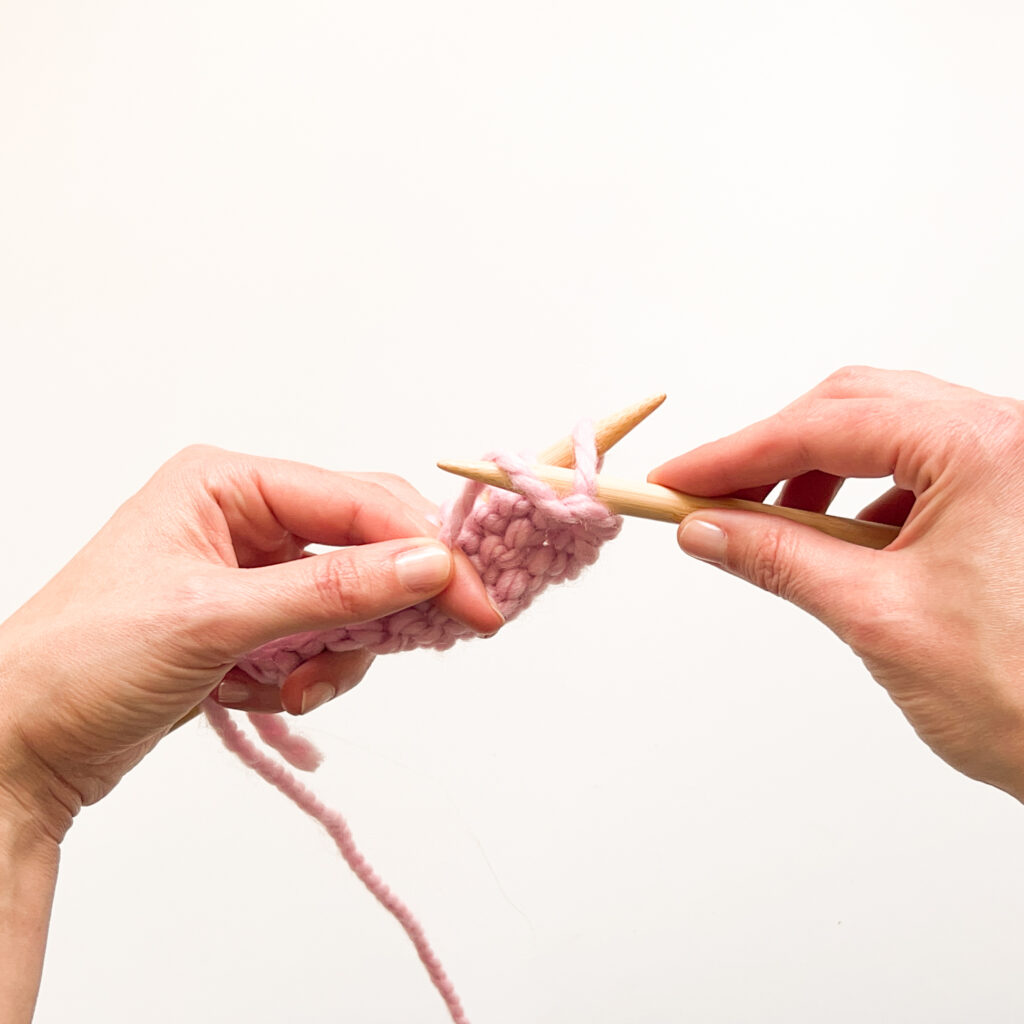
Step 3: Pull the yarn through the stitch by pivoting your right needle tip upward towards the right.
Step 4: Slip the stitch off of the left needle.
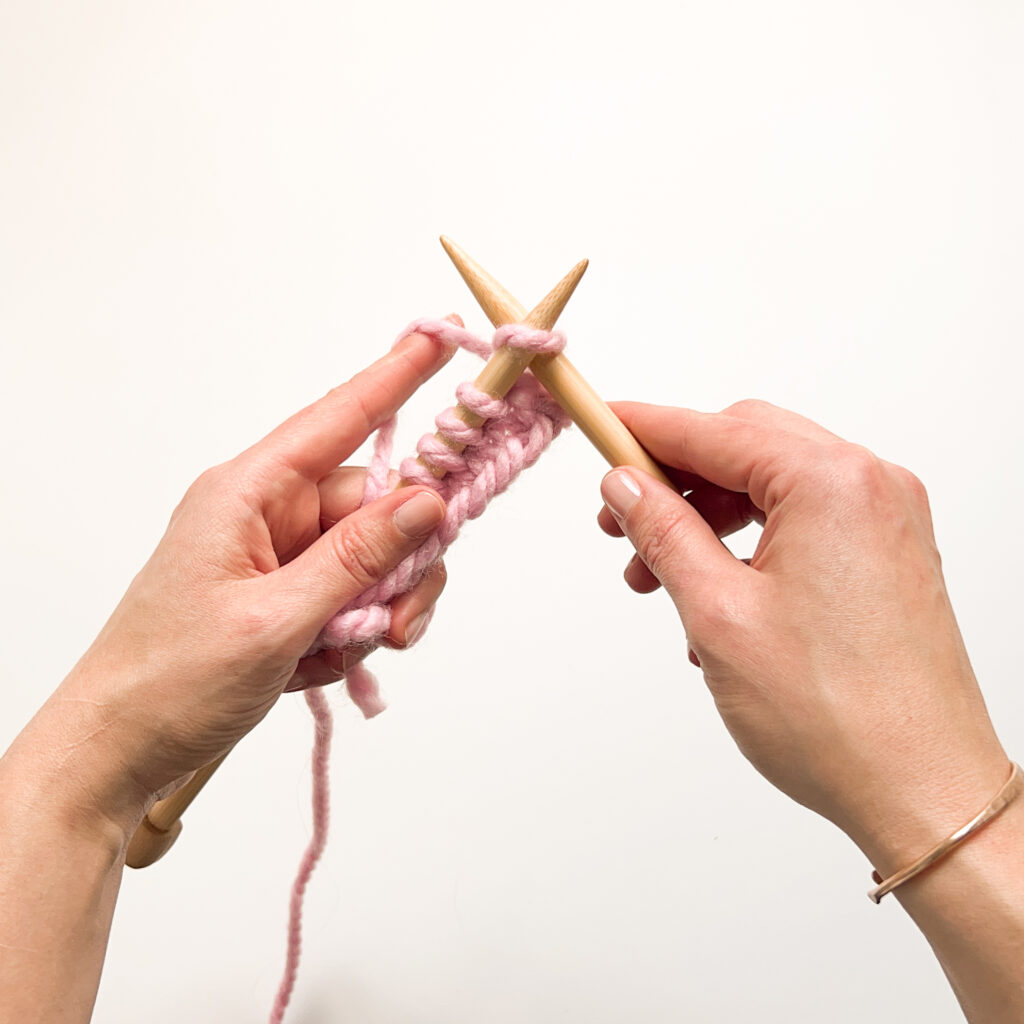
The rib stitch in knitting is a particularly stretchy stitch and needs a stretchy knitting cast on to match! If you don’t choose a knitting cast on designed to stretch then your edge might be too tight and will distort the fabric.

The German Twisted Cast On was deigned to be extra stretchy and also to work seamlessly with 1×1 knit ribbing. Read more…
The Long Tail Cast On is a great all-purpose cast-on method that has enough stretch to be able to match the stretch of a variety of rib patterns. Read more…
Want to learn more about the different cast-on techniques? Check out our page comparing the most common methods here!


