Easy Knit Basket Weave Pattern for Dishcloths! [4 Quick Steps!]
Handy dandy scrubby dishcloths!
Handy dandy scrubby dishcloths!
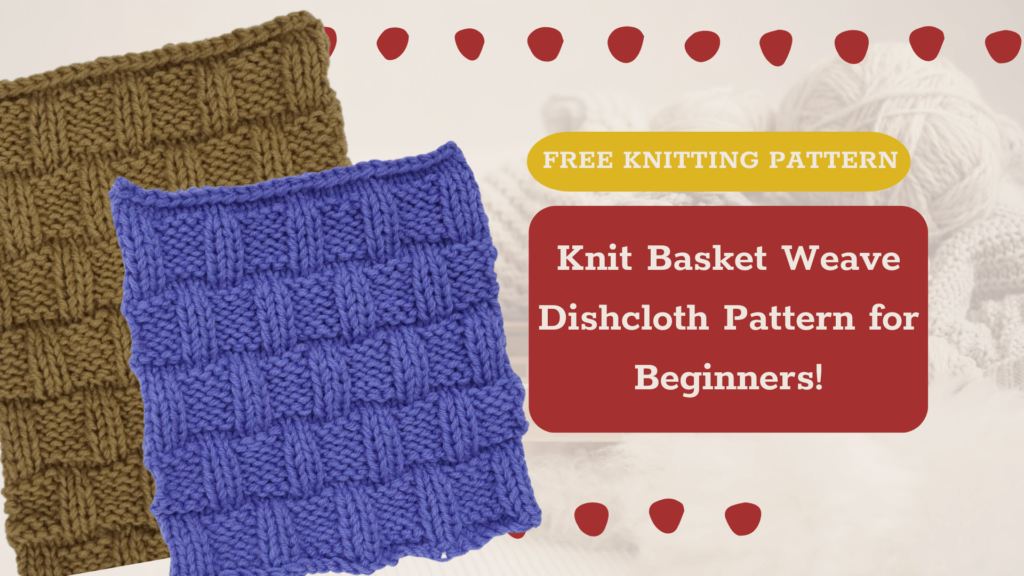
The Basketweave Stitch is a beautiful textured pattern that is used by knitters in many different projects. It’s one of the quickest ways to add charm to any simple knitting pattern.
Why Knit Dishcloths?
Knitting dishcloths is an excellent starting point for beginners for so many reasons! Firstly, dishcloths are relatively small projects which means that they’re manageable and less intimidating for new knitters. Dishcloths are also typically small projects. They’re just big enough to allow new knitters to practice and improve their basic knitting skills, such as casting on, knitting, purling, and binding off without the stress of finishing a huge project.
Hand-knit dishcloths can also be a practical and rewarding way to create useful items for the home while learning a new craft! The simplicity of dishcloth patterns also allows beginners to experiment with different yarn types, colors, and stitch patterns, fostering creativity and confidence in their knitting journey.
Overall, knit dishcloth patterns are a great way for beginners to build foundational skills and gain satisfaction from completing projects they can use every day.
Tell me more about the basket weave stitch!
The basket weave knitting stitch is simple and versatile. The basket weave pattern uses blocks of alternating knit and purl stitches to create a textured fabric that is both attractive and functional for cleaning. The stitch’s rhythmic nature makes it easy for beginners to learn and master. Additionally, the raised texture of the basket weave stitch adds scrubbing power to dishcloths, making them effective for wiping surfaces and washing dishes!
Today, I will teach you how to knit the basketweave stitch in the most beginner-friendly way possible!
Ready to learn different knitting stitches to spice up your knitted projects? Let’s get started!
To make this basket weave knitting pattern, all you will need to know is how to cast on, knit, purl, and cast off. Just make sure to have a few brightly colored stitch markers so you can keep track of the rows!
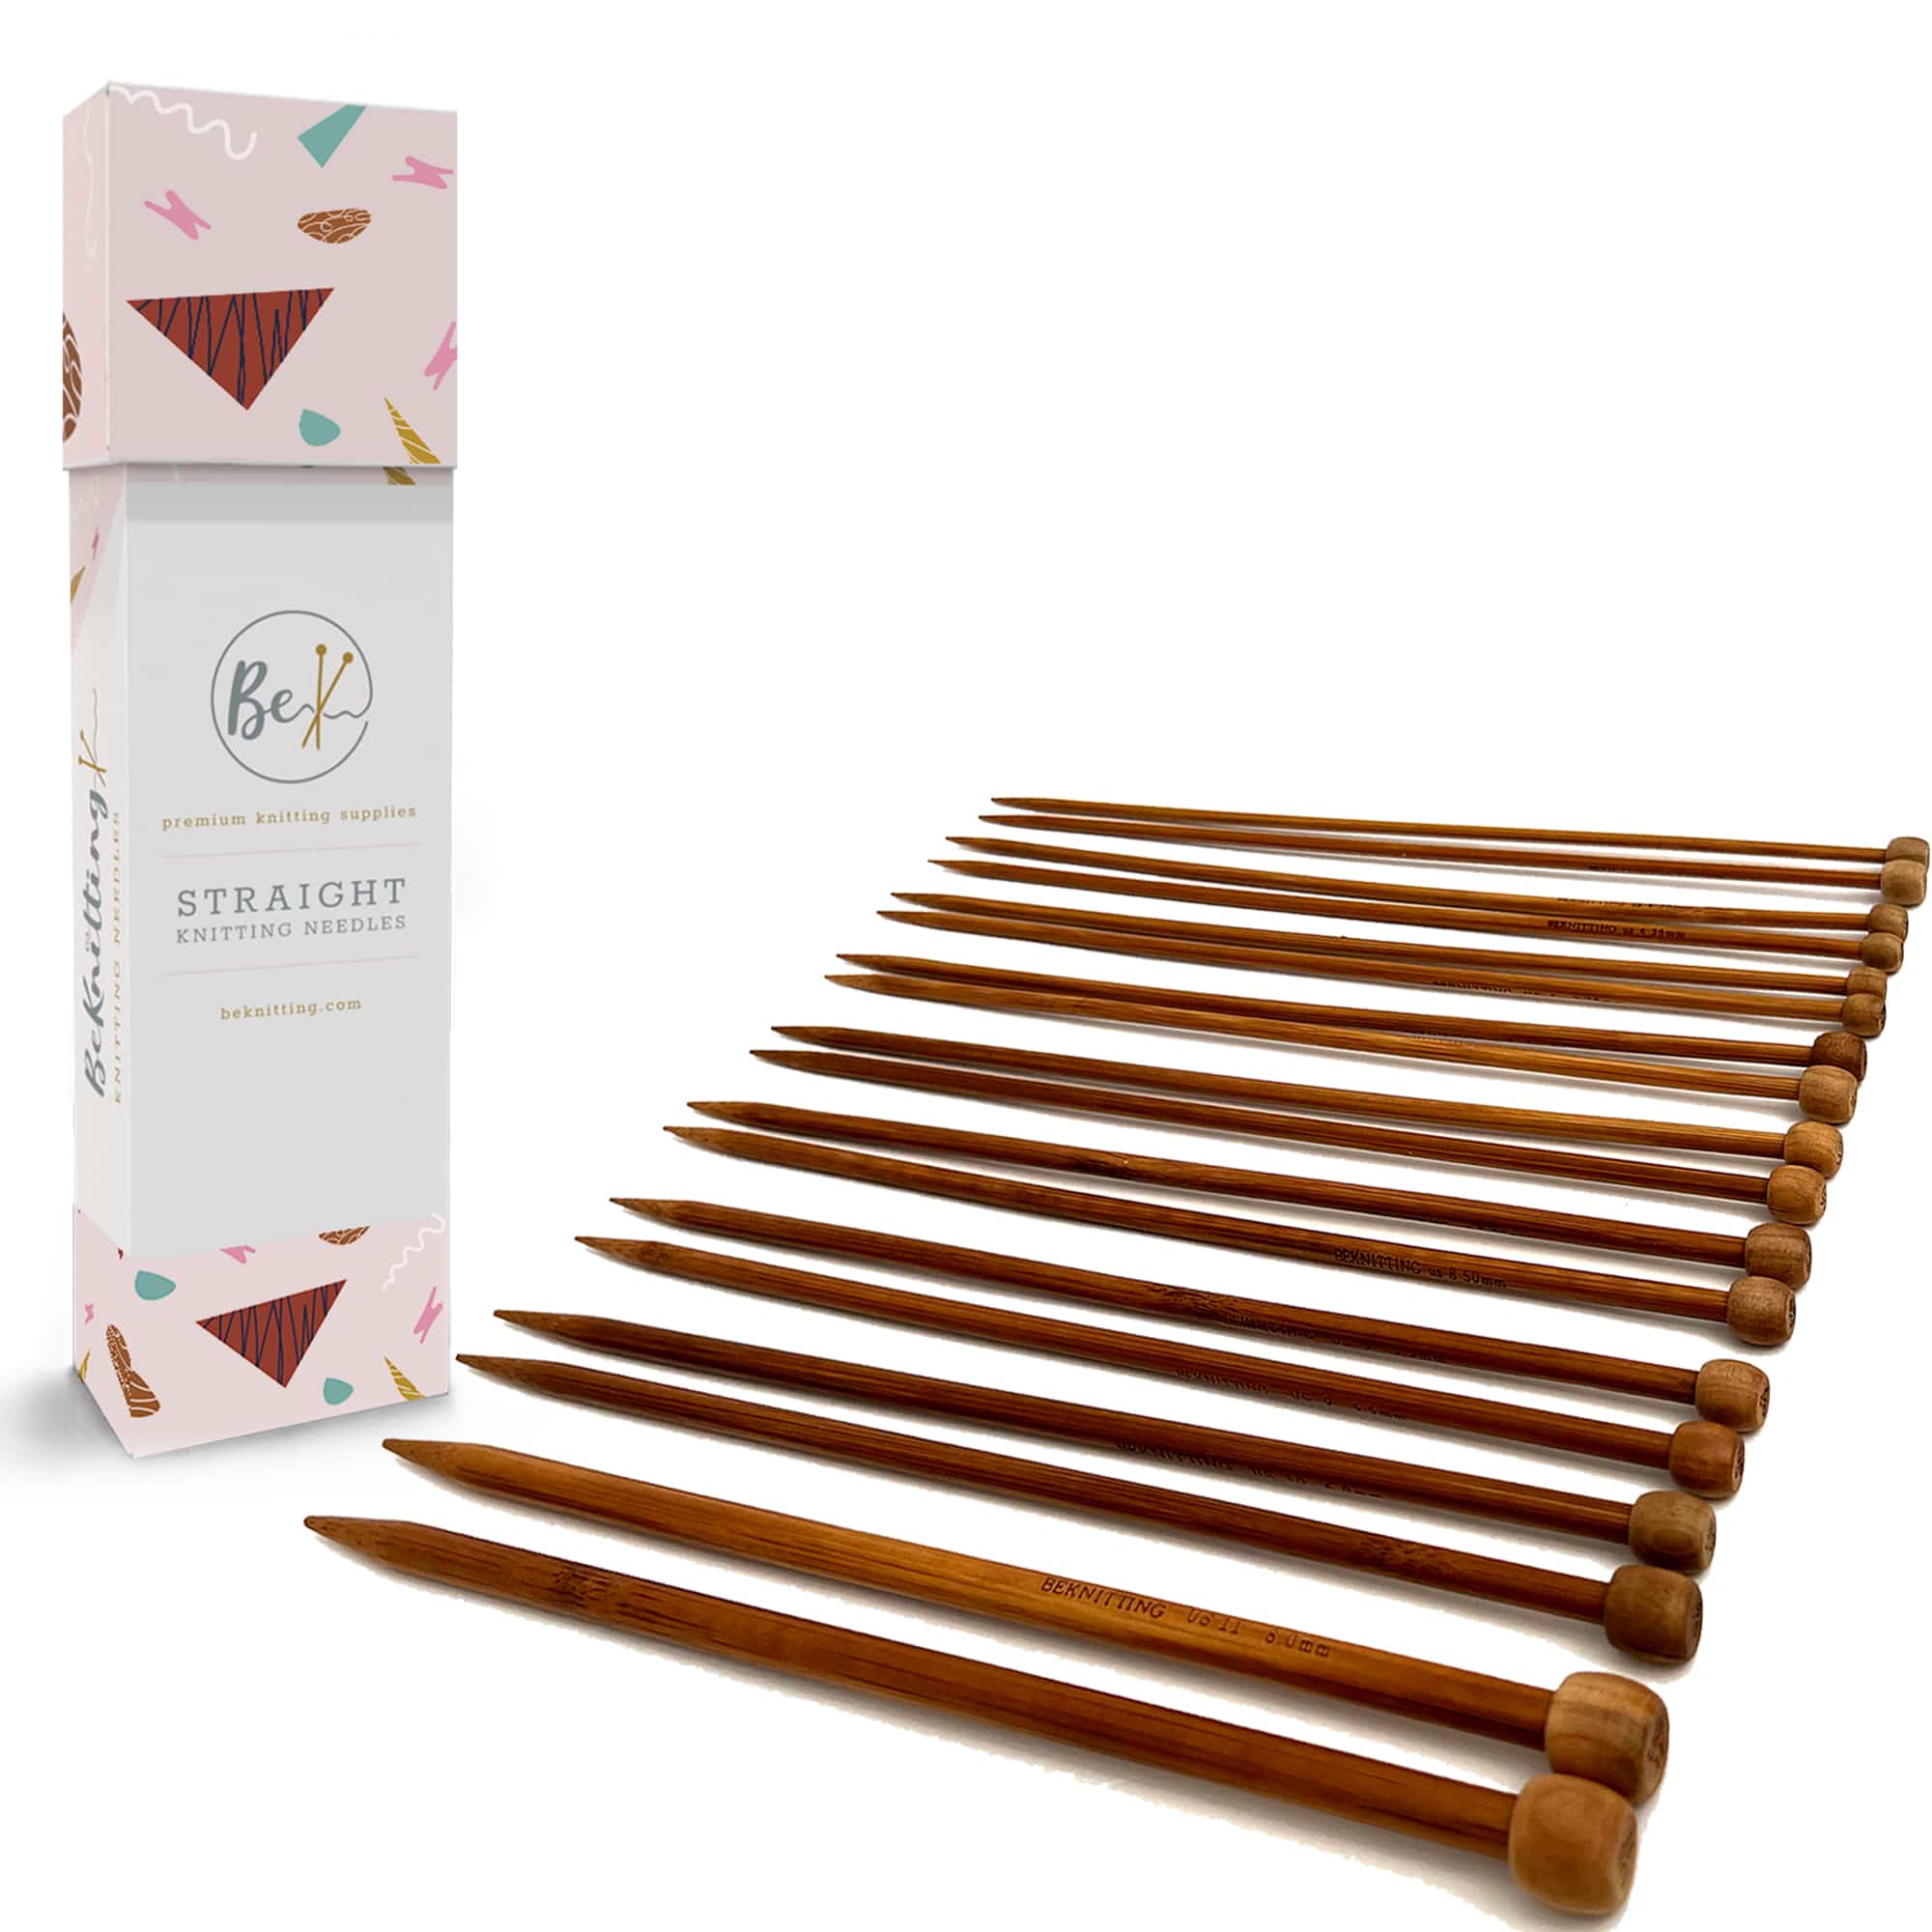
Don’t you just hate when yarn slips off your knitting needles?
Introducing BeKnitting’s Set of 9 Straight Bamboo Knitting Needles! Sleek, sturdy, and slip-proof, these needles will give you the smoothest knitting experience ever.
Find them on Amazon!
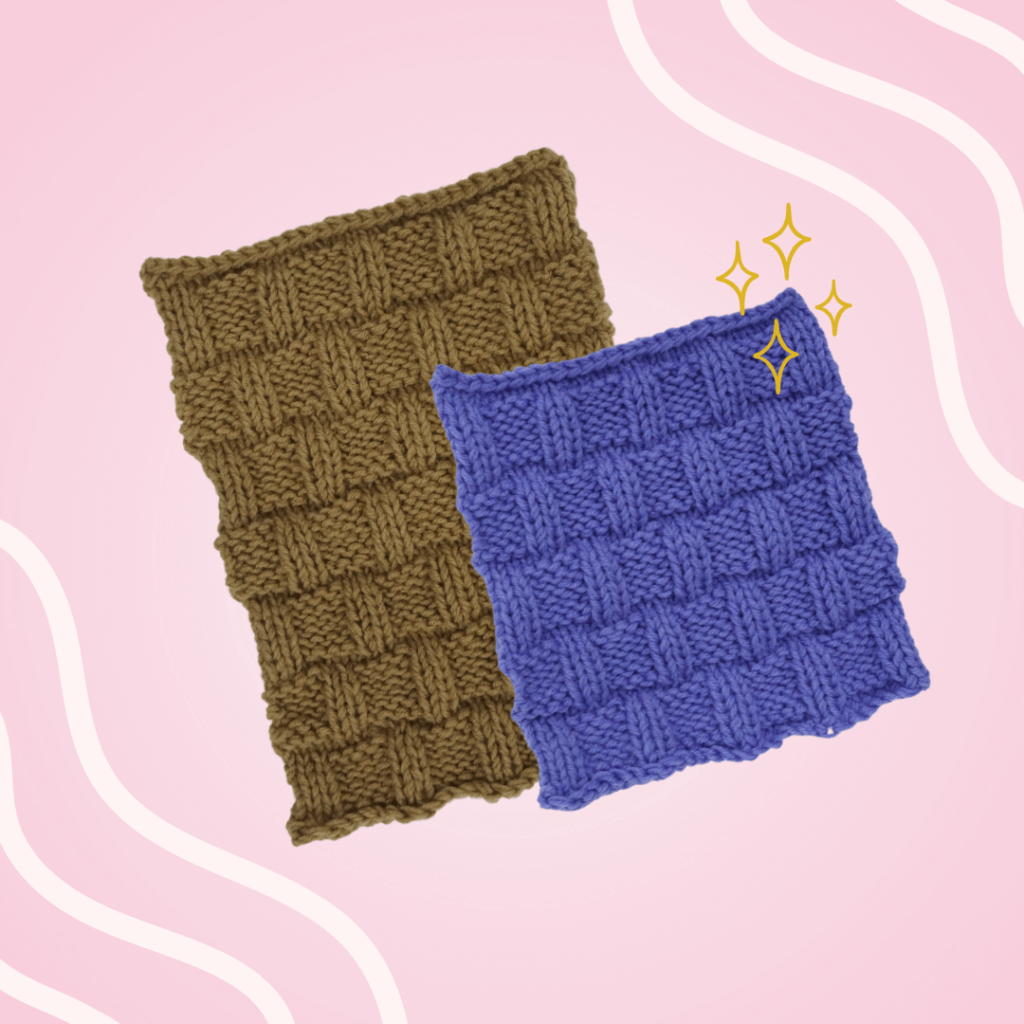
Ready to try out this basket weave knitting pattern? Well, I’m very excited to teach you how! Here’s all you need to know before you start stitching:
12 stitches and 19 rows = 4” x 4” in basketweave stitch
Important note: My stitch tension is a bit tight, that is why I am using 8 mm needles. Feel free to size up or down with your knitting needles depending on your own tension.
The size of my finished dishcloth is about 9” x 8.5”, however, you can make your basket weave pattern as wide and as long as you want. You can even use this pattern and modify it to create your very own scarf! To make your project wider or narrower you can cast on more or fewer stitches!
Basic cast on rule for Basketweave Stitch:
To knit the basketweave stitch you’ll need to cast on certain numbers of stitches in order to knit the pattern correctly.
For the basketweave stitch pattern you’ll need to CO in multiples of 6 + 4.
For example CO 28 stitches = 24 for the multiples of 6 + 4 for the edges!
Casting on starts the stitches on your knitting needles.
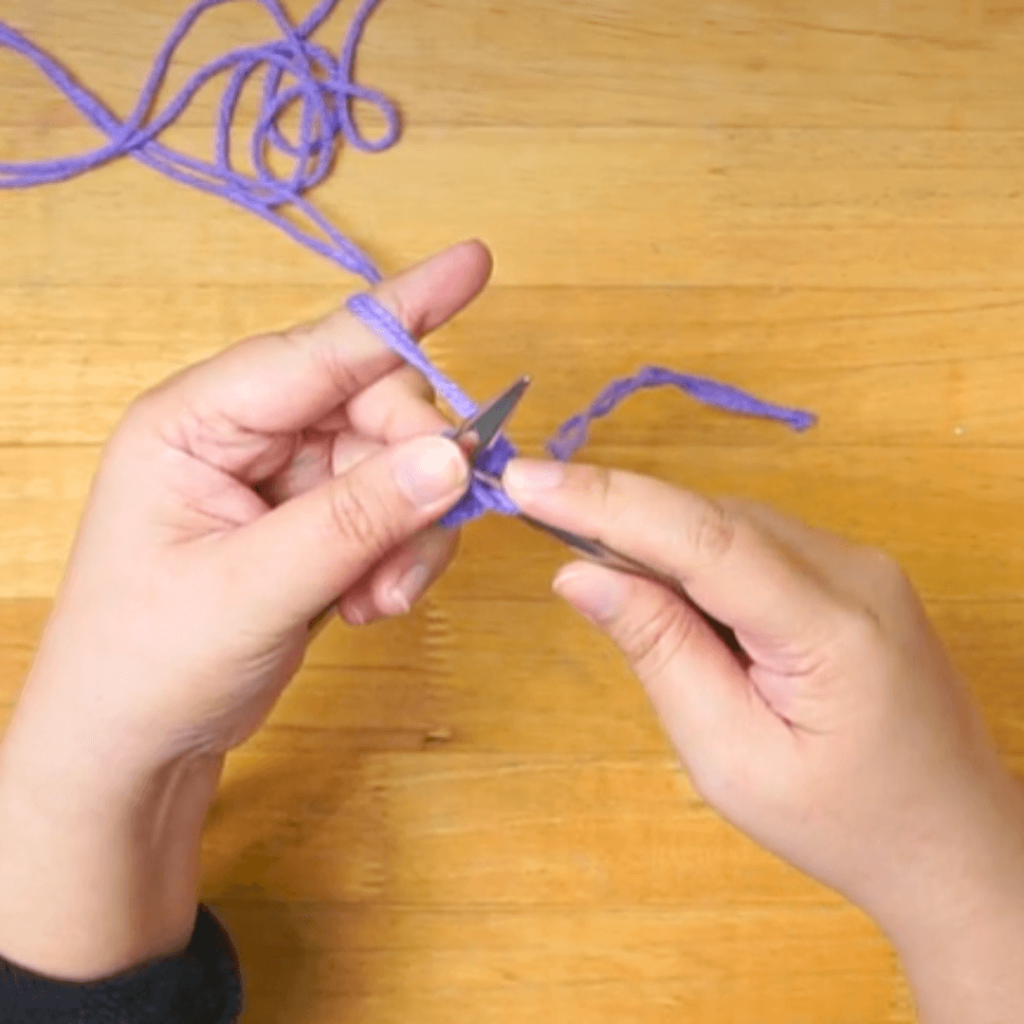
Cast On: CO 28 stitches using the Knitted Cast On.
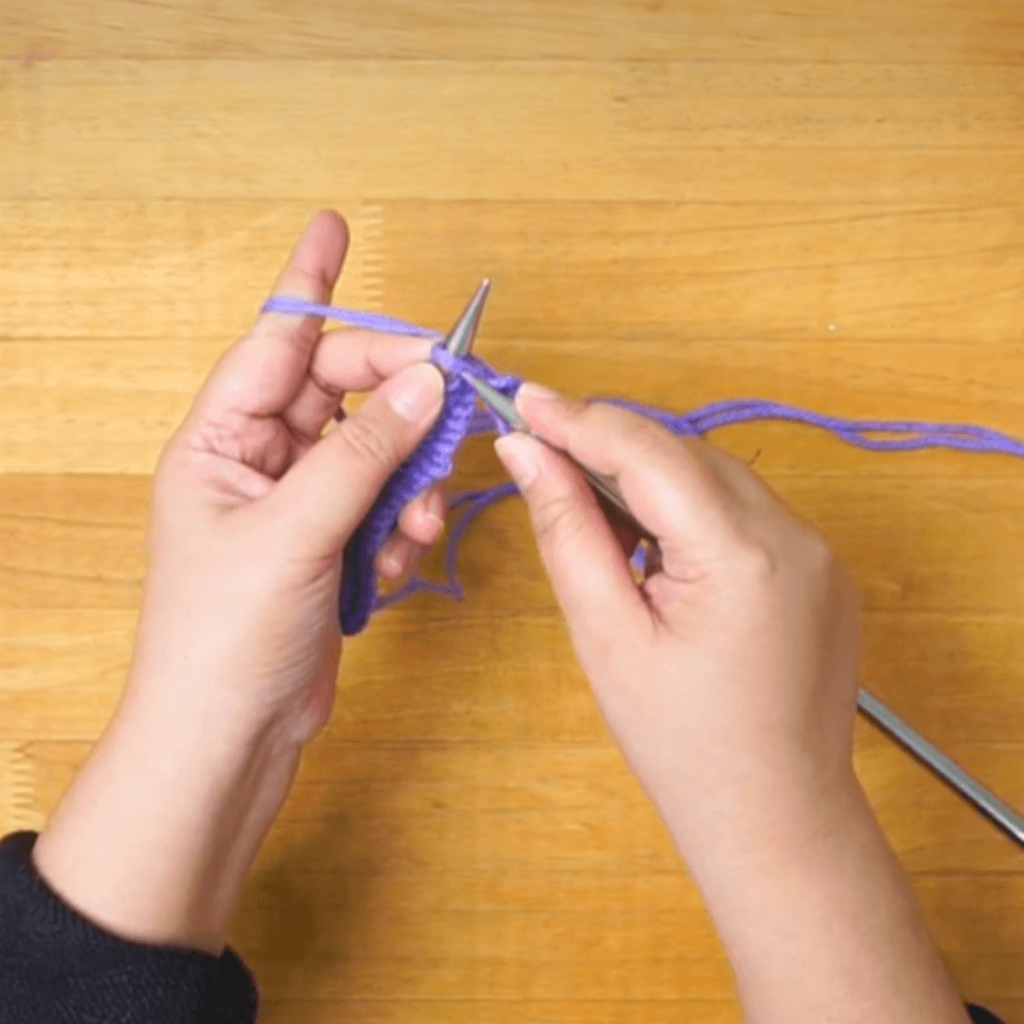
Set Up Row #1: Knit.
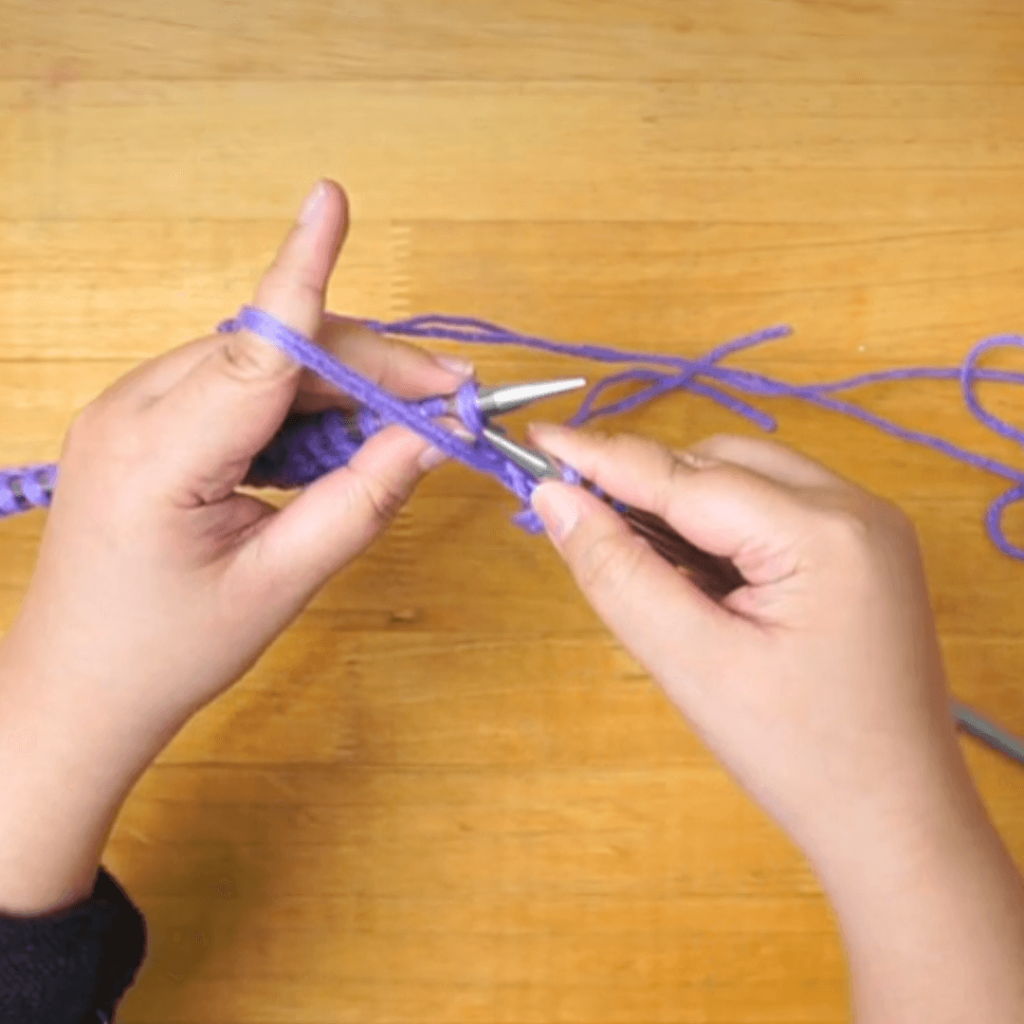
Set Up Row #2: Purl.
![Step 1: K3, P4, PM, [K2, P4] repeat until 3 stitches remain. K3 in the last 3 stitches.
Tip: Place a stitch marker on the very first knit stitch that you make on this row. This will help you with counting. This stitch marker will also help indicate the RIGHT SIDE of your work!](https://knitting.com/wp-content/uploads/2024/03/56-1-1024x1024.png)
Row 1: K3, P4, PM, [K2, P4] repeat to last 3 sts, K3.
Tip: Place a locking stitch marker at the beginning of this row will help you with counting if you loose track of your stitches!
![Step 2: P3, K4, [P2, K4] repeat until 3 stitches remain. P3 in the last 3 stitches.](https://knitting.com/wp-content/uploads/2024/03/57-1-1024x1024.png)
Row 2:
P3, K4, [P2, K4] repeat to last 3 sts, P3.
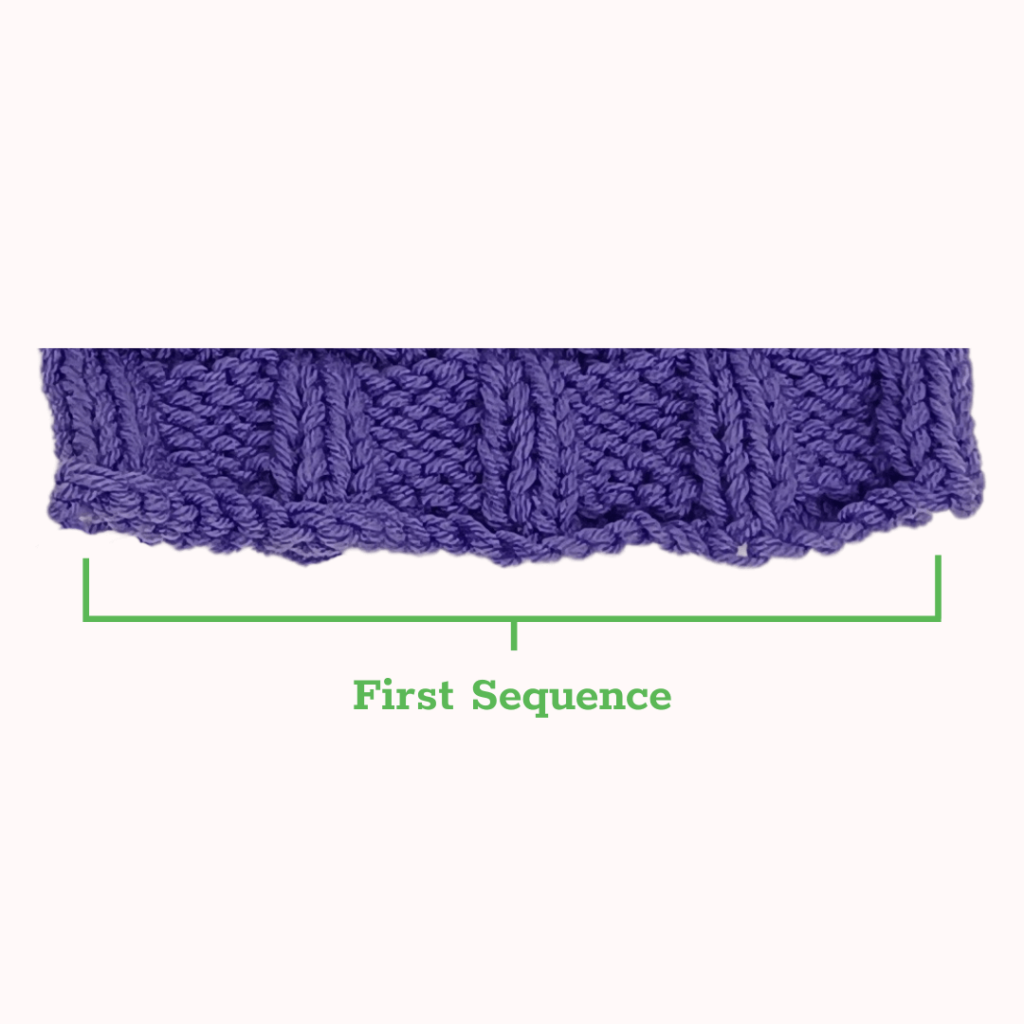
Repeat Rows 1 – 2 two more times for a total of 6 rows!
Repeat the Set Up Rows 1 & 2 once:
Row 1: Knit
Row 2: Purl
![Step 3: P4, K2, PM, [P4, K2] repeat until 3 stitches remain. P4 in the last 4 stitches.
Tip: Place a stitch marker on the very first knit/purl stitch that you make on this row. This will help you with counting!](https://knitting.com/wp-content/uploads/2024/03/60-1-1024x1024.png)
Row 3:
P4, K2, [P4, K2] repeat to last 4 sts, P4.
Tip: Place a stitch marker at the beginning of this row will help you with counting!
![Step 4: K4, P2, [K4, P2] repeat until 4 stitches remain. K4 in the last 4 stitches.](https://knitting.com/wp-content/uploads/2024/03/61-1024x1024.png)
Row 4:
K4, P2, [K4, P2] repeat to last 4 sts, K4.
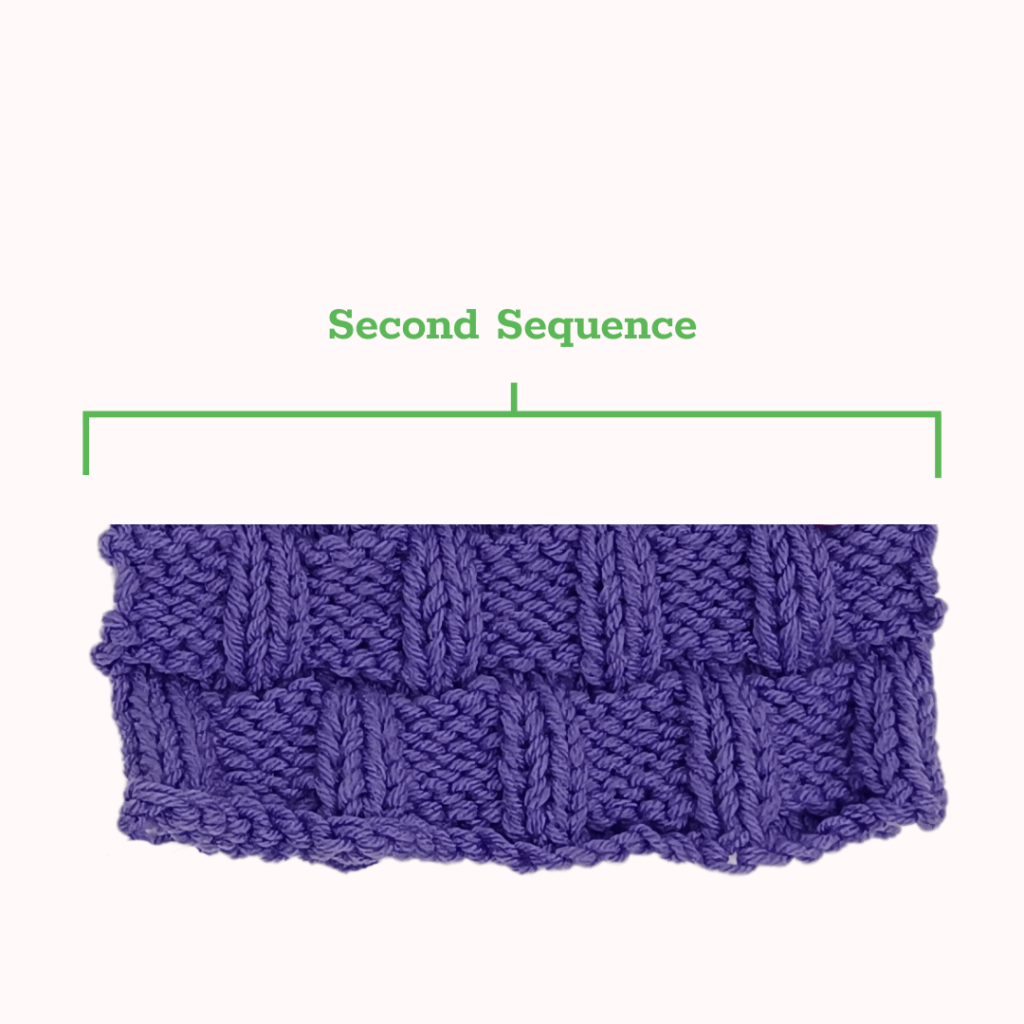
Repeat Steps 3 and 4 two more times for a total of 6 rows!
Repeat the Set Up Rows 1 & 2 once:
Row 1: Knit
Row 2: Purl
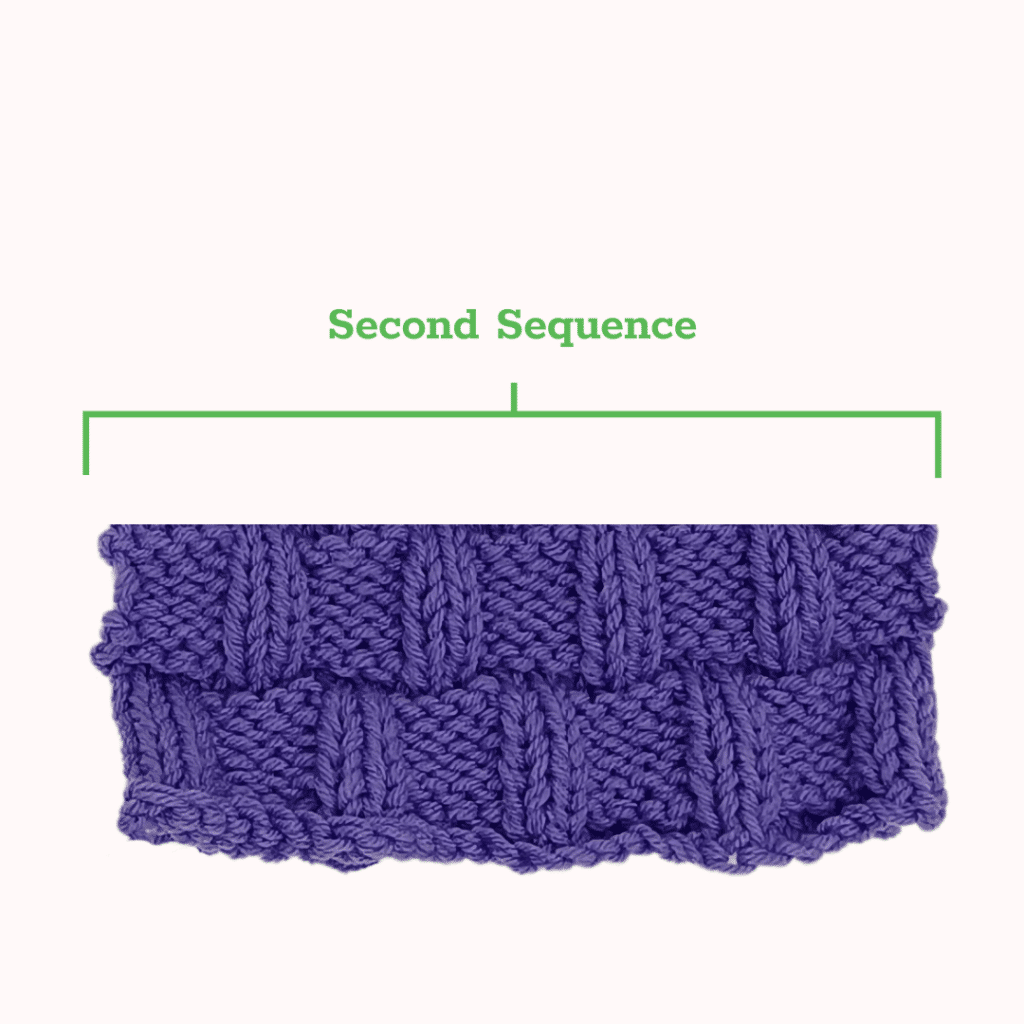
This is how your piece should look at the end of the Basket Weave Stitch Repeat #2 section!
To knit the rest of the dishcloth keep repeating the following 4 sections until your dishcloth is the size you’d like!
I prefer to end after fully repeating the Basket Weave Stitch Repeat #1 as it gives me the cleanest edge. But you are free to stop wherever you want!
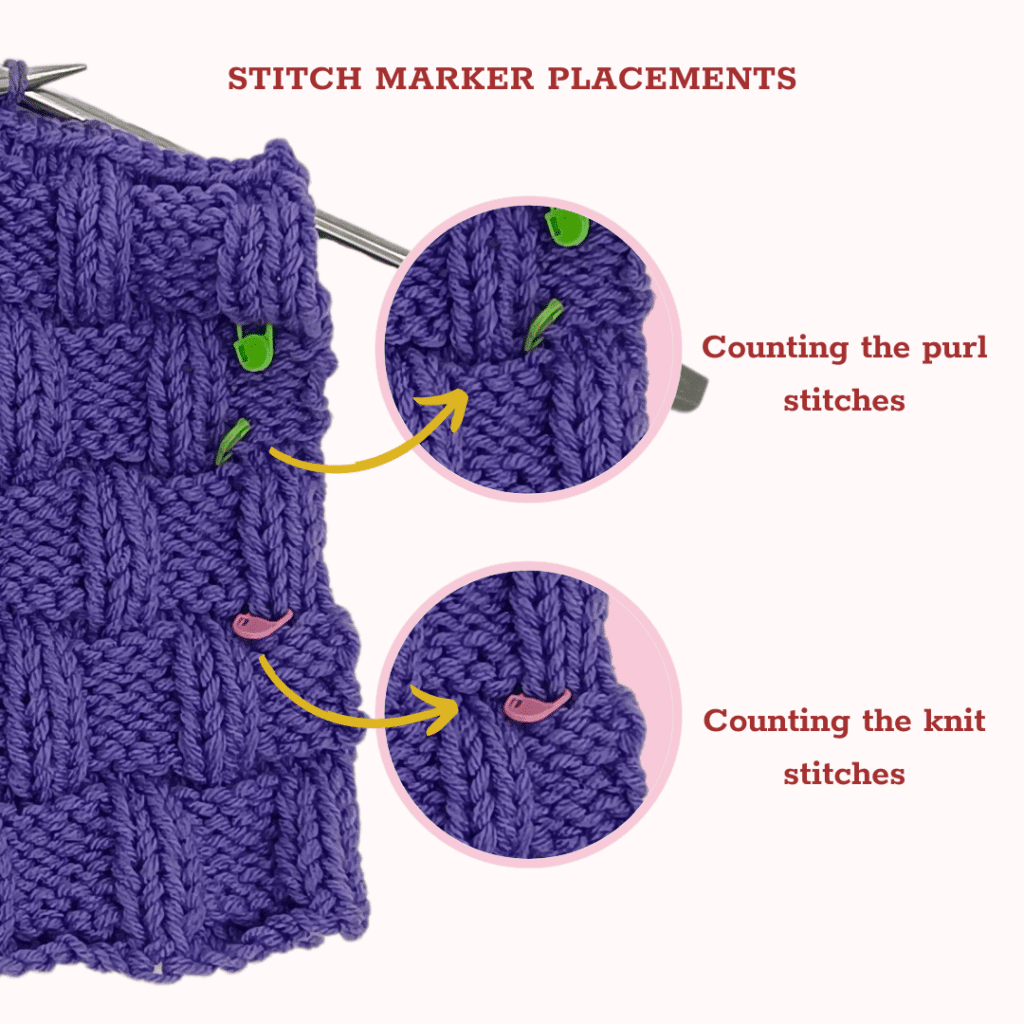
I find that counting the knit stitches is a much easier way to keep track of when it’s time to start another sequence. But you can also refer to how many purl rows you have!
Binding off (aka: Casting off) takes your stitches off the knitting needles and creates a finished edge! I use the knit bind off because it’s quick and sturdy. You can also use other bind off methods to achieve your desired edges, do whatever is easiest!
But for this quick project, I’m opting for the basic knit bind off! It’s simple to make, sturdy, yet still has a bit of a stretch to it.
Dishcloths go through a lot of wear and tear. You want fibers that can withstand all that. So I opted for acrylic yarn. It’s cheaper, accessible, and low maintenance — perfect for household items that are frequently used.
Has your knitted washcloth gotten dirty? Chuck it in the washing machine and bada-bing-bada-boom it’s as good as new!
You can use more natural fibers like cotton and bamboo if you want to use your basketweave dishcloth as a face scrubby instead. Using natural fibers also makes this the perfect little washcloth for a baby!
But for practice-swatches, you can use acrylic yarn! It’s cheaper and you won’t feel too bad messing up when you’re learning different knitting stitches.
It’s always a fun time when you’re learning different knitting stitches. This basket weave knitting pattern is perfect for new knitters who want to add texture to knits but aren’t quite confident enough to try out more complicated patterns!
Although the basket weave pattern does demand a certain level of attention to detail! I remember when I was writing this pattern, I couldn’t quite grasp why my prototype was turning into a bootleg version of the waffle stitch! Turns out a skipped a few purls in the row…
— and yes, I did lose my cool a few times! Hahaha! Oh well, I was still able to make this adorable dishcloth pattern. I hope you try it out for yourself too. You can even tweak the pattern a bit to turn it into a warm scarf to wear out.
Let us know what other free patterns you want to see from us. Let’s chat in the comments section below!
