Free Garter Stitch Bulky Knitted Headband Pattern
Cozy, beginner-friendly headband!
Cozy, beginner-friendly headband!
Whether you’re making a stack of headbands as gifts, busting your yarn stash, or practicing a new-to-you stitch this pattern is the perfect afternoon project to keep your needles busy.
How These Knit Headbands Are Made
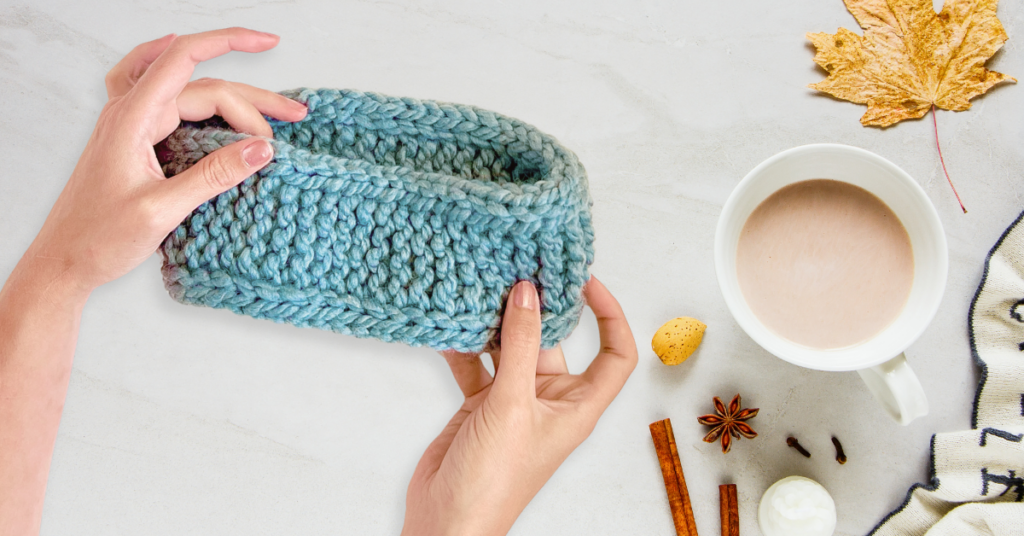
These beginner-friendly knit headbands have a center garter stitch panel and rolled I-cord edges to keep the sides from stretching out over time. We chose garter stitch because it’s squishy, easy to knit, and super stretchy.
To make this headband you’ll be knitting this project flat back and forth on straight or circular knitting needles. To finish, you’ll seam the two short ends together. Never tried i-cord? We’ll walk you through the steps, it’s super easy and is a great technique to learn for all sorts of projects.
Choosing the Right Yarn
The best part about cozy accessories is just that, they keep you cozy! Choose a soft yarn that’s either an acrylic (washable!) or wool (natural and warm!) to knit your very own version of this pattern. Because these headbands will be touching the sensitive skin on your forehead, ears, and neck I like to test the yarn for scratchiness by brushing it on my neck. Nothing is worse than an itchy headband!
The pattern instructions will make a single knit headband that is approximately 3.5″ wide and knit to fit.
9 sts & 20 rows = 4” / 10cm in garter stitch using US 13 (9mm) knitting needles.
Matching the knitting gauge is not critical in this project, use the knitting gauge measurement as a guide to best match the examples in these photos.
Have questions? Read the next section for tips & tricks to help you get the right knitting gauge.

Don’t you just hate when yarn slips off your knitting needles?
Introducing BeKnitting’s Set of 9 Straight Bamboo Knitting Needles! Sleek, sturdy, and slip-proof, these needles will give you the smoothest knitting experience ever.
Find them on Amazon!
This is a great project for experimenting with gauge and tension in your knitting. If your gauge isn’t spot on, it doesn’t matter! It just means your headband will be a slightly different width than our example.
What exactly will happen if your knitting gauge doesn’t match ours? Let’s see!
– If you knit at a looser gauge (fewer stitches per inch) then you will have a looser, more airy fabric and a wider headband.
– If you knit at a tighter gauge (more stitches per inch) then you will have a tighter fabric and narrower headband.
Want to learn more? We have a whole tutorial and video covering everything you need to know about knitting gauge.
This fun little pattern uses I-cord edging to create strong, smooth edges that won’t stretch out over time. No one likes a saggy headband! I-cord is a fantastic and easy way to create a tidy smooth edge on any knit piece.
Nervous? Don’t be! We have a tutorial that teaches you how to knit I-cord edging and a video with step-by-step instructions too!
How is I-cord edging made?
I-cord edging is created by slipping the last few stitches of a row (moving them from one needle to another without knitting them). These slipped stitches are then knit at the beginning of the next row. This encourages those stitches to “roll” toward the center of the piece and also forms a series of smooth knit “v” stitches. It’s a great, quick way to create a tidy edge as you go!
Don’t want to do an I-cord edge on your headband? Easy! Instead of slipping the last 3 stitches of each row just knit these stitches normally. This will give you a bumpy garter stitch edge that will be super cute and totally wearable.
The best part about knitting is that you can customize your projects every time!
Ready to knit up a whole stack of cute-and-cozy knitted headbands? Click the button below to download the PDF with everything you need to whip up your very own headband in a flash.
Knitting is all about learning new things! Here’s a list of helpful techniques and skills that will make knitting your free knit headband pattern that much easier.
Magic Knot for Joining Yarn: This knot makes it easy to join a new ball of yarn when you run out!
Weaving Ends In: You’ll be left with at least two yarn tails to thread in once you’ve cast off your project, this tutorial will show you how to weave these ends in for a perfect finish!
Threading a Yarn Needle: While we’re at it, sometimes threading a yarn needle with yarn can be tricky! This tutorial shows you how to thread a needle with any yarn.
Blocking Knitting: Even though these are simple knit headbands it’s worth taking the time to block your knitting. This simple step creates even stitches, and perfectly straight edges, and makes any project look polished and professional.
Check out our pattern collections featuring free knitted headband patterns by independent designers! Explore tons of textures, shapes, and stitch patterns with 20+ patterns to download and start knitting right away.


