Free Cat Ear Beanie Knitting Pattern for Beginners!
Let's knit a cat ear beanie together!
Let's knit a cat ear beanie together!
Meow there, knitting enthusiasts! Are you ready to add a dash of feline flair to your winter wardrobe? Say hello to our purrfectly adorable knit beanie pattern featuring charming cat ears!
Whether you’re a seasoned pro or just starting your knitting journey, this pattern is designed with simplicity and cuteness in mind. Picture yourself strolling through the chilly months with a beanie that not only keeps you warm but also brings out your inner feline spirit.

With a square top cleverly transformed into perky cat ears, this pattern is as delightful to make as it is to wear. Get your needles ready and let’s knit up some cozy cat magic!
This beanie is knit as a simple rectangle that’s sewn together to make a cute, snug little hat. Starting with the 2×2 ribbing (hello stretchy brim!) you knit the beanie brim first. Next, you knit the body of the hat using simple stockinette stitch. Two quick seams, one up the side and then across the top will close your hat. Last, you’ll sew across the two corners to create those oh-so-cute kitty ears!
You only need to know the basic terms of knitting in order to make this adorable hat. The materials are quite simple and straight-forward as well. Ready to try out free knitting patterns for hats on straight needles? Keep on reading!
About the pattern: 2×2 ribbing (for stretch) Long tail cast on (for even more stretch!), knit flat back and forth and seamed across the top and side.

Don’t you just hate when yarn slips off your knitting needles?
Introducing BeKnitting’s Set of 9 Straight Bamboo Knitting Needles! Sleek, sturdy, and slip-proof, these needles will give you the smoothest knitting experience ever.
Find them on Amazon!
This beanie knitting pattern is a fantastic first-time project for any new knitter! All the basic stitches and terms will be included so you can practice along. Plus, you get a cute hat out of it. Ready to learn how to knit a beanie? Let’s get started!
Quick note: You’ll notice that some of the steps show a different colorway. Don’t worry, it’s the same pattern just with different yarn!
12 stitches and 17 rows = 4 inches in basic knit stitch
Important note: My stitch tension is a bit tight, that is why I am using 8 mm needles. Feel free to size up or down with your knitting needles depending on your own tension!
Casting on gets your stitches started on the knitting needles! Use your favorite cast on technique (you can see a list of the best ones here!) to cast on as many stitches as you need to knit the size you want. We like the Long Tail Cast On for stretchy edges.
Here’s a YouTube tutorial on how to knit this super easy beanie knitting pattern:

Row 1: Leave a 50” yarn tail, tie a slip knot and CO the corresponding stitches from the sizing guide above, we recommend using a Long Tail Cast On.
![Row 2 - Row 7: [K2, p2] across all the stitches. Turn your work. Repeat 5 more times.](https://knitting.com/wp-content/uploads/2024/03/34.png.webp)
Row 2 – Row 7: [K2, p2] across all the stitches. Turn your work. Repeat this row 5 more times.
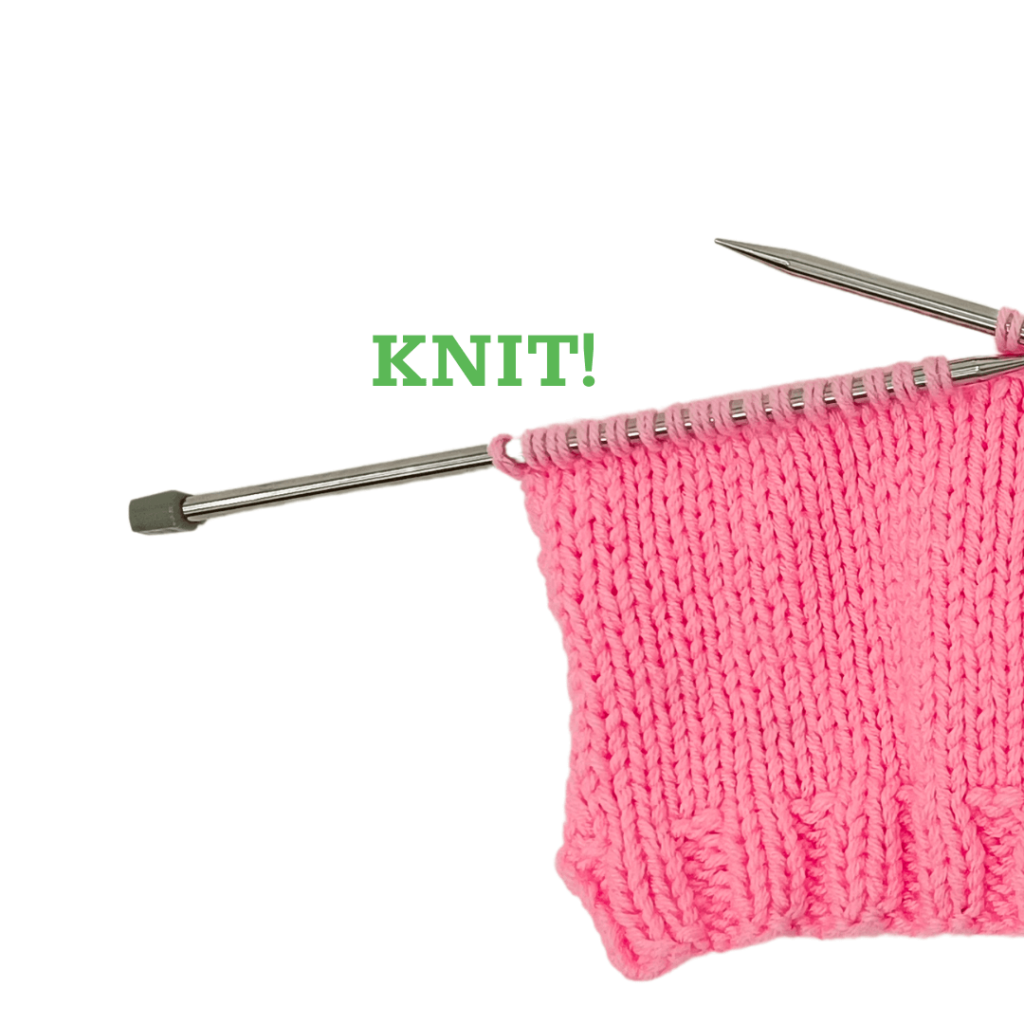
Row 8: Knit across the whole row.
This is the right side (outside) of your work.

Row 9: Purl across the whole row!
This is the wrong side (inside) of your work.

Keep alternating between Row 8 and Row 9 until the piece measures:
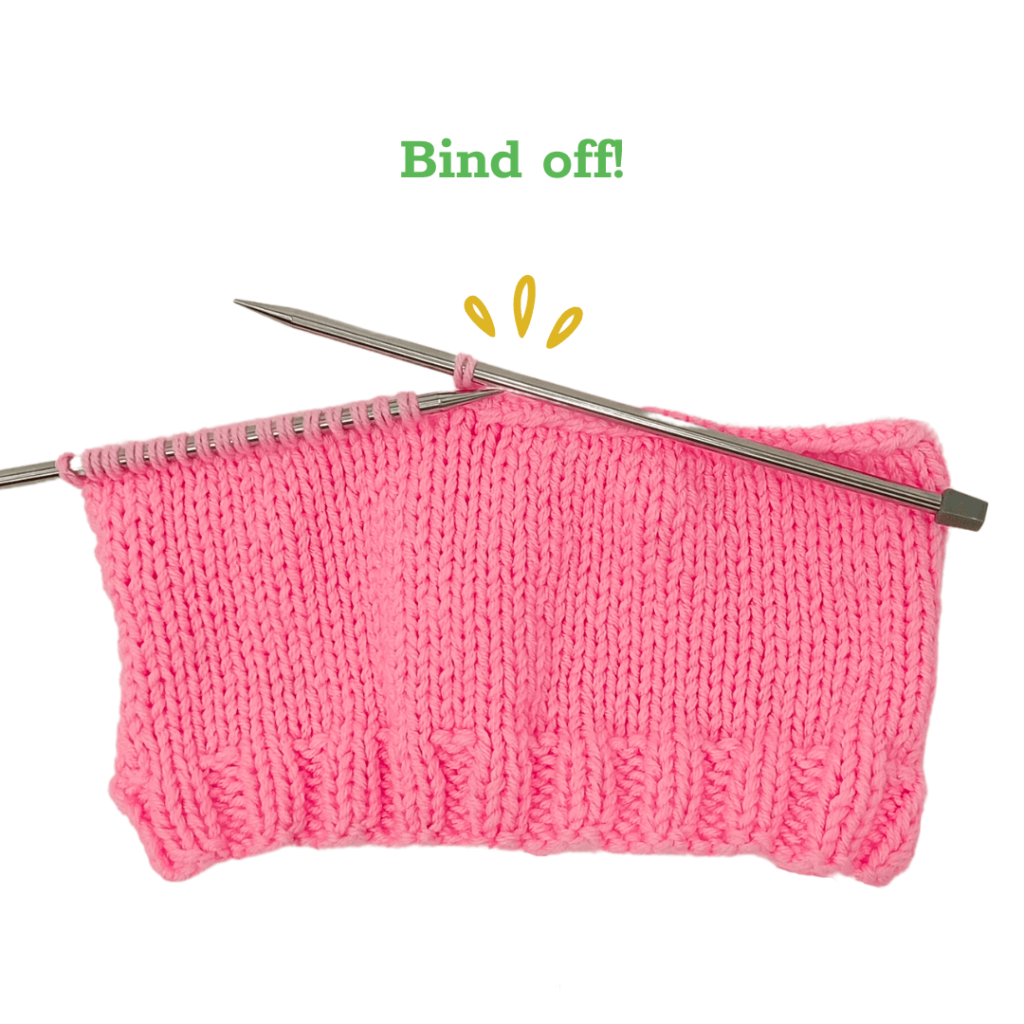
Bind off all the stitches on your needles using a basic knitted bind off. Trim the yarn leaving a 6” yarn tail.
Weave in the yarn tail on the wrong side of your work!
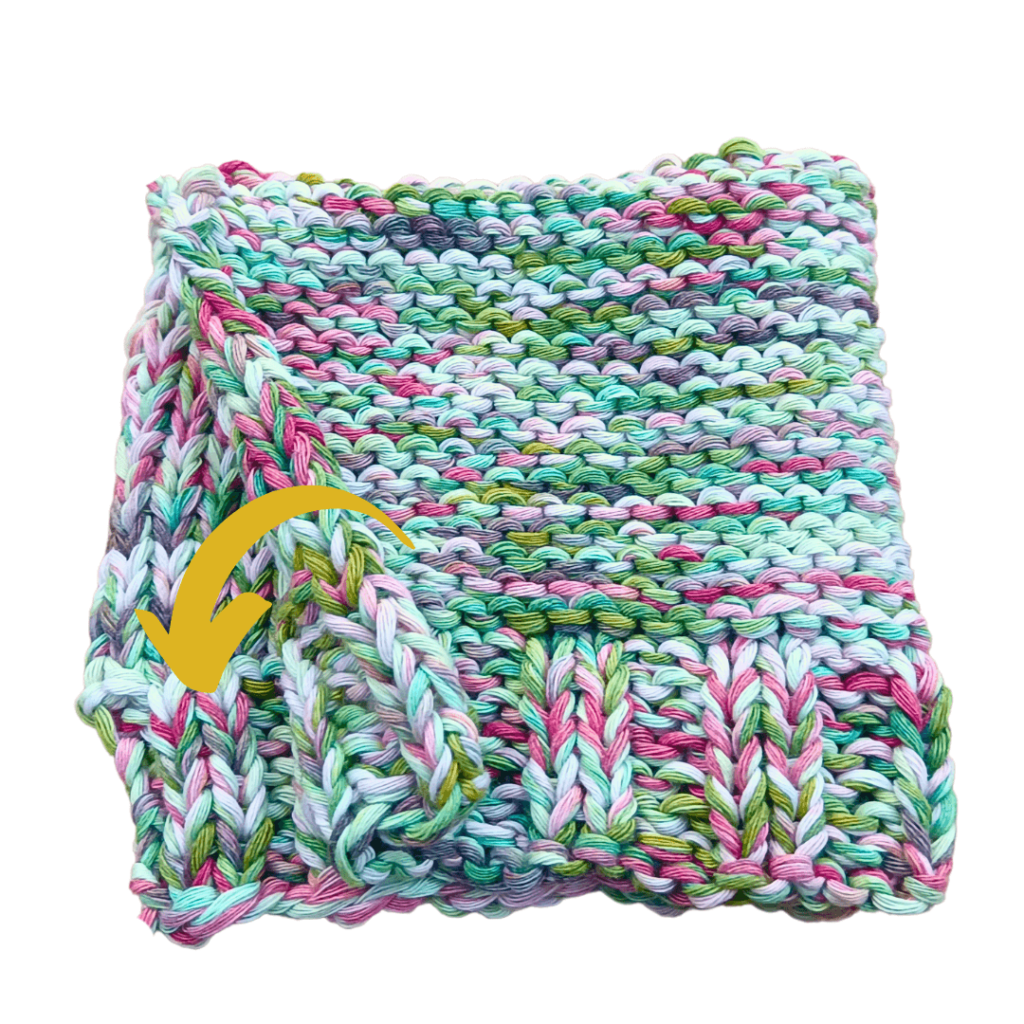
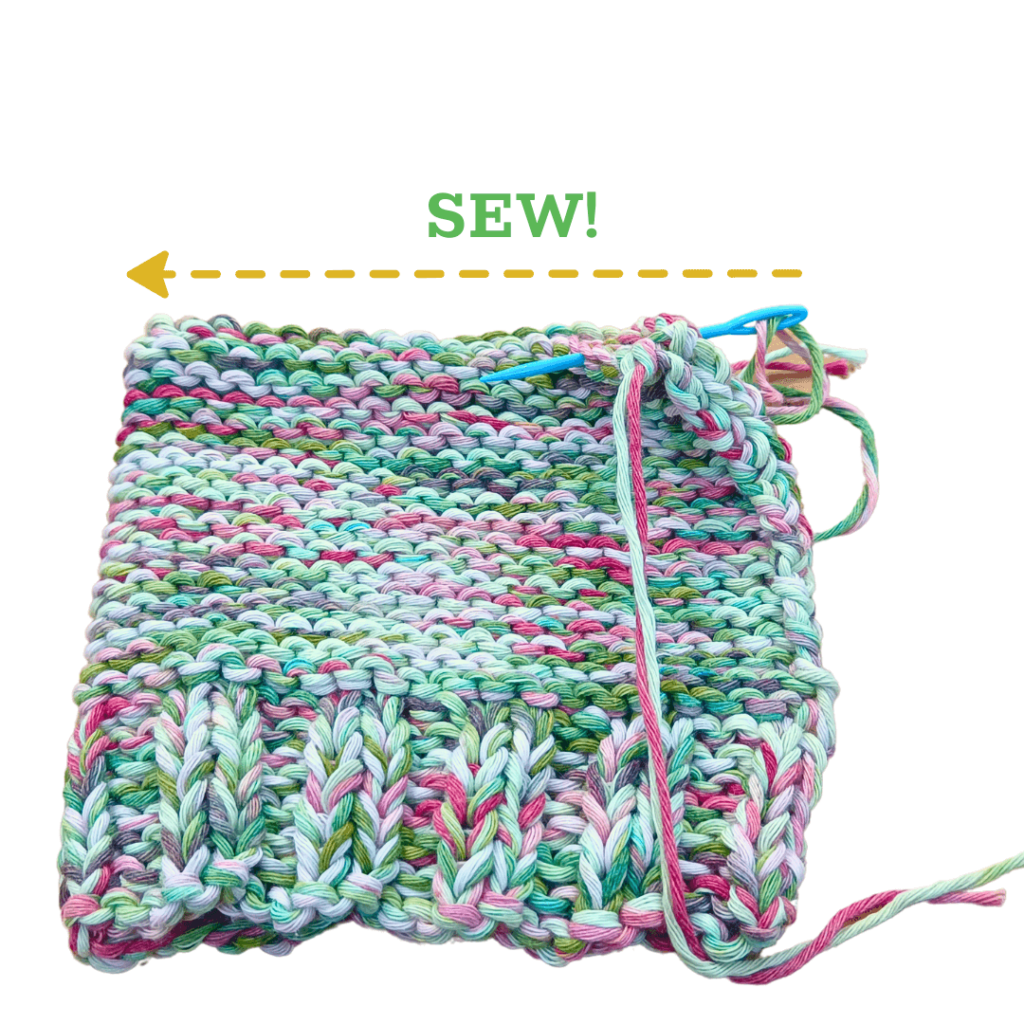
Fold the hat with the right sides (knit sides) facing together.
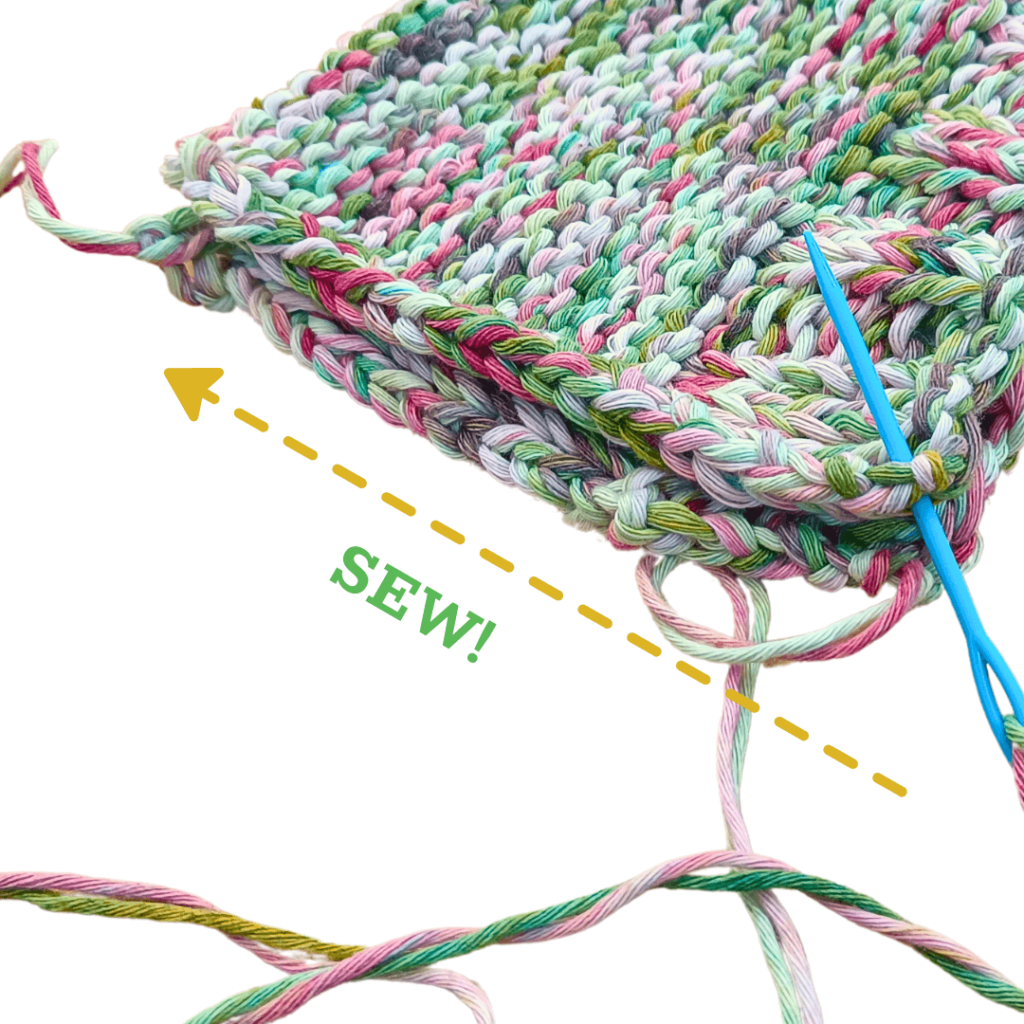
Thread the yarn tail from your cast on row onto a yarn needle and sew along the side and top of the beanie using a whip stitch.
Tie a double knot to secure your stitches and weave in the tails on the backside/wrong side/inside of your hat!
Turn the hat right side out.
Toddler & Child sizes: Measuring 1.5” or 2.5” from one corner, place 1 stitch marker at the top of the hat. Measure a second time down the side of the hat and place a second marker 1.5” or 2.5” down from the corner.
Adult & Teen: Measuring 3” from one corner, place 1 stitch marker at the top of the hat. Measure a second time down the side of the hat and place a second marker 3” down from the corner. Take your tape measure and measure 3” diagonally from one corner towards the middle of the hat. Measure 3” along the top and corner of the beanie.

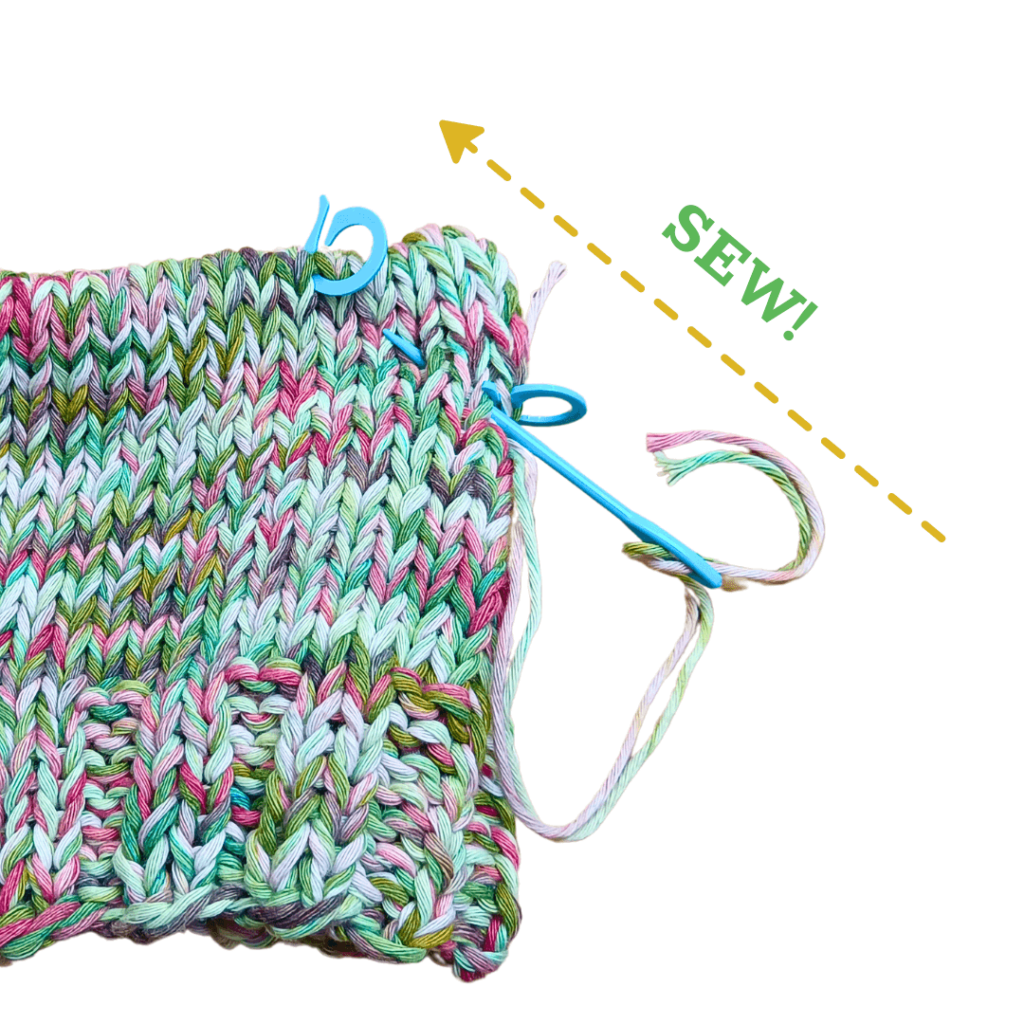
All Sizes: Sew diagonally across the hat between stitch markers.
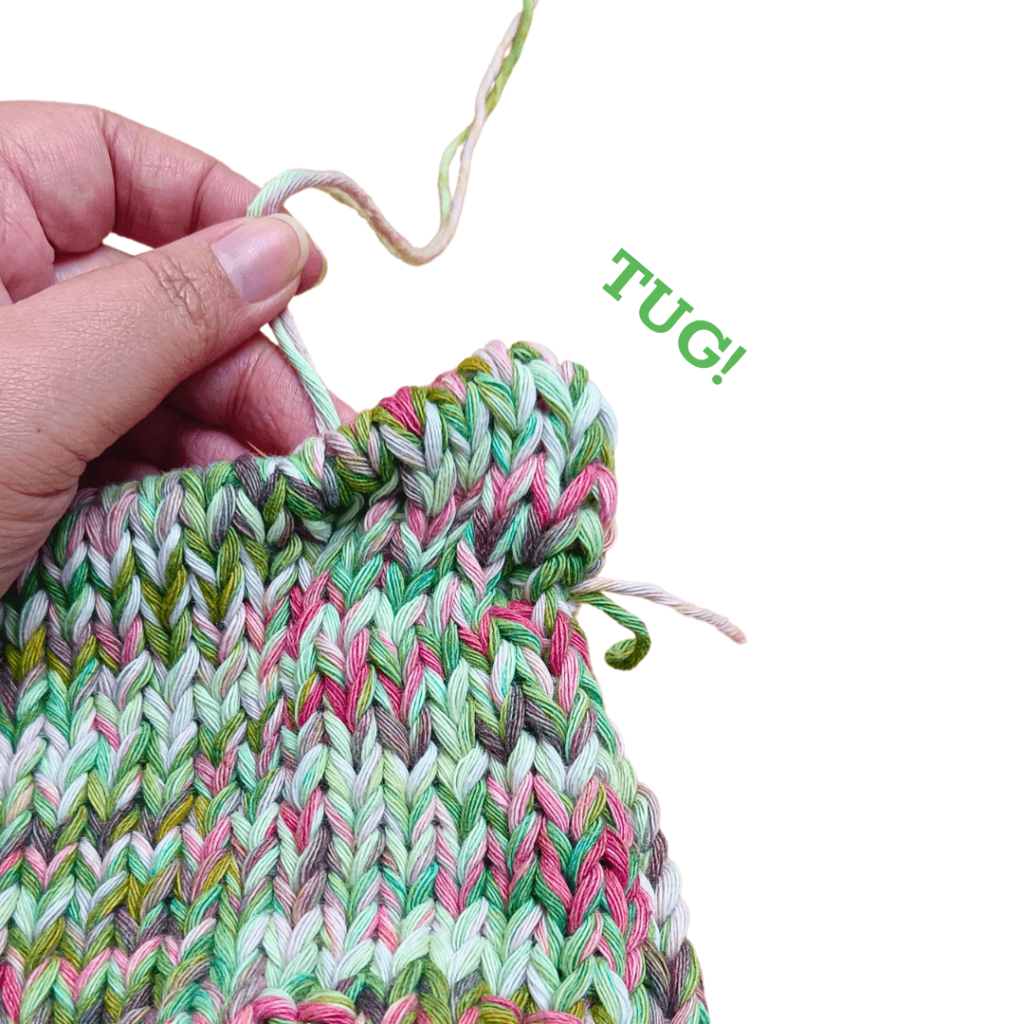
Tug on the yarn to slightly cinch the corners of the “ear”.

Tie a small knot to secure the stitches.
Thread the yarn tail to the wrong side/inside of the beanie and weave in your yarn tails.
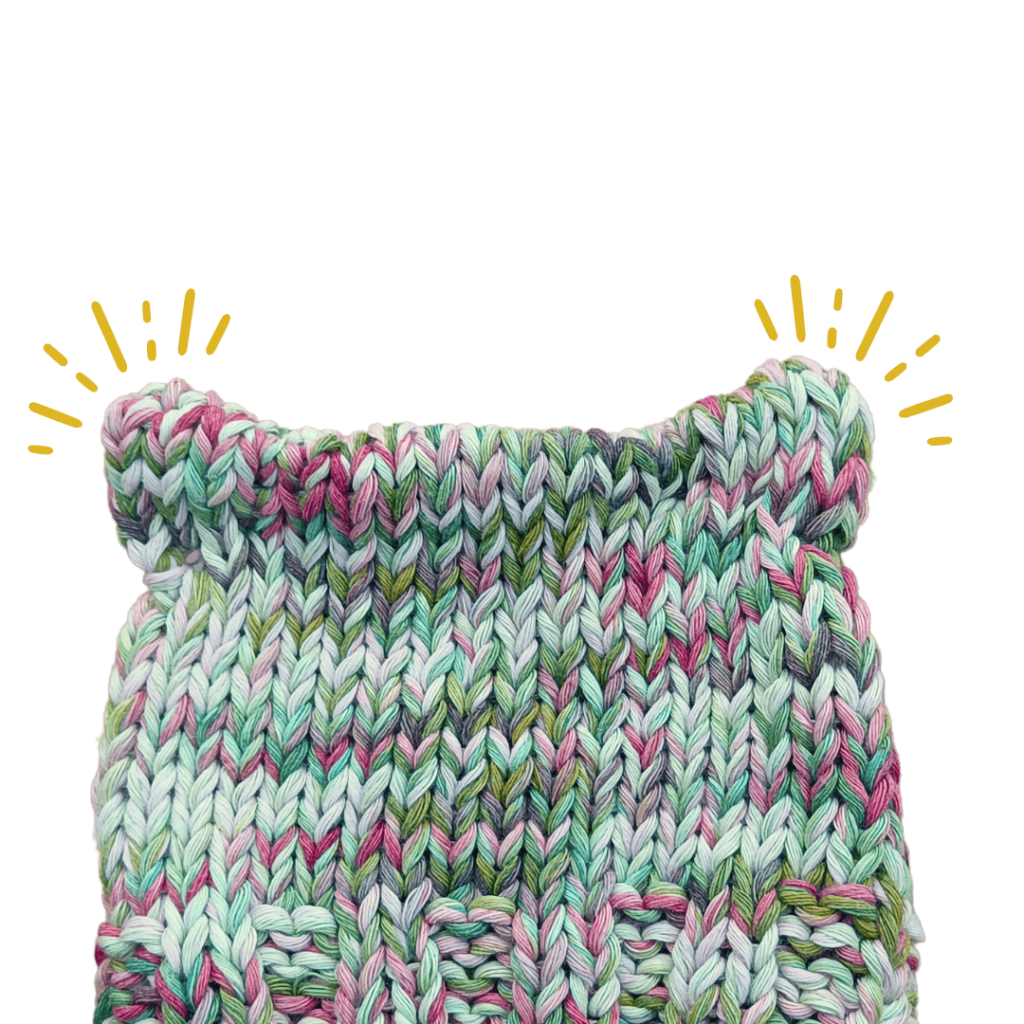
Repeat steps on the opposite corner.
Your knitted beanie should look like the image below after following the steps above! Cute, right? Luckily, you can make it in every size. This can be a great gift for a friend, loved one, or for a newborn bundle of joy!
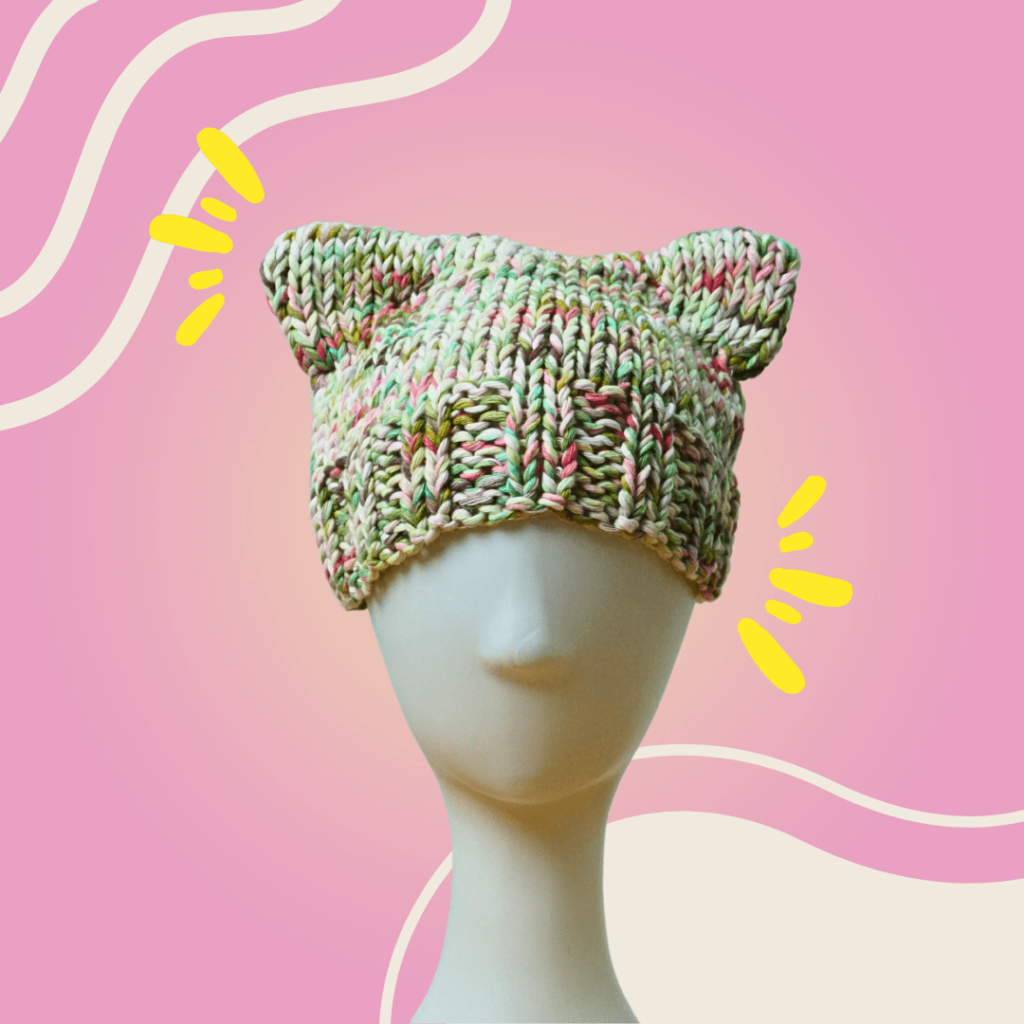
This knit cat ear beanie is one of those knitted hat patterns that are quite easy to recreate. You can make several beanies in different amazing colors and sizes, and sell them in a craft fare or use the pattern to fulfil a custom order for a client!
For teens to adults, you can use the usual acrylic yarn or acrylic mix. If you are using the beanie knitting pattern for a baby, make sure to use natural fibers like cotton and bamboo yarn. This will help prevent any skin irritation.
Check out our yarn guide for more details on baby-friendly fibers!
Now that you know how to knit a beanie, how many will you be making? When I first learned a beanie knitting pattern, I began hunting for more knitted hat patterns and just kept stitching away!
Eventually, I had so many beanies that I had to start giving them away to friends and family. Hahaha! Well, it was worth it since they absolutely LOVED their little handmade gifts.
Let us know what you think about this beanie knitting pattern in the comments section below. If you plan to knit your own cat ear beanie, make sure to tag us on Instagram. We’d love to see how you put your own unique twist to this cutesy pattern!
Check out more free knitted hat patterns:


What weight of yarn does this use please? Thank you for the pattern.
Hi! I’m using 2 worsted weight cotton yarns held together.
I started doing the cast on 40 stitches and have done all the knit purl rows but then measuring the band it seems too small for my 16” twins heads, they are 4 months old, My needle is a 8 U.S. or 5 mm. Maybe my tension is too tight.
Hi! You can go up a size larger for your knitting needles to help with your tension. You can also opt for chunkier yarn!