I Cord Bind Off
Finish your knits with a smooth, rolled edge!
Finish your knits with a smooth, rolled edge!

Are you ready to learn a knitting technique that will add a fun and unique finish to your projects? Look no further than the I Cord Bind Off!
The I Cord Bind Off is a decorative knit finishing method that creates a tubular edge on your finished piece. It involves creating a rolled edge as you bind off live stitches of your work, resulting in a neat and polished finish.
You might be wondering when you should use the I Cord Bind Off! It’s perfect for projects that need a little extra detail, such as the edge of a shawl or the cuffs of a sweater. It also works well when you want to add a contrasting color or texture to your piece.
Next question: why use the I Cord Bind Off? First, it adds a polished-looking edge that will make your project stand out. It also creates a sturdy and durable finish that will hold up well over time. I-cord edges also help knit fabric lie flat and prevents curled edges!
Ready to give it a try? Grab a project or swatch ready to bind off and we’ll learn all the steps to working an I Cord Bind Off .
Getting Started:
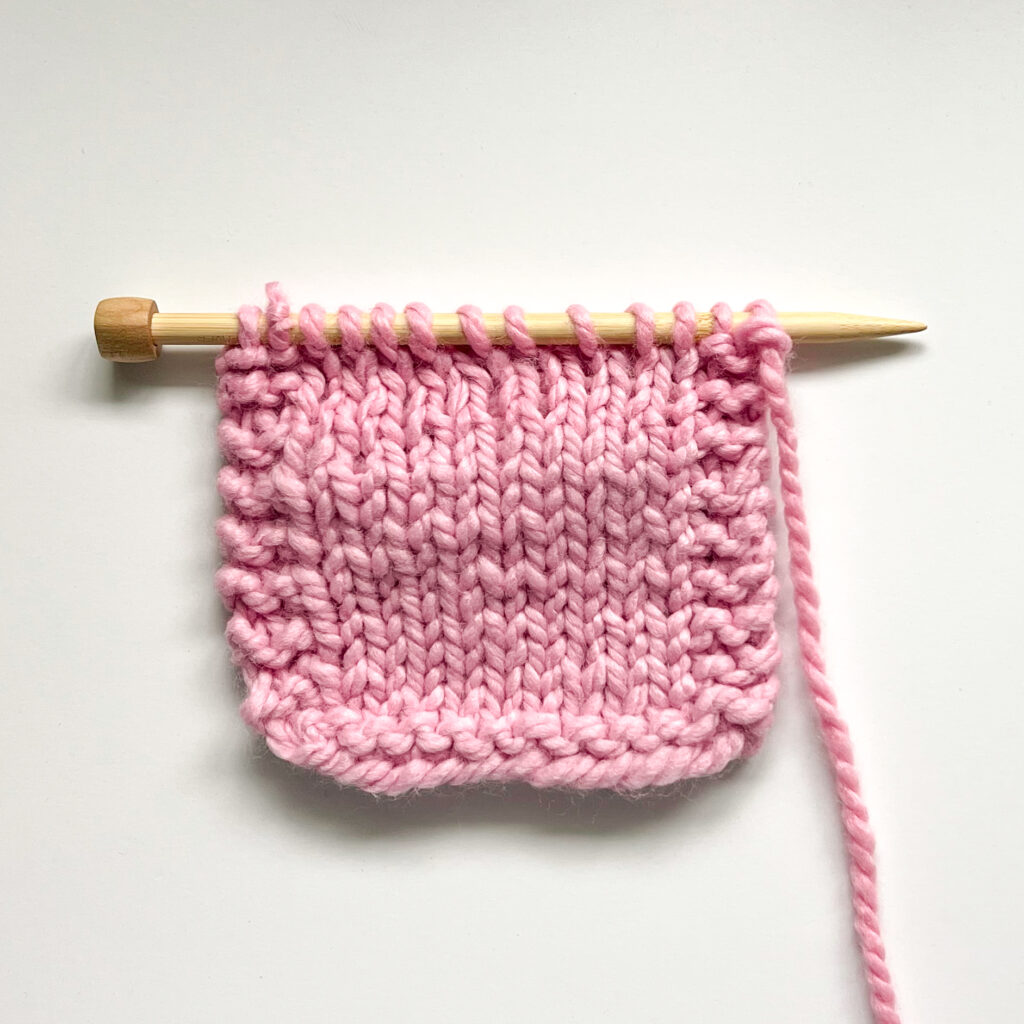
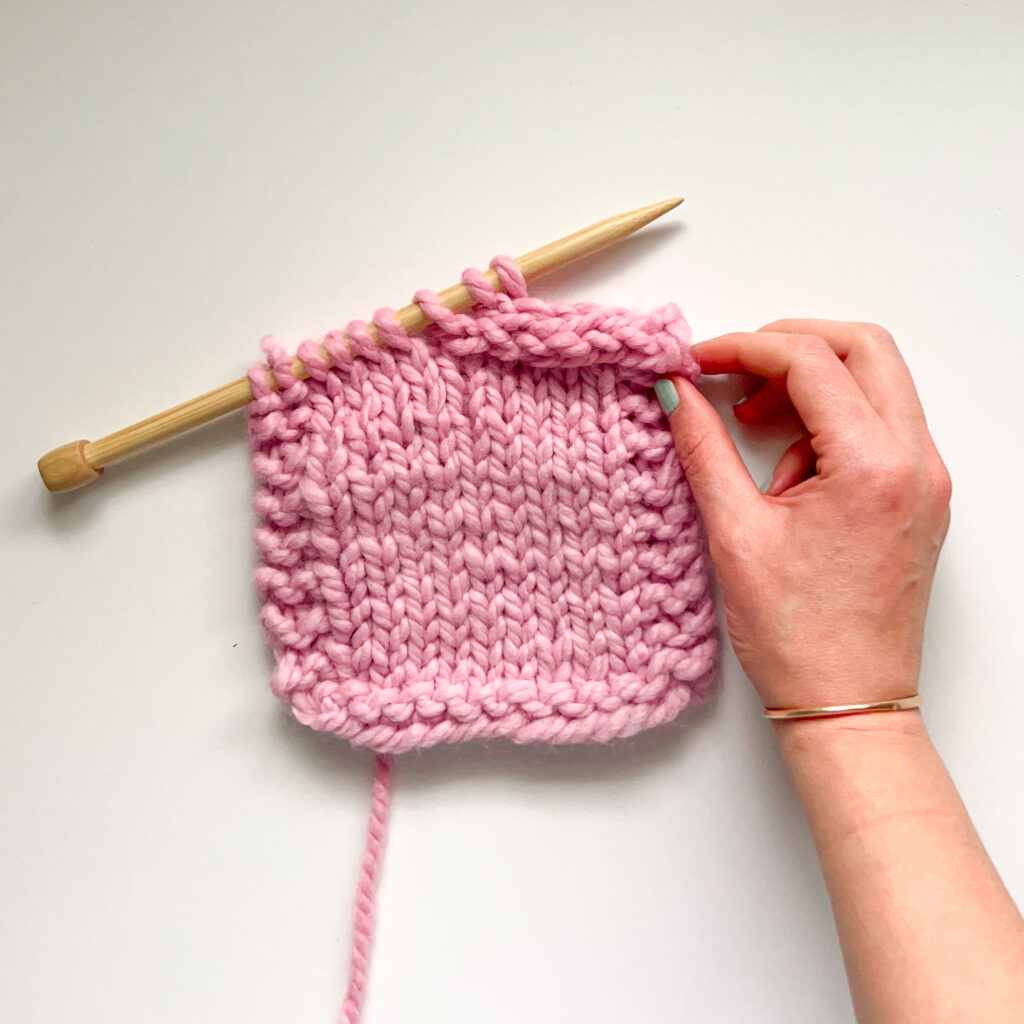
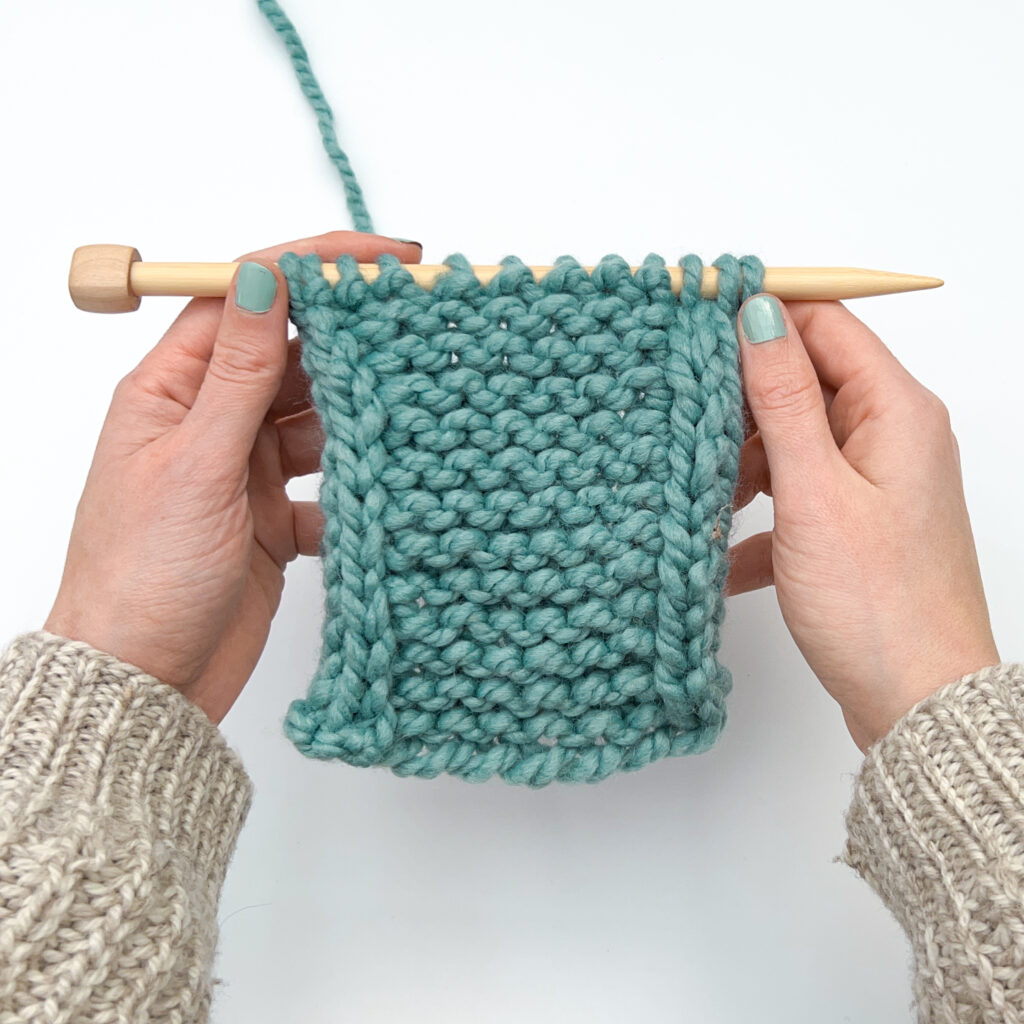
Start with a project you’re ready to take off the needles. The stitch pattern used in the rest of the project doesn’t matter, in this case we’re using a swatch with a garter stitch edge and stockinette center to make the I-cord bind off easy to see.
Step 1:
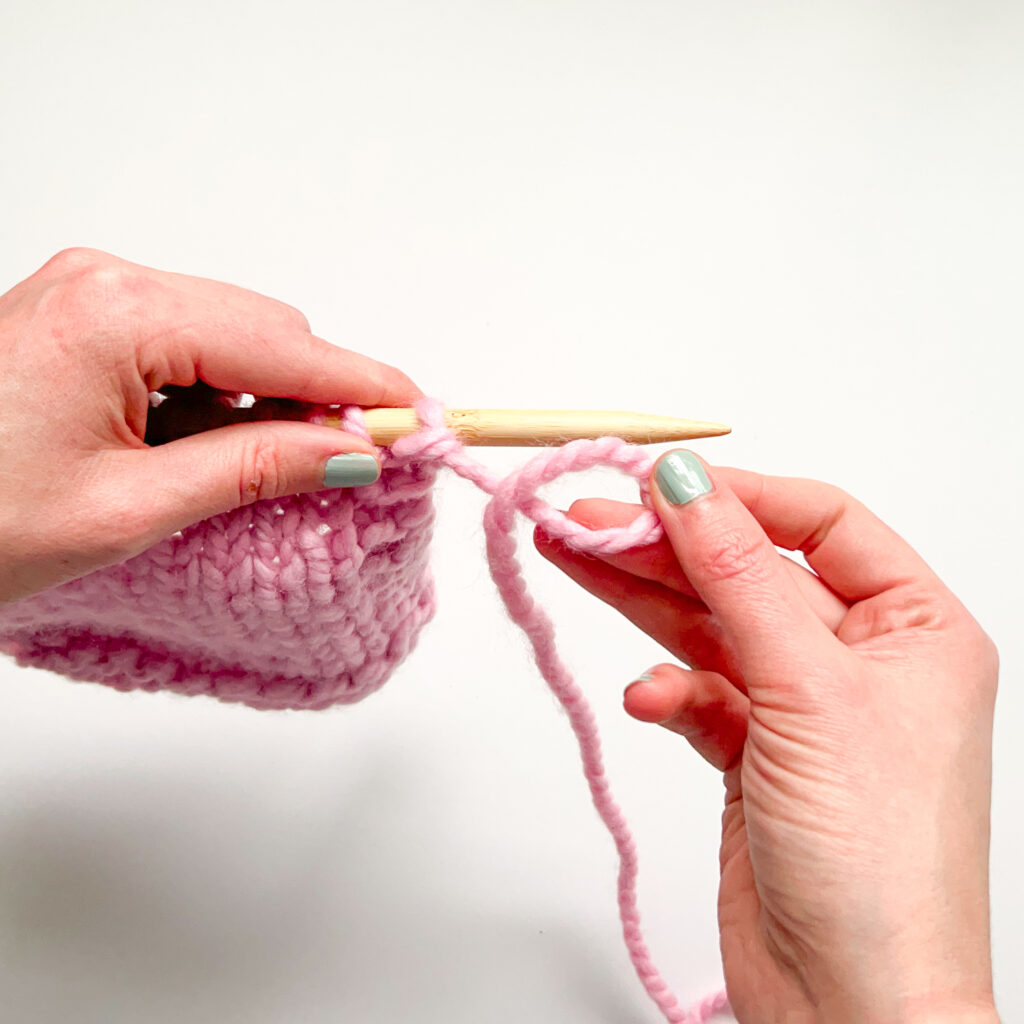
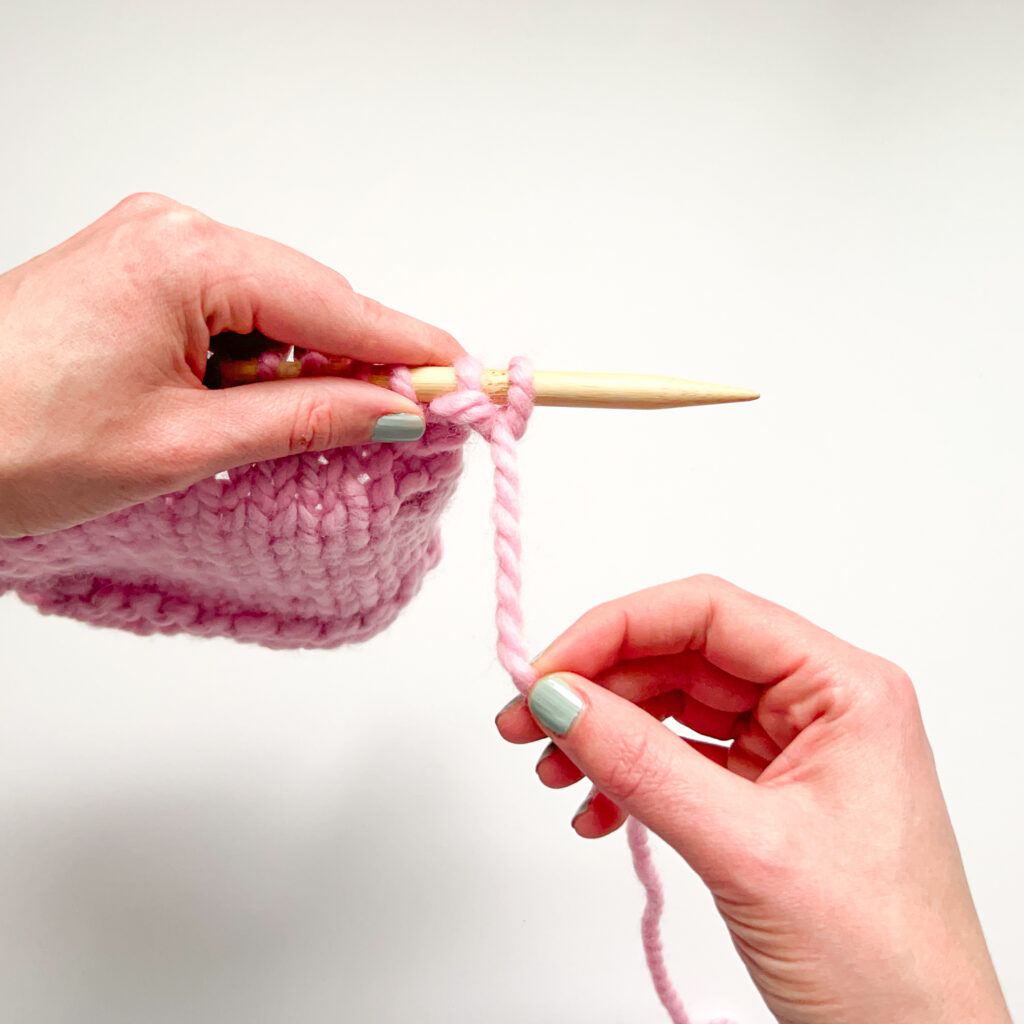
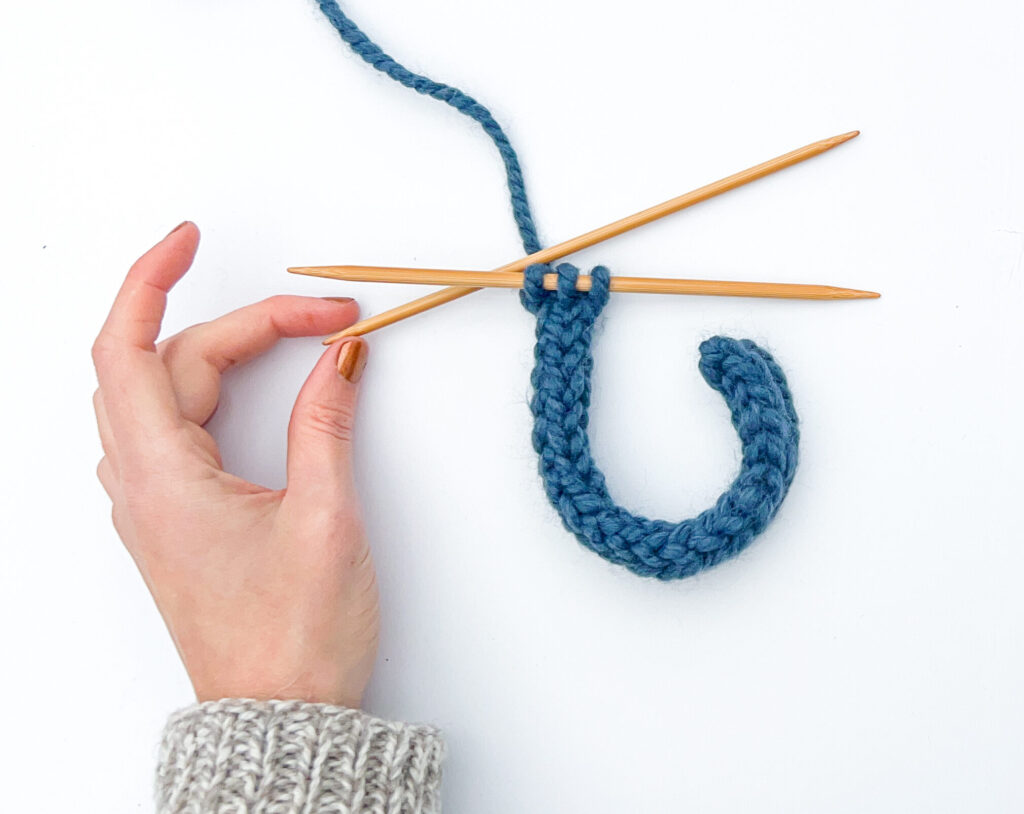
Use the backward loop cast on to cast on three stitches at the beginning of your bind off row. These three new stitches will form your rolled i-cord edge.
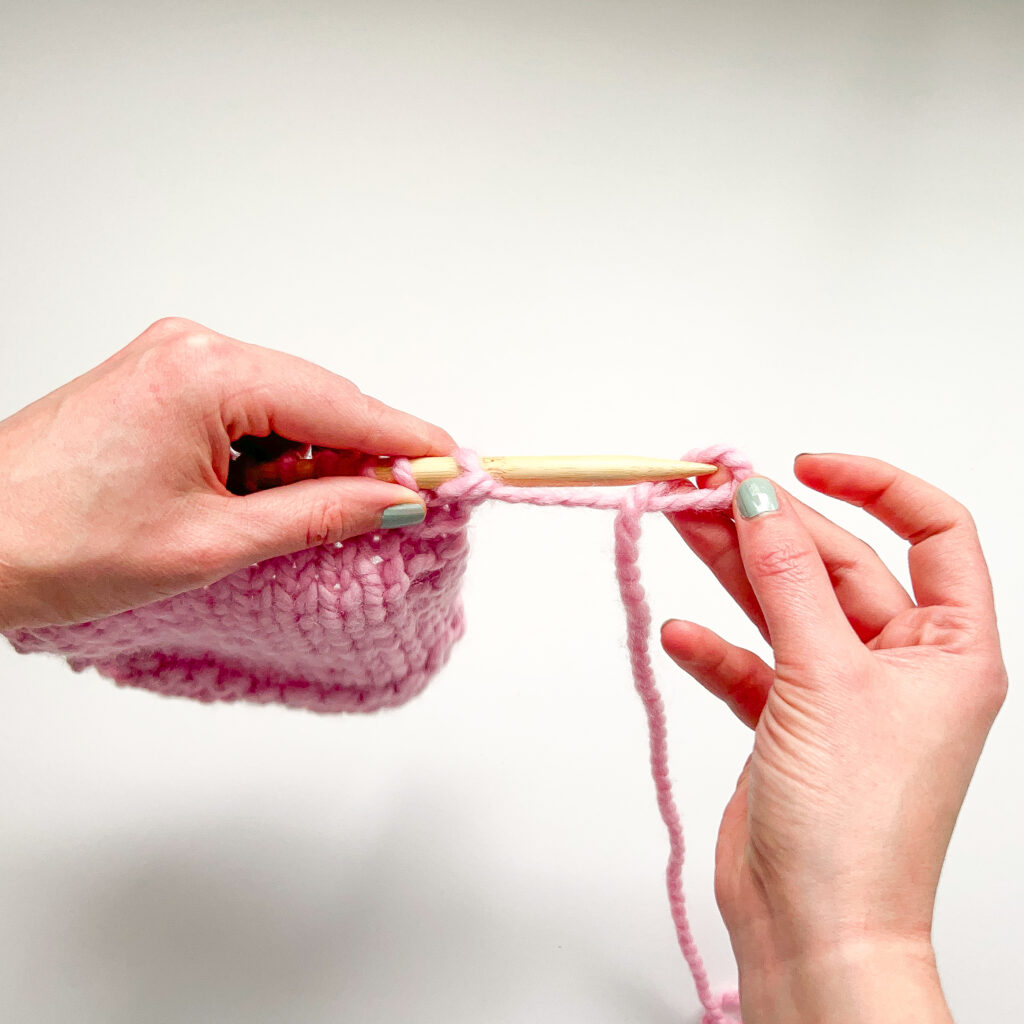
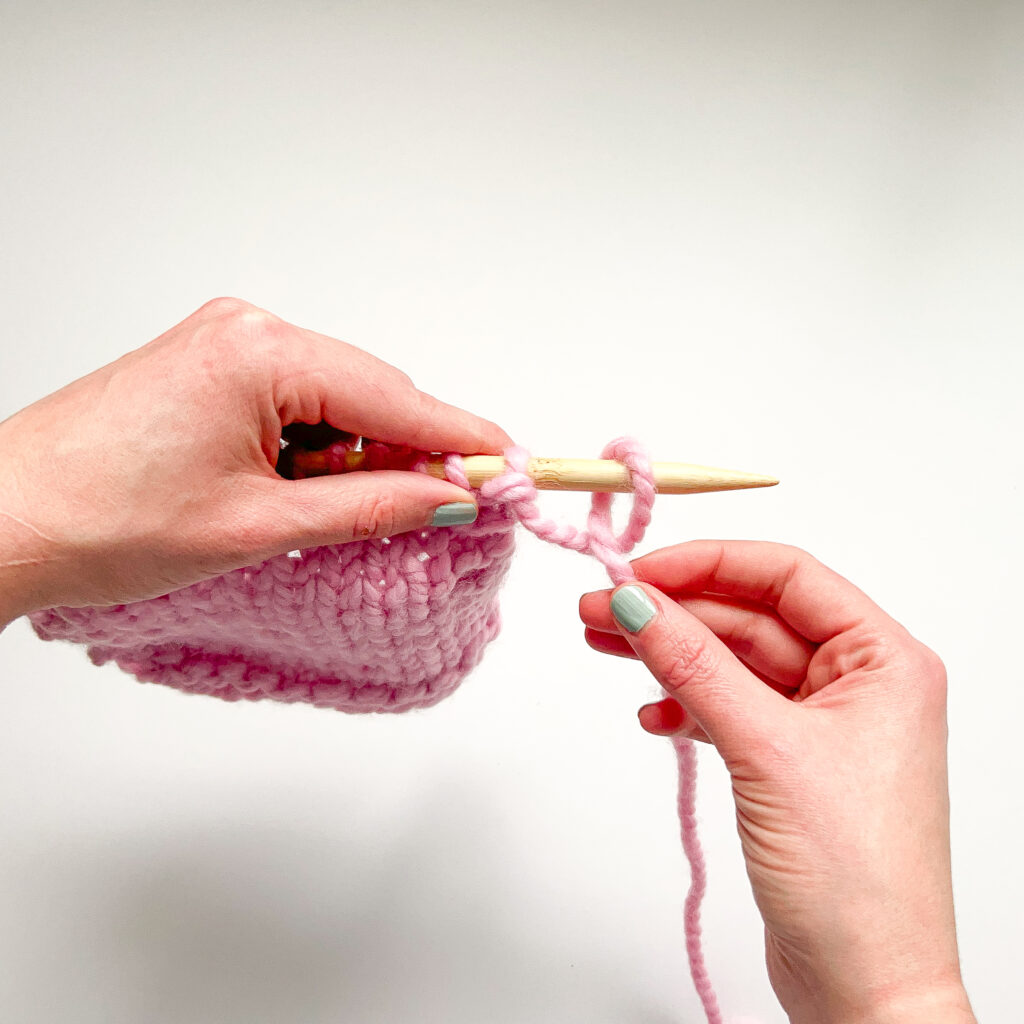
To use the backward loop cast on: twist the yarn strand clockwise until the strand loops over itself with the crossed section facing to the left. Thread the needle through the loop. Pull the yarn strand down to tighten the new cast on stitch on the needle. Repeat two more times.

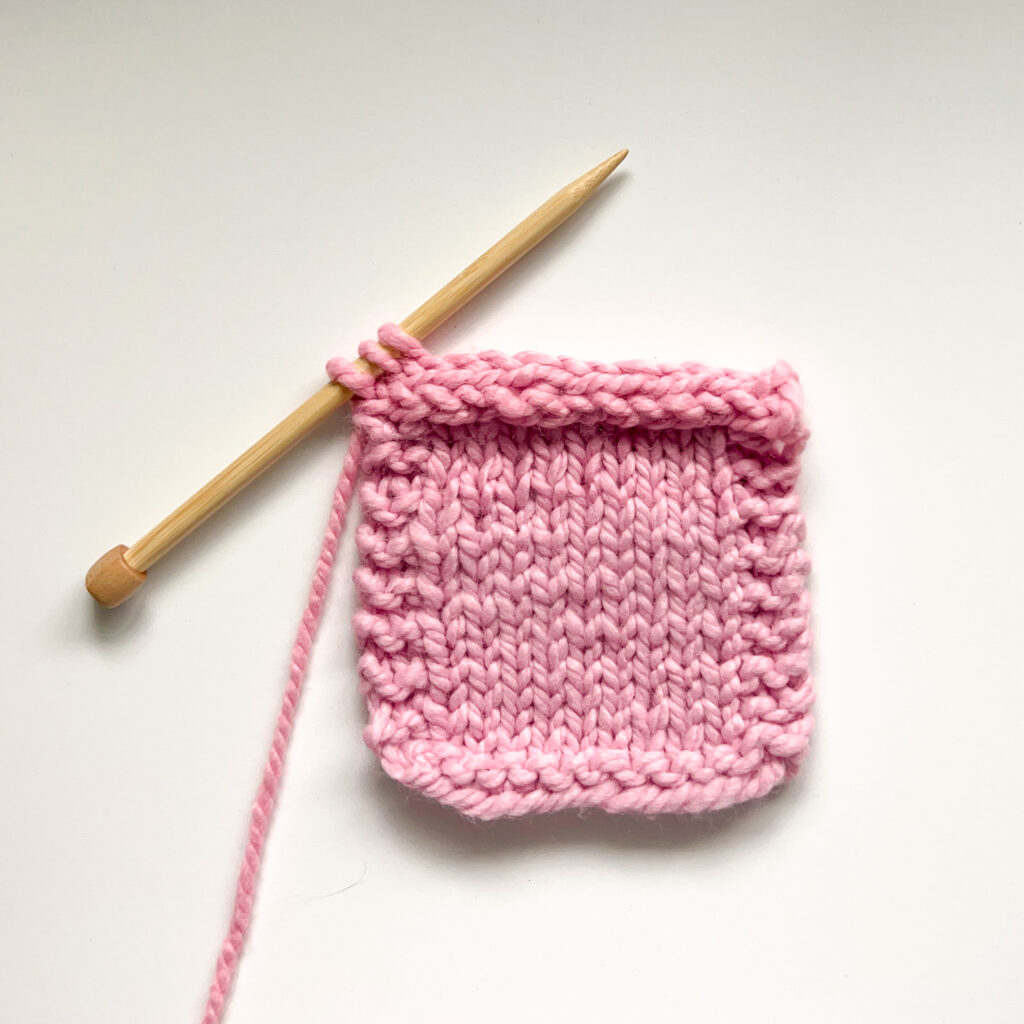
Three new stitches have been created at the beginning of your cast off/bind off row.
Step 2:
Knitting normally, knit the first two stitches.
You now have two knit stitches on the right needle, one backward loop cast on and the rest of your project stitches on the left.
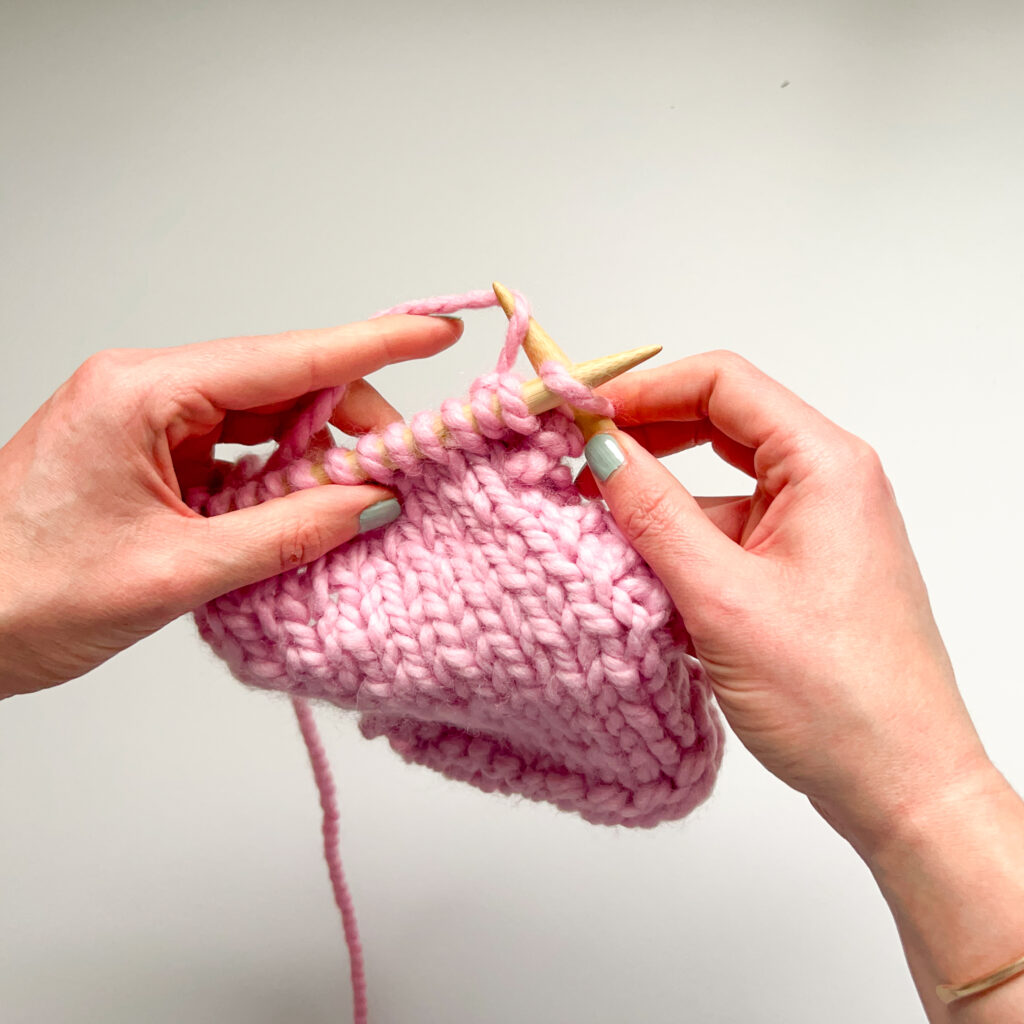
Step 3:
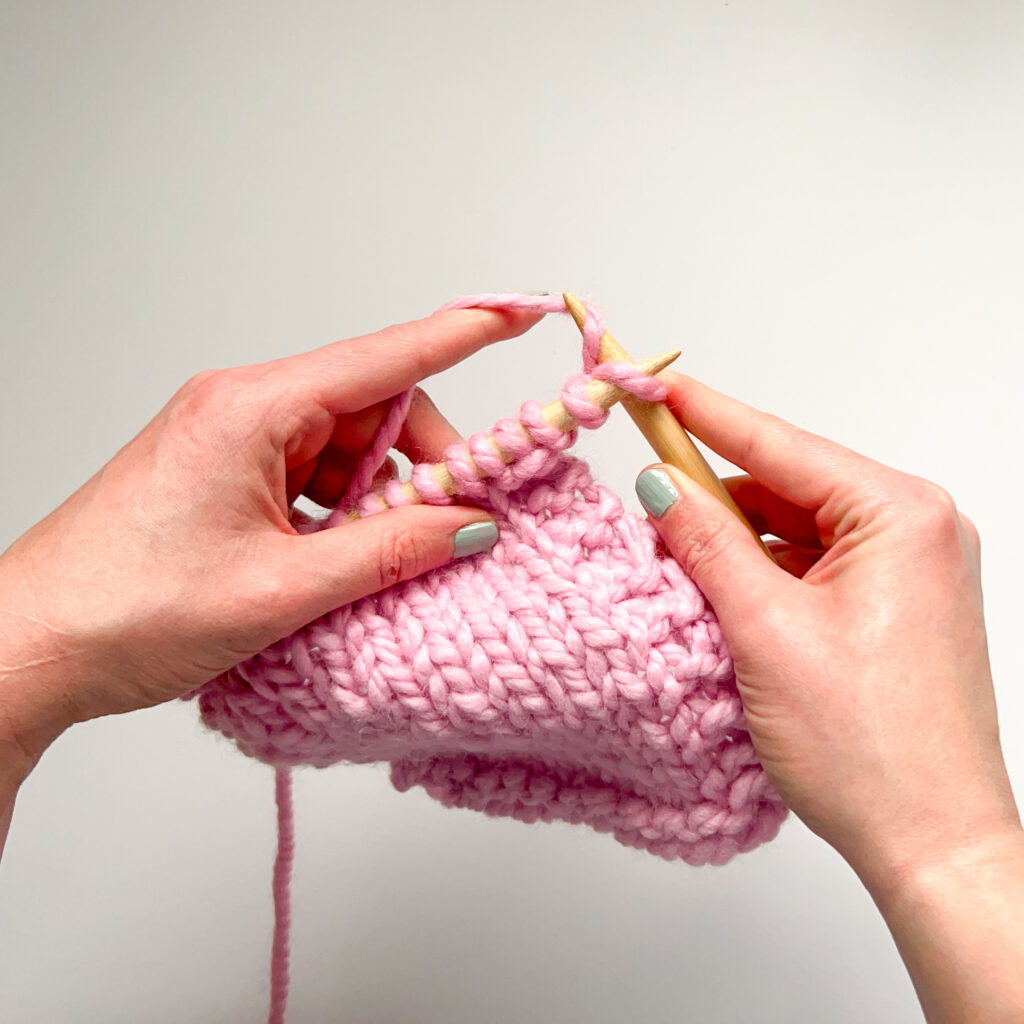
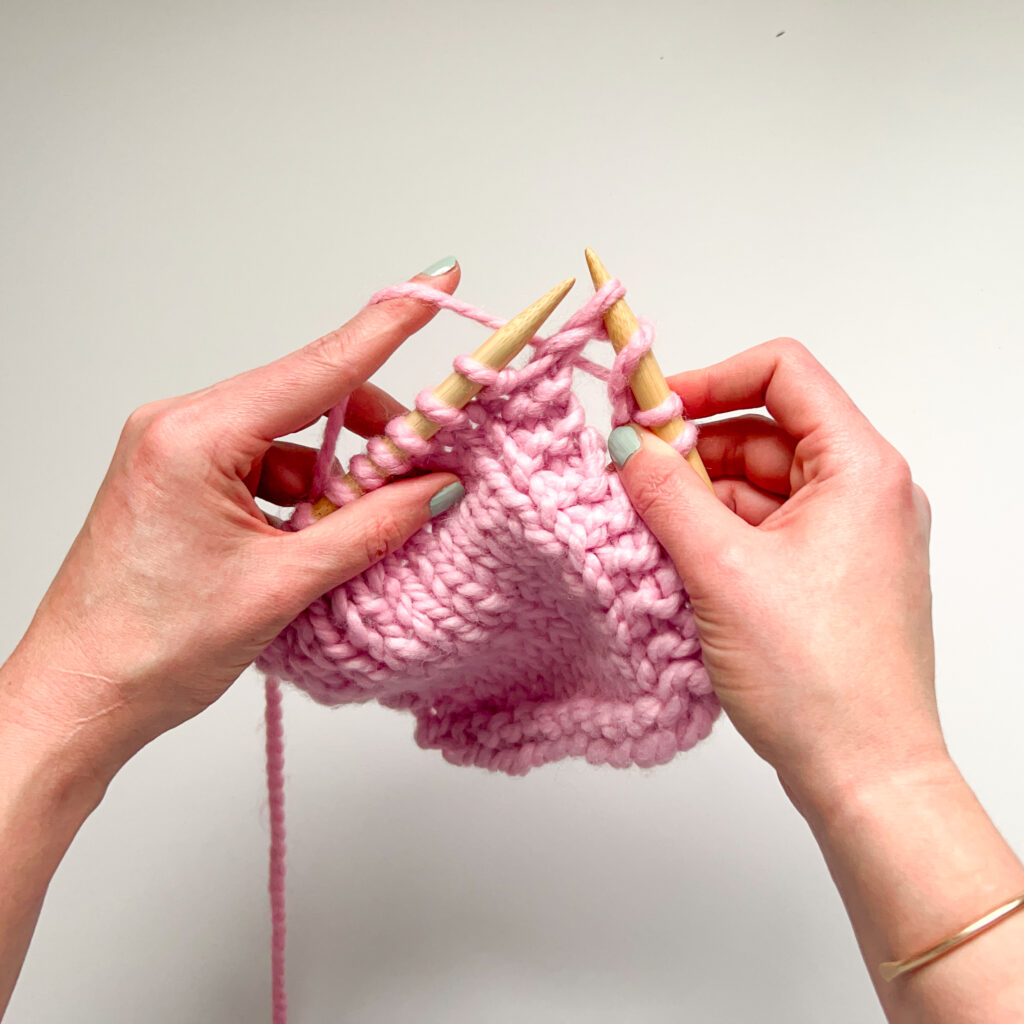
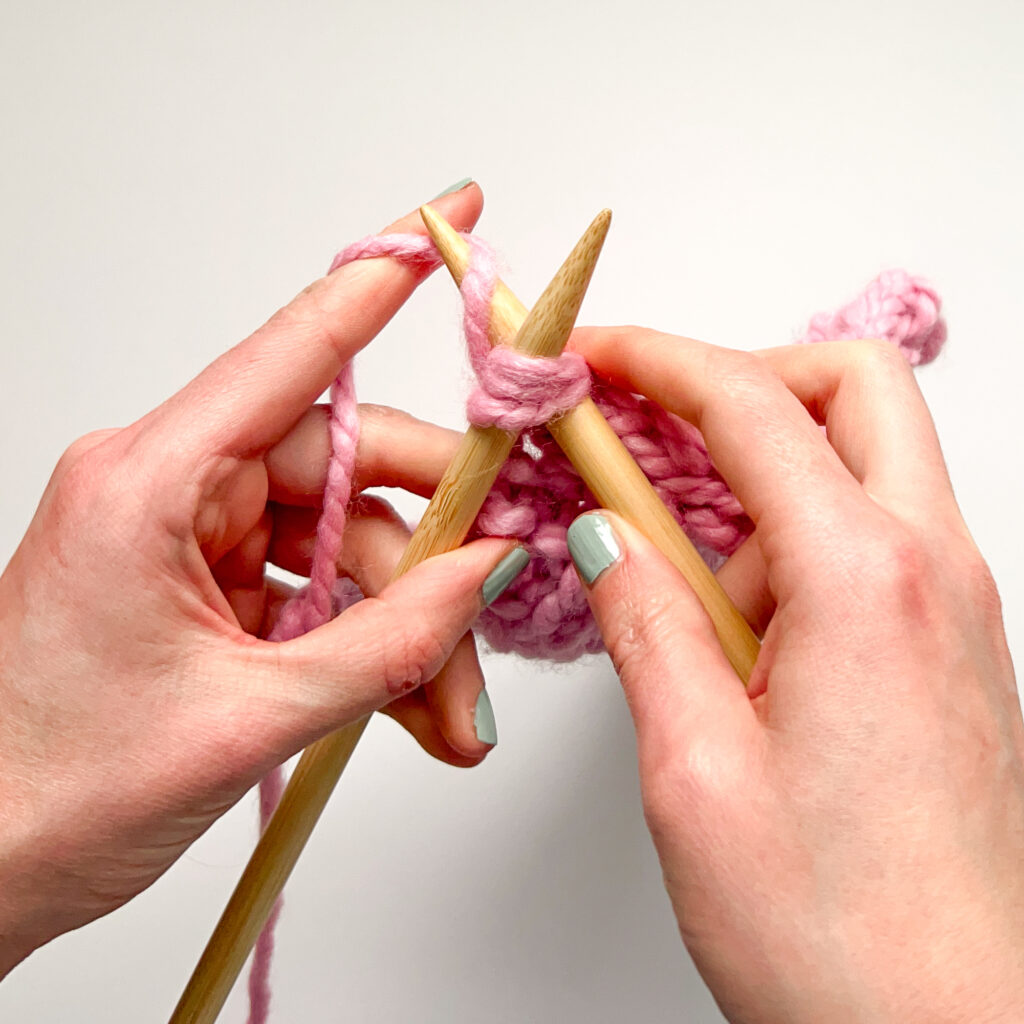
In this step you’re going to work an SSK (slip, slip, knit) decrease, knitting the next two stitches together.
First: Slip the next two stitches knitwise. To slip a stitch knitwise: insert the right needle into the next stitch as if to knit (right-to-left through the front leg). Slip it from the left to right needle without knitting it.
On the right needle: you now have two knit stitches and two slipped stitches.
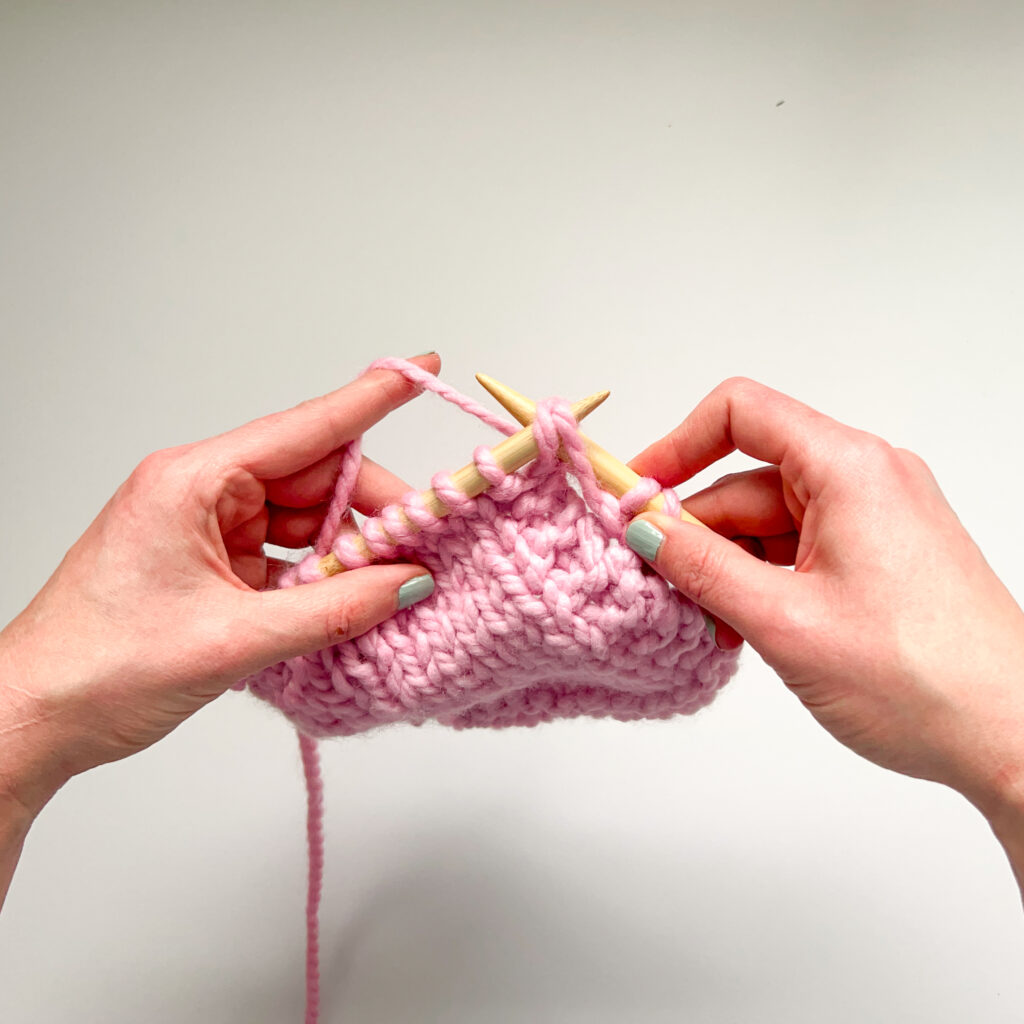
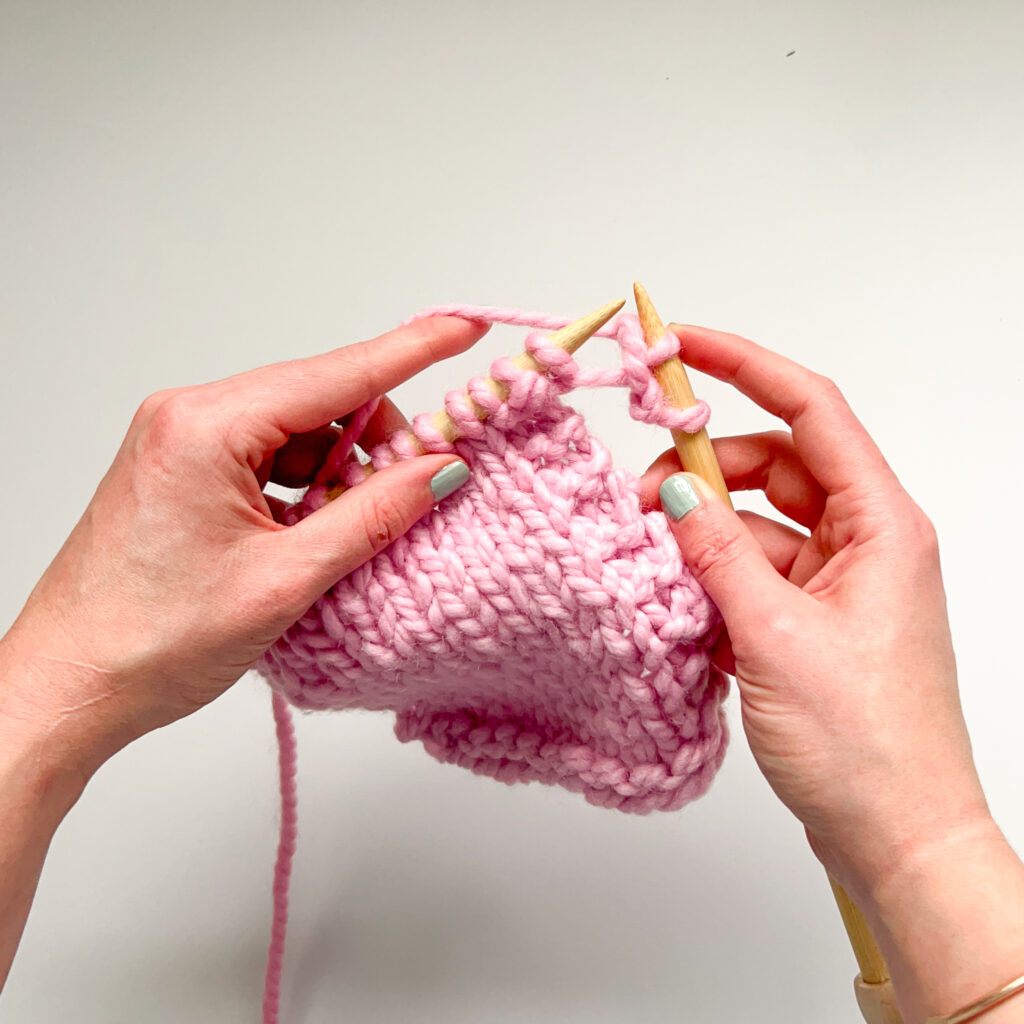
Next: Knit the two slipped stitches together. Insert the left needle through the front of the two stitches on your right needle. Wrap the yarn up and over (counterclockwise) the right needle. Pull the yarn strand through and drop the two stitches off.
On the right needle: you now have three knit stitches.

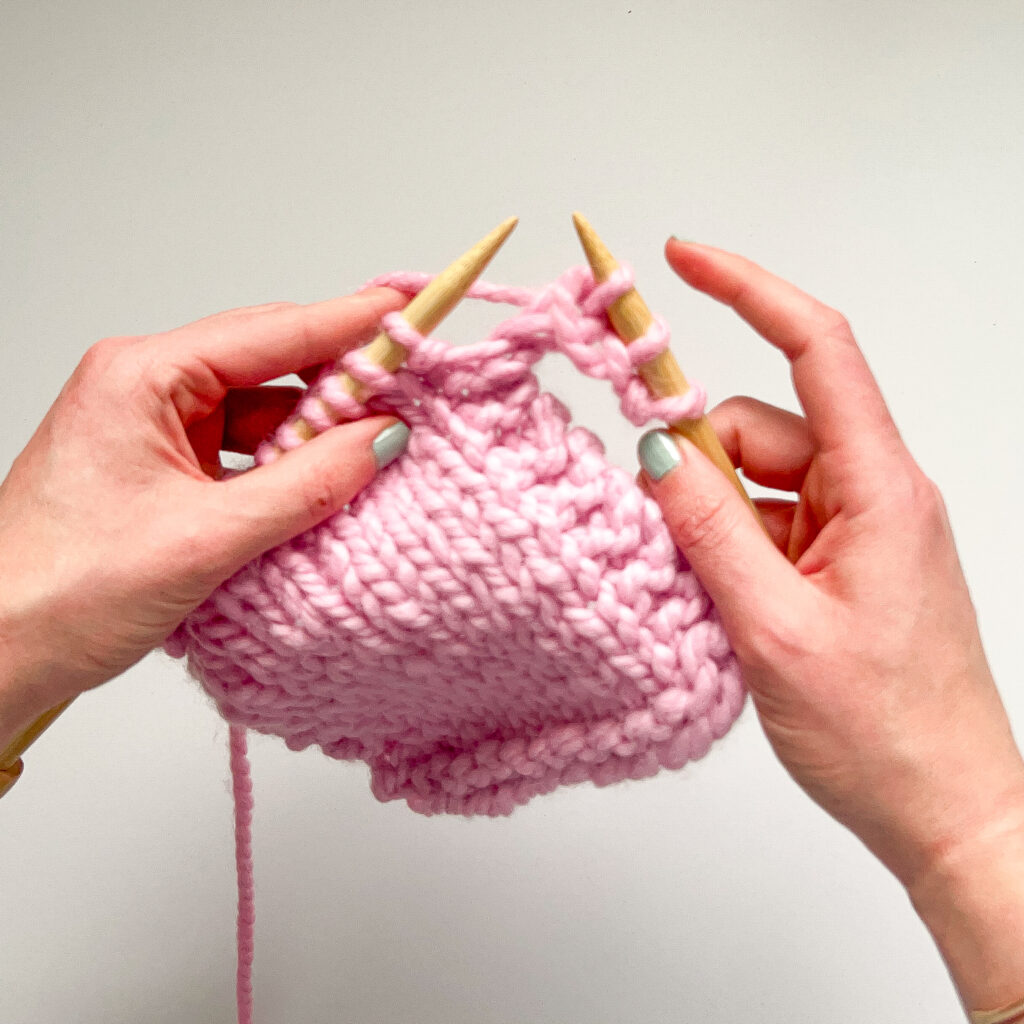
Step 4:
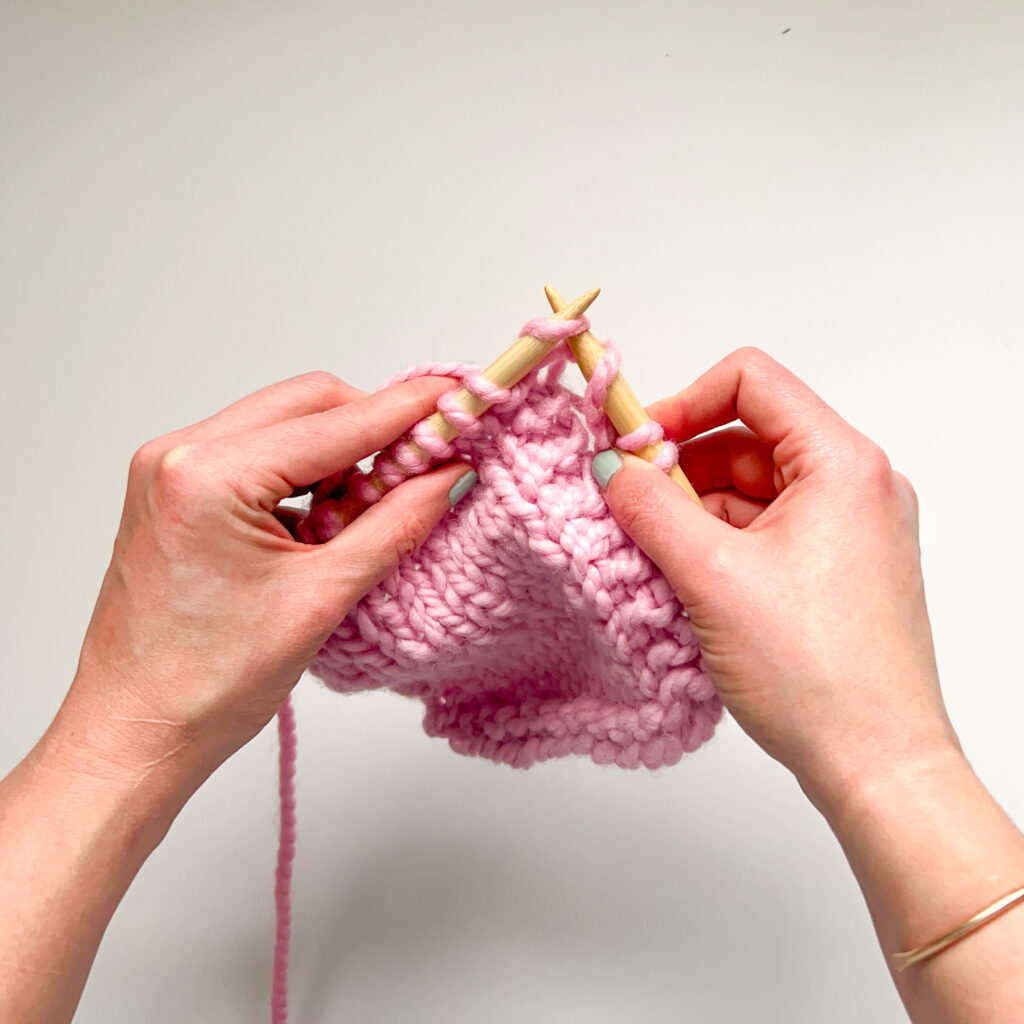
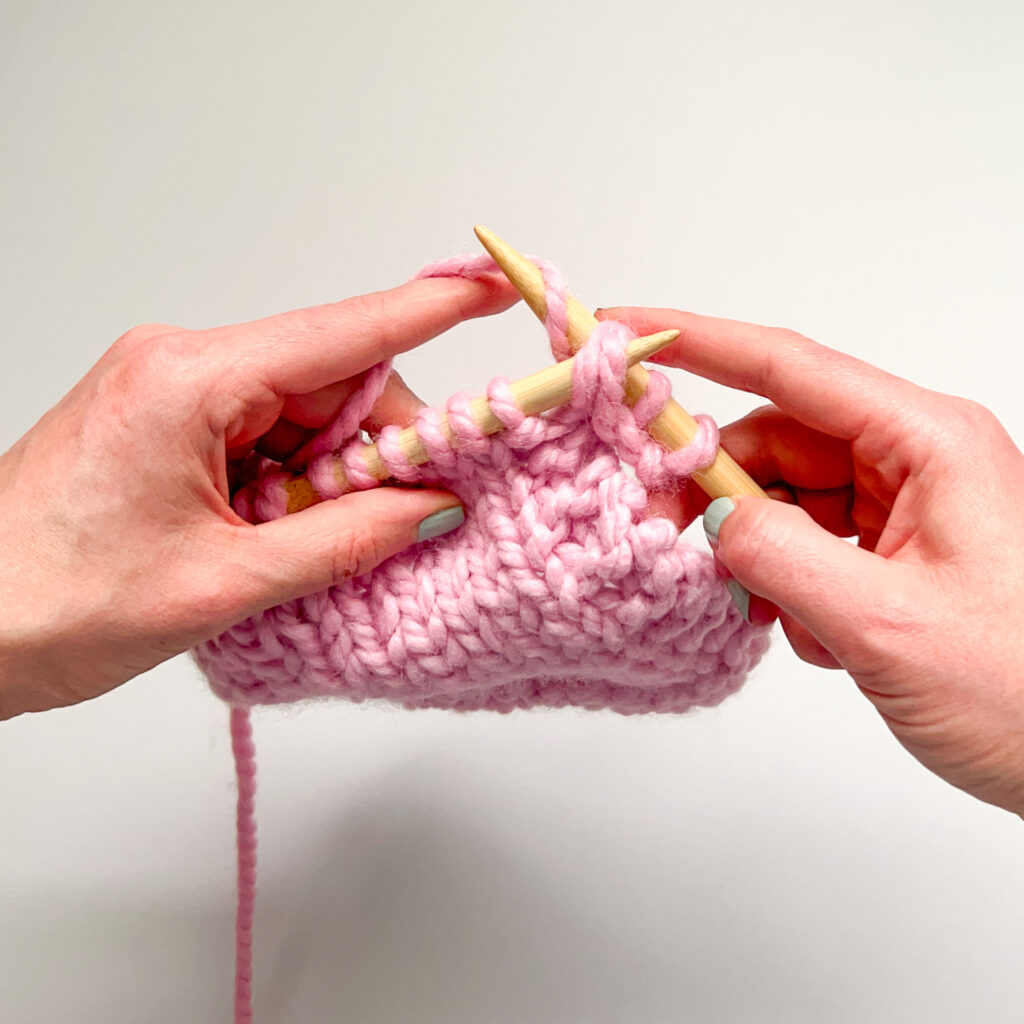
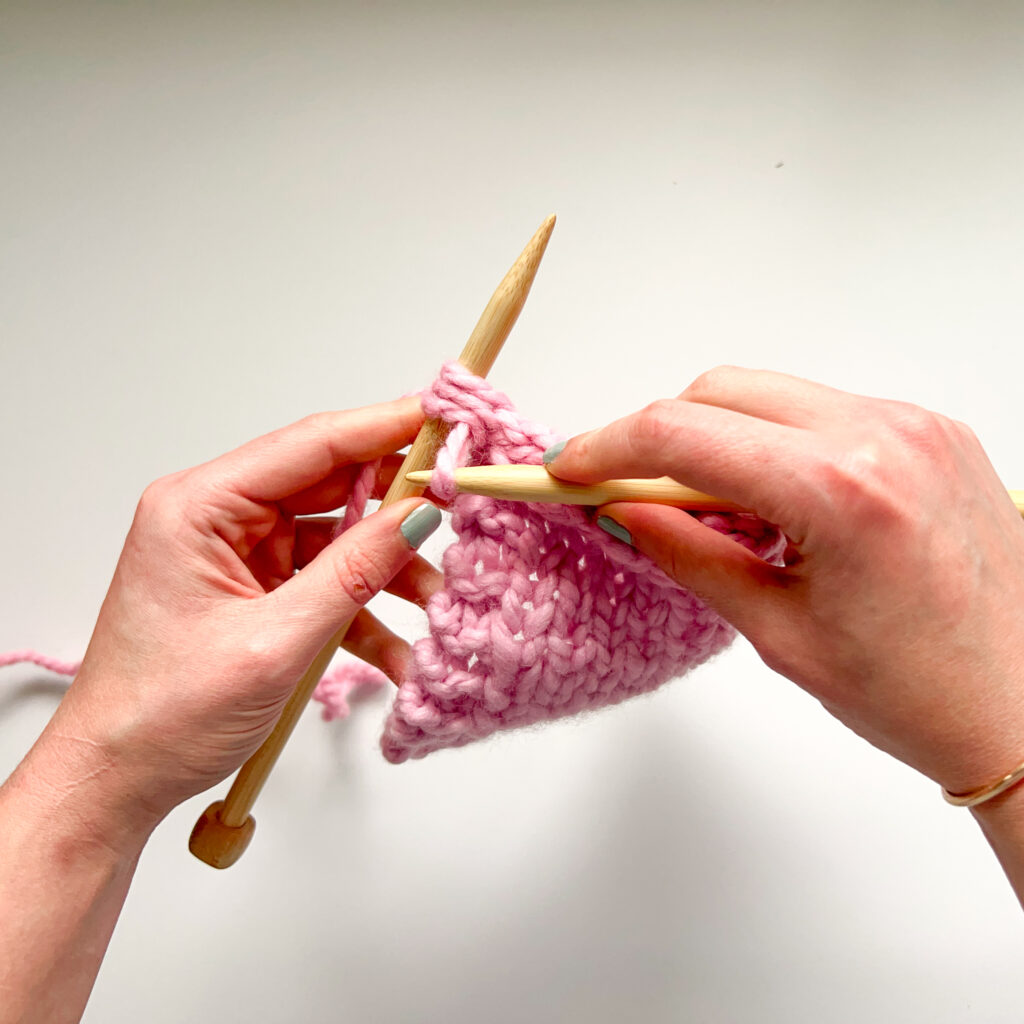
Slip the three stitches on your right needle back to the left needle, one at a time.
You now have all of the active stitches on the left needle and one empty needle in your right hand. The yarn will be coming off the third stitch in from the right.
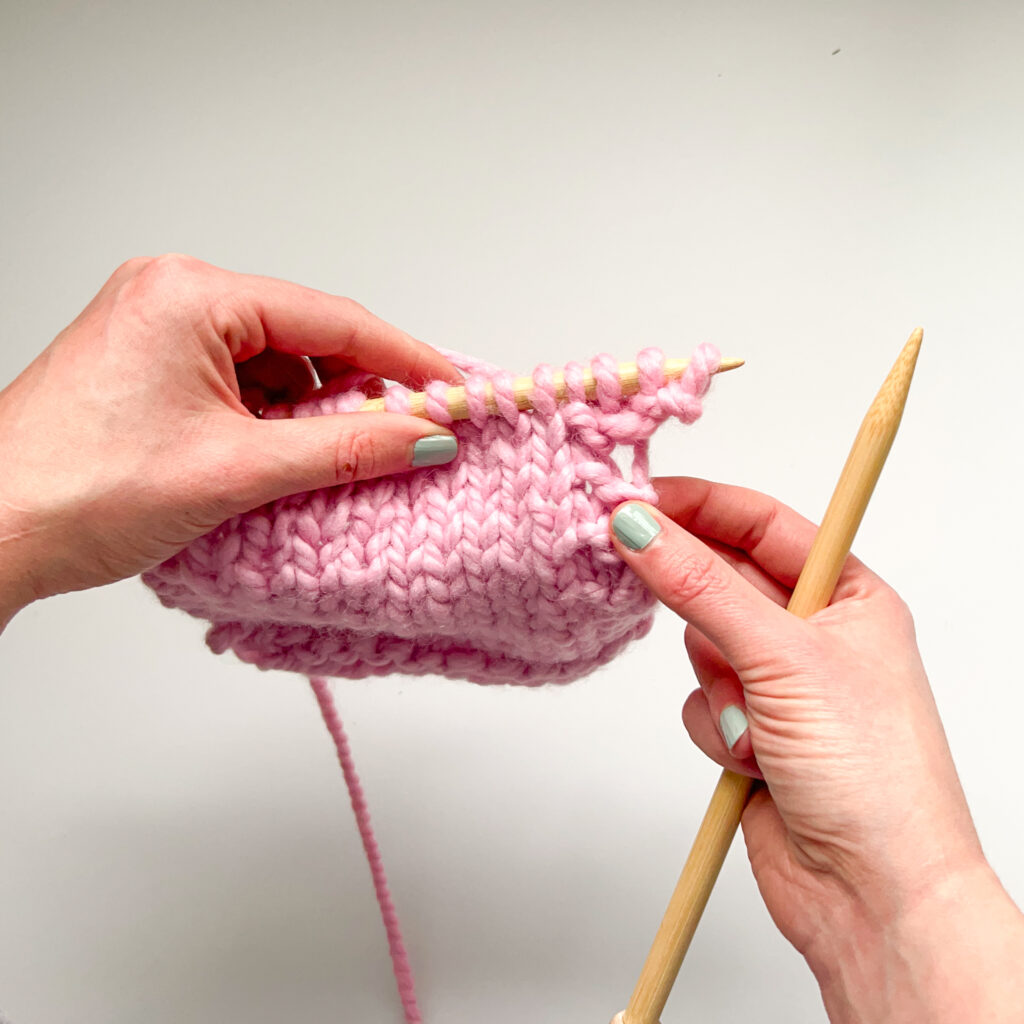
Step 5:
Repeat steps 2-4 until you have three stitches remaining on the left needle. You’ll be binding off/decreasing one stitch every time you work a row.
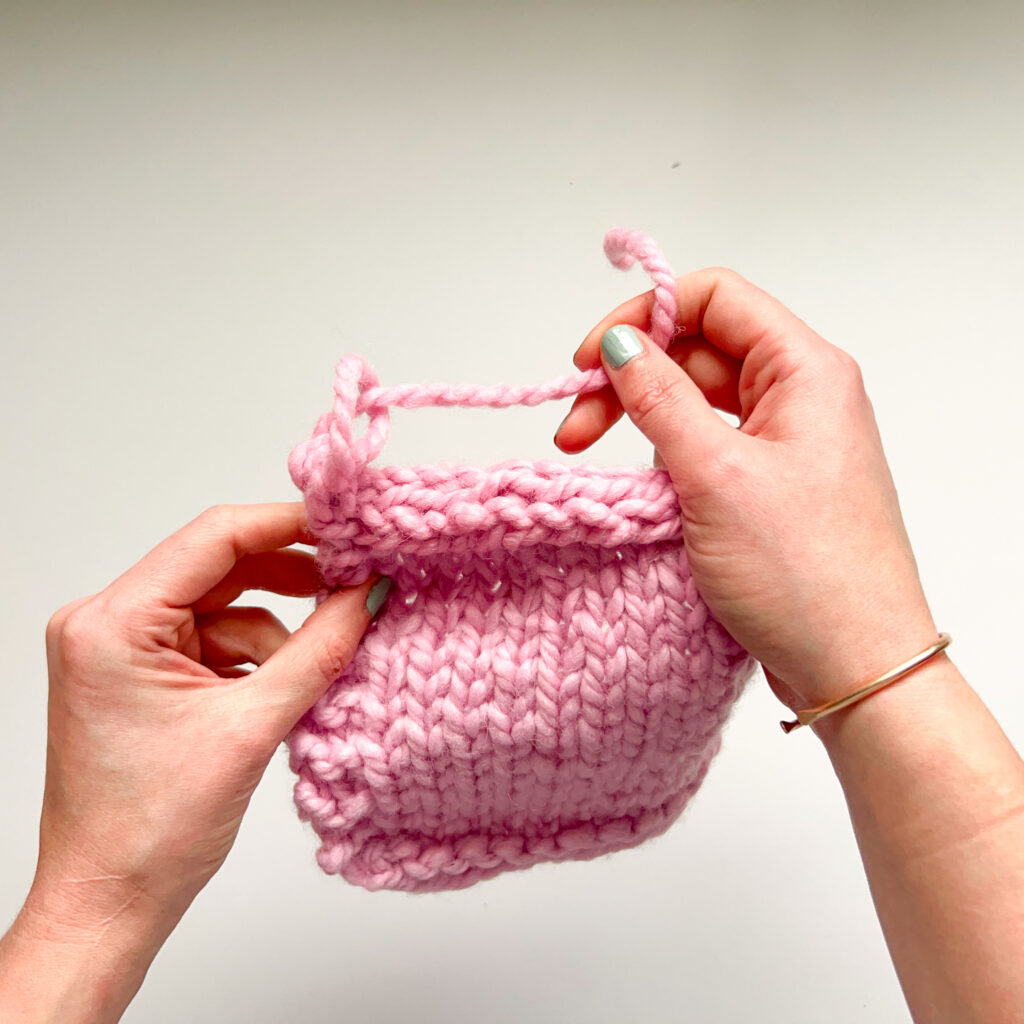
As you knit the first stitch of each row, you’ll be pulling the yarn across from the third stitch in. This creates the rolled I-cord edge!
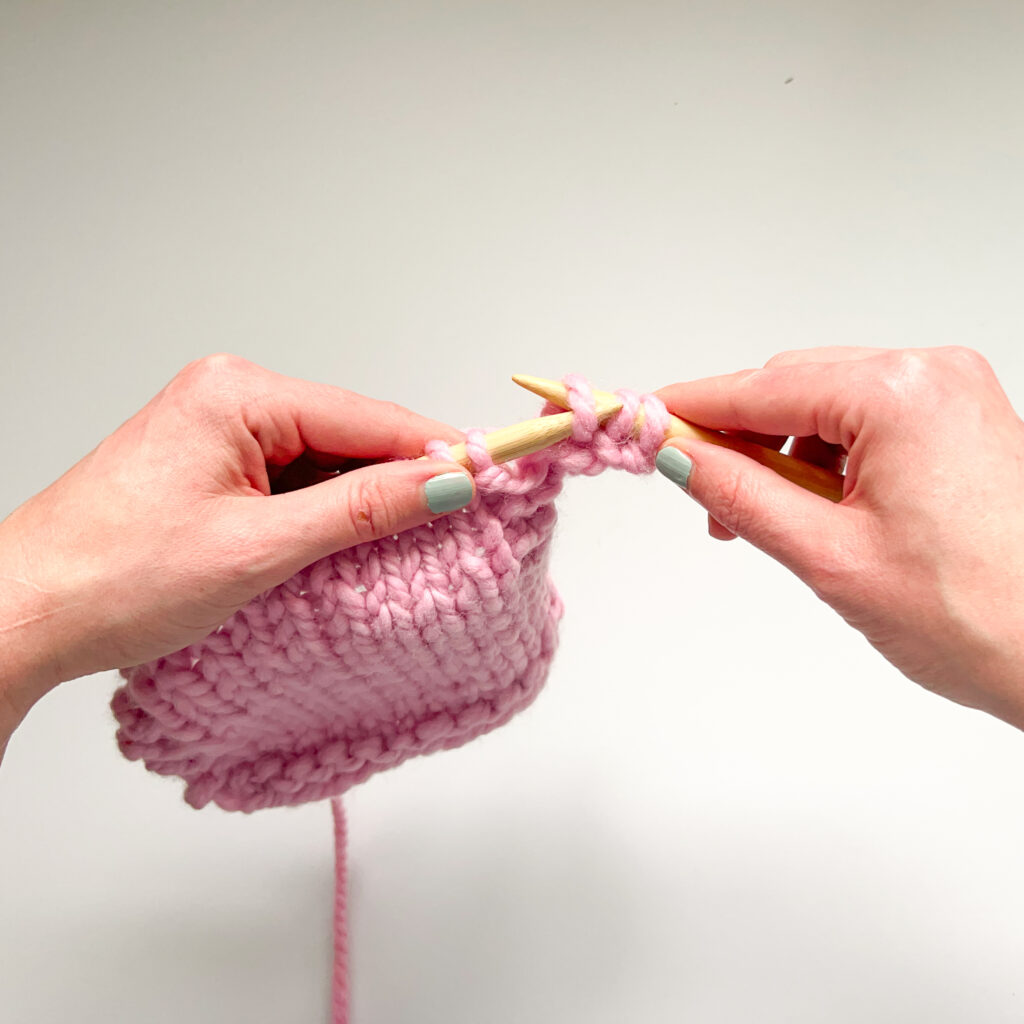
Step 6:
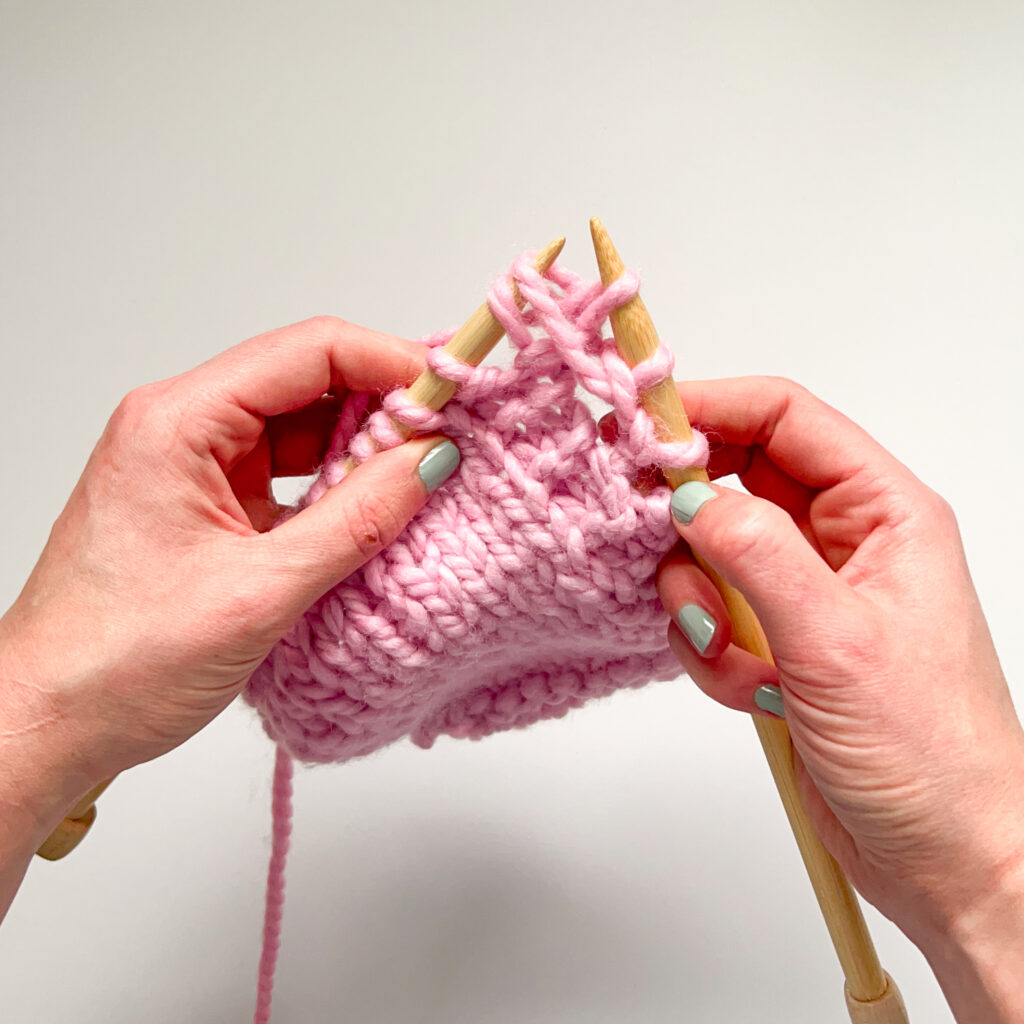
Last step! With the last three stitches slipped onto the left needle, we’re going to work a K3tog (knit three together) decrease.
Insert the right needle through all three stitches at once as if to knit (up under the front leg from left to right). Pull the yarn down through all three stitches at once. Let the three stitches drop off the left needle.
Finishing:
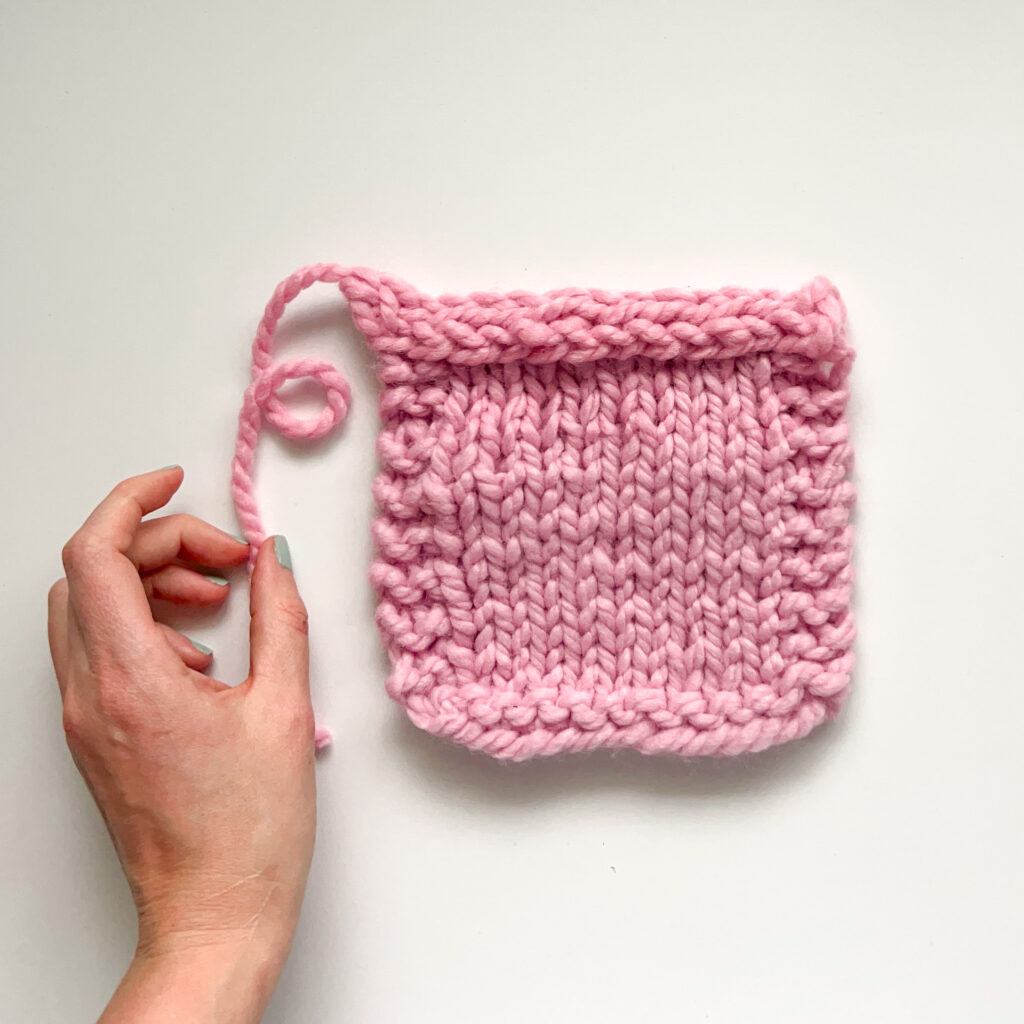
Cut the yarn leaving a long yarn tail. Thread the tail through the loop and cinch closed.
Ta dah! You’ve got a beautiful rolled edge.
Practice! If you’re new to the I-cord bind off, practice on a small swatch as in this tutorial before tackling a larger project. This will help you get the hang of the technique and build your confidence.
Experiment with color. The I-cord bind off is a great way to add a pop of color to your project. Try using a contrasting color for an eye-catching effect, or match the I-cord to the main color for a subtle touch. To use a different color than the rest of your project simply work all of these steps using a new piece of yarn rather than your project yarn.
Make sure you have enough yarn. The I cord Bind Off uses quite a bit of yarn to work the full bind off. Make sure to leave yourself enough yarn at the end of your project to work the full bind off. If needed you can also join a new ball to finish it if you run out!
Like this technique and want to explore more i-cord tutorials? We’ve got you covered!
This tutorial shows you how to create vertical i-cord edges with step-by-step instructions!
Learn how to knit a stand-alone i-cord tube! This technique is handy for knitting drawstrings or other decorative elements for knit projects!


