How to Knit a Sweater for Beginners: Including 20+ Gorgeous Free Patterns!
Knit your next favorite sweater!
Knit your next favorite sweater!
I’m in the middle of knitting a super cute sweater and I had a bit of a flashback to my first time knitting a big wearable project as a beginner knitter! It was a cozy cardigan and I was so proud when I finished it.
At the same time, I remember feeling a bit lost and unsure while I was knitting it. There are so many things to do at the same time, it’s easy to get turned around in the process of finishing your first sweater!
That made me think about other new knitters who also want to learn how to knit a sweater but are too anxious to start. Today, I’m going to share some useful tips that I wish I knew before I made my first sweater!
New to knit sweater patterns? Here are some handy things to look for in a pattern that will keep things simple and stress-free!
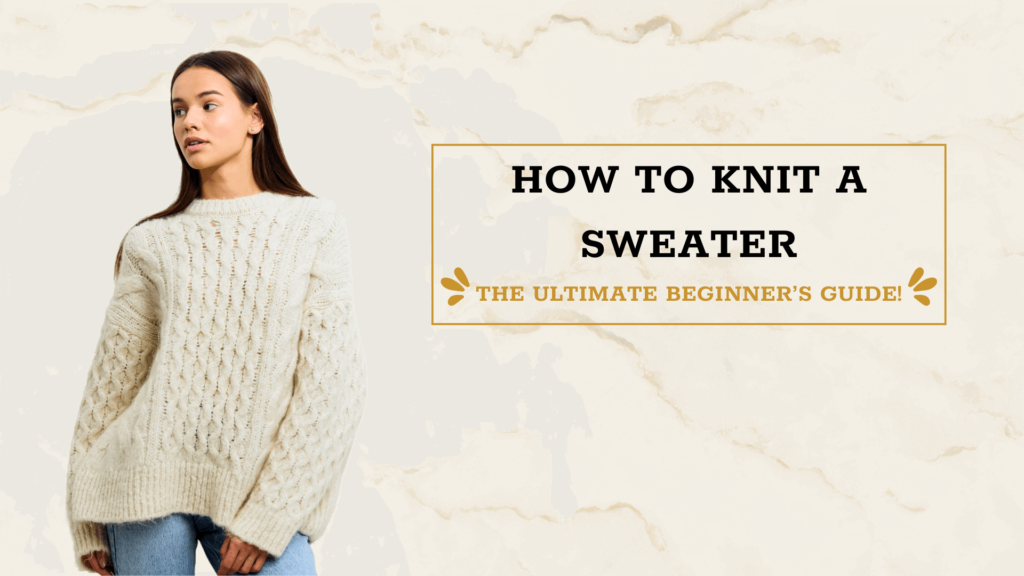
Are you ready to accomplish another knitting milestone? Let’s learn how to knit a sweater!
Disclaimer: This article contains links to external unaffiliated websites.
Yarn is super important in knit sweater patterns not only because it’s the main ingredient for a cozy sweater, but also because it can greatly affect the finished piece!
Let’s talk more about fiber, shall we?
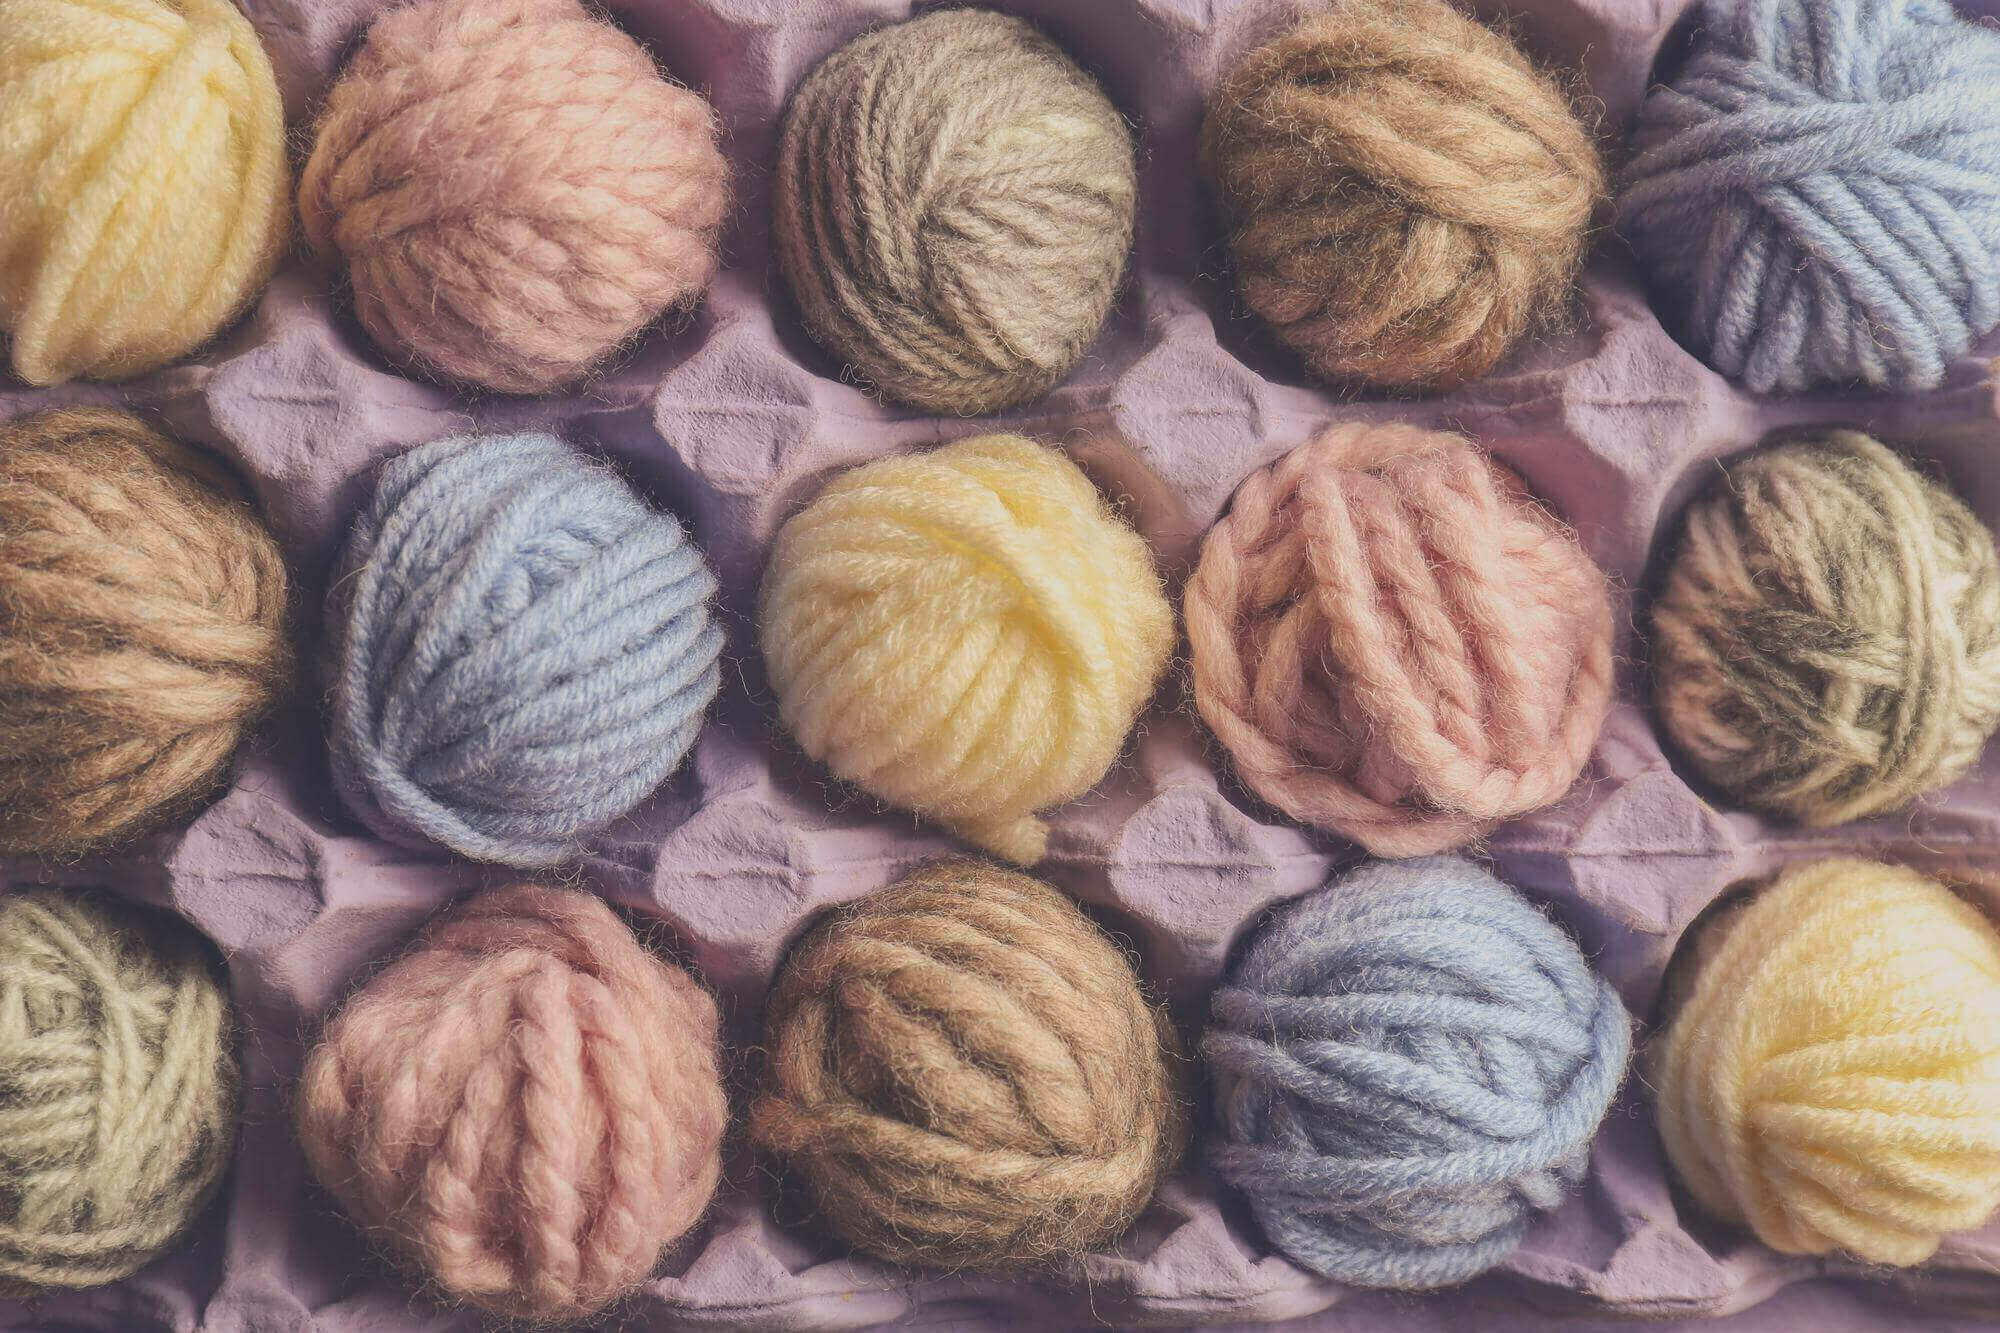
Using the right type of yarn in your project will almost guarantee that you get the perfect sweater. But what if you’re not too familiar with yarn fibers?
A good place to start is by basing your yarn on the knit sweater patterns you’re following. This will guarantee that your project will come out similar to the designer’s. But of course, you can still choose the colors you want from the same yarn brand and type they listed.
A cheat sheet of yarn fiber types: Acrylic is inexpensive and machine washable, wool is super cozy and bouncy, plant fibers are cool and breathable!
Yarn weight is another important factor to consider when knitting a sweater. Thicker yarn weights such as chunky and super bulky yarns can feel cozier but tend to create a stiff, bulky fabric too. Sometimes this extra thick fabric can be uncomfortable when it bunches in the armpit area. Thinner weights like fingering weight and Aran/worsted weight yarn are easier to layer and can be worn for most of the year.
Bulky and chunky weights are popular for fall and winter knits. While worsted weight and fingering weight are more versatile. They can be used to make spring and summer wearables too!
Learn more about yarn weights!
Knitting needles come in different sizes and materials. For beginners, I encourage you to use wooden knitting needles. These are easier to work with and prevent your yarn from slipping off! Make sure the size needle you’re using works with the yarn you picked. Ideally, both the yarn weight and needle sizes will match what the pattern recommends.
There are two types of knitting needles frequently used for making sweaters. Circular Knitting Needles and the Double Pointed Needles (DPN) are both used to knit in the round and have different pros/cons. Let’s talk a bit about both styles!
Circular knitting needles are AMAZING for projects knitted in the round. These types of needles have a tube or cord attached joining two pointed tips together.
Unless you’re knitting for a child, most knit sweater patterns are quite large. So these circular knitting needles can be a life-saver. You will have an easier time working with large panels and be able to take breaks in between without worrying that your loops will slip off.
There are two sub-categories of circular knitting needles: fixed circular knitting needles and the interchangeable circular knitting needles.
DPN or Double-pointed knitting needles is another type of knitting needle perfect for projects that require a lot of flexibility. These needles are straight and have a point on each end. They come in a set (typically 4-6 needles) so that you can set them up in a circle to knit sock cuffs, sweater necks, and beanies!
DPNs are amazing for sweater necklines and cuffs. One BIG con, however, is that DPNs tend to be shorter and don’t have stitch “stoppers” on the other end so your stitches may slip off at some point and that can be frustrating for beginners to deal with.
Learn more about knitting needles for beginners!
Aside from knitting needles, you need other tools to have an easier knitting experience. These are:
Lastly, your knit sweater patterns should be beginner-friendly. In order for a pattern to be beginner-friendly, it should:
We have a more in-depth article all about finding beginner-friendly knitting patterns. Read all about it here:
FINDING EASY KNITTING PATTERNS: 10+ FREE ROUND UPS!
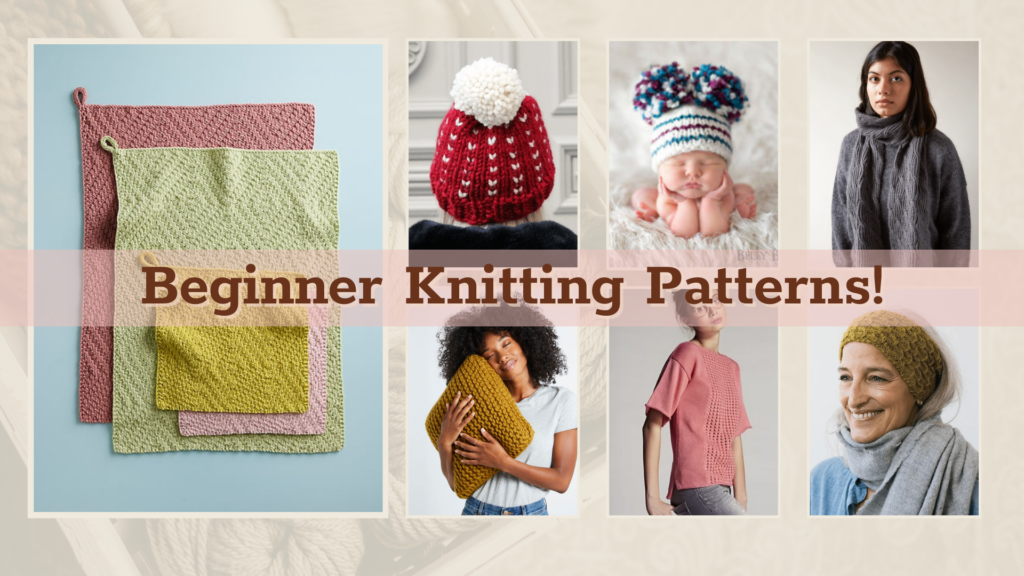
Knit sweater patterns that are beginner-friendly should only use the basic knitting stitches and easy-to-follow techniques such as the knit and purl stitch, a stretchy cast on, and one or two new techniques like the ribbed stitch.
So let me introduce you to a few fun beginner-friendly techniques that will help you make your next favorite sweater:
You want the cuffs and neckline of your sweater to have some stretch but still hold shape after multiple uses. There are a few cast-ons that you can use to achieve that. But here are my favorites:
German Twisted Cast On
The German Twisted Cast On is perfect for stretchy knits. It creates a clean and elastic edge frequently seen in knit sweater patterns. This cast on does take some getting used to. But the finished edge is all worth it.
Here’s an easy step-by-step tutorial to help you out:
Long Tail Tubular Stretchy Cast On
The Long Tail Tubular Cast On is a great all-purpose cast on technique that is frequently used in a variety of knitted projects. It is an excellent technique to master as you can use it for many of your future knitting endeavors, not just with learning how to knit a sweater!
It has similar hand movements to the German twisted cast on. But it’s just a bit simpler to do. Here’s a tutorial to help you along:
Learn More Cast On Techniques!
Tons of new stitches can be learned when knitting a sweater. This can cause information overload. So we’re starting with the easiest and most popular ones!
Garter Stitch
Stretchy and squishy, the Garter Stitch is easily one of the best stitches to learn when knitting wearables. It is easy to stitch up and is a fantastic opportunity to familiarize yourself with the knit stitch.
Here’s a quick tutorial on how to make the Garter Stitch:
Stockinette Stitch
The Stockinette Stitch is created by alternating one knit stitch row and one purl row. You will see the stockinette stitch used in a variety of different projects like beanies, blankets, and even plushies.
One caveat with this stitch, however, is that it tends to curl up due to differences in tension of the knit and purl rows. But you can easily remedy this by creating a rib stitch or a garter stitch edge!
Rib Stitch
Elasticity is important when knitting a sweater. The cuffs, the edges, and the neckline should have some stretch in them in order to fit right. This is where the Rib Stitch comes in.
This stitch creates a stretchy edge for sweaters and is a favorite among many knitters. Rib stitches are made by alternating the knit stitch and purl stitch in the same round.
Here’s a tutorial on how to create stretchy rib stitches:
When it comes to knitting a sweater, you’ll notice that decreases are often used for shaping and contouring around the shoulders, waist, and sleeves. Two of the easiest techniques are the Knit Two Together (K2Tog) and the Slip, Slip, Knit (SSK).
Don’t let the names intimidate you. They are a lot easier than you think. So let’s talk about them:
Knit Two Together (K2Tog)
K2Tog is done by knitting two loops together. This creates a one-stitch decrease that leans towards the right. It’s easy to do and is a popular decreasing method used by many knitters.
K2Tog‘s counterpart is the Purl Two Together (P2Tog) which is created by purling 2 stitches together into a single stitch. This decrease leans to the left. P2Tog isn’t commonly used but you’ll find patterns that ask for it here and there.
Slip, Slip, Knit (SSK)
SSK is created by twisting two loops and knitting them together into one stitch. This method causes your stitch to lean towards the left.
The counterpart of SSK is Slip, Slip, Purl (SSP). The SSP is simple but can feel tricky to work with. It is created by twisting 2 loops and purling them together into one stitch. This method causes your decrease to lean towards the right.
Just like with the normal knit stitch and purl stitch, the P2Tog and SSP counterparts all occur every time you create a K2Tog or SSK decrease as they are on the “wrong” side of your fabric!
Different bind off techniques will yield different results. For sweaters, you want to use bind offs that have some stretch to them. This enables them to snap back into shape and fit snuggly to your body.
Our top favorites here are Jeny’s Surprisingly Stretchy Bind Off (JSSBO) and the Three-Needle Bind Off. Let’s talk about them:
Jeny’s Surprisingly Stretchy Bind Off (JSSBO)
Invented by Jeny Steinman, the Jeny’s Surprisingly Stretchy Bind Off (JSSBO) has yarn-overs incorporated in between cast off stitches for a springy edge perfect for most knit sweater patterns!
JSSBO may look like a basic bind off. But it can stretch up to 2x its length. Here’s a step-by-step tutorial to help you out:
Three-Needle Bind Off
The Three-Needle Bind Off is a way to bind off and sew knitted panels together while also avoiding those super bulky seams. It LOOKS complicated, but it’s so much simpler once you get started.
We have a tutorial below that teaches you exactly how to create the three-needle bind off. So make sure to give it a watch:
Learn More Bind Off Techniques!
There are so many stitches and techniques you can use to knit a sweater. So I’ve included a playlist of beginner-friendly tutorials that you can use and experiment on as you embark on your knitting journey!
When I was knitting my cardigan, I didn’t follow any patterns or tutorials — which was my mistake. I felt totally overwhelmed and it took me longer than it should have to finish the whole thing because I had no idea what I was doing.
So I made sure to list down a few tips that you might find helpful as you learn how to knit a sweater:
It’s important that you have your body’s measurements before you start knitting a sweater (or any other wearable). You want your sweater to fit the way you want it to.
Here are the parts I typically measure when I’m knitting clothes:
Once I have my measurements, I add the allowance I want. For example, my waist is around 28.5″. If I want an oversized fit, I’ll add an extra 5″ allowance on either side of my knitted panel.
Hate doing the math? Same here. So here’s how to cheese it: Take your favorite sweater and measure that instead!
The Craft Yarn Council has a great guide for taking body measurements. So make sure to check it out.
Pausing to add yarn into your work can ruin your rhythm. It could also mean more yarn tails to weave in. You need a trusty method for joining yarn.
There are a few ways to join new yarn into your work. But our favorite is the Magic Knot. I made sure to attach an easy-to-follow tutorial below:
It’s normal to follow a knitting pattern if you are just learning how to knit a sweater. These patterns typically have a knitting gauge noted at the top. Gauge is the number of stitches per inch in the finished fabric. We use this measurement so that knitters can match the designer’s tightness and achieve similar results.
We have a more in-depth tutorial on how to perform a gauge check. So make sure to check it out here:
Top-Down Knit Sweater Patterns
Top-down knit sweater patterns are sweaters made starting from the neckline and down to the bottom hem. One great advantage of the top-down method of knitting a sweater is that you can try it on as you work. This makes it super easy to adjust your measurements as you go.
Another pro is the minimal sewing and weaving you have to do at the end of the project!
It also has its cons. The top-down method makes it hard to add stitches to the bust without making the arm holes huge. Because it’s typically knitted in one piece, your swear will also lack structure and will become misshapen over time.
Bottom-Up Knit Sweater Patterns
Knit sweater patterns that are knitted from the bottom-up can be made in separate panels. You are able to knit the pieces together based on how you want things to look.
Unfortunately, you will have to finish attaching the pieces together before trying it on and checking the fit. The bottom-up method also includes a ton of sewing. But once you’re done, you will have a structured sweater that will last you years of use!
This one is a tough question to answer. You have to consider many factors such as the size of your sweater, your skill level, the complexity of the project, your knitting speed, etc. Some sweaters can take a few days, a few weeks, a month, or multiple months for complicated patterns.
My best answer here is to take your time.
My favorite part about knitting a sweater is finishing it. This means I’m just a few steps closer to being able to show off my hard work! Well, here are some things to help you out:

Once you’re done knitting your sweater, it’s time to weave in your yarn tails! Weaving in your yarn tails secures your edges and stops your work from unraveling.
It’s quite easy to weave in your ends. All you need is a darning needle, scissors, and this very beginner-friendly tutorial below!
Want that straight, crisp edge in your knits? Then it’s time to block your work! Blocking your work evens out your stitches for a nice smooth and even fabric. This is also a great way to improve the way any knits fit!
This step is completely optional and isn’t exactly necessary for all projects. But it sure does make for some pretty knits! This involved using blocking pins or blocking combs and a blocking board.
There are two popular ways to block your work:
Steam Blocking is when you pin your work in position and run a clothes steamer over the top to slightly dampen the fabric and allowing it to dry in place.
This method is great for knits that don’t need to be washed often.
Wet Blocking is when you fully saturate your knits with water either by giving it a soft wash in a basin or spraying it with water. Then gently squeezing the water out using a dry towel and laying/pinning it flat to dry.
This method is perfect for wearables like knit dresses, sweaters, cardigans, and scarves!
Learn How to Block Your knits!
Whether you opted to use the top-down method or bottom-up method for knitting a sweater, you’ll probably have to do some seaming. So here are our favorite techniques:
Kitchener Stitch
The Kitchener Stitch, also known as grafting, is a method of seamlessly sewing knitted panels together. It takes some practice to perfect the technique, but getting that seamless edge is so worth it!
Below is a tutorial that shows exactly how you can use the Kitchener Stitch on your knitting projects:
Mattress Stitch
The Mattress Stitch is the most invisible way to seam knits. Many knitters use the mattress stitch to sew sweater sleeves and shoulders. Once you learn this stitch, I guarantee you’ll love using it on your other wearable projects!
Today you learned some general tips and techniques involved in knitting a sweater. This was a long one, but packed with useful tutorials that you can use as soon as you find your favorite knit sweater patterns.
We included beginner-friendly stitches that you can practice on your first sweater project. You also have seaming techniques to give that perfect seamless edge that gives your sweater a more elevated and premium look.
Now, this article was a long one. So I encourage you to take your time learning each new stitch and technique. I can’t wait to see your very first knit sweater. Make sure to tag us on Instagram so we can see your gorgeous work!
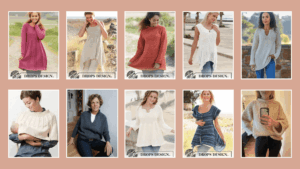
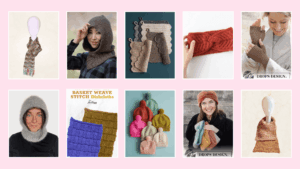
Ready to test out the things you learned today? Check out these free knit sweater patterns:
Knitting isn’t the only way you can make your own sweater. Check out our round up of snazzy crochet sweater patterns below:
Nice post. Quick question though? Do you have the pattern for the cream-colored sweater modeled by a brunette girl at the beginning of the article? It is beautiful, and I want to try and knit that.