How to Knit a Hat: Plus 8 Easy Techniques for Beginners
Knit your first beanie like a pro!
Knit your first beanie like a pro!
Knitted hats are one of the best ways to hone your knitting skills. These small projects are a perfect time to experiment with new techniques without the pressure of a big, endless knit. It also feels pretty awesome to wear something you made yourself!
Knitting your own hat is simple with a few basic techniques in your tool kit. Of course, some patterns require a higher skill level but we’ll work our way up to them over time! For now, let’s talk all about knitting your very first hat.
Hats are incredible beginner-friendly projects that are fun to knit! I mean, who doesn’t like a cute hat!? They make great presents, sell quite well at craft fairs, and if they turn out to be a different size than you’d planned they’re always guaranteed to fit SOMEONE you know!
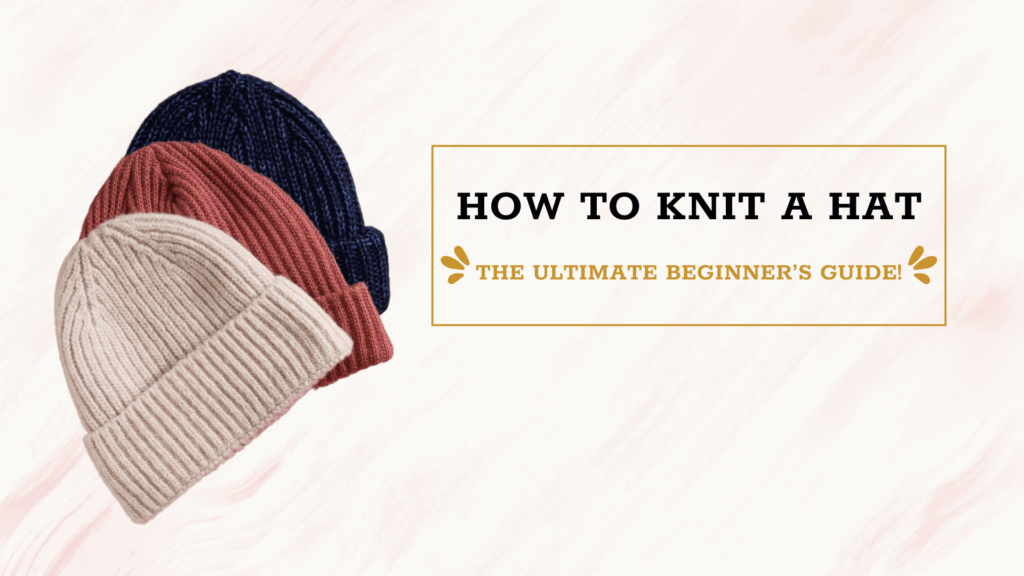
Let’s get right in to some hat knitting basics! Most hat patterns will call for a few basic techniques that will ensure it feels good to wear it year after year.
Lucky for you, we’re talking about all of these things and more! Ready to learn how to knit a hat? Get your needles and skeins ready. You’re about to become a pro hat knitter!
Disclaimer: This article contains links to external unaffiliated websites.
The very first step to learning how to knit a beanie is to get all your materials in order. You won’t need any special tools for a knitted beanie, but there are a few essentials that should be in your tool kit before you start stitching:
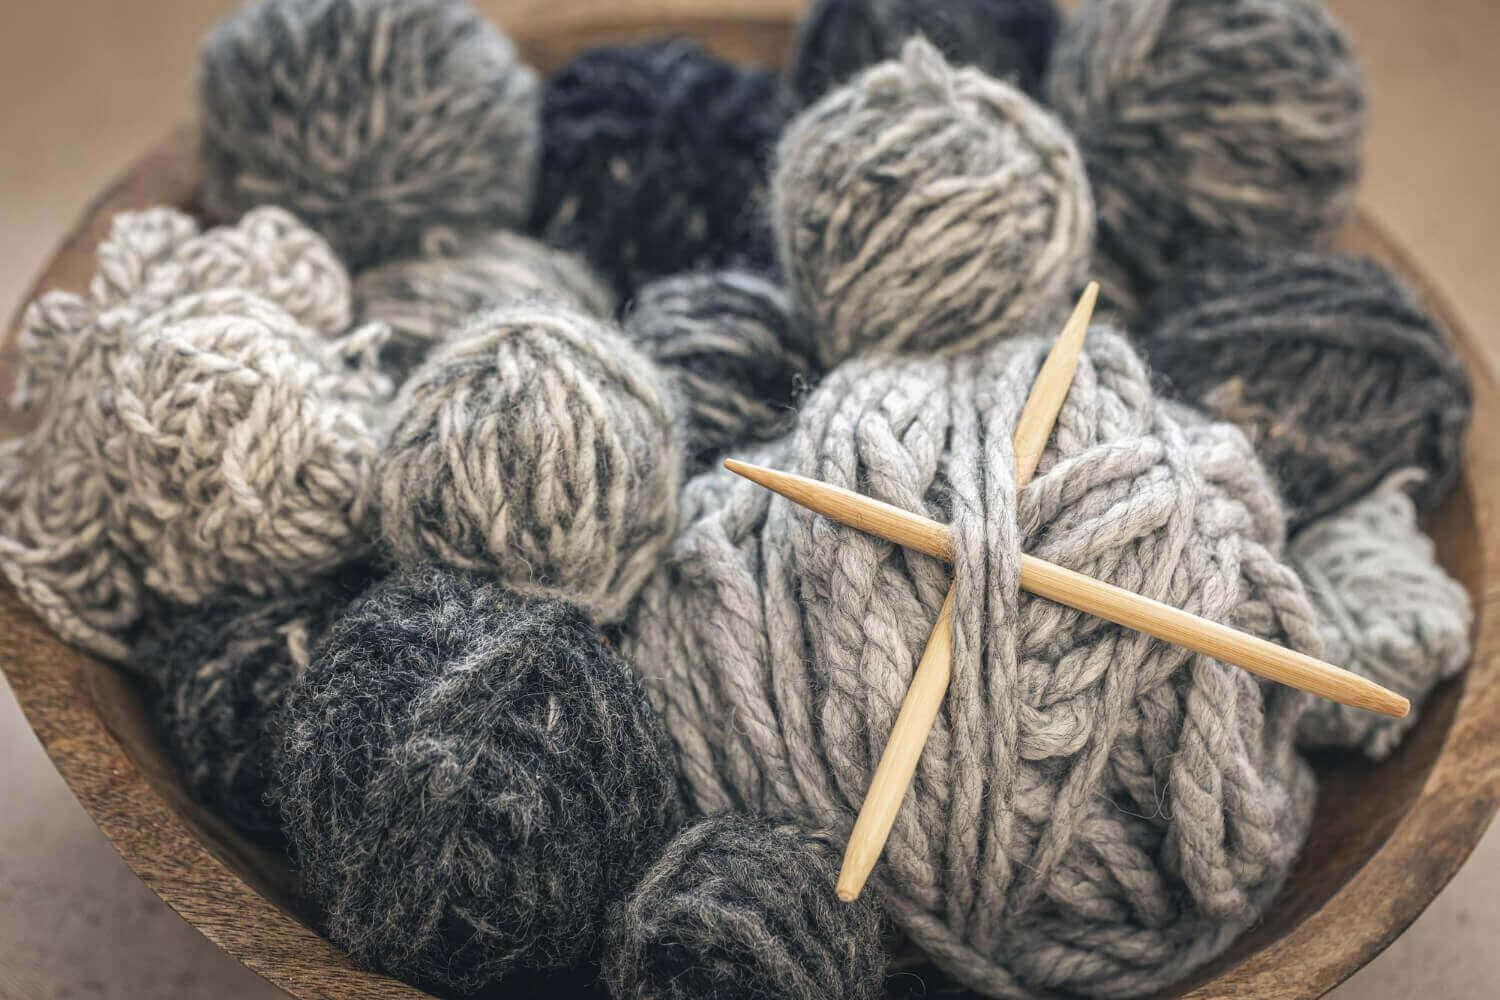
There are ALL kinds of knitted hats, which means you can choose all sorts of yarns to make yours! For knitted hats that are meant to be warm and cozy try using thicker and animal fibers like wool. You can also use affordable, washable acrylic fibers too, particularly if you’re allergic to animal fibers.
If you want to make a stylish knitted hat for warm weather, you can go for lighter materials like cotton or bamboo. These fiber types are gentle on your skin and are breathable — perfect for a sunny stroll in the town! Keep in mind, they can also stretch out over time so make sure to pick a pattern that uses a plant fiber for the original sample too to make sure it’s a good match.
Yarn weight also matters. Thicker weights (worsted, bulky, or chunky) are much quicker to knit and also warmer to wear, perfect for learning how to knit a beanie for fall or winter. Thinner yarns (fingering or sport weight) are great for hats worn in spring and summer!
Learn more about yarn weights!
As a new knitter it’s important to pick knitting needles that will make your life easier! From experience, I heavily recommend starting with wooden knitting needles. They’re less slippery which helps to keep those stitches on the needles, especially during decreases.
There are two types of knitting needles frequently used for making hats. Circular Knitting Needles and the Double Pointed Needles (DPN) are both used to knit in the round and have different pros/cons. Let’s talk a bit about both styles!
Circular knitting needles are AMAZING for projects knitted in the round. These types of needles have a tube or cord attached joining two pointed tips together.
There are two sub-categories of circular knitting needles: fixed circular knitting needles and the interchangeable circular knitting needles.
DPN or Double-pointed knitting needles is another type of knitting needle perfect for projects that require a lot of flexibility. These needles are straight and have a point on each end. They come in a set (typically 4-6 needles) so that you can set them up in a circle to knit sock cuffs, sweater necks, and beanies!
One BIG con, however, is that DPNs tend to be shorter and don’t have stitch “stoppers” on the other end. So your stitches may slip off at some point and that can be frustrating to deal with!
Learn more about knitting needles for beginners!
Aside from knitting needles, you may need a few more knitting tools to make the perfect handknit hats. Make sure to have:
Lastly, you need a beginner-friendly hat knitting pattern. In order for a pattern to be beginner-friendly, it should:
I wrote a more in-depth article all about finding beginner-friendly knitting patterns. Read all about them here:
FINDING EASY KNITTING PATTERNS: 10+ FREE ROUND UPS!
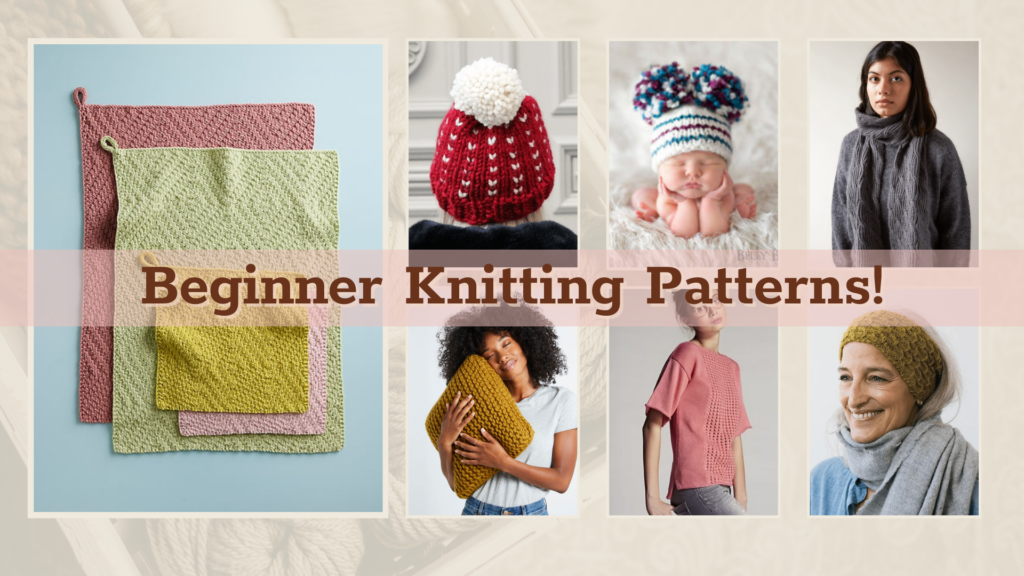
I’m sure you’ll be happy to find out that basic knitting techniques are all you will need to learn how to knit a beanie. You just need to learn one of each technique: a stretchy cast on, a basic knitting stitch, and a stitch decreasing technique!
Cast on techniques are the first techniques you will need for learning how to knit a hat for beginners. There are quite a few cast on techniques out there, but for now, I’ll introduce you to two of my favorite beginner-friendly ones!
The Long-tail cast on is a technique well-loved by many knitters of all skill levels. It’s VERY easy to make and creates a sturdy, yet stretchy, edge that makes hats comfortable to wear!
Check out our beginner-friendly long tail cast on tutorial below:
Looking for a cast on that has even more stretch? Well, the German twisted cast on is the one you need! This nifty technique is perfect for stretchy knits like socks and beanies.
Now, the thumbnail below makes it seem like an uber advanced technique but it’s waaay easier than you think! So make sure to give it a watch:
Learn More Cast On Techniques!
As I said, all you need to learn how to knit a beanie are the basics! This also includes the basic knitting stitches too. Let’s talk about them:
Aside from a trusty cast on, the knit stitch is the very first stitch you have to learn if you want to get into the knitting craft. This is a very simple stitch that you will use in all of your future knits — even for more advanced patterns!
Check out the tutorial below to learn how to make the knit stitch:
The purl stitch is another essential stitch you will need for many of your future projects. In fact, this stitch happens naturally every time you make a knit stitch! This is the bumpy stitches that you see in the wrong side of a knitted fabric.
But you can knit it too! Here’s a tutorial on how to make the purl stitch:
Time to close up that beanie! Decreasing stitches is part of learning how to knit a hat for beginners. There are two beginner-friendly ways I love to use when decreasing the crowns of my beanies: the Knit Two Together (K2Tog) and the Slip, Slip, Knit (SSK).
The knit two together or (k2tog) is created by knitting two stitches at the same time, leaving you with just one stitch. It creates a decrease that slants towards the right. It’s quite easy to make too!
Check out the tutorial below:
The slip, slip, knit or (SSK) is a decrease technique created by twisting two stitches and then knitting through them to combine them into one stitch. The SSK technique leans towards the left.
Here’s a tutorial on how to create the SSK decrease:
Decreasing knits was one of my biggest hurdles when I first started out. Eventually, with a little practice, I got the hang of it! So don’t worry if the first few tries turn out less than perfect, we’ve all been there!
Learn More Decreasing Techniques Techniques!
I love knitting tips that make my life easier. So here’s a few tips that can help you as you progress into your knitting journey. Don’t worry, these tips don’t only apply to learning how to knit a beanie for beginners, you can use these on all of your knitting projects!
Running out of yarn can be annoying when knitting a hat. But adding yarn or switching colors is much easier than you think!
There are a few ways to join new yarn into your work. But our favorite is the Magic Knot. I made sure to attach an easy-to-follow tutorial below:
Finding an effective and convenient way to join new yarn skeins in your project is a great technique to have in your arsenal. Some knitting patterns call for color changes, including beginner patterns that teach you how to knit a beanie. So this skill is quite handy to learn as soon as possible!
It’s normal to follow a knitting pattern if you are just learning how to knit a beanie. These patterns typically have a knitting gauge noted at the top. Gauge is the number of stitches per inch in the finished fabric. We use this measurement so that knitters can match the designer’s tightness and achieve similar results.
We have a more in-depth tutorial on how to perform a gauge check. So make sure to check it out here:
It’s finally time to add the finishing touches to you beanie! I looove seeing my knitted projects come together. So let’s check out the final touches for your knitted hat:

Once you’re done knitting your hat, it’s time to weave in your yarn tails! Weaving in your yarn tails secures your edges and stops your work from unravelling.
It’s quite easy to weave in your ends. All you need is a darning needle, scissors, and this very beginner-friendly tutorial below!
Want that straight, crisp edge in your knits? Then it’s time to block your work! Blocking your work removes the warping that typically occurs during the creation process. This is also a great way to improve the way wearable fit and lay on your body, or in this case, HEAD!
This step is completely optional and isn’t exactly necessary for all projects. But it sure does make for some pretty knits! This involved using blocking pins or blocking combs and a blocking board.
There are two popular ways to block your work:
Steam Blocking is when you pin your work in position and running a clothes steamer over the top to slightly dampen the fabric and allowing it to dry in place.
This method is great for knits that don’t need to be washed often.
Wet Blocking is when you fully saturate your knits with water either by giving it a soft wash in a basin or spraying it with water. Then gently squeezing the water out using a dry towel and laying/pinning it flat to dry.
This method is perfect for wearables like knit dresses, sweaters, scarves, and even hats!
Learn How to Block Your knits!
Pom poms are such a fun way to spruce up a beanie. They’re also pretty easy to make! All you need is a sturdy pom pom maker, yarn, and some scissors!
I love making beanies. Not only are they fun to wear, but they’re also quick to stitch up. If you’re a beginner, learning how to knit a beanie is a fantastic way to get the hang of the craft.
Your first beanie doesn’t have to knock 10 years off your lifespan (lol!). There are so many easy beanie patterns that look like they cost a thousand bucks. Slow and steady is the way to go when it comes to handmade crafts.
We covered a ton of new information today and it can feel overwhelming. But really, all you need is one cast on technique, one knitting stitch, one decreasing technique, and one bind off! So chill, you can take your sweet time learning how to knit a hat!
Practice all the tips and tidbits you learned. Check out these amazing FREE hat knitting patterns for beginners:
Using a pair of knitting needles isn’t the only way to learn how to knit a beanie. Here are other fun ways to knit a beanie!
